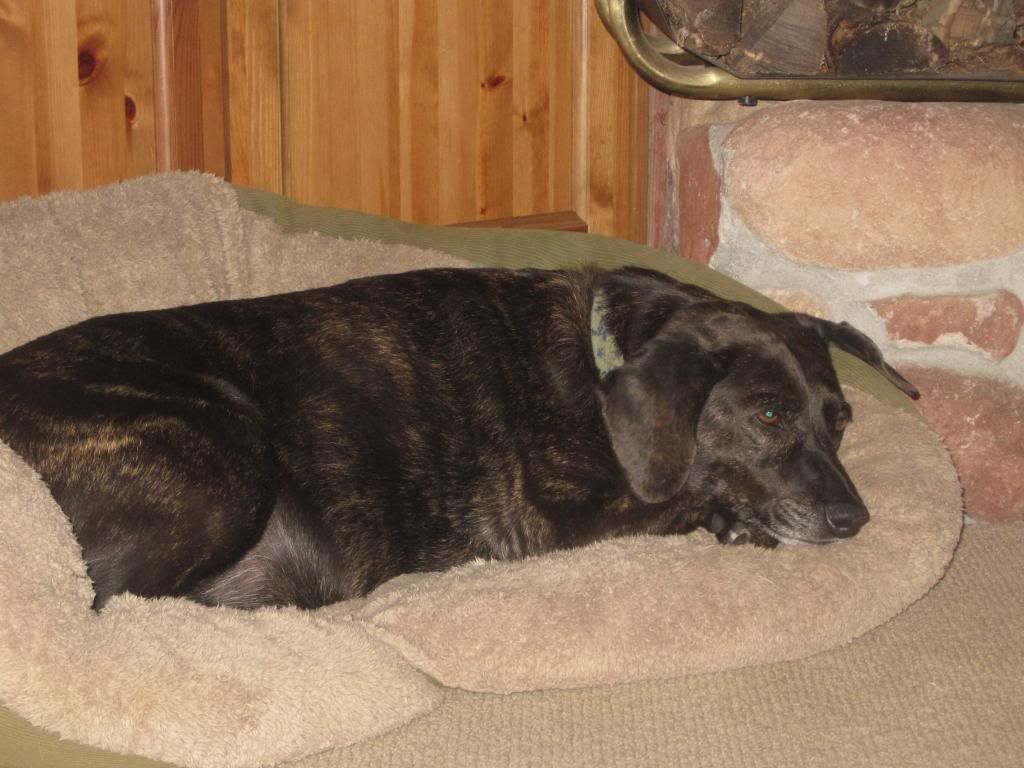
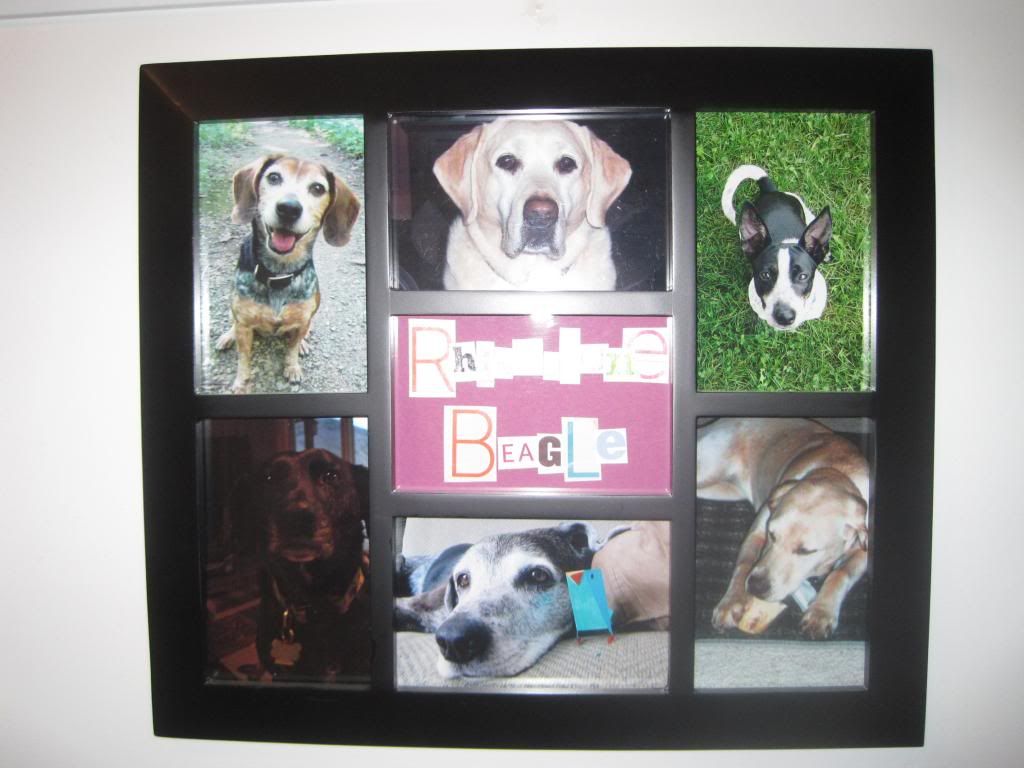
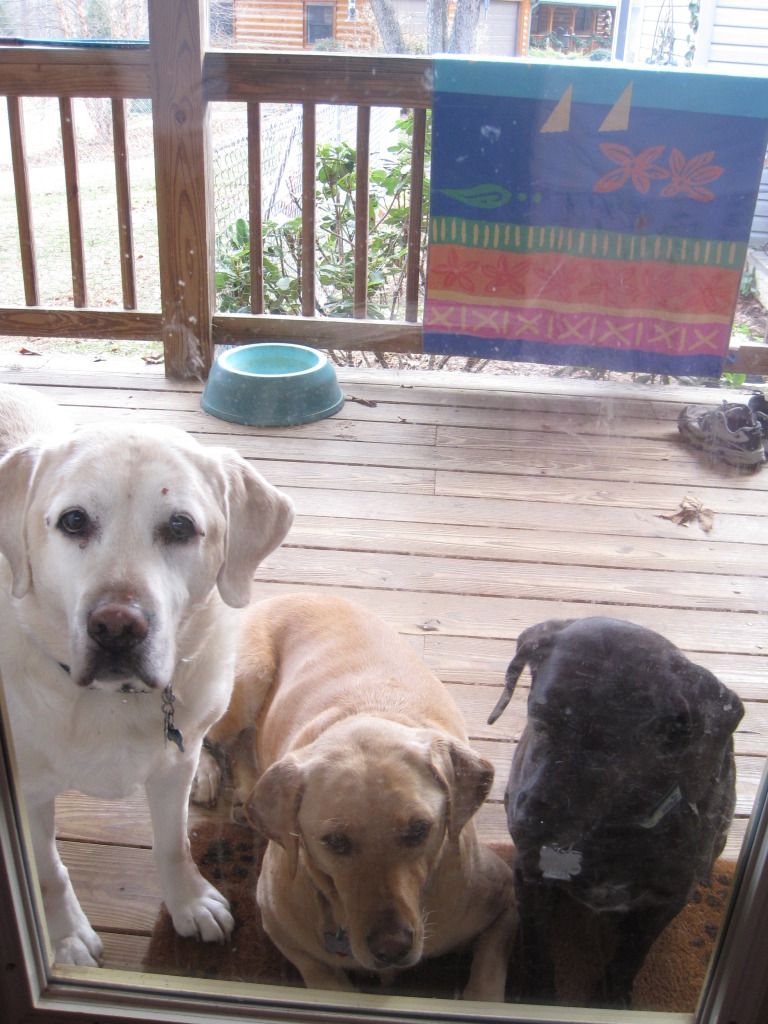
Jokingly she became one of the canine villains here at the RB but all that sass came with immeasurable love and loyalty to her people. She crossed the rainbow bridge Wednesday to wait for her family but we are all pretty sure she is having a great time running the show to fill time. Thank you, Sprout, for all the love and companionship. You will be missed more than you can ever imagine.
Showing posts with label Sprout. Show all posts
Sunday, April 26, 2015
Until we meet again...
Jokingly she became one of the canine villains here at the RB but all that sass came with immeasurable love and loyalty to her people. She crossed the rainbow bridge Wednesday to wait for her family but we are all pretty sure she is having a great time running the show to fill time. Thank you, Sprout, for all the love and companionship. You will be missed more than you can ever imagine.
Thursday, January 1, 2015
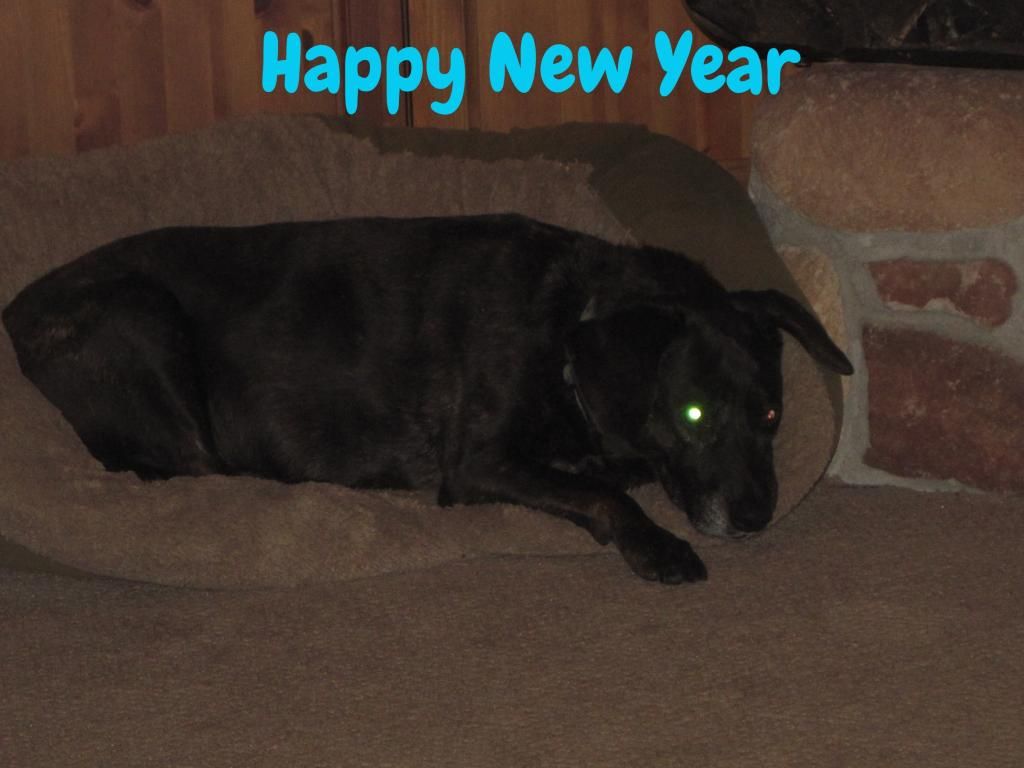
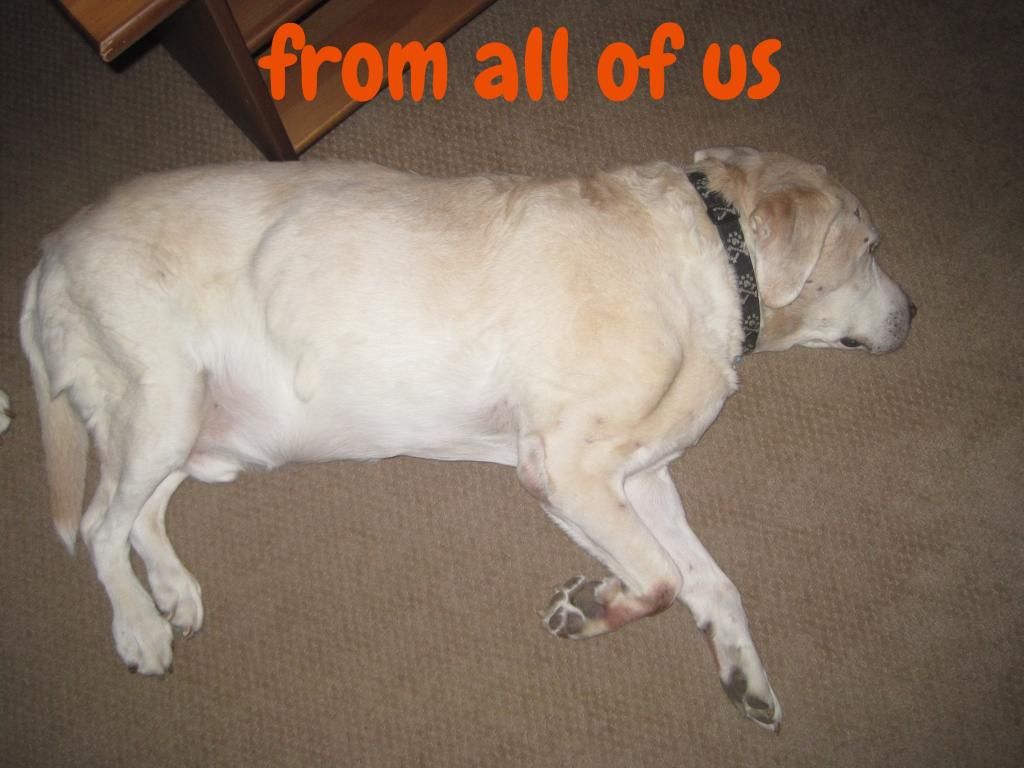
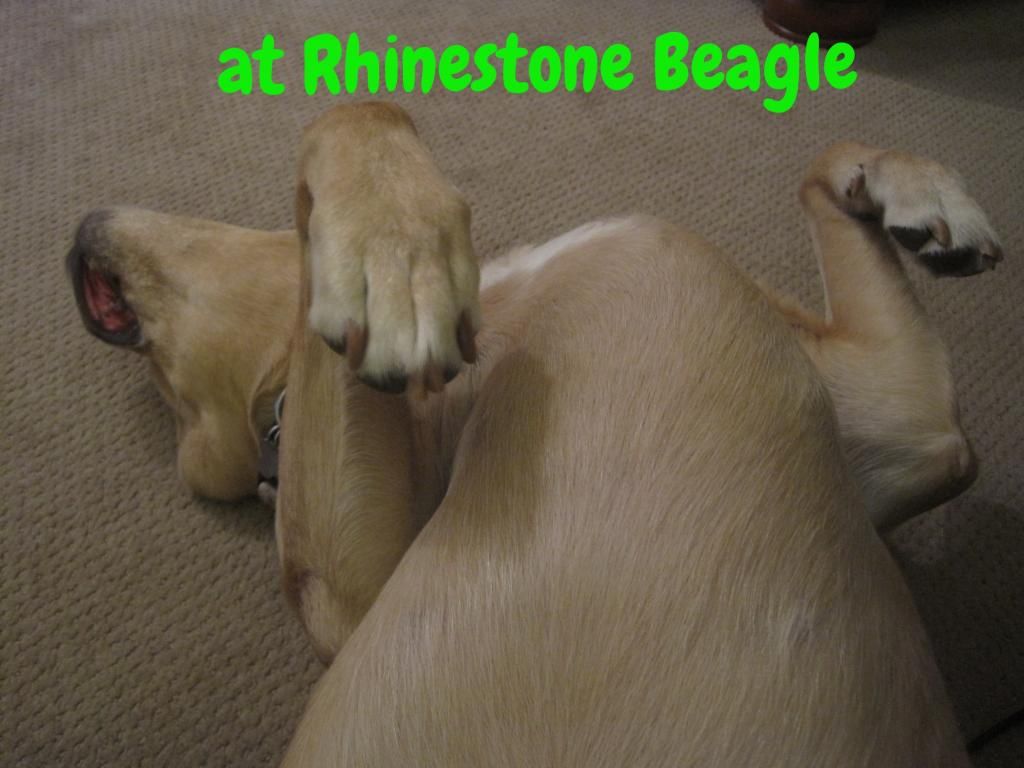
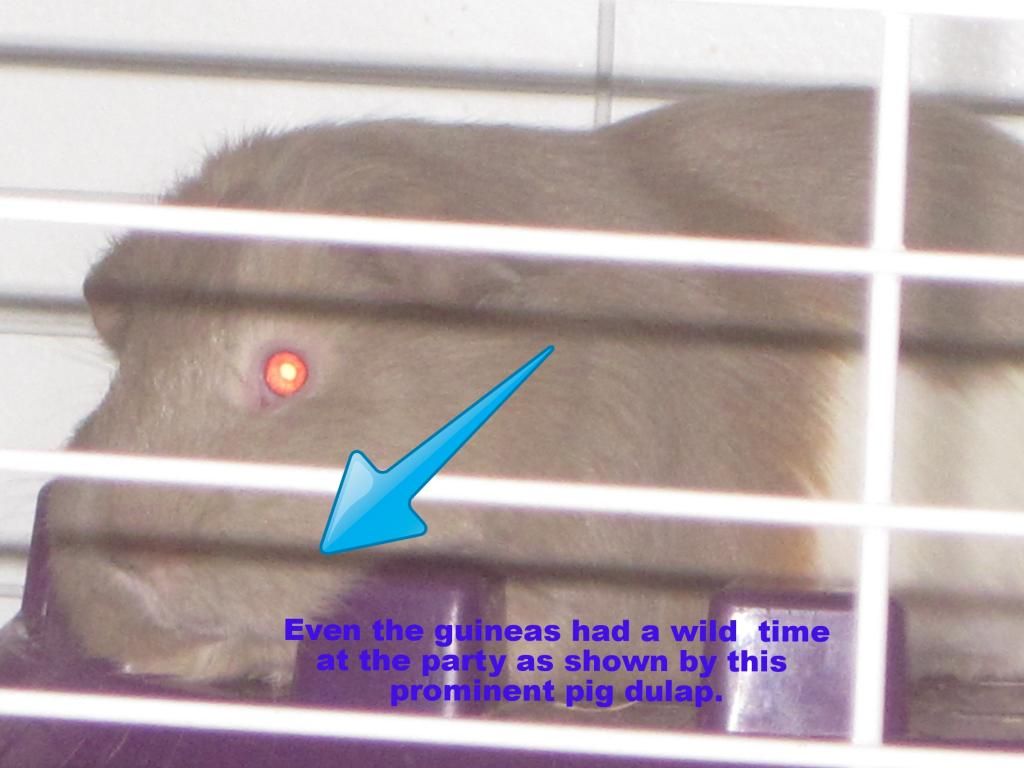
Happy 2015!
Wishing a happy and healthy 2015 from our large family to yours, may the crafting be forever in your favor.
Monday, October 20, 2014
HTTC - Molasses Sugar Cookies
Fall is by far my favorite season. The changing of the leaves is the most gorgeous reason we have to look forward to cooler temperatures after the glory of the summer heat. But beyond the yellows, reds, oranges, and golds, we get even more reasons to love fall: pumpkins and squash, adorable little kid costumes during Trick-or-Treating, fall baked goods, hoodies, and possibly the best reason after those amazing leaves is the local fall festival. I live out in the country and we are inundated with them during the month of October. Hay rides, antique sales, and craft fairs are the staples of any fest, flesh it out with a carnival or possibly a tractor show and you have your Saturday planned out in rural NW Illinois.
You can start a great fall fest morning with a rampant increase in Garage/Yard sales to catch the crowds, the wonderful aroma of fresh apple cider doughnuts sold by the local Boy Scouts or Kiwanis group, and finally a tour of the craft show at the high school equipped with the ever present bake sale to help raise money for worthy group. This small town bake sale is where I got my inspiration to back up some yummy fall flavored cookies. While my husband and father were off perusing the finest farm tractors the 1930’s and 40’s had to offer I took in the crafts and baked goods. The craft fair had the normal offerings: Pampered Chef, booths full of knitted and crocheted items, smooshed wine bottles turned cheese trays, tied fleece blankets, and for some reason a guy who did custom paintings of sports figures, he did great work, but had a few to many Green Bay Packer Players displayed for a craft fair in Illinois. Go Bears!
There was a very nice quilt show tacked onto the craft fair. The organizers wanted each person to vote for their favorite and even gave you a latex glove if you wanted to touch the quilts, to turn them over and admire the back or delve deeper into the stich patterns. I voted for one that was an appealing mix of off white, a soft pink, and a sage green, the creator had named it “spumoni”. Anita had recently taught me how to paper piece a quilt block so this show turned out to be much more interesting than I had originally thought it would be. Seeing how I could manipulate the patterns in blocks to create a wondrous work of art proved quite the joyous adventure!
I had wandered a school full of pillow covers and handmade bird houses, I had admired hours of planning and stitching of fabric, I even managed to check out a few tractors in the ever present battle of red vs green, after all that I thought deserved a treat in the form of a bake sale goodie. This one was to benefit the marching band, and from the looks of things the every parent had brought the A game. Cakes and pies, brownies and cupcakes, popcorn balls and candies, snack mixes, and cookies of every kind all offered up by teenagers in ridiculously loud homemade band t-shirts. I did not know they still made puffy paint. We got some oatmeal raisin cookies and some small molasses buttons. I adore molasses cookies but I never think to make them, well after I ate one of those buttons I was sold. I was inspired to make a big chewy molasses cookie with lots of spice and fall flavor. This whole recipe mixes up in a sauce pan but makes three dozen cookies, saving you from having to get out the mixer. I added a candy corn to add a bit more fall feeling to the cookies, and because I love how cute candy corn is!
Molasses Sugar Cookies3/4 cup soft butter
1/3 cup of you favorite type of molasses
1 cup sugar
1 egg, or egg substitute equivalent
1/4-1/2 tsp ground cloves (1/2 tsp will be quite strong)
1 tsp ground cinnamon
1/2 tsp vanilla
1/2 tsp salt
1/2 Tbsp + 1/2 tsp baking soda
2 cups all-purpose flour
Candy corn, optional
Kelly
Labels:
baking,
from scratch,
halloween,
Howl-o-ween Tricks and Treats Craftathon 2014,
recipe,
Sprout,
veggie cooking
Saturday, October 11, 2014
Costumed Canines- Lady Catnap
Her only weakness...if her secret got out to the International dog bed community that her favorite bed was in fact an old Harry Potter sleeping bag she would be ruined!
Saturday, October 19, 2013
HTTC- Sprout
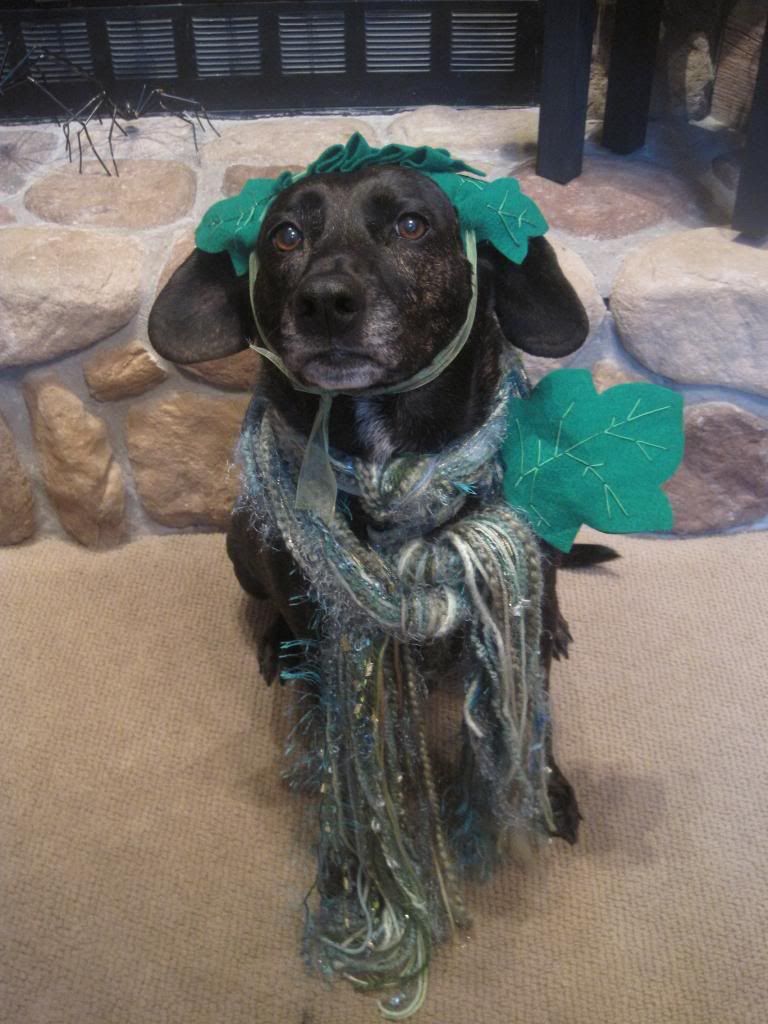
Sprout wants to wish you a very Happy Halloween. As you can see, she is not thrilled to be in her woodland fairy costume, but she will wear it just for you!
Happy Trick-or-treating!
Tuesday, September 17, 2013
Peanut Butter Banana Bread
It is FINALLY getting a little crisp here and I could not be more ready for it. Football is being played at colleges and in major cities across the country. Tailgating is in full swing. Team gear is being worn in all the most garish of hues and in the oddest of types. No one wants to put on the full Darth Vader outfit and go out to cheer for the Oakland Raiders in 95 degree heat. When I represent for the Bears I am hoping for some chill in the air so I don’t overheat in my sweatshirt or Harry Potter type scarf in the old navy and orange. So with all that I welcome the fall cool with a happy heart. Cool temps=good baking.
Pumpkins are just around the corner, and with them will come pumpkin baking, roasting of seeds from the plethora of squashes available, and recipes involving leftover Halloween candy. I don’t know about you but I have never had any leftover Halloween candy so I don’t’ really have any recipes that would call for it.
To get my freezer ready for this wonderful fall bounty I need to clean out a summers worth of frozen bananas. My husband eats two a day, but sometimes during the garden harvest months he has other fruits to eat and he forgets to eat both. He still buys the same number every week so I end up with a few over-ripe ones at the end. I have dedicated bags in the freezer for the brown spotty bananas to be used in baked goods. I toss them in the bags with the peels on and let them sit until needed. Three fully defrosted bananas are the same as the 1&1/2 cup mashed banana called for in a recipe. You just squish them out of the peel into the batter as it mixes and they disintegrate right into the mix. Delicious!
As I have several bags of these frozen fruits it’s time to start the banana bread baking bonanza. I make several different flavors like chocolate or peanut butter as well as plain and freeze the baked loaves for later. You never know when you might need a quick something to bring to a potluck or as a thank you to the neighbors for saving your mail.
Peanut Butter Banana Bread
1&½ cups mashed banana, or three previously frozen bananas fully defrosted
1/3 cup plain yogurt
1/3 cup chunky peanut butter
3 Tbsp butter melted
2 eggs, or egg substitute equivalent
½ cup sugar
½ cup packed brown sugar
1&1/2 cups flour
¼ cup wheat germ or ground flaxseed
¾ tsp baking soda
½ tsp salt
½ tsp cinnamon
Preheat oven to 350. Coat a loaf pan with cooking spray. Combine the first five ingredients, through eggs, in a bowl and beat at medium speed. Add in both the sugars and beat until blended. Combine the flour and the remaining dry ingredients, through the cinnamon, in a separate bowl. Add to the banana mixture and beat until blended. Pour batter into the loaf pan and bake for 65 minutes or until a wooden pick inserted in the center comes out clean. Cool ten minutes in the pan, remove and cool completely on a wire rack.
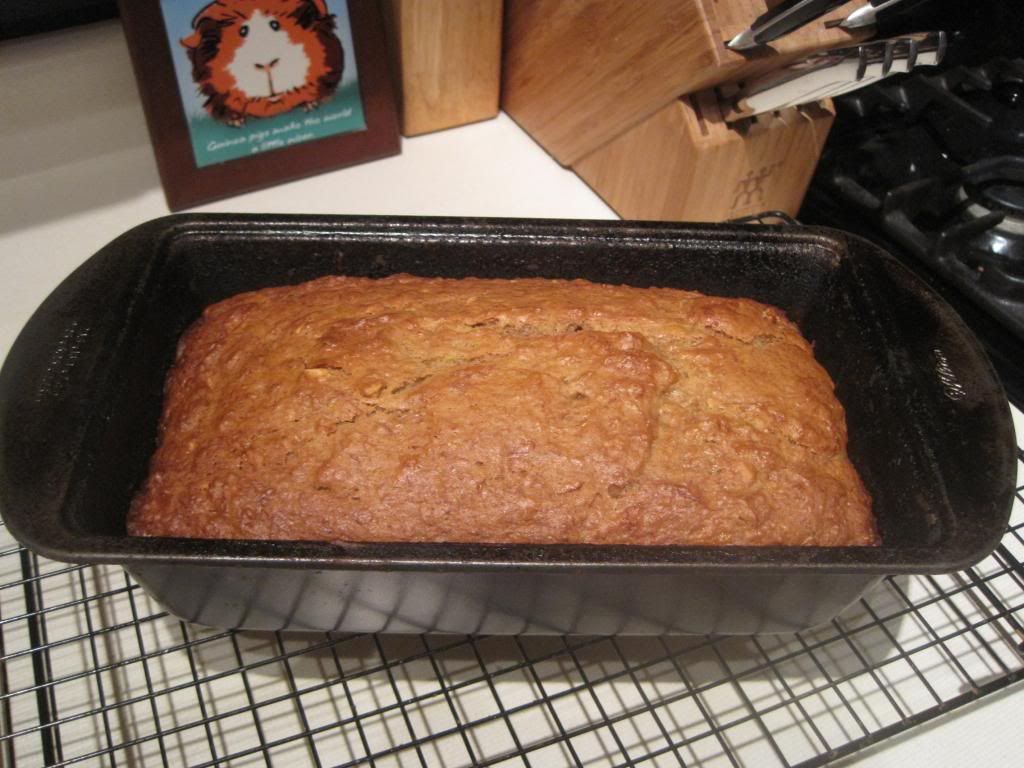
This recipe makes a tall thick loaf that goes a long way. Great for breakfast or a snack or what have you. The peanut butter taste is noticeable but not overwhelming and I think kids would like the change of pace. I hope you are all looking forward to fall and all the beauty it brings!
Keeping it nutty,
Kelly, the origami ninja
Labels:
baking,
cooking,
recipe,
Sprout,
veggie cooking
Tuesday, August 20, 2013
Choclate Zucchini Bread
Oh how the quest continues, the search for that Holy Grail of recipes, that elusive one that promises to use up that immense zucchini you have staring at you from the big bowl in the kitchen. It taunts you doesn’t it? Leering at you with that bright green freckled skin, taunting you with its sheer size. How will you ever use me up before I go rotten and play havoc with your sense of frugality? Will your husband divorce you and your children run away to grandma’s because you served them poorly hidden zucchini one too many times? Oh Mother Nature, why is the asparagus so short lived and fragile while the zucchini perseveres during droughts, hurricanes, and possibly coming of the four horsemen of the apocalypse? She answers back with a knowing smile, much like that of the Mona Lisa: because of its versatility!
While I may not have located that singular recipe that can use 100 pounds of zucchini in a single serving I have come upon one that comes close to a more realistic expectation of a massive requirement. Four cups! Four glorious grated cups of zucchini go into this recipe, which gives it a moist density like that of a homemade chocolate cake, but at the same time does not overwhelm the bread with veggie pungency. I have three loaves of other zucchini breads in my freezer and for the sake of my husband’s sanity I wanted to do a chocolate version for some variety. So I hunted the internet for one that was going to be rich, required only simple ingredients, and used lots of the green giant torpedo giving me the stink eye from the fruit bowl in my kitchen. Enter: a post on Simply Recipes that met all my requirements and then some. The post pointed out that this recipe is using fresh in season zucs that have lots of soaked up moisture, leading to the tasty spring of the bread. Recipe makes two loaves.
Chocolate Zucchini Bread
· 4 cups grated zucchini (from about a pound and a half of zucchini)
· 2 1/2 cups all-purpose flour
· 1/2 cup unsweetened cocoa (use natural unsweetened cocoa, NOT Dutch processed)
· 2 teaspoons baking soda
· 1/2 teaspoon salt
· 1 teaspoon cinnamon
· 1 1/2 cups granulated white sugar
· 2 eggs, or egg substitute equivalent
· 3/4 cup unsalted butter (12 Tbsp or 1 1/2 sticks), melted
· 1/2 teaspoon instant coffee granules
· 1/2 teaspoon almond extract
Place the freshly grated zucchini in a sieve over a bowl to catch any excess moisture as it drains. If for some reason your zucchini is on the dry side, hydrate the shredded zucchini by soaking it in water first, and then place in sieve. Preheat oven to 350 with a rack positioned in the middle. Grease two loaf pans with spray or butter. Vigorously whisk together the flour, unsweetened cocoa, baking soda, salt, and cinnamon in a large bowl. Whisk until there are no more clumps and the ingredients are well combined. In a separate large bowl, beat together the sugar and eggs until smooth, about a minute. You can do this with an electric mixer on medium speed, or by hand with a wooden spoon. Add the melted butter, instant coffee granules, and almond extract and beat until smooth. Mix the grated zucchini into the sugar egg mixture. Add the flour to the zucchini mixture in 3 additions, stirring to combine after each addition. Work quickly, and divide the batter between the two prepared loaf pans. (Work quickly because once the dry ingredients have mixed with the wet ingredients, the leavening has begun.) Place into the oven. Bake for 50 minutes at 350°F, or until a skewer inserted into the center comes out cleanly and easily. Remove to a rack. Let cool in the pan for 5 minutes and then run a blunt knife around the edges to separate the bread from the pan. Remove from the loaf pans and let cool completely on a rack.
The resulting bread is quite good with a bit of whipped cream cheese spread on a slice almost as a frosting. The loaves hold together well and look pretty, each slice showing off the dark chocolaty texture. I chopped up some little dark chocolates that I needed to finish off and tossed them into the flour mixture just to add a tiny surprise every now and then. You could easily add nuts or fruit as well. I think I may try it without the cinnamon next time; I am not a fan of it combined with chocolate, but that is in all things not just this recipe. I thought I was going to have to leave out the coffee too but it really did help perk up the cocoa. My husband gave it two thumbs up which makes me very happy since he has been taking all these baking projects to work day after day in his lunch as a snack and has not complained once. He says his co-workers want some too!
If you have a delicious zucchini recipe we would love for you to share it with us either by email or drop us a comment with a link to it. We will gladly try it out and credit you up on the blog! I hope you have been enjoying all the wonderful fruits and veggies of the summer and trying all kinds of new recipes and cooking techniques with them as well. Stay creative and safe this summer!
Keeping it baked,
Labels:
Abby,
baking,
cooking,
from scratch,
recipe,
sage,
Sprout,
veggie cooking
Tuesday, April 23, 2013
Finally Spring.....
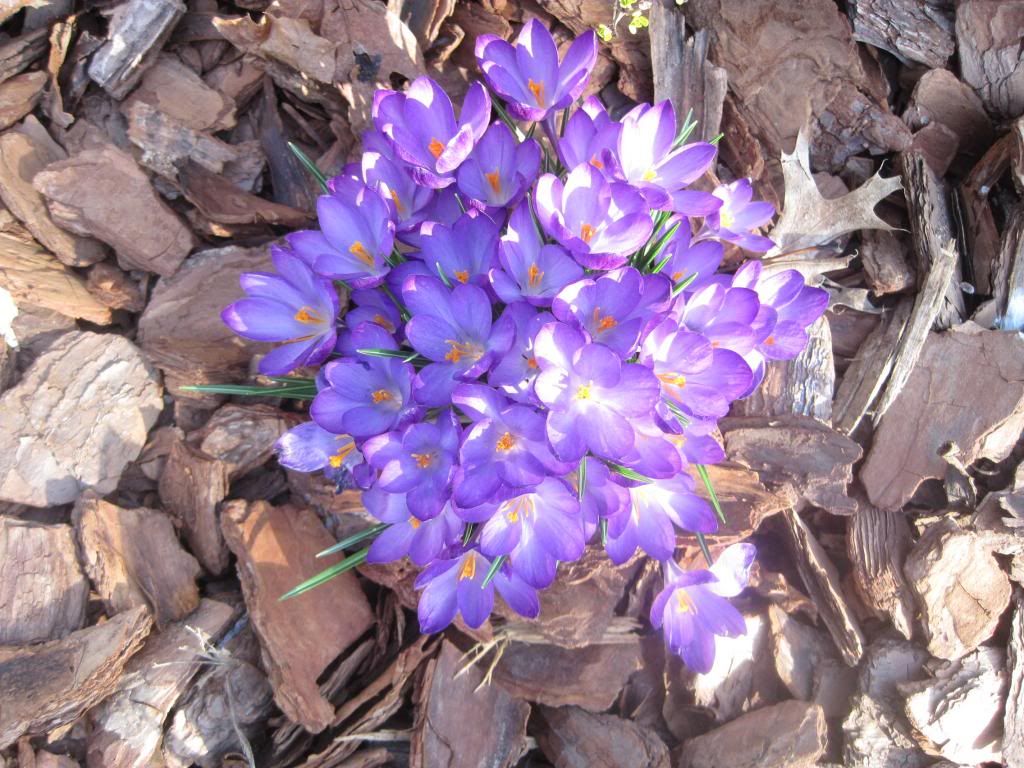
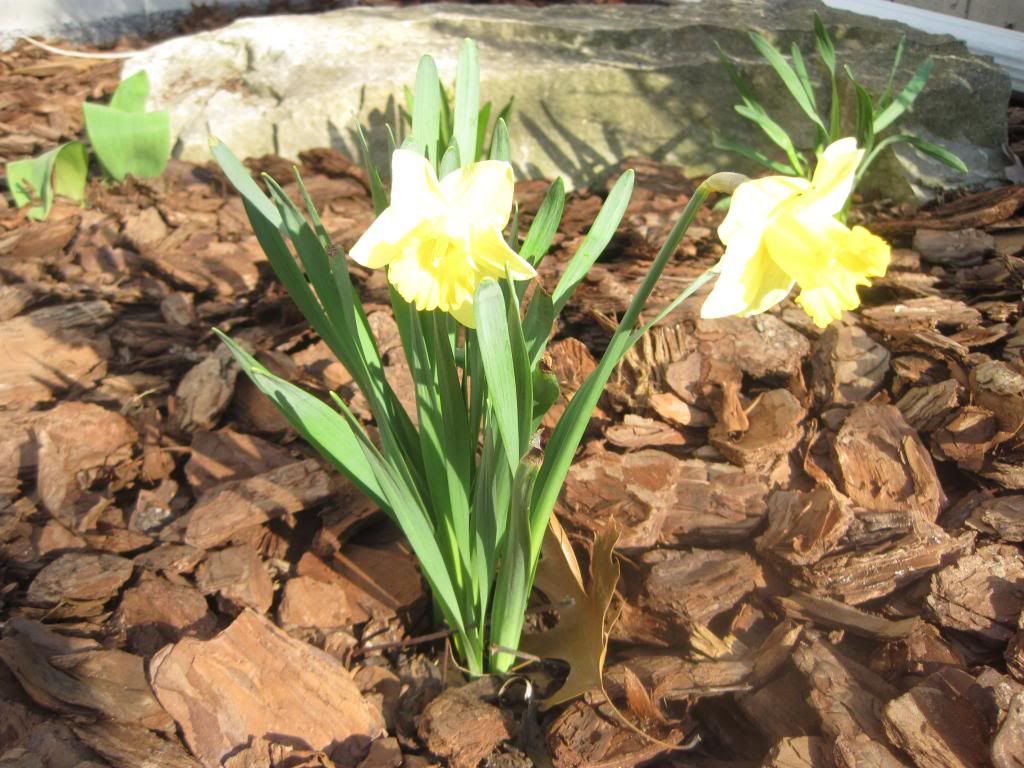
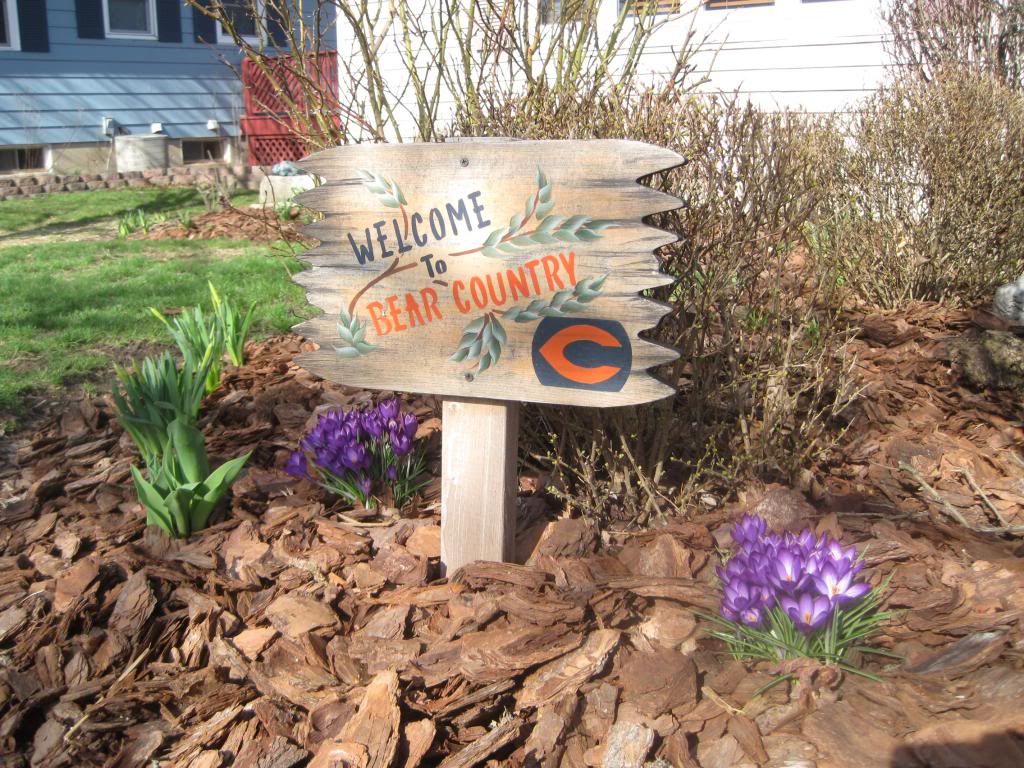
Spring has finally arrived to Northwest Illinois. After the monsoon we experienced last week I am getting some blooms that I wanted to share with all of you!
Ok I know it is not quite football season but still.....
I hope everything is popping up beautiful by you.
Keeping it springtime,
Kelly, the origami ninja
Tuesday, January 8, 2013
January is a good month for giving
I still have a few Christmas gift to give to co-workers I don't see very often and then I'm done! It sure seems like the holidays get longer and longer every year, they start in November and go until sometime in January, and one person always pops up at the end that I am unprepared for. Now that all friends and loved ones have been celebrated it's time to look to the New Year.
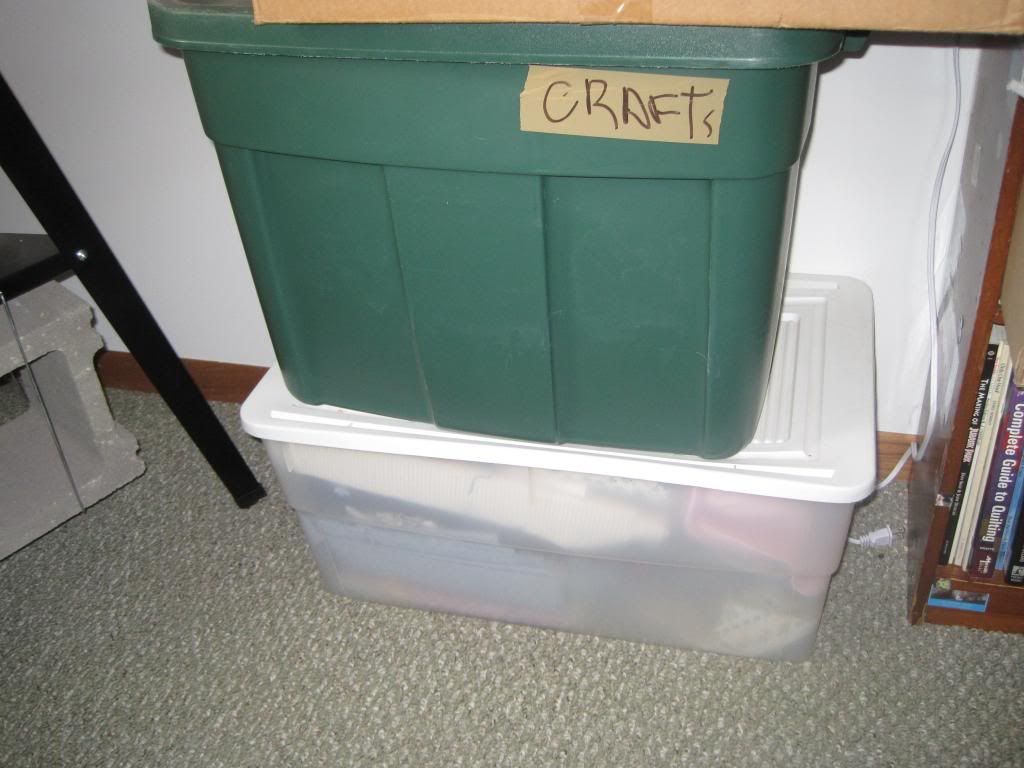
Charitable giving is a great way to start of 2013 here at the Rhinestone Beagle. I have been saving these boxes of fabric for a very long time to make into beds for homeless dogs and cats in shelters. Hugs for Homeless Animals is a website that helps connect shelters in need of beds with savvy crafters through The Snuggles Project . A snuggle is a bed provided to a needy shelter pet waiting to find their forever home, when the adoption day comes the bed goes with them to help them feel more comfortable in their new surroundings. Snuggles can be knit, crocheted, or even sewn, which is obviously the way I am going.
I hope you are having a wonderful New Year with tons of great crafty ideas!
Kelly
Charitable giving is a great way to start of 2013 here at the Rhinestone Beagle. I have been saving these boxes of fabric for a very long time to make into beds for homeless dogs and cats in shelters. Hugs for Homeless Animals is a website that helps connect shelters in need of beds with savvy crafters through The Snuggles Project . A snuggle is a bed provided to a needy shelter pet waiting to find their forever home, when the adoption day comes the bed goes with them to help them feel more comfortable in their new surroundings. Snuggles can be knit, crocheted, or even sewn, which is obviously the way I am going.
I am tired of these big ole boxes in my craft room being in the way and not out in the shelters being helpful. So January 2013 is going to be all about the snuggle. I am going to cut and sew all of this into as many snuggles as I can for shelter pets and I am going blog about it to keep me on track.I hope you are having a wonderful New Year with tons of great crafty ideas!
Kelly
Everybody needs a good bed!
Tuesday, December 18, 2012
Tuesday, November 6, 2012
Happy Election Day!
I hope everyone was able to get out and vote today. No matter the party, no matter the issue, voting is right we all must take part in. Here is some of the voting that took place in our house today.......you know....if dogs had elections.
Sprout voted not to have her picture taken and put on the blog....that was immediately vetoed by me.
Sage voted to have cookie taxes levied on the other two dogs. These taxes would be paid directly to him daily.
Abby tried to vote no on Proposition Bath time. The Proposition passed anyway.
Way to get out and bark the vote everybody. May our country grow stronger and smarter, compassionate and helping, sufficient and giving, and all things great with this election.
Keeping it elective,
Kelly, the origami ninja
P.S. the bunny and the guinea pigs choose not to vote, they were busy playing halo 4.
Sunday, October 21, 2012
HTTC - Dogstumes Sage and Sprout
Sage is all decked out and ready for hunting season. The cookies should be shaking in their bowls.
Sprout is not one to be too girly so she wanted to go as a ballerina pirate.
Happy Haunting...........BOO!
Kelly, the origami ninja
Labels:
costumes,
halloween,
Howl-o-ween Tricks and Treats Craftathon 2012,
howliday dogs,
sage,
Sprout
Wednesday, July 4, 2012
Happy Fourth of July!
We hope you all have a wonderful Fourth of July wherever you are celebrating it! Sage, Sprout, and Abby will be trying to stay cool in the house and keeping a watchful eye out for anything that might fall off the grill. Here's to tasty recipes, patriotic decorations, and more friends and family than we know what to do with!
Keeping it crafty, American style,
Kelly, the origami ninja
Keeping it crafty, American style,
Kelly, the origami ninja
Tuesday, May 1, 2012
DDS - Day 3, Puppys and paws
My puppertins wanted to stop on by to say hi to all of their internet dog friends and let you know some fun facts about themselves. They hope you are having as wonderful a Spring as they are!
Name: Abby, aka Bubba, Bubbertins, Bubs, Butter pup, Tins
Likes: Playing with the ball, anything to do with water, flopping dramatically on the floor
Dislikes: Going to the vet and sharing anything
Favorite Movie: Troop Beverly Hills
Fun Fact: Abby thinks that the most refreshing water is the kind that drips out of other dogs' lips
Likes: Walks with daddy, bananas, dreaming about being Head Boy at Hufflepuff
Dislikes: long car rides to Grandma's house and having to go outside with the girls
Favorite Movie: Spooky Buddies
Fun Fact: Sage will put his whole head underwater in the kiddy pool to get the bone before Abby
Name: Sprout, aka Baby Girl, Roll-of-bologna, Squid Bait, Squirrel Bait, Stinky Taco Dog
Likes: Keeping tabs on the guinea pigs, junk food, being bossy
Dislikes: Baths and anyone who does not respect her authority
Favorite Movie: Die Hard
Fun Fact: Sprout likes to whizz in lakes and rivers.
I made this paw print embroidery to hang up in the dog room. I am grateful everyday for how these wonderful lives have touched my heart and made me a better person. Dogs and my heart are forever entwined.
Kelly
Labels:
Abby,
Dog Days of Spring,
embroidery,
sage,
Sprout
Tuesday, April 24, 2012
Old Craft complete......cheep dog bed
It seems as if I have not been getting a darn thing done over here in my house of dogs. My crafts are pleading for attention but I don't know which one to comfort first. Should I quilt, or maybe crochet. Bake or perhaps I should embrace some embroidery. I got a bit of a full sail going yesterday during a Wallace and Gromit TV-a-thon, I completed my naughty dog bed.
My dogs fully support the idea that nice things are for small dogs with cute hair styles, not large Labradors or greasy Plott hounds. In other words our dog beds are an experiment in inexpensive recycling. We have one of those really nice big dog beds with Sage and Sprou'ts name embroidered on it, but as soon as we got Abby that got a few chew holes in it and a broken zipper. So on to plan B, the one here we buy lots and lots of those nice dog beds at Farm and Fleet and cover the floor of the laundry room. In the end those turned into fluff and cedar shaving piles that stuck to fur like the dickens. Ok, let's try this again. Plan C, Goodwill. Harry Potter and Dora sleeping bags, Transformers blankets, and lawn furniture cushions. Ha! Found the answer I was looking for. Inexpensive, washable, and it helps the community. In addition to all of that mentioned above we bought four throw pillows to sew together to make a bed for Sprout. She is a very angular dog and needs the extra stuffing around her little elbows. She was hit by a car before she came to be with us and has some nerve issues. I finally got it all going and sewed those bad boys up to make her a nice snugly bed to keep her tiny tootsies happy.
Seriously, look at those tiny feet on that dog. We covered the pillows with the transformers blanket so that she could nestle down into it and make the labs jealous. It worked and she loved it. Another craft down and another dog happy. That little white chin makes me so happy at the end of the work day, anything for her.
Keeping doggle feet warm,
Kelly, the bed maker
Saturday, October 1, 2011
Costumed Canines: Jack-o-Sprout
Sprout wants to wish all of you a howl-ariously fun Halloween season.
We hope you are excited as we are about the up coming Howl-o-ween Tricks and Treats Craftathon.
Thanks for reading from everyone, both people and dogs, at Rhinestone Beagle.
Sunday, August 28, 2011
Blogiversary
One year, 110 posts, 12 craft club meetings under our belt and we can't get enough. We never imagined we'd have the support we found in the blogging community. Thank you so much for all support and kind words about our creative ventures and our doggies. Being able to brag about them was a huge factor in us taking the steps to become bloggers.
Thanks for having a good "SIT" and reading our blog. We hope you will continue to "STAY" tuned for many more great years of dogs and crafting. It's been "RUFF" at times but we wouldn't have it any other way.
We have big plans for this next year and hope you'll join us for more good crafting, eating and woofing along the trail.
Craft on!
Anita
Saturday, May 14, 2011
Strut your mutt!
Well today was the big day and we made it. I'm ecstatic to say Sadie and I ran our first 5K! I live in the Lilac Village and every year we have a lilac festival. During the festival the local animal hospital hosts a 5K run and 1 mile walk that you do with, or without your dog, called the Lilac Mutt Strut.
Running my first 5K was my new years resolution and I'm glad to say this is the only time I can remember that I actually achieved my goal. We started training about 2 months ago in intervals and were up to 3 miles this weekend. I have to admit I was pretty nervous.
The morning started at 6:30 when I got up, let the dogs out, fed the dogs, fed myself and got dressed. Kelly and Katy arrived at my house not long after I woke up too. They had decided to participate in the 1 mile Puppy Path walk with Kelly's three dogs.
The race started at 8 and we stepped of the finish line with the goal to just finish and not have to walk. We had 1 poop and 1 pee pee stop but besides that a total success. I didn't even feel like I was going to pass out. The course was really nice too cuz they had dog watering stations at every half mile or so. Our official time was 35:38.5 minutes for the 3.1 miles.
Katy and Kelly's walk stepped off the start line after the runners. They were one of the first to finish! Way to go ladies. Lots of pooping, peeing, sniffing and tail wags were on the walkie agenda. They were even finished in time to cheer Sadie and I to the finish line.
After the race was lots more dog sniffing time and a pancake breakfast. There were also bananas at the finish for participants and I have to say it was the best banana of my life. The volunteers gave me an extra sausage for Sadie and Kelly got some pancakes to split for her pups too. I'm happy to report everyone had a great time. Happy doggies and mommies but I have to give my hubby credit for taking all the pictures and even a little video on the flip. I'm totally down for more 5Ks, especially if they involve copious amounts of dogs.
Jog/Walk on!
Anita
Running my first 5K was my new years resolution and I'm glad to say this is the only time I can remember that I actually achieved my goal. We started training about 2 months ago in intervals and were up to 3 miles this weekend. I have to admit I was pretty nervous.
The morning started at 6:30 when I got up, let the dogs out, fed the dogs, fed myself and got dressed. Kelly and Katy arrived at my house not long after I woke up too. They had decided to participate in the 1 mile Puppy Path walk with Kelly's three dogs.
The race atmosphere was pretty awesome. There were definitely people that were taking it way more seriously than us but it was a totally fun experience. TONS OF DOGS TOO! Each of the dogs even got their own purple bandana.
The race started at 8 and we stepped of the finish line with the goal to just finish and not have to walk. We had 1 poop and 1 pee pee stop but besides that a total success. I didn't even feel like I was going to pass out. The course was really nice too cuz they had dog watering stations at every half mile or so. Our official time was 35:38.5 minutes for the 3.1 miles.
| I love Abby's backpack! |
| VICTORY! |
Jog/Walk on!
Anita
Sunday, February 20, 2011
Happy President's Day from George and Martha Washington
Martha was not impressed with George's supposed explanation about the Cherry tree.
Have a wonderful President's Day!
Craftin' in Red, White, and Blue:
Kelly, the origami ninja
Thursday, January 20, 2011
The Tug and Toss dog toy tutorial
Continuing with the awesome giving vibe we have over here at the ole' blog I have a tutorial for a simple, inexpensive, and colorful dog toy. I learned how to make this toy from a wonderful charity that supports adoptions of older cats and dogs: The Young at Heart Pet Rescue, saving the world one grey muzzle at a time. Well, when a call came out from another rescue in need of some homemade items to sell at a pet show I knew exactly what to make. The Midwest Labrador Retriever Rescue is dedicated to giving labs a second chance, and as you can see from my blog entries that my family is all about the lab-ra-dorables. Thus began the epic project of making the Tug and Toss dog toys. Epic, why epic you say? Didn't I just tell you that these were simple? They are my friends, but have you ever tried to make dog toys with tennis balls around a young lab who cannot for the life of her understand why you aren't giving them to her. She poked me with that cold nose of hers for a full hour trying.....no pleading, for me to give her all of the tennis balls I had bought . I hope this means that other dogs will like them too.
So here we go.........
Materials:
Tennis balls: all colors and sizes
Drill or exacto knife for cutting holes in said balls
Fleece: be as creative as you want with the color collection
Scissors or rotary cutter with mat
Step one:
Grab yourself a regulation size tennis ball. Remember when these things only came in Tennis colored, now you can get them in all kinds of great colors, different sizes, even patterns! What you want is two quarter sized holes equidistant from each other, one on the on each side of the ball. If you are using an exacto knife you can trace the holes on surface before you cut, the ball will be tough so go slow and don't gouge yourself. If you are using a drill we found that a 3/4 inch hole saw attachment made quick work of the hole situation. If you have the smaller sized tennis balls instead of quarter sized holes you want nickle sized ones. If you are using the drill on the smaller sized balls use the 1/4 inch bit followed by the 1/2 inch bit.
Step two:
For the regulation sized ball toy you will need to cut your rainbow of fleece into strips four inches wide by three feet long. You will need three of these strips per toy. For the smaller balls you will need to cut the strips one inch by 20 inches, again three strips per toy.
Step three:
Stack three strips of fleece, in any color combination you would like, on top of each other. You want to curl one of the ends as tight as you can. Screw this end into one of the holes in the ball and out the other one. The curling helps get all the layers through evenly. For the small balls you may need to use a pencil to get the strips through both holes.
Step four:
Once the fleece is through the hole pull enough of it out to tie a tight knot on the end using all three strips at once. Once the knot is good and tight slide the ball all the way back down to the knot. Apply this step to both sized balls.
Step five:
This step applies, yet again, to both ball sizes. With ball in place start to braid the fleece strips into a tight braid. This is a tug and toss toy, a loose braid won't hold up as well as a tight one so let er' rip! When you get to the end tie another tight knot in the fleece. Give that knot a good tug to get it where you want it on the braid end. Trim up the fleece ends to match and you have yourself a great dog toy.
This toy is great if you have a sloberer who tends to wet the ball up right before they give it to you to throw again, they grab the ball while you get the fleece, brilliant!. You can make them for dog parties, give them a puppy gifts, and they can be made for any sized dog.
I hope you enjoy making these for all the dogs in your life!
Keeping it crafty, punctuated with cold noses,
Kelly, the origami ninja
So here we go.........
Materials:
Tennis balls: all colors and sizes
Drill or exacto knife for cutting holes in said balls
Fleece: be as creative as you want with the color collection
Scissors or rotary cutter with mat
Step one:
Grab yourself a regulation size tennis ball. Remember when these things only came in Tennis colored, now you can get them in all kinds of great colors, different sizes, even patterns! What you want is two quarter sized holes equidistant from each other, one on the on each side of the ball. If you are using an exacto knife you can trace the holes on surface before you cut, the ball will be tough so go slow and don't gouge yourself. If you are using a drill we found that a 3/4 inch hole saw attachment made quick work of the hole situation. If you have the smaller sized tennis balls instead of quarter sized holes you want nickle sized ones. If you are using the drill on the smaller sized balls use the 1/4 inch bit followed by the 1/2 inch bit.
Step two:
For the regulation sized ball toy you will need to cut your rainbow of fleece into strips four inches wide by three feet long. You will need three of these strips per toy. For the smaller balls you will need to cut the strips one inch by 20 inches, again three strips per toy.
Step three:
Stack three strips of fleece, in any color combination you would like, on top of each other. You want to curl one of the ends as tight as you can. Screw this end into one of the holes in the ball and out the other one. The curling helps get all the layers through evenly. For the small balls you may need to use a pencil to get the strips through both holes.
Step four:
Once the fleece is through the hole pull enough of it out to tie a tight knot on the end using all three strips at once. Once the knot is good and tight slide the ball all the way back down to the knot. Apply this step to both sized balls.
Step five:
This step applies, yet again, to both ball sizes. With ball in place start to braid the fleece strips into a tight braid. This is a tug and toss toy, a loose braid won't hold up as well as a tight one so let er' rip! When you get to the end tie another tight knot in the fleece. Give that knot a good tug to get it where you want it on the braid end. Trim up the fleece ends to match and you have yourself a great dog toy.
This toy is great if you have a sloberer who tends to wet the ball up right before they give it to you to throw again, they grab the ball while you get the fleece, brilliant!. You can make them for dog parties, give them a puppy gifts, and they can be made for any sized dog.
I hope you enjoy making these for all the dogs in your life!
Keeping it crafty, punctuated with cold noses,
Kelly, the origami ninja
Subscribe to:
Posts (Atom)