Showing posts with label sewing. Show all posts

Saturday, February 27, 2016

MLP messenger bags

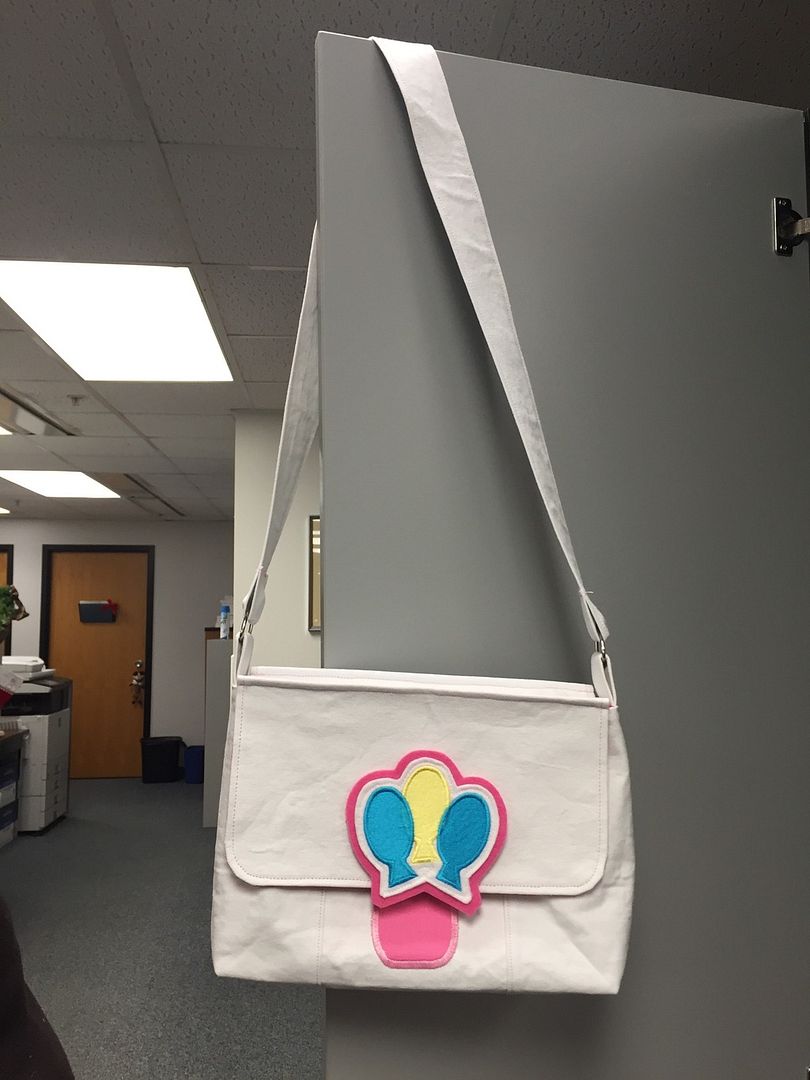
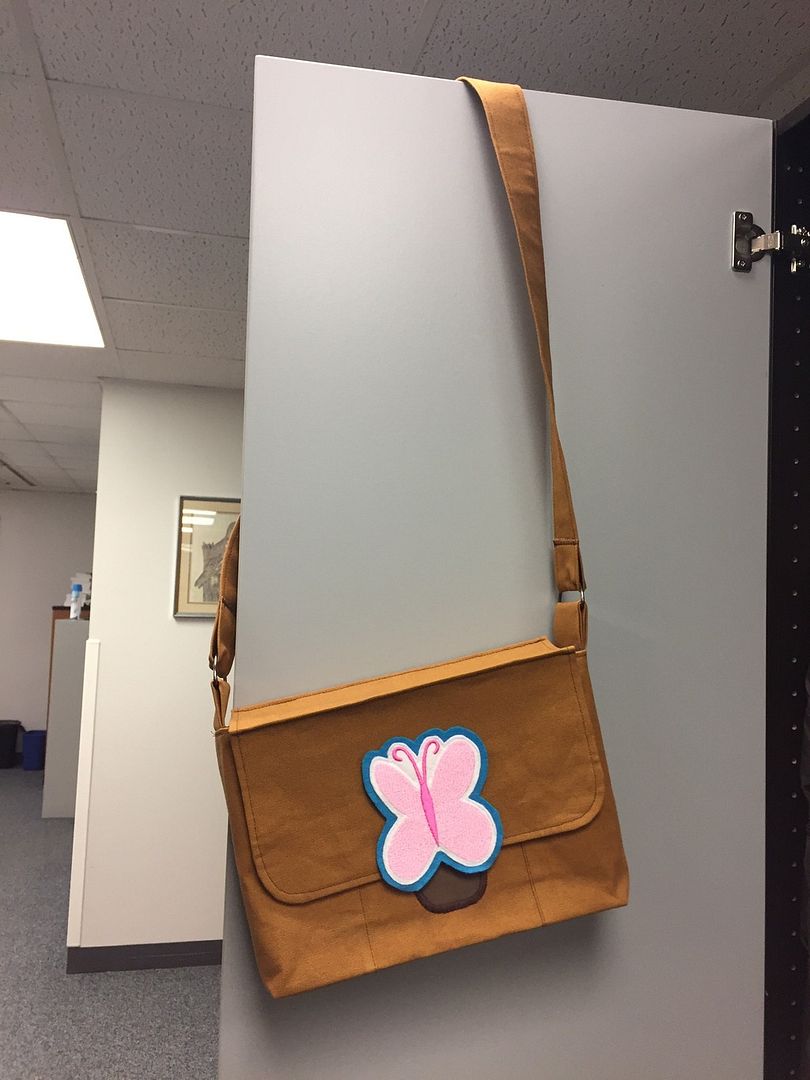
So I managed to do some crafting for Christmas before my whole life was tossed upside down by the arrival of my son in January.  My favorite items were for a couple craft clubbers equally addicted to My Little Pony as I am.  Its an inside thing that we each have our own pony personalities, I'm AppleJack.  Kelly adopted PinkyPie and Laura has Fluttershy so when trying to think of presents I decided to personalize them a couple MLP bags.  But not just any bags.  They are replicas of their pony's saddlebag, complete with embroidered cutie marks.  I won't lie.... I'm hoping Kelly will use hers with her Pinky Pie cosplay outfit.  Wink wink, Kelly.

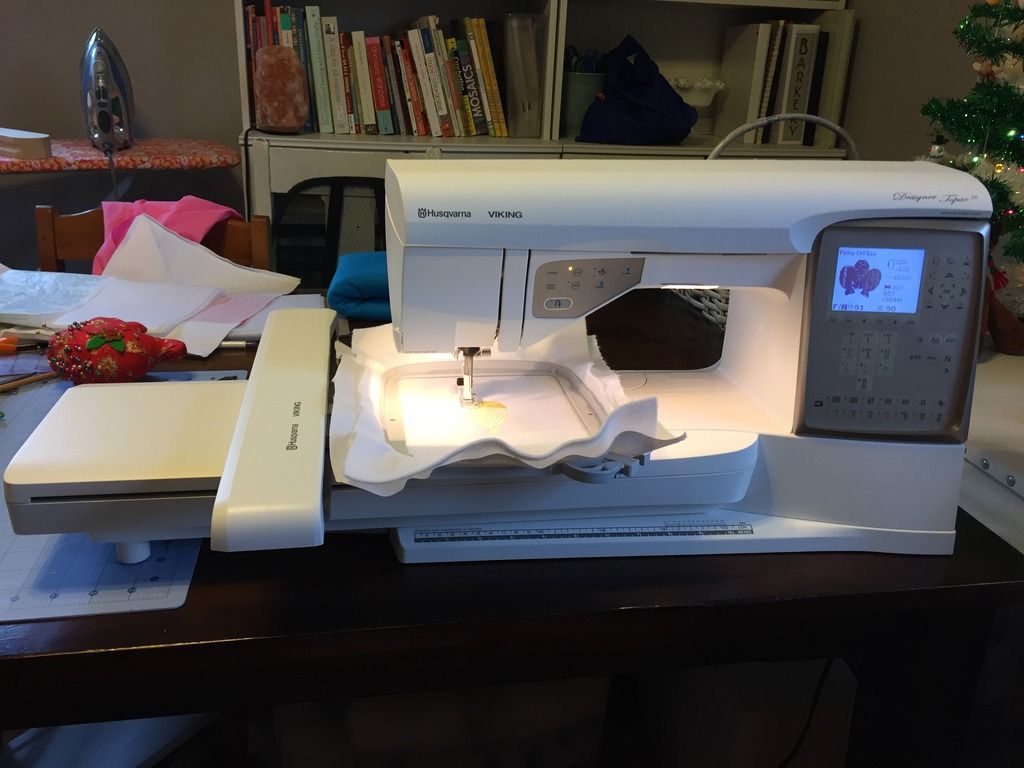
I purchased the files off a vendor on Etsy but I did the embroidering and manipulating of the files to get them just right.

Side note, I love my mac but apparently no one in the embroidery software development field feels the same.  The only software my dealer sold was TruEmbroidery.  Mac applications have a reputation for being intuitive and easy to use.  This program is the exception to that in my experience.  It is the first time I've had to read the manual that came with software.  Oh and did I mention there are like 5 manuals!  Yea I had to to a fair amount of reading to figure out what I needed to do and still have a ways to go.

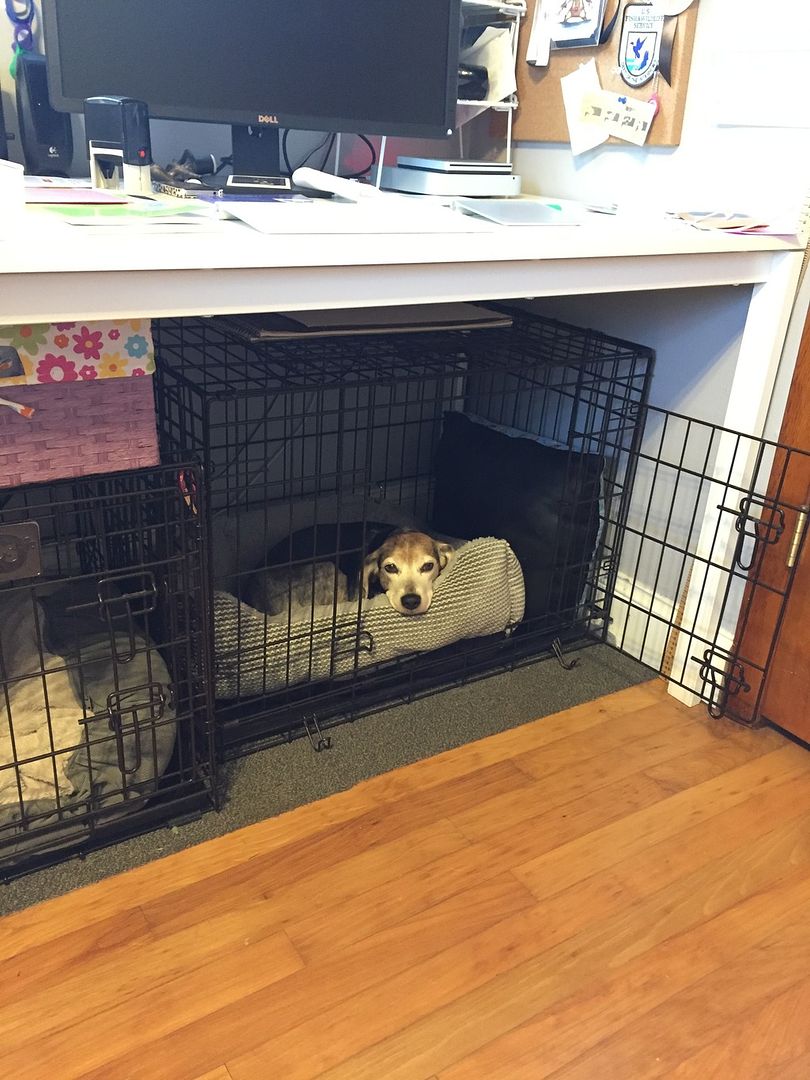
Thankfully I had Gidget with me as tech support.  OK thats enough ranting.


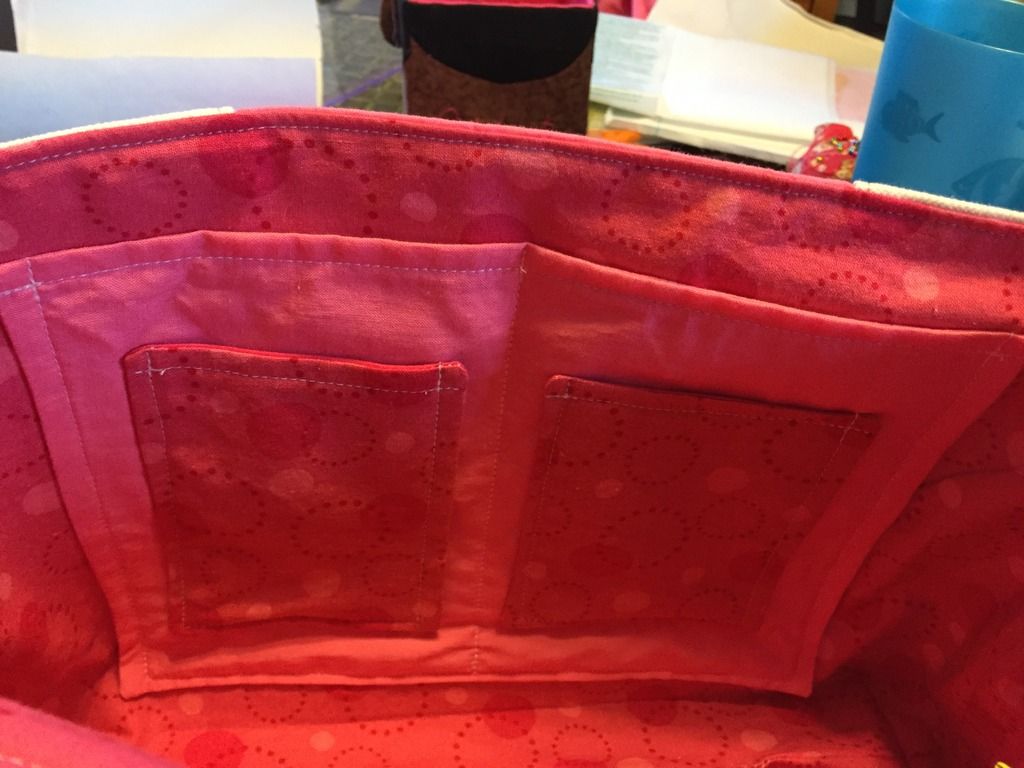
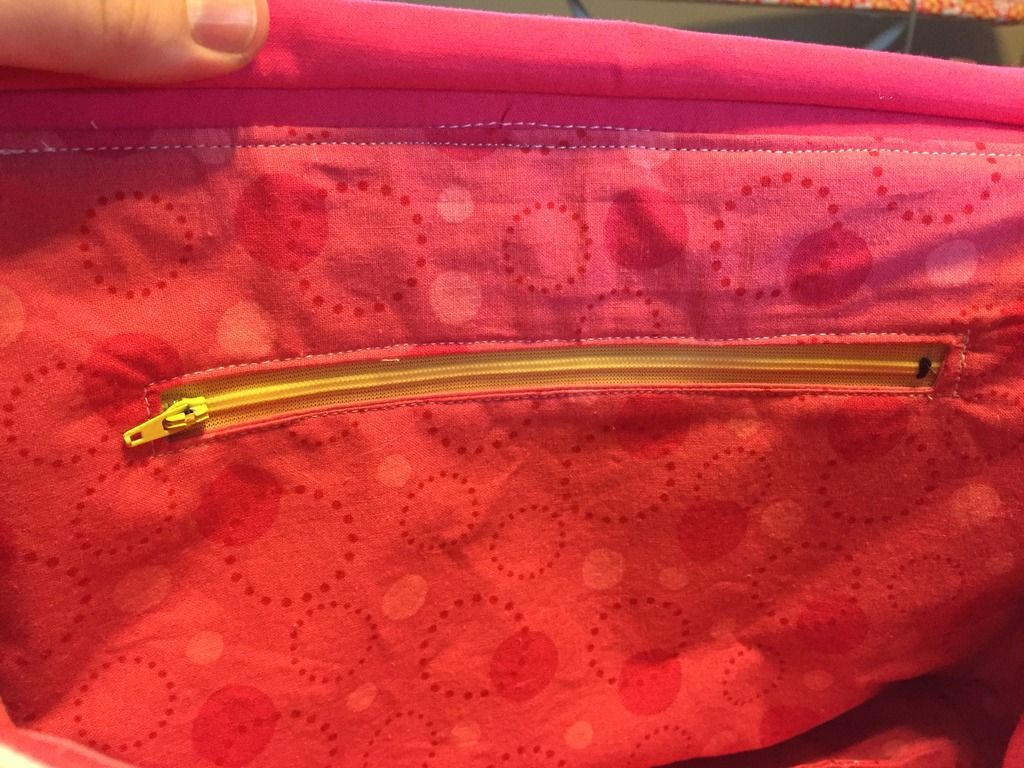
I'm pretty happy with how they came out.  I made them from a heavier canvas so they should be fairly durable.  They've got amply pockets inside for stashing fun bits and bobs too.


Now I just have to find the time to make one for myself.  Add it to the ever growing list of to-dos.

Craft on!
Anita

Tuesday, November 24, 2015

Let the wonder begin....

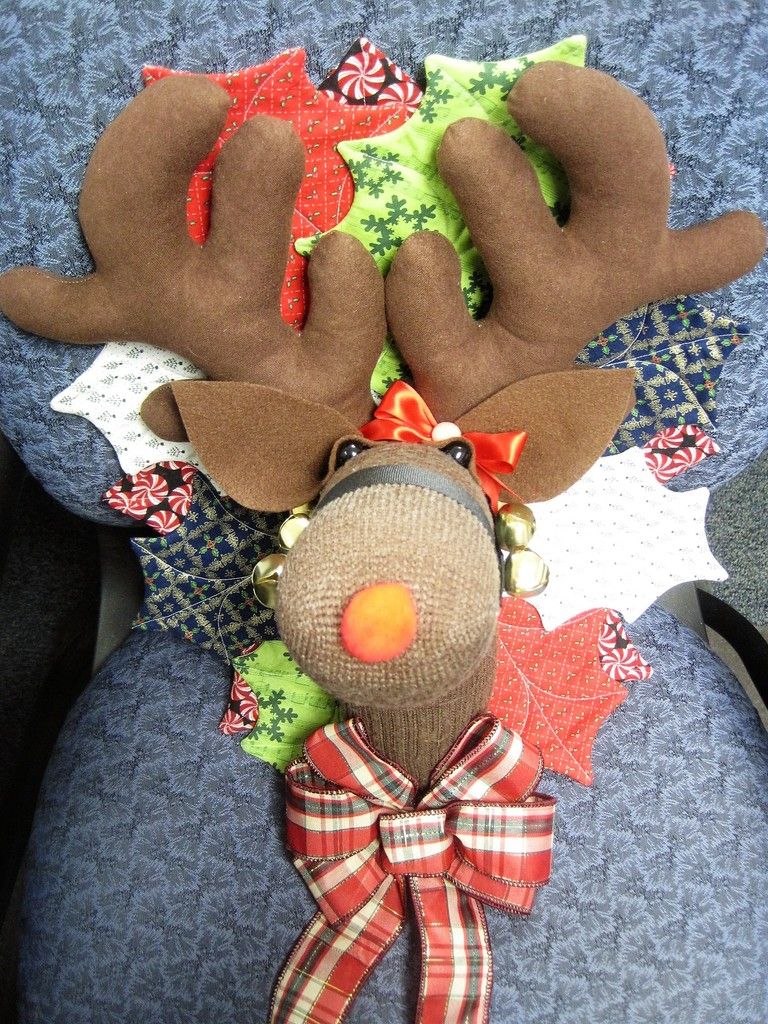
The homemade holiday gift giving has already begun in my household and it makes me so happy.  I had a friend of mine ask for a classic sock reindeer for her birthday present this year.  Her birthday is at the end of November and she wanted the reindeer to put up for Christmas so it was a better call as a birthday gift than an actual Christmas gift.
I have made four of these guys so far.  I found the pattern at a thrift store in Montana and I carried it around with me for for over a decade before I finally made it.  I started out with one for me and loved it so much I made one to share with my work office, then a friend in the office wanted one and offered to pay for one so I made her one for Christmas last year as a gift instead.  Another office friend loved hers so much she wanted one too! And so it goes.....  I know of at least one more I will make this year alone.

The pattern is amazingly fun and the instructions are easy to follow.  I was able to master sewing a curve after all the sewing of the leaves.  You can find copies of this exact pattern for sale on Etsy or maybe eBay.  The company that manufactured the original pattern in the 1980's has a website, and though I did not see that specific pattern for sale they had many really cute animal themed craft patterns!  I would recommend any Cotton Ginny  pattern, the end result is fantastic!   

I will be putting up more Christmas gifts as I finish them, I have a great Dr. Who cross stitch that I am almost done with and I am insanely proud of it!  I also have some quick dinner recipes to share to keep you warm and well fed during these busy weeks.

May your days be Merry and Bright!
Kelly

Tuesday, March 31, 2015

Just a little catch up

I have not exactly been tackling any major crafts in my life right now but I have done some little ones that make me proud and keep the creativity moving.  I fixed up a thrift store find to dress up my work place for Easter, I found a great way to store my spray paints, and I made a fun pillowcase to match some new sheets I got as a gift for our comic book room.

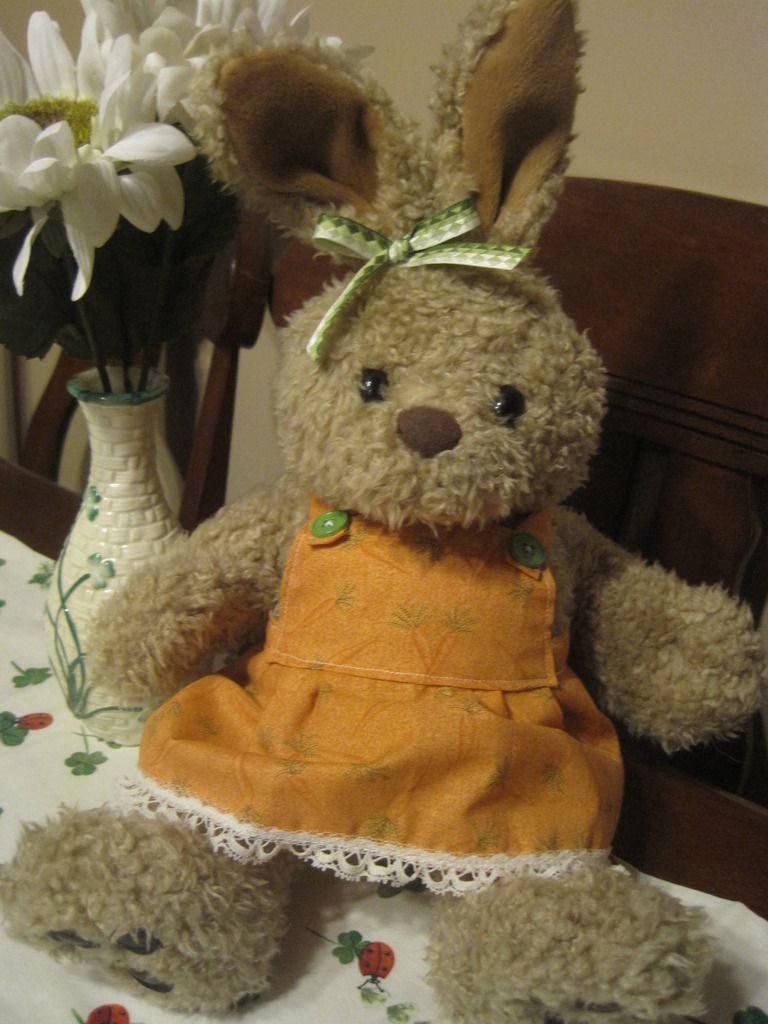
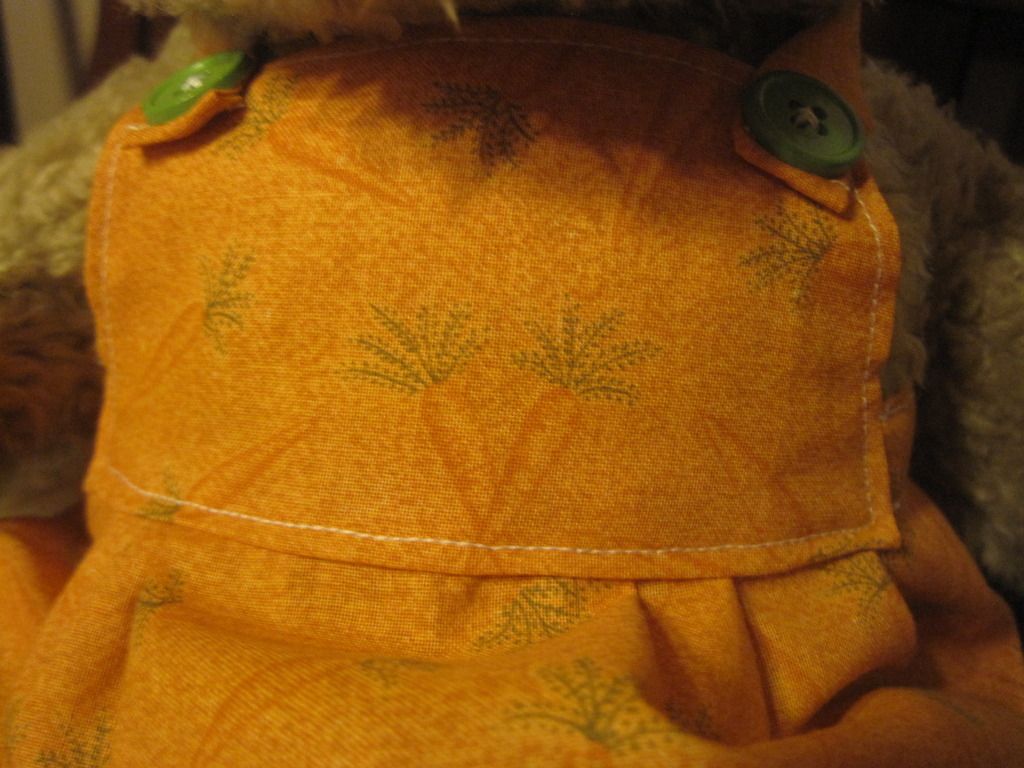
I found this cute little bunny at a thrift store in Rockford.  She is from the people at Build a Bear and was wearing a dress way too large for her at the time I found her.  I have been updating our holiday decorations at work and I thought she would be perfect for Easter.  I made up a new dress for her and gave her a a little bow in a green check pattern.

My favorite little touch is that the fabric I made her dress out of has little carrots all over it.  They are subtle but cute, with the added bonus that it was in my stash already.

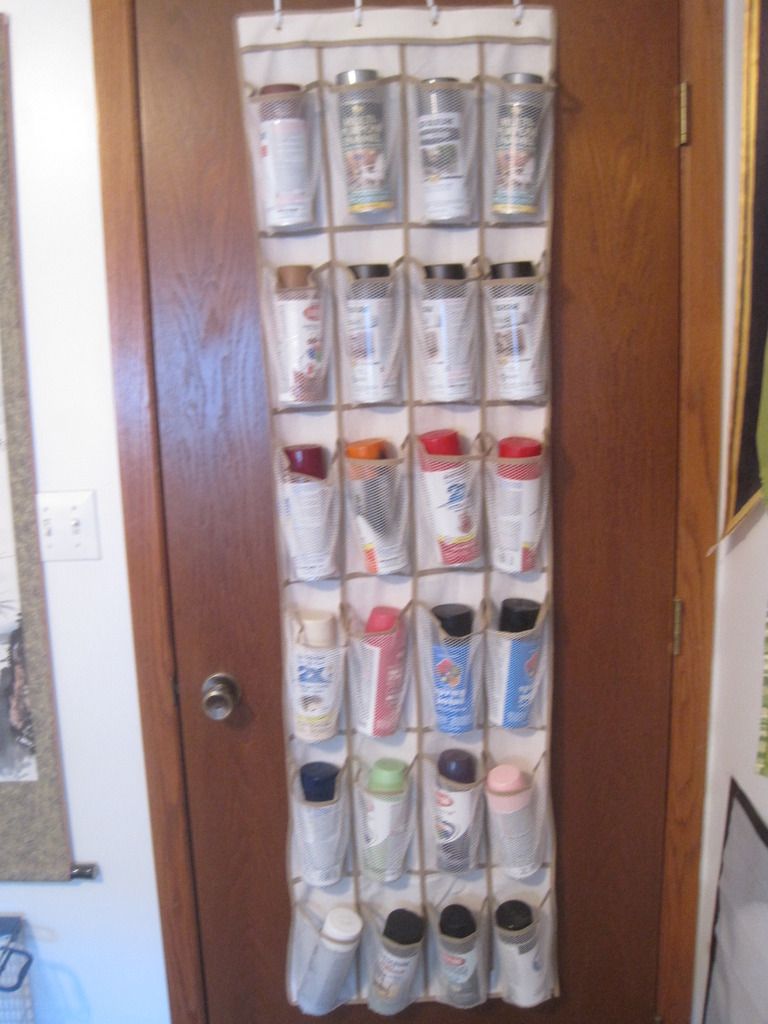
  I found this shoe caddie and thought it would make an excellent spray paint can holder.  I have a thing for spray paint crafts and have thus acquired many different colors.  They were overflowing the shelf in the garage and had threatened to mutiny if I left them out in the cold for another winter.  Now they are safe and warm on the back of the craft room door and my husband can have his space in the garage back.

My awesome husband gave me My Little Pony sheets for our guest bed in the comic book room for Valentine's Day this year.  I needed a MLP cover for the over-sized pillow as the set only came with two standard sized pillowcases.  We were out on a one day vacation to Lake Geneva and found a great sale on MLP fabric.  I nabbed enough for a pillowcase, as well as the matching accent colors, and had it made the next day.  The Star Wars sheets are on the bed right now, but I can't wait to show off my new MLP creation soon!

While not complex, these simple crafts are quick and keep me feeling satisfied until a big job comes along.  I am very excited for Spring to hurry up and come to Illinois as I have a big project outside to tackle and I am desperate to get started.  I can't wait to show you the before and afters!

Have a wonderful day!
Kelly 

Monday, October 6, 2014

HTTC: Little Kid Ghost

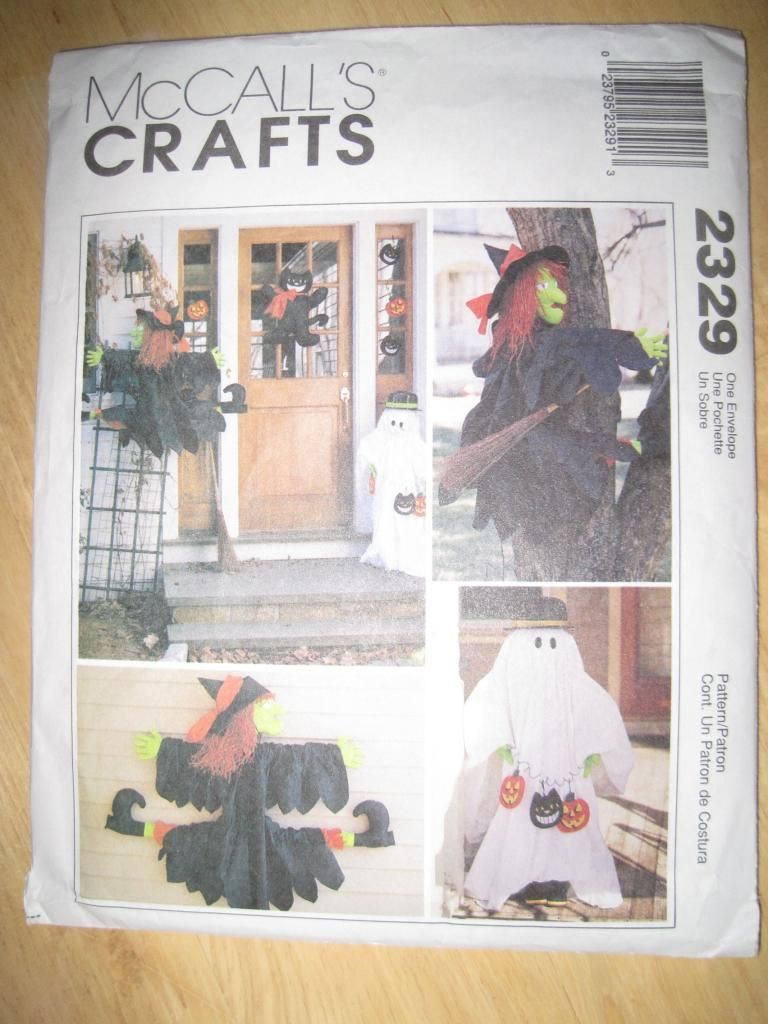
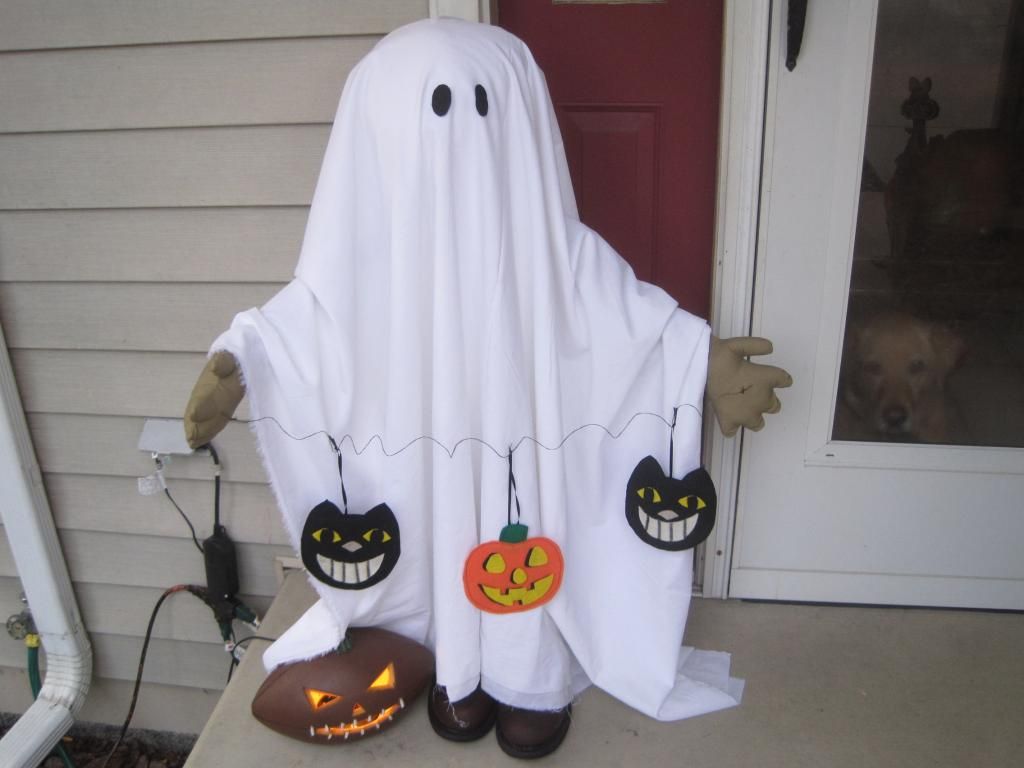
I learned a very important lesson while making this little guy; I may love the look of the draped fabric ghost, but I do not have the patience or the math skills to pull one off without pulling out my hair.  At first I tried to make a cute light up ghost with a tomato cage, a sheet, and some Christmas lights but that was not even close to looking anything like a ghost, more like a lit up tomato cage with a piece of garbage trapped on it fluttering in the wind!  I worked off of McCalls's Crafts pattern 2329 with a few changes.  Some of the things that were needed as per the pattern were ridiculously priced or would not add enough to the craft to be worth the cost so they got nixed.  You really don't need the pattern to make this guy all you need are a few tips and you can make one of your own with all the customization and upgrades you want!

Little Kid Ghost:

2&1/2 yards 120" white muslin
scrap of black felt
one wire hanger straitened out
masking tape
pair of shoes
stuffing
30"x 30" square of white fabric
2 36" 5/8 inch diameter wood dowels
scissors
glue gun
cording or twine

Start by cutting/ripping the 120" inch wide piece of muslin in half width wise so that you have two 60" wide pieces that are 2&1/2 yards long.  Cut/rip off two 2 inch thick by the 60 inch wide strips from each of your pieces of fabric.  You will have four strips total, set these aside. Place the two big pieces on top of each other, these will be the covering for your little guy.

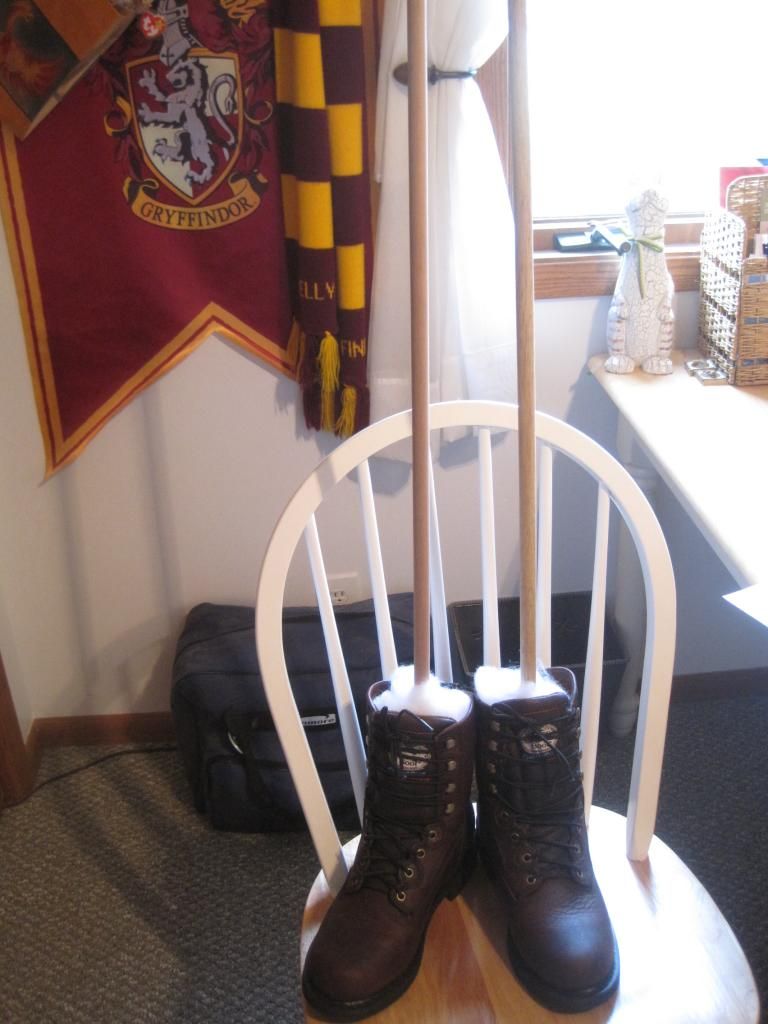
Next take your pair of shoes and stick your dowel rods in them.  Pack around the rods with fabric scraps or stuffing so that they stand up in the shoes.  Measure and mark four inches down from the top of the dowel sticking out of the shoes.

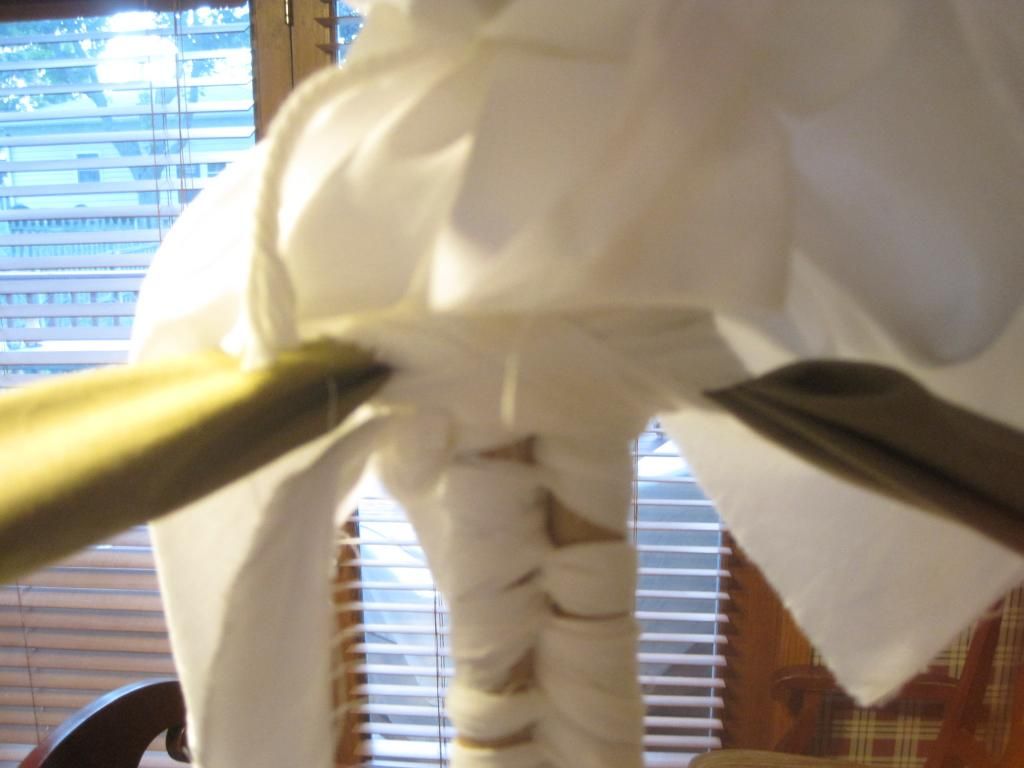
Using one of your 2" x 60" strips of muslin, starting from the marks on the dowels and working down, weave the strip in and out of the dowels securing them together.  Tie the ends together.
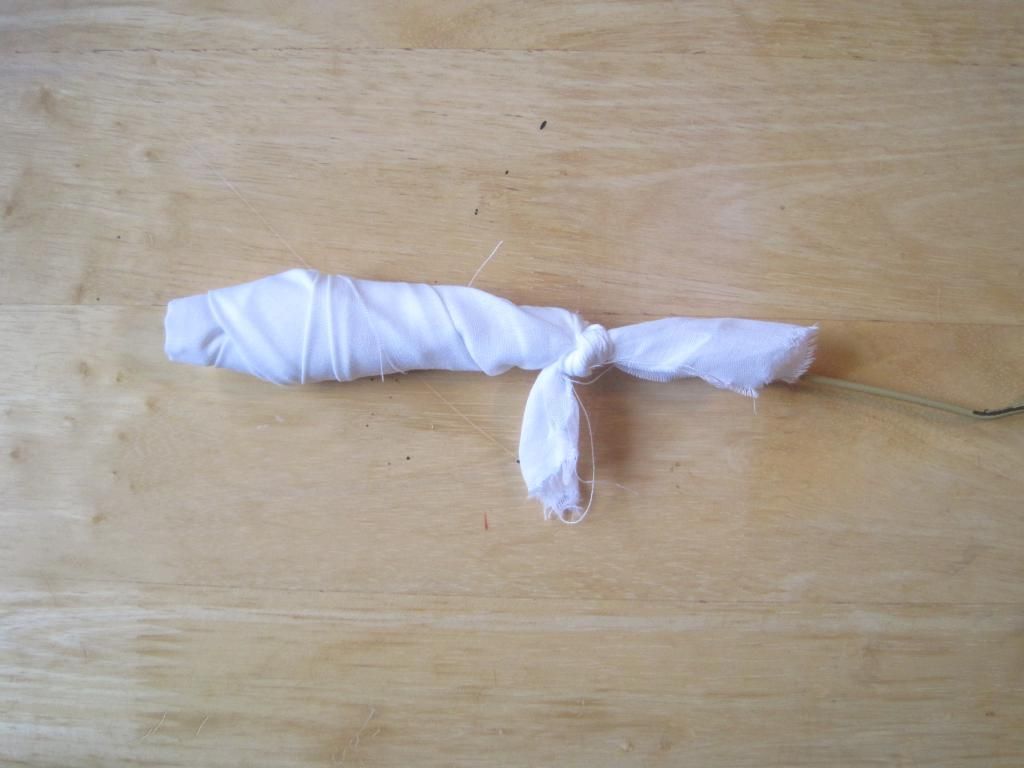
Bend over three inches of the end of the wire hanger.  Using one of the strips wrap the end securely and tie into knots. Repeat with the other end of the hanger and another strip.
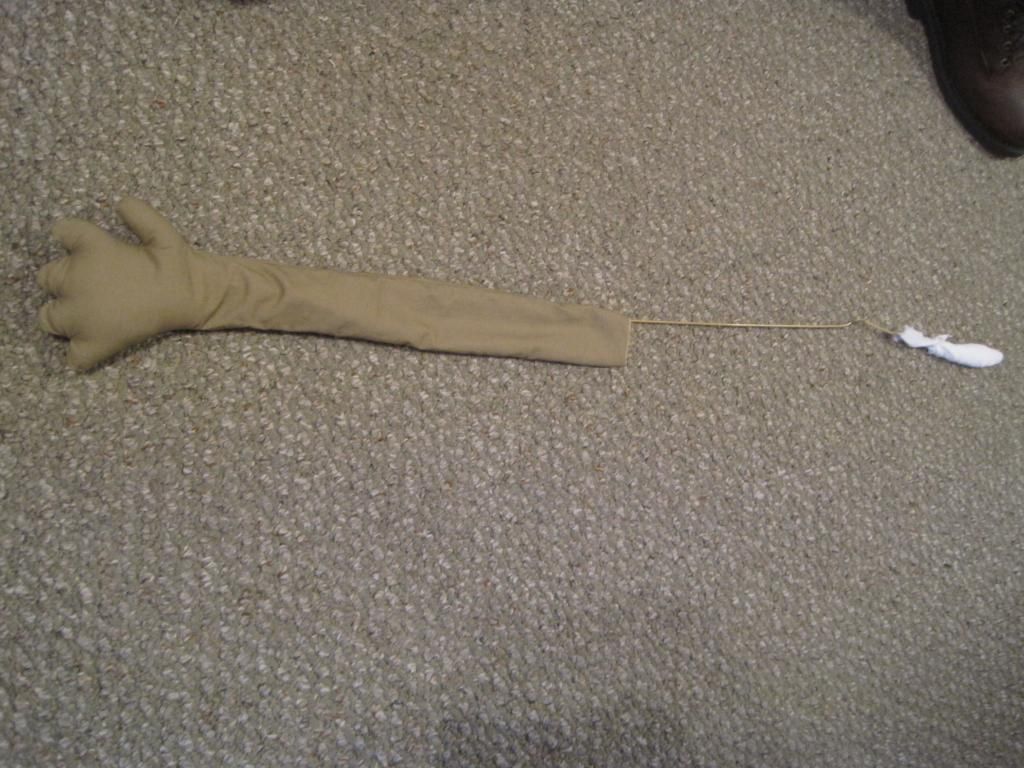
Cut out and sew hands in whatever pattern and fabric you like, making sure that they are long enough to cover a bit more than half of the wire hanger.  My hands kind of look like muppet hands.  Clip all curves and turn right side out.  Stuff to the wrist and slide the hanger in so that the covered metal end ends up in the stuffed area.

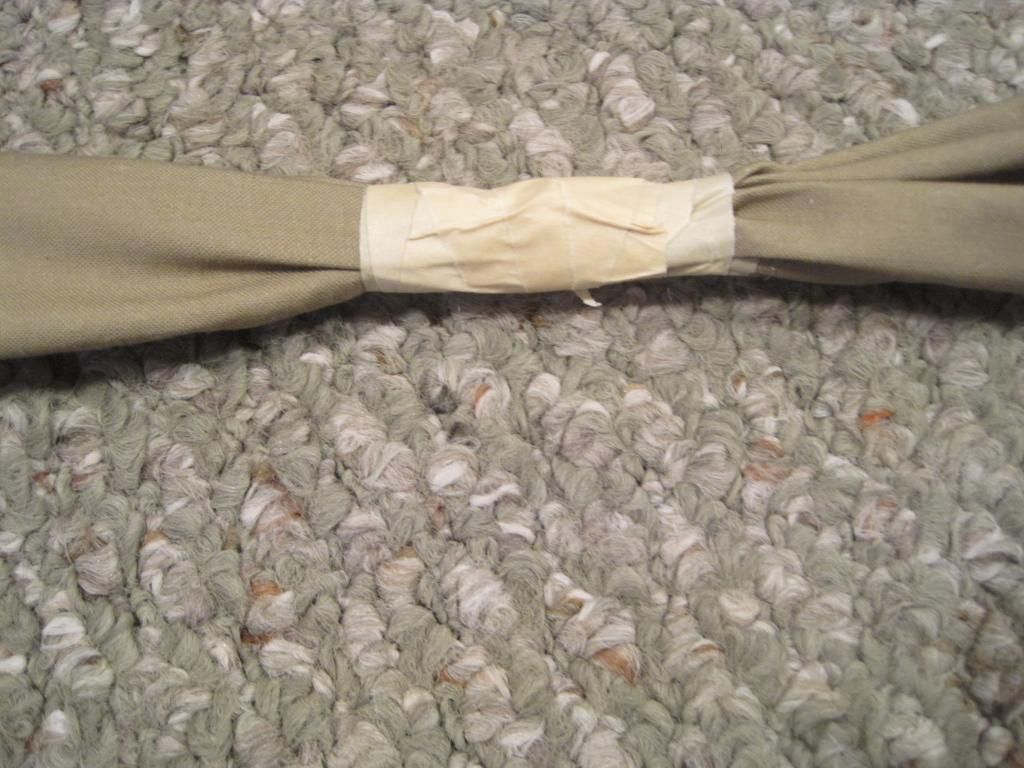
Repeat with the second hand and wrist.  Place both hands on the hanger, one end overlapping the other, and tape in the middle with the masking tape. 
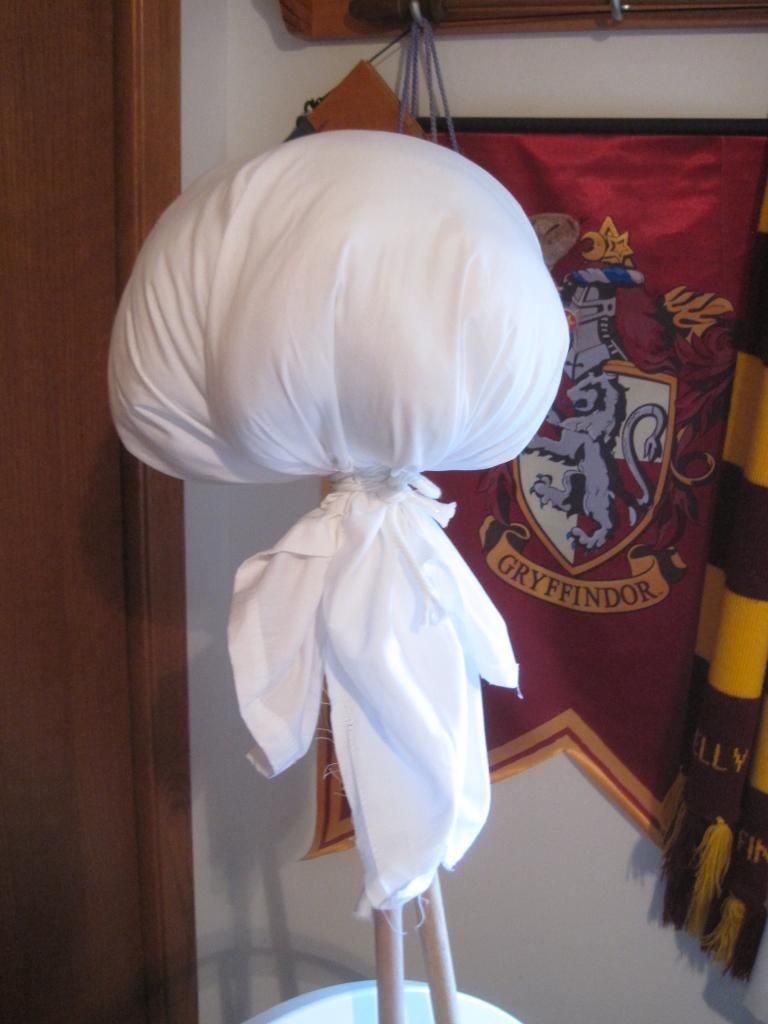
This is where I deviated from what McCall's wanted.  The pattern called for using an 8" styrofoam ball as the head, and if I had one I would have used it, but I didn't.  So I trek off to Joann's to get one only to find that they wanted $16.99 for it! Yeah, no.  So a 30" x 30" square of white fabric filled with stuffing and tied onto the dowel with white cording around the neck may not be a perfect round head but its free and I like it! 
Using the last strip secure the arms directly beneath the head on the dowels, tie the ends tightly.
All that is left is to cover your you dowel with head and arms with the fabric, glue on two eyes cut from the felt, and decorate as you see fit.  I made the little garland from the pattern, but how cute would this look with a little trick-or-treat bag!  Check out Abby giving a disapproving photo bomb. As the fabric is draped on him and not stuck down he is not weather proof.  He will stay inside until Halloween and then he will go out to entertain the kids looking for candy. He can be taken apart at the end of the night to be packed away until next year!

I hope you make some great crafts for Halloween this year and thoroughly enjoy your candy haul.
Keep it spooky ,
Kelly

Tuesday, September 23, 2014

Charity dresses

This post is a long time coming but I promise it will be worth the wait.  Every January the Craft Club chooses a charity and bases that month’s craft around the needs of that charity.  We have made quilts and blankets for kids in hospitals, crocheted red and blue scarves to show support for Special Olympics athletes competing in Illinois, and made quilted pet beds for animals in shelters.  It’s a great way to give back to a world that has given us so much.
 
This year we chose to make pillowcase dresses for Dress a Girl Around the World.  This amazing organization is part of Hope 4 Women International.  The objective is to create a simple and easy to care for garment for a little girl in need.  These dresses will travel all over the world to countries in Africa, Asia, Central and South America, Europe, the Middle East, and even to young ladies right here in the United States.  “We dream of a world where every girl has at least one new dress” is the mantra this charity is based on and it reverberates in the heart of each person who sews a gown for these little ones.
Every girl deserves the dignity of owning one nice dress.  A garment that fits correctly, gives them a sense of pride, keeps them covered with a renewed feeling of safety.  Some of these young ladies live in societies where woman are not respected as they should be and these dresses show them that each of them is loved and cherished.  Pastors in villages where these dresses have been donated report that these garments give the girls a protected and cared for appearance which may discourage a would-be predator.  Additionally, a Dress a Girl Around the World tag is sewn in a visible location on each dress so that others know that this girl is under the care of an organization, hopefully adding another level of safety for her.  It’s amazing that one dress can add so much beyond what we think of in a garment.
These dresses are made from new pillowcases and can be made in less than an hour by even the most novice sewer.  The website provides you with links and PDFs to walk you through sizing your dress, cutting armholes, sewing the shoulder ties, and even ideas on how to embellish the dress to make it unique.  You can purchase a new pillowcase or make your own using the super simple Sausage Pillowcase technique.  Cotton is the fabric of choice for these dresses for many reasons: it’s strong and durable, soft on the skin, easy to both sew and wash, breathable, and offers coverage for the girls, no see-though fabrics here!
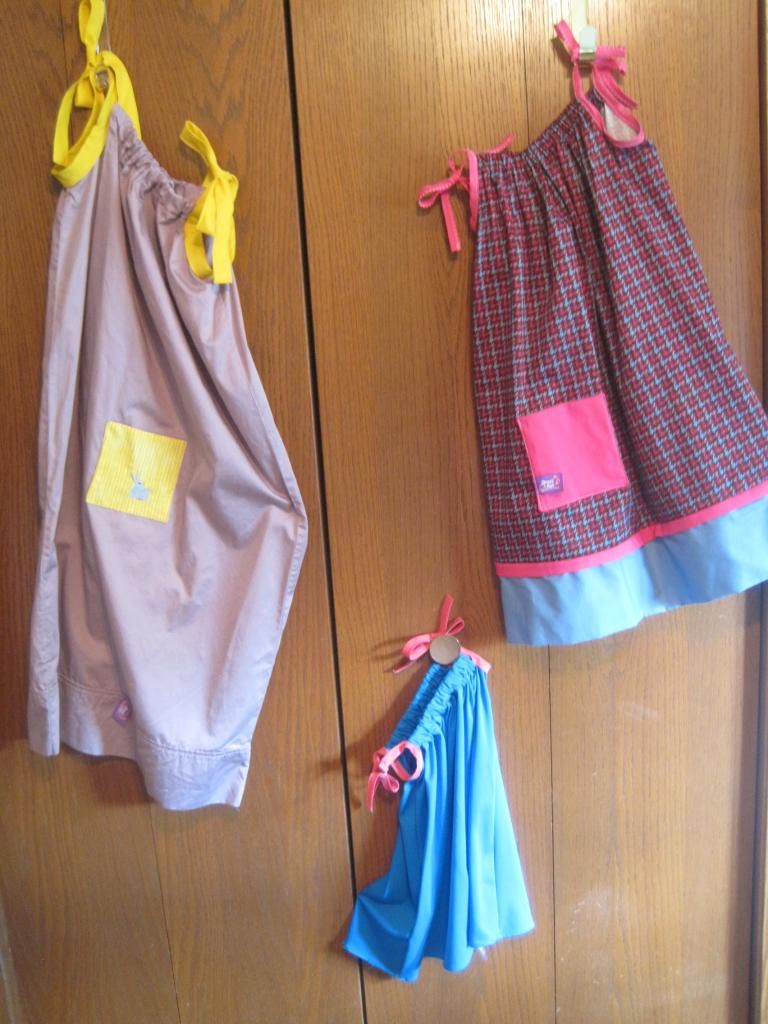
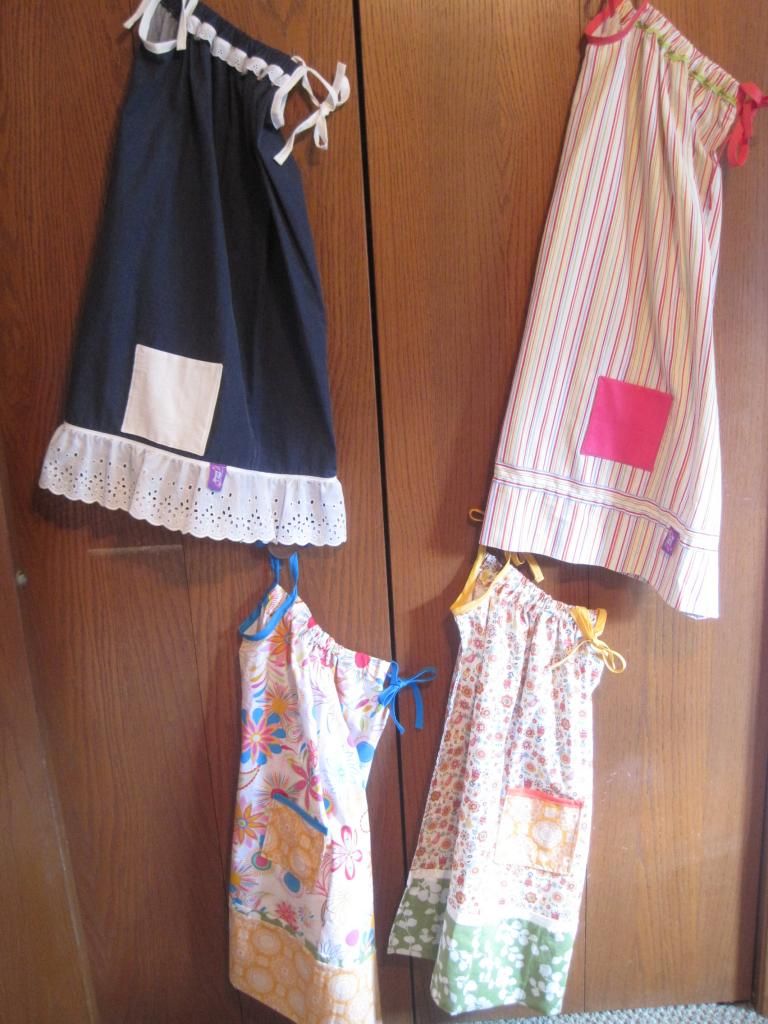
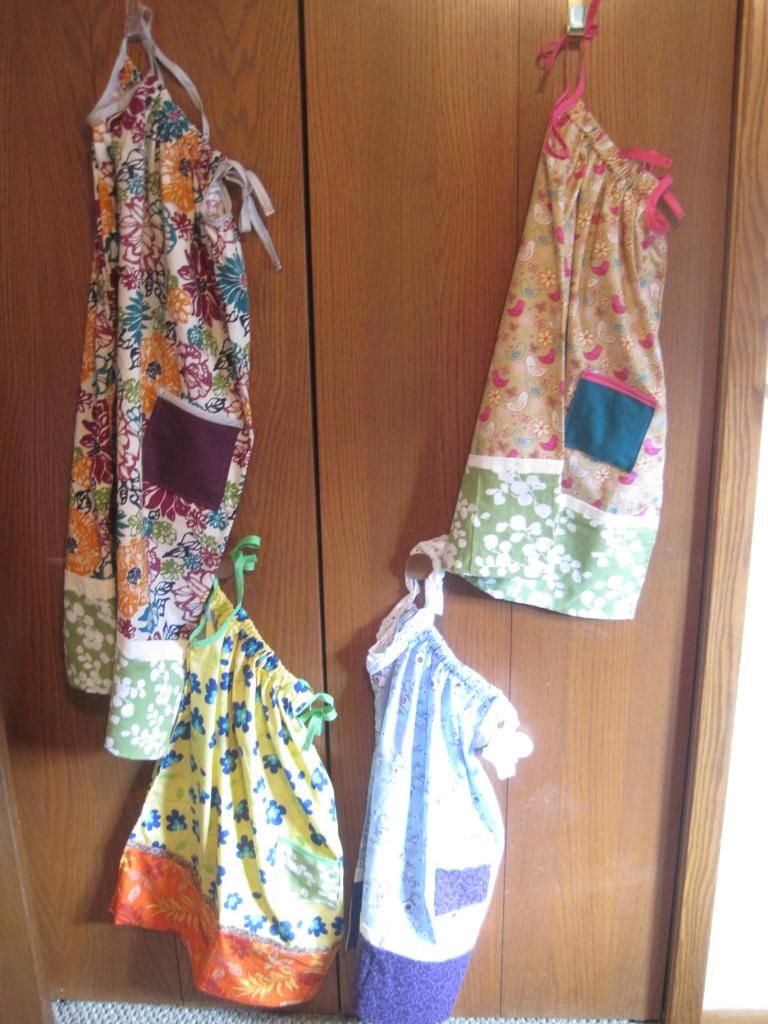
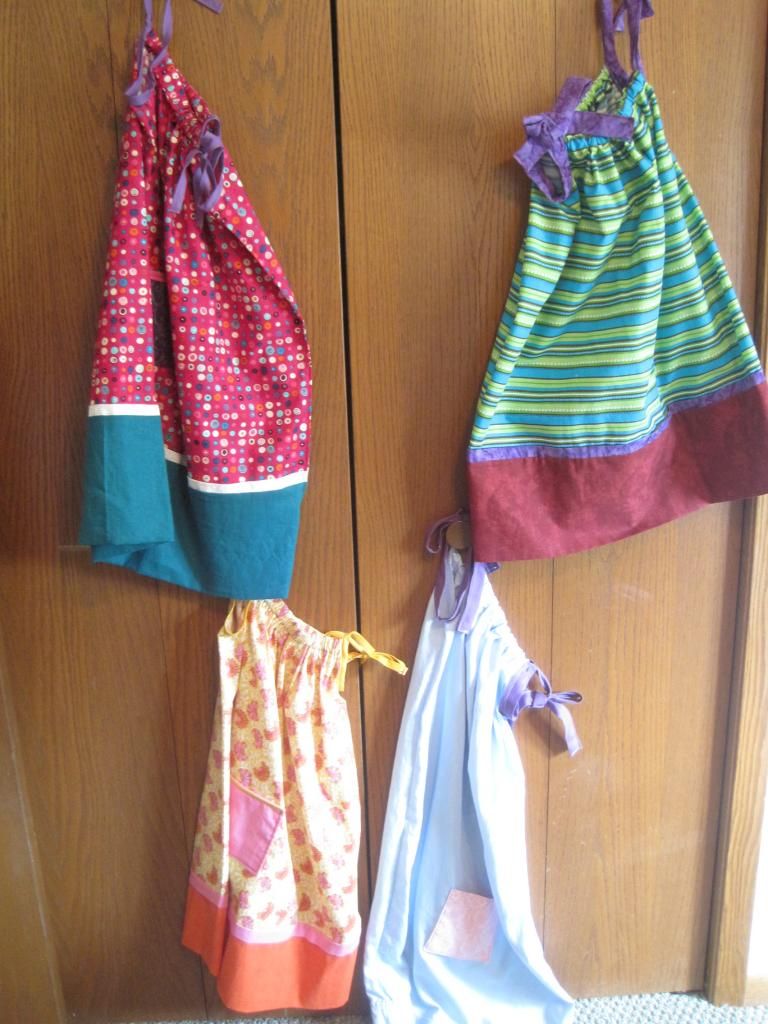
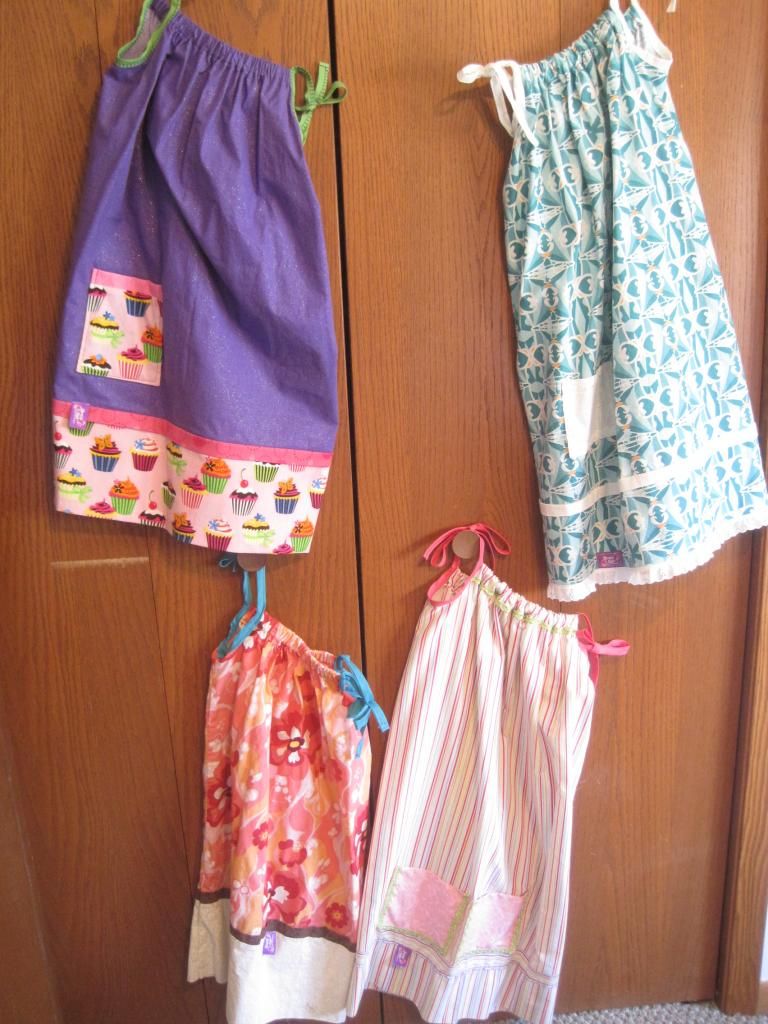
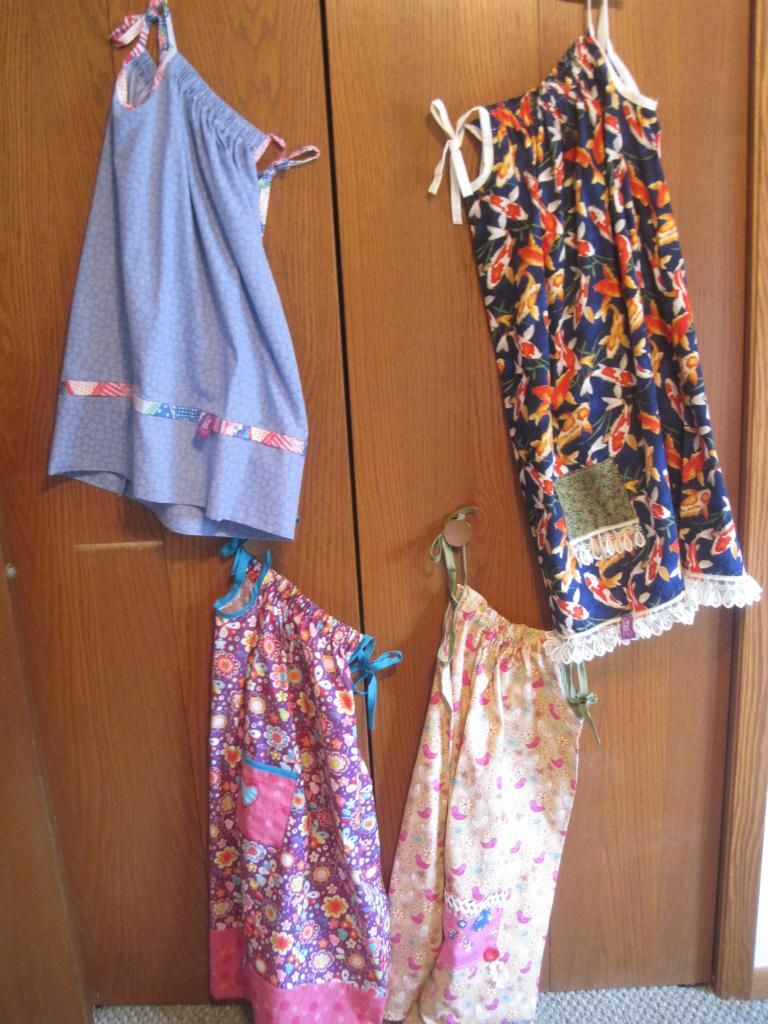
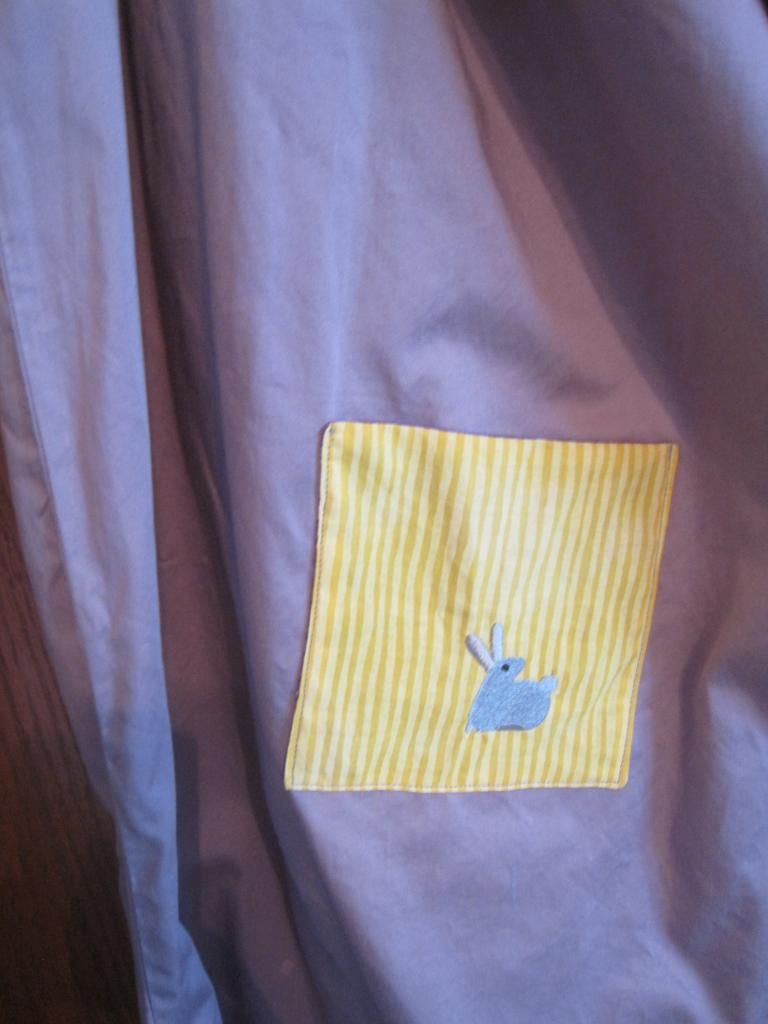
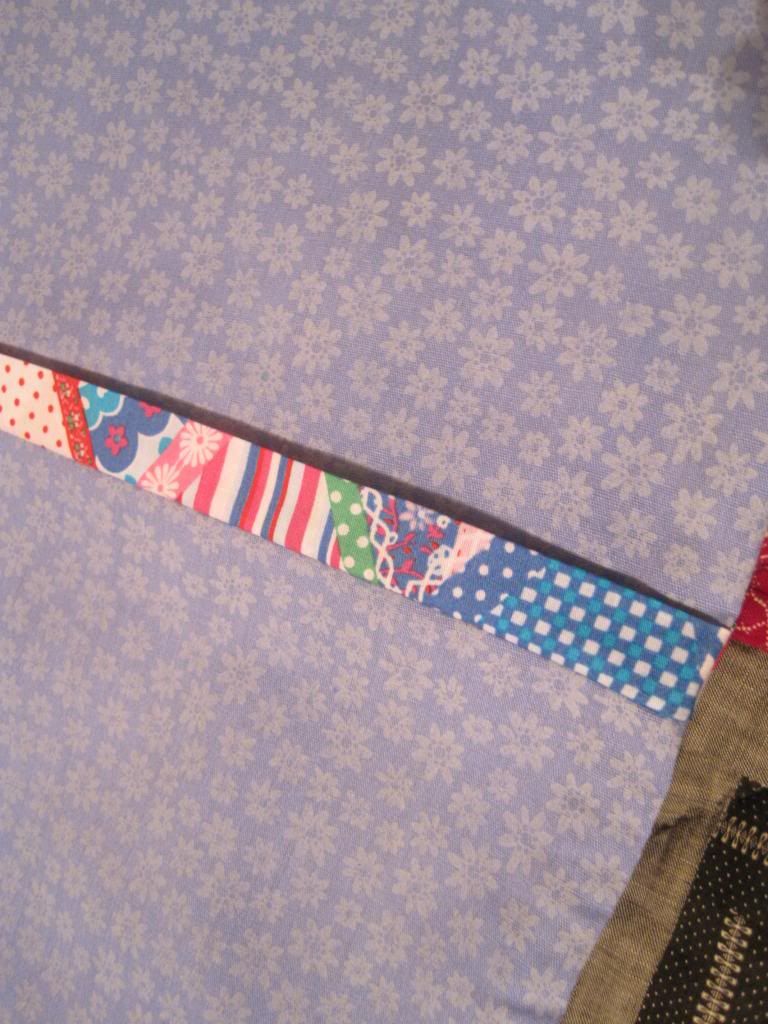
With only a few simple steps the pillowcase is transformed into a cute yet functional dress for a girl to be proud of. We chose bright colors and patterns of cottons to really brighten their days and help them enjoy life as a child.  These are children after all and they deserve a touch of wonder in their world.  We added pockets, ruffles, and buttons, embellished with rick-rack and embroidery, even made our own bias tape for some of the shoulder ties to keep the dresses up-beat and happy.  Along with the colorful fabrics we employed bright threads and stitch patterns, using all of our faculties to show these sometimes forgotten girls that we are thinking of them and are working to improve their lives, even the smallest amount, when they cannot.
I am so proud of these Craft Clubbers I worked with on this craft.  We made 23 beautiful well-made dresses for this charity!  Everyone worked hard as a team: some cut armholes and measured pillowcases for sizing, others sewed in elastic and worked on the shoulder ties, and still others sewed pockets and tags on the dresses finishing them off and getting them ready to be donated.  A few of us were so inspired we made a few extra on our own to add to the growing pile.  Twenty-three dresses were donated yesterday to our Illinois Ambassador to be provided to little girls of all ages.   Pinks, blues, yellows, purples, and greens of every shade, beautiful hues that I hope bring smiles to the faces of these deserving girls.  I wish I could travel with these amazing Ambassadors to these countries to hand deliver a dress to each of these young ladies.  To make even a greater impact, so show them personally that we care about them, that we want them to have the best future there is.  Perhaps someday I will be able to go, to give and receive hugs, but until I do I will sew pillowcase dresses with love sewn in with every stitch I take.
If you have a great idea for a charity we can help through crafts please let us know about it in the comments.  Be happy and healthy out there, always do your best!
Kelly 
Saturday, March 22, 2014

Puppy Nesting Boxes


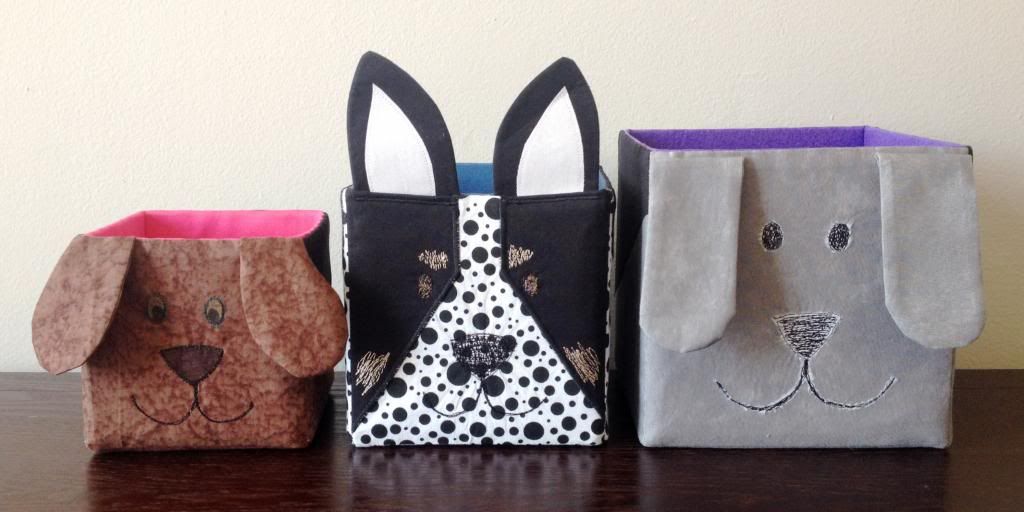
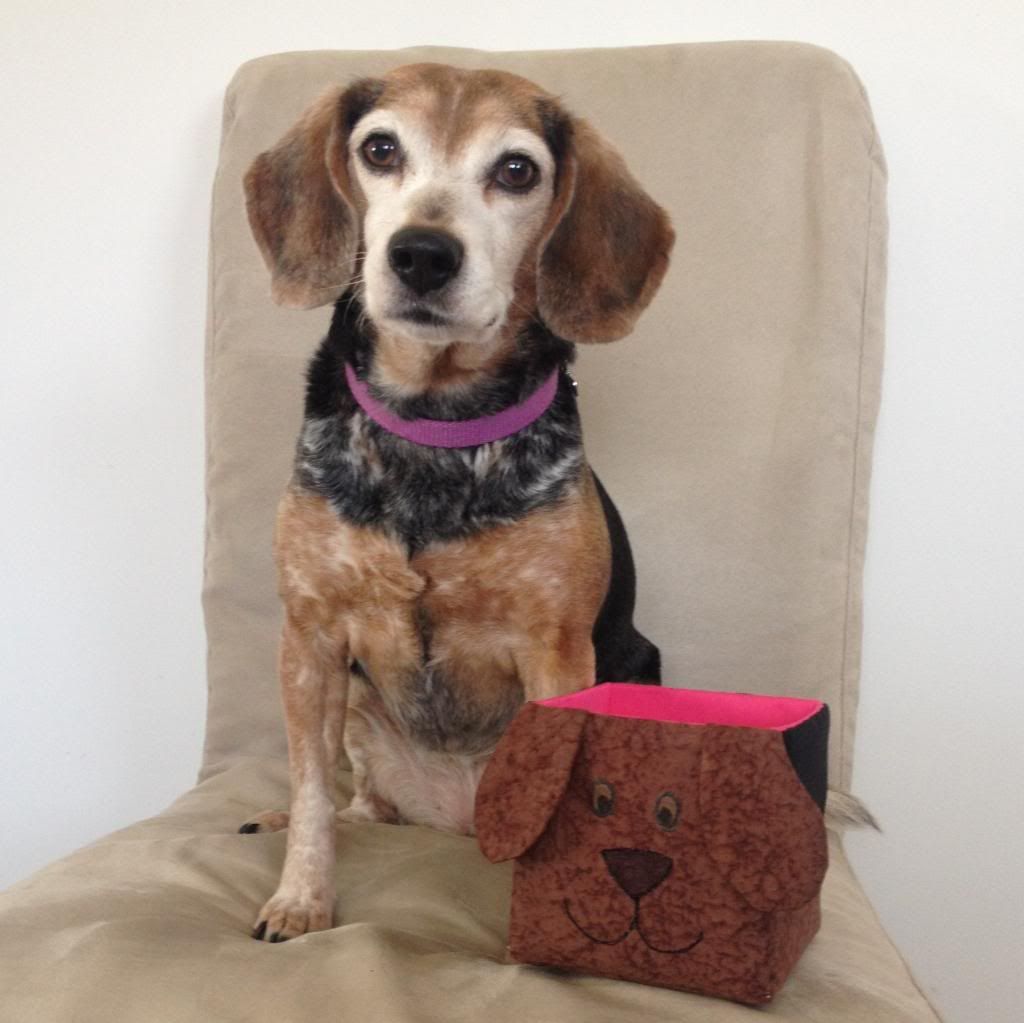
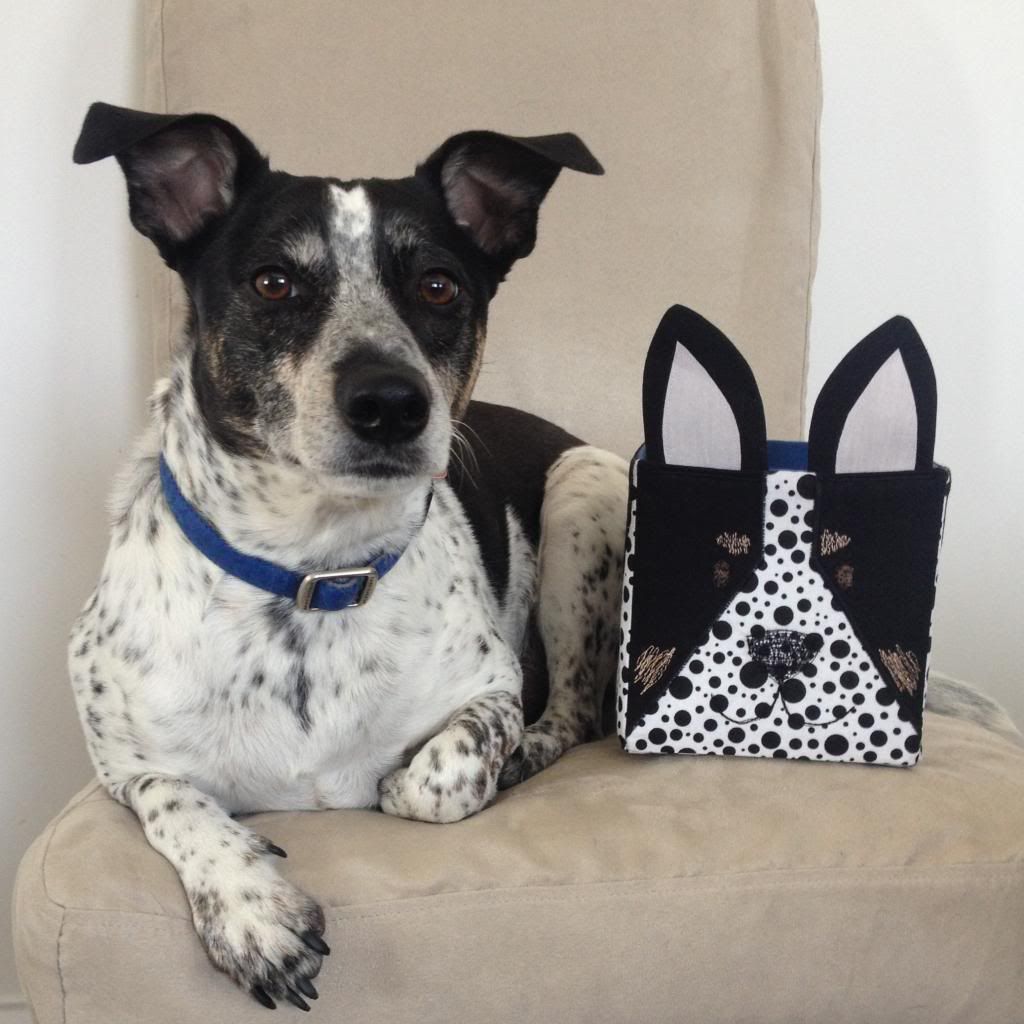
Well I finally finished a project that seemed to take forever.  This all started, as most of my crazy ideas do, from a simple need.  I needed a new thread catcher for my sewing table.  My old one got requisitioned to be a pen holder on my desk.  I've had this pattern for quilted nesting boxes from SewMamaSew for a long time.  The little one looked perfect for my needs but I thought I should make a couple since it would be handy on craft days when we have multiple girls sewing at a time, and who really doesn't need an extra container or two.  So then the idea grew into three boxes.  Well if I'm going to make three of something it of course needs to be customized to each of my three dogs at home.  Enter the puppy nesting boxes.

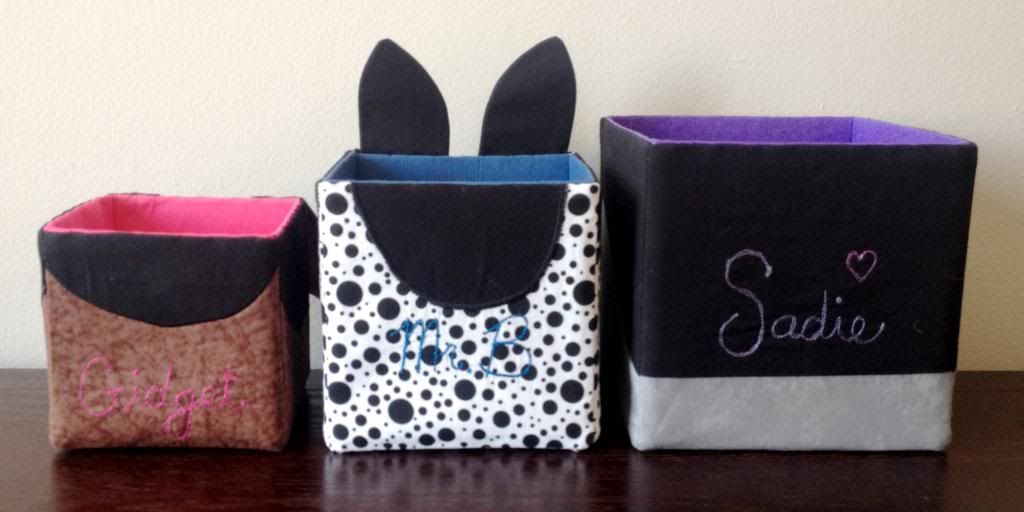
The size choices were easy since we already call our dogs small, medium and large to begin with.  (Gidget is actually called Tiny Bits but small will suffice for a nesting box.)  Color choices were pretty easy too since I just went with what color their collars are.  I simplified the pattern a little since I didn't quilt the boxes but assembling their faces and body markings took a little planning.  I also free hand embroidered each of their names on the back with thread to match the color of the lining.  (Sorry about the blurry picture.)

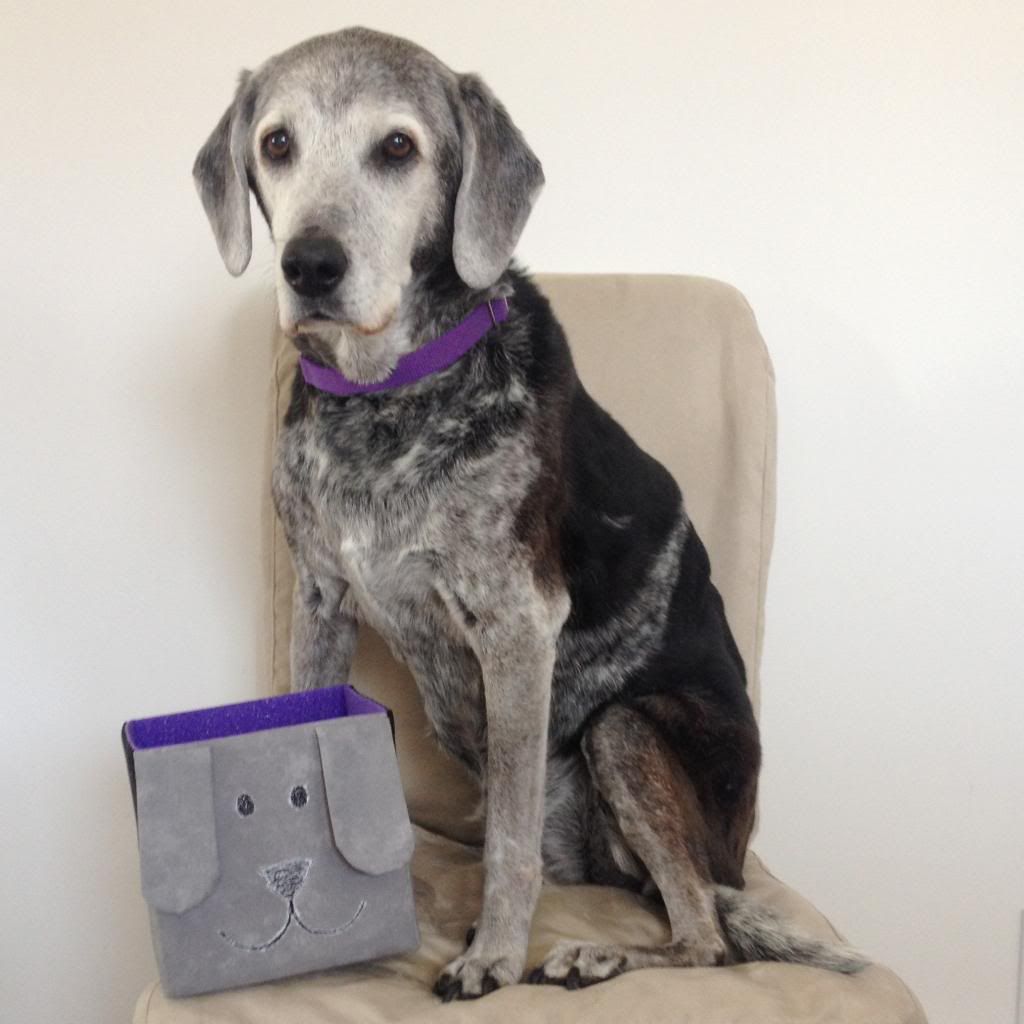
Here's each of the pooches with their respective box.  

Gidget

Mr. Biscuit

Sadie

You may have noticed I did a younger version of the girls.  
They both said to keep the gray face to a minimum. 

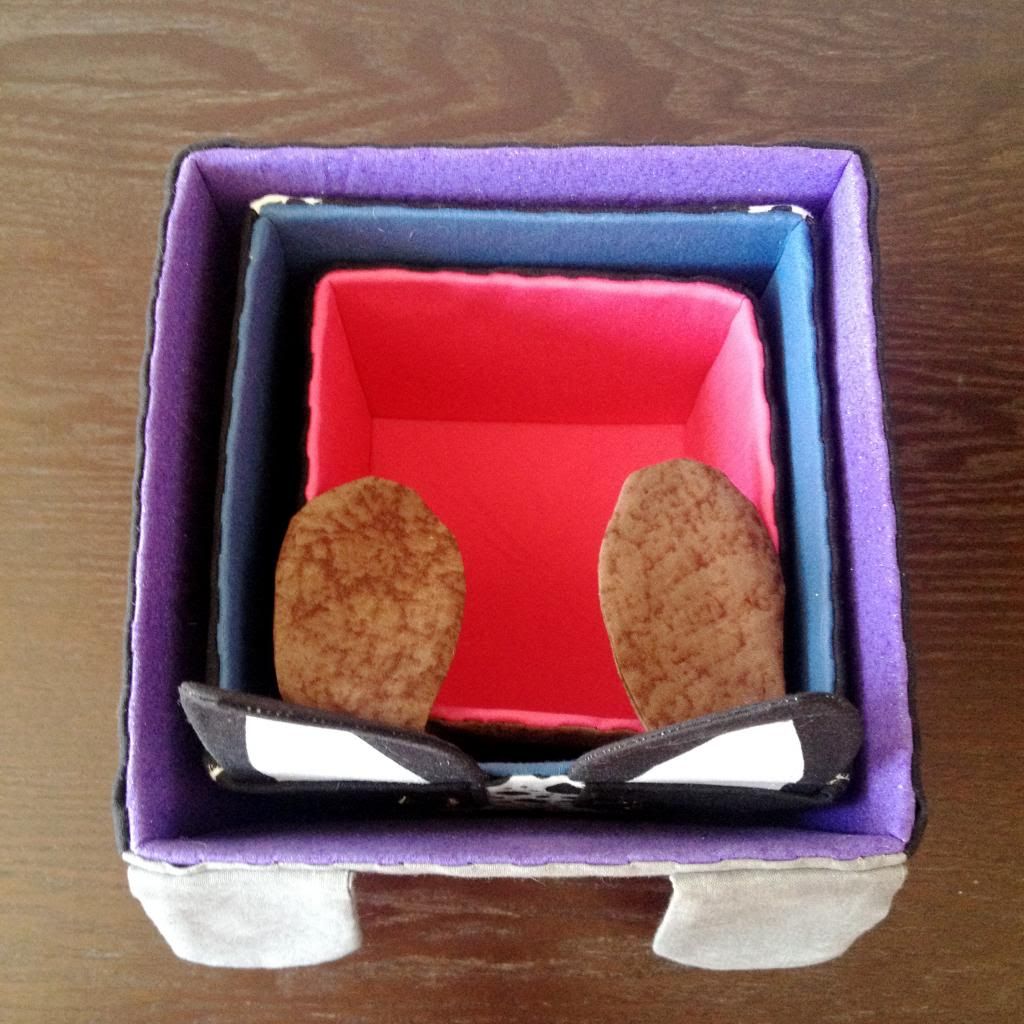
They stack together great for storage in case I'm not using them.  


Have you ever altered a pattern that turned out better than you expected?  Tell us about it in the comments.

Sew on!
Anita

Saturday, March 15, 2014

Pattern Review - Izzy & Ivy Messenger Bag


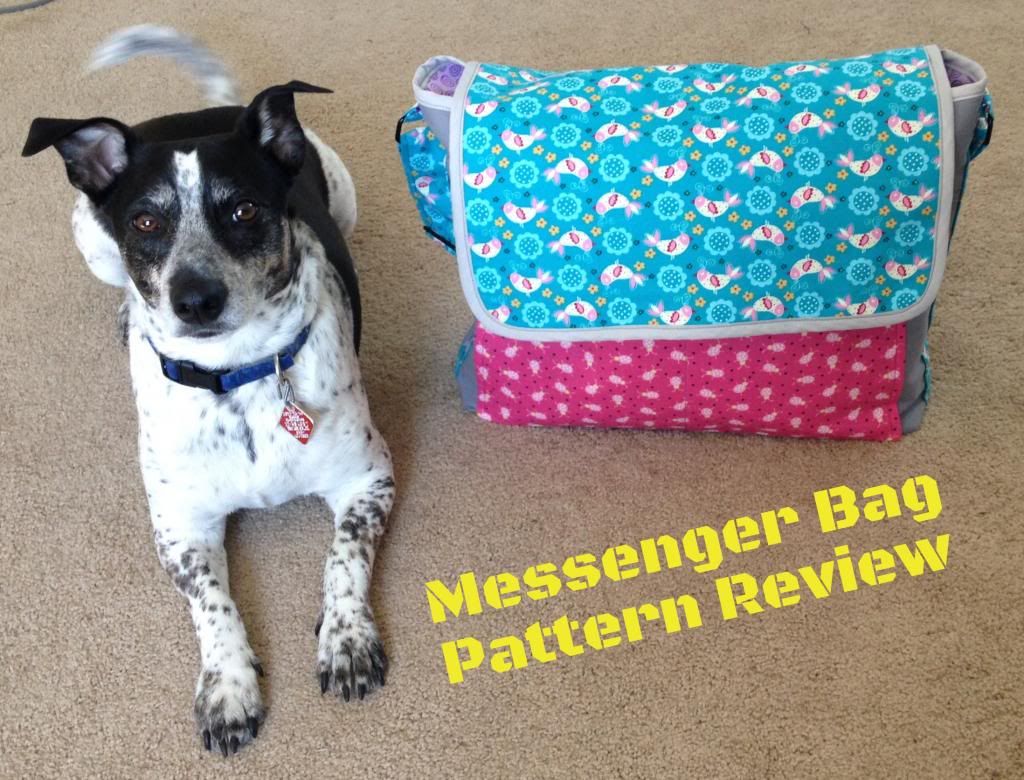
I decided to do a little prep before next week's craft club meeting since we are going to tackle a more involved sewing project.  I picked up a pattern for a messenger bag from Izzy and Ivy last year at the Sewing and Quilting Expo.  (You can read all about my fun purchases and my expo experience here, here and here.)   It was purchased with the intention of using it for a craft club and we are just getting around to it.  I think it's always a great idea to try to read through patterns before diving into them, although this rarely happens in reality.  This time I did, and after going through the pattern I decided the best way to understand it was to actually sew the bag.  Plus I would be more prepared to help anyone else with questions when we start it as a group.  

Typically when I buy patterns from independent designers rather than the big companies like Butterick or McCalls I know there is going to be some translating or trouble shooting.  This pattern was no different, although I have to say it was minimal even for a neurotic crafter like me.  The bag came out pretty cute but I'd have to say I have a couple little things I would change or adjust.


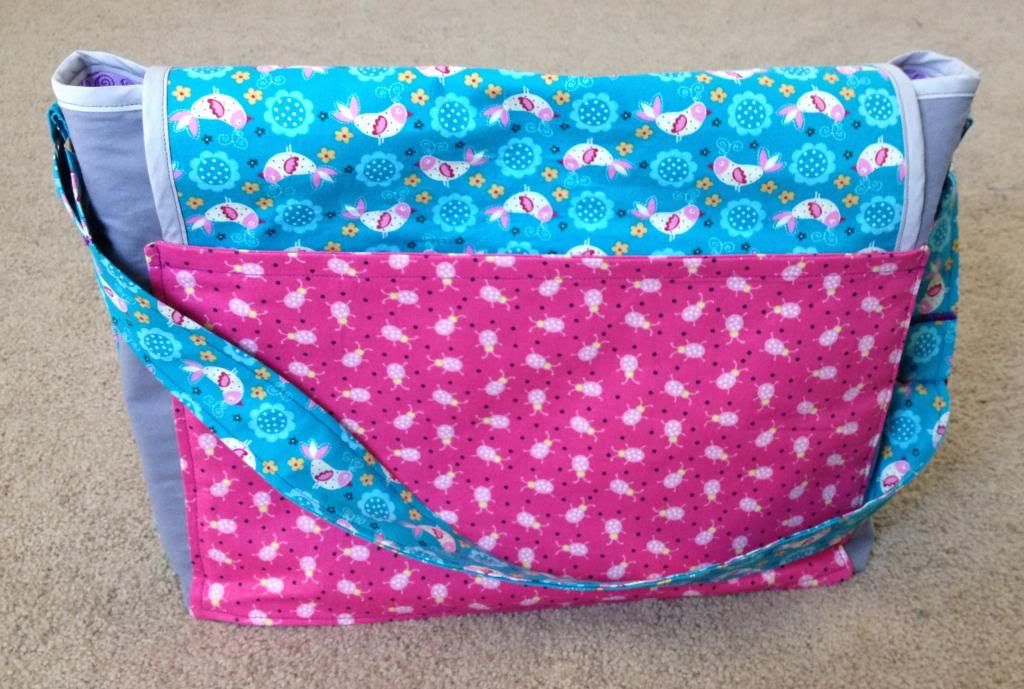
The strap is kinda short if you want to wear the bag across your body.  Since it is designed with an adjustable buckle I would definitely make the strap longer and just cinch it a little to fit you.  I have the strap almost all the way extended on this one.

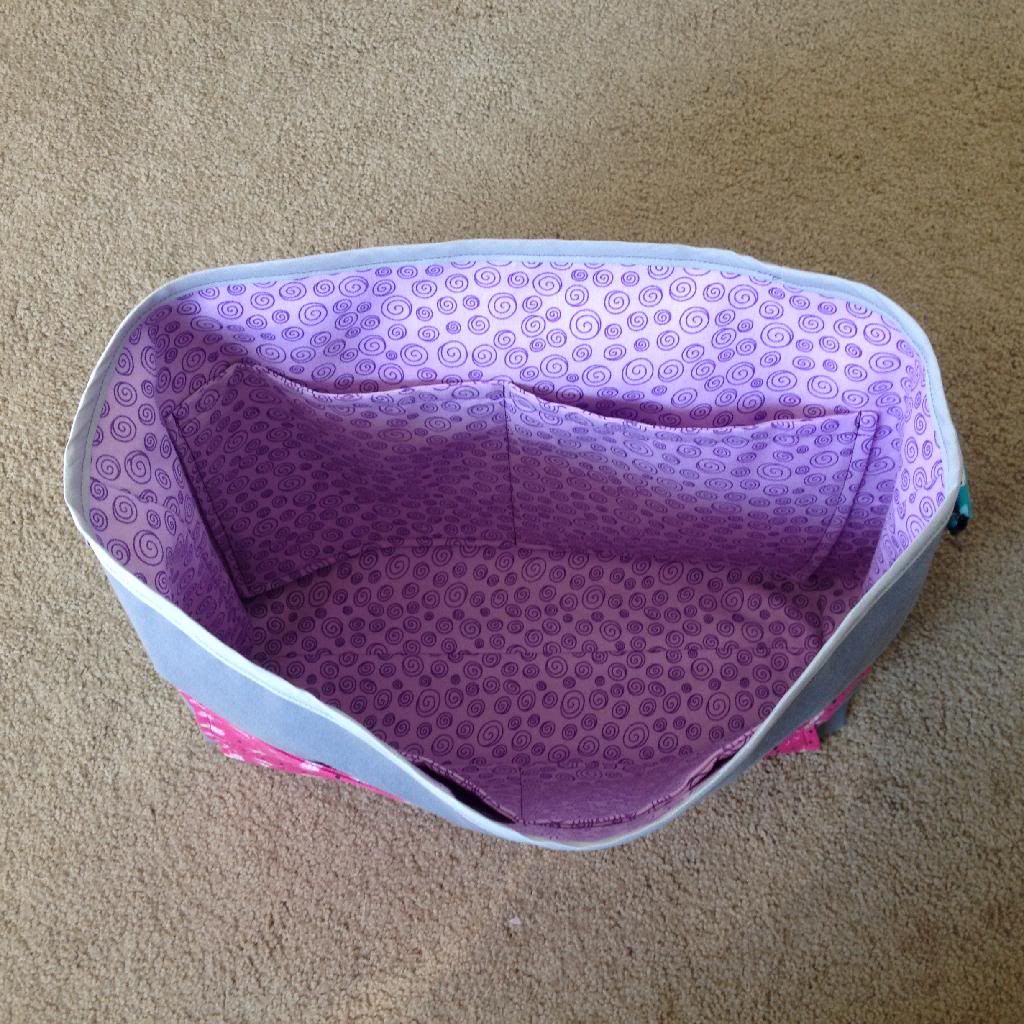
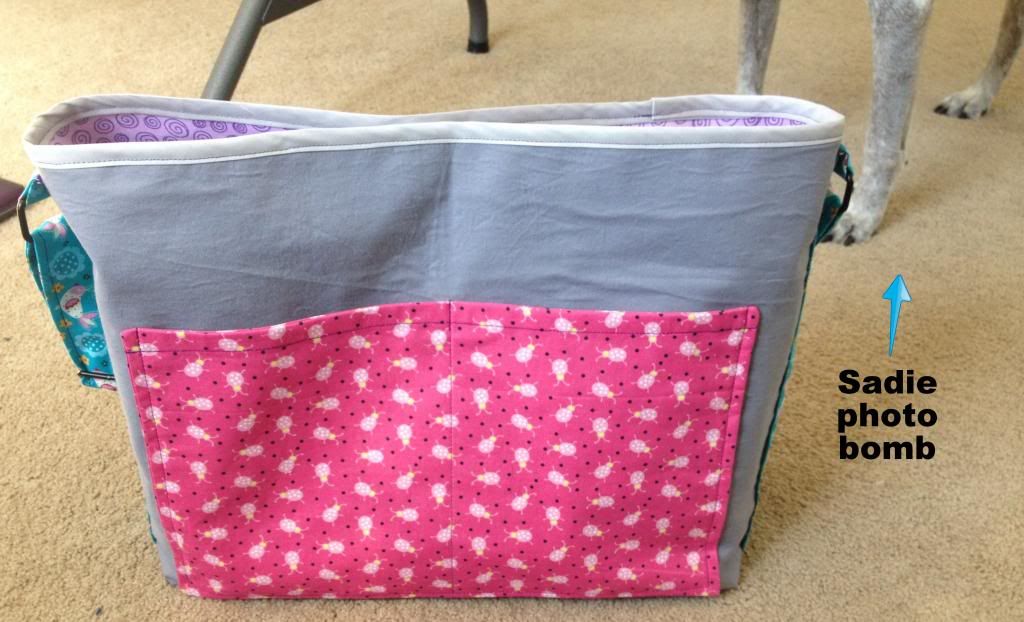
Another little thing is the fact that there is no closure for the flap.  A buckle strap or even a couple pieces of strategically placed ribbon would be enough to remedy that.  The pockets are plenty deep enough that I'm not worried about anything falling out, but the flap on my finished bag doesn't cover as much of the front as in the picture on the pattern when it has stuff in it.  This is no big deal as long as the bag is upright.


The pattern asks for multiple pieces to be basted through the process.  One thing that I found which really helps, especially when sewing with heavier pieces of fabric like the canvas, is to use a sewing spray adhesive to keep things in place when basting.  The pieces that I did this with were much smoother with no puckering.  I would also have liked for the designers to specify which pieces of the body to baste to the canvas.  I think this would have made the construction a little smoother.  They kinda leave it up to you.

I decided to use pre-made bias tape, which worked fine, instead of making my own like the pattern asked me to do but didn't tell me how.  I'm well aware of how to make bias tape but if a pattern is asking me to make it for the bag I think they should explain that step as well.  Just a little pet peeve.
 

Other than that this is a great bag.  It would be awesome as a library bag to throw over your shoulder and I have to say it is pretty sturdy thanks to the canvas inner lining.  The strap might have to be a little beefed up if you are carrying heavy stuff often but for everyday use it is great.  I chose to use fabrics out of my stash so there was minimal cost but I'm upping the ante with the bag I'm making next week.  Can't wait to see how that one turns out.

Sew on!
Anita

Saturday, January 25, 2014

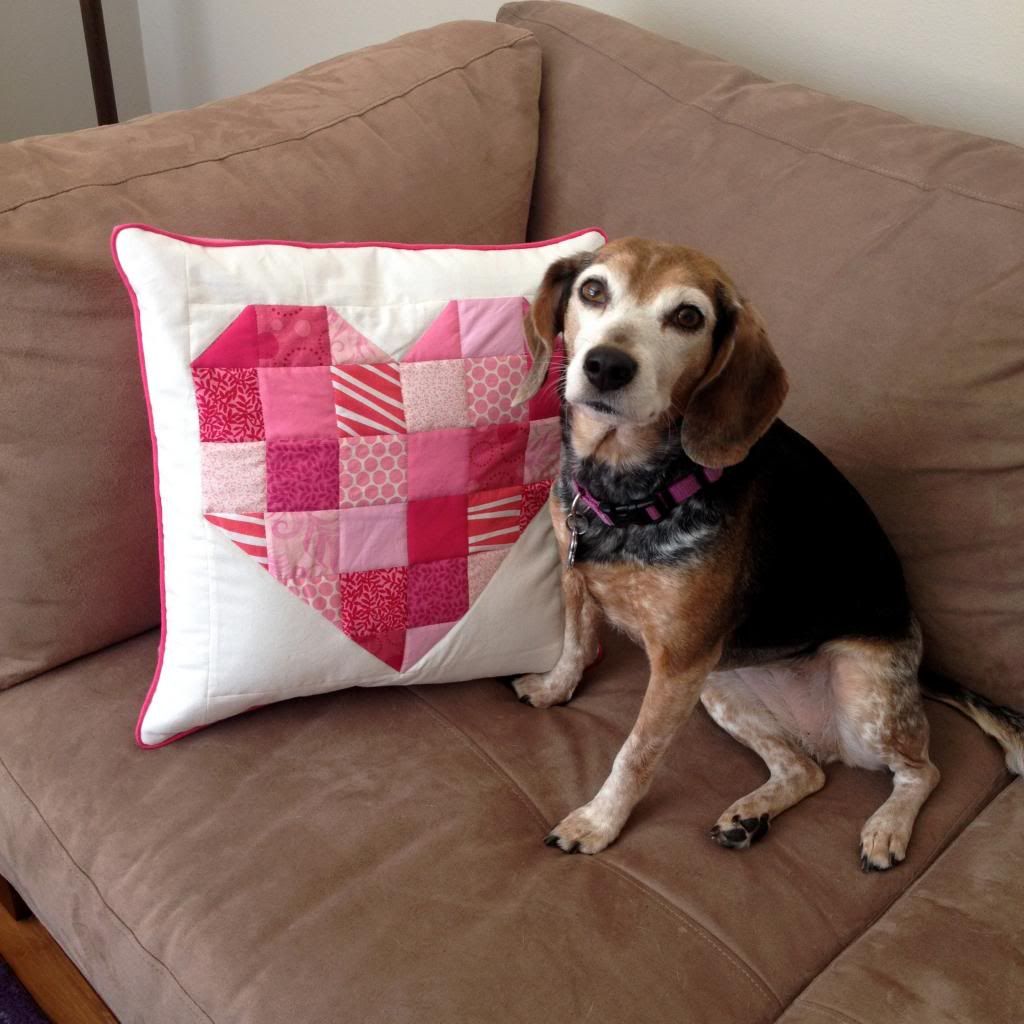
Patchwork Heart Pillow

One of my top models. 
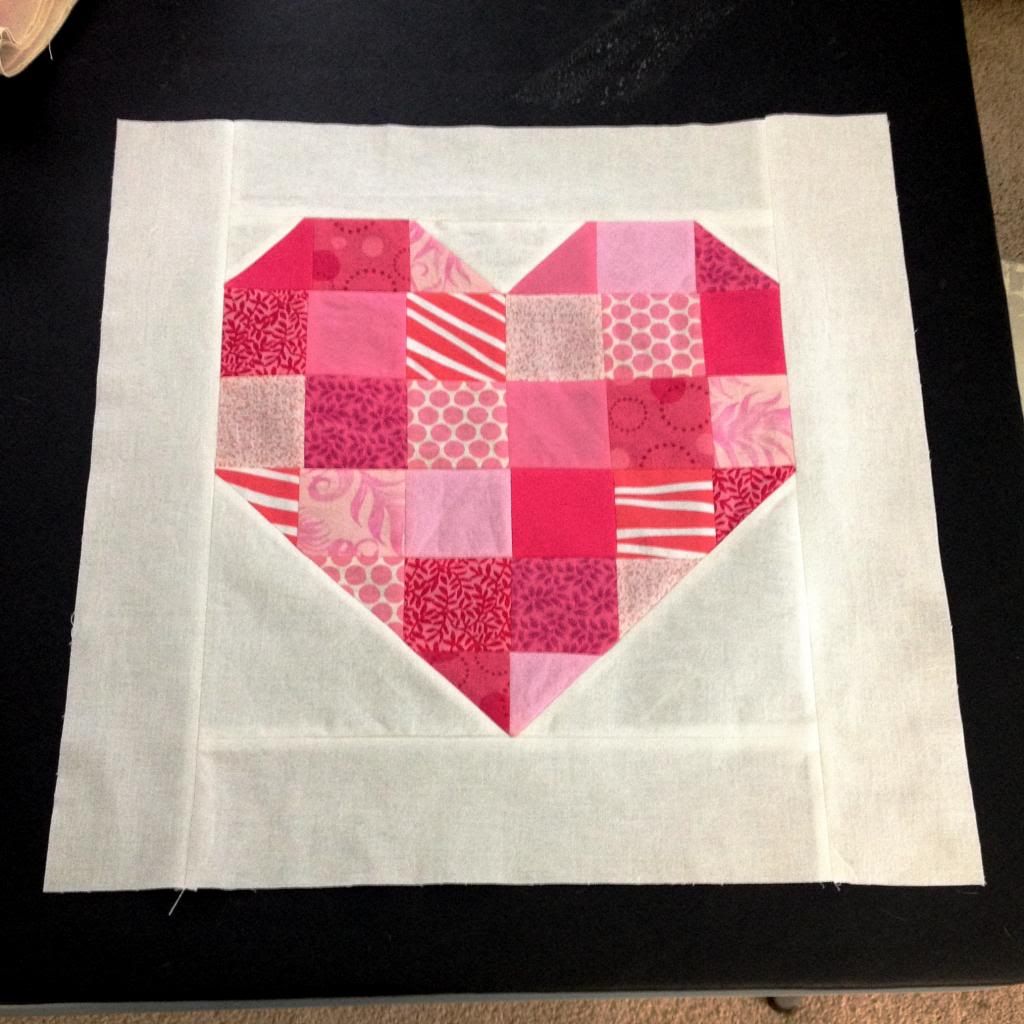
So I've had this naked pillow form sitting around the craft room waiting to find a purpose for over a year now.  I bought it at an estate sale, and it was brand new.  So with Valentine's Day approaching I was inspired.  I've also got tons of fabric scraps to start whittling down so what better way than a patchwork design.

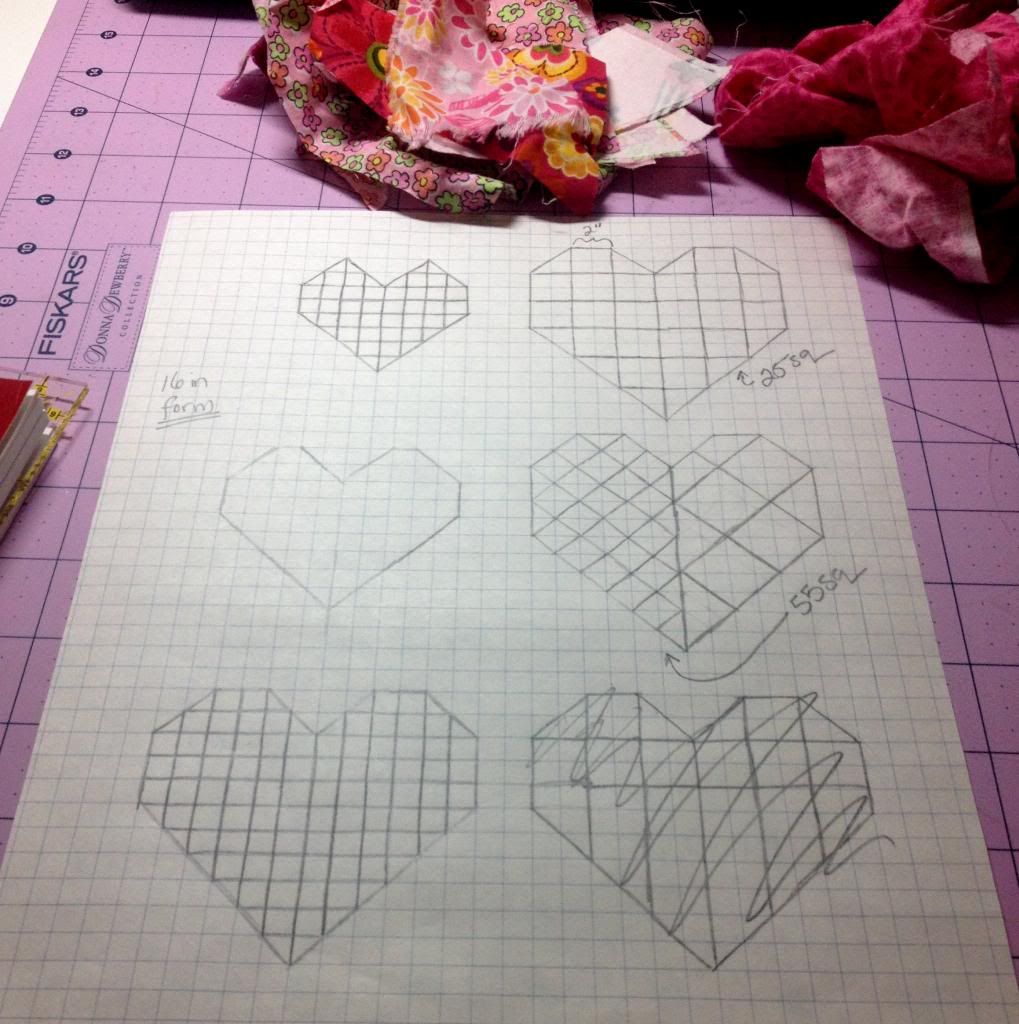
I drew out some ideas and decided my original idea of doing a postage stamp style heart was just gonna be too involved.  (In other words, take too long.)  You can see the one I thought about doing had more than twice the number of patches I ended up making.  So I reduced the number of squares I would need and started cutting.

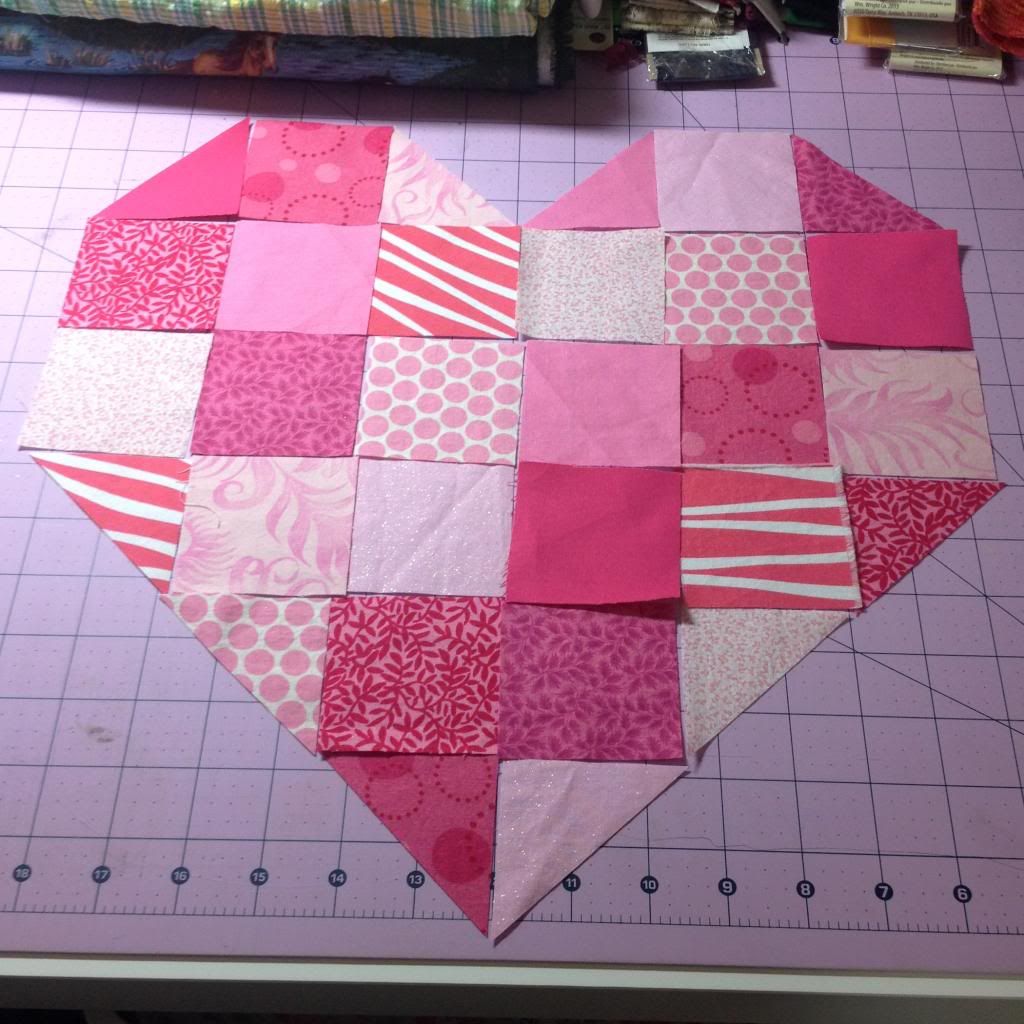
I ended up using 10 different fabrics with each having two squares and one triangle on the pillow.  After cutting everything I went ahead and laid it out so I could have a plan of attack.  Plus I didn't want to wing it and have two of the same pattern patches right next to each other.

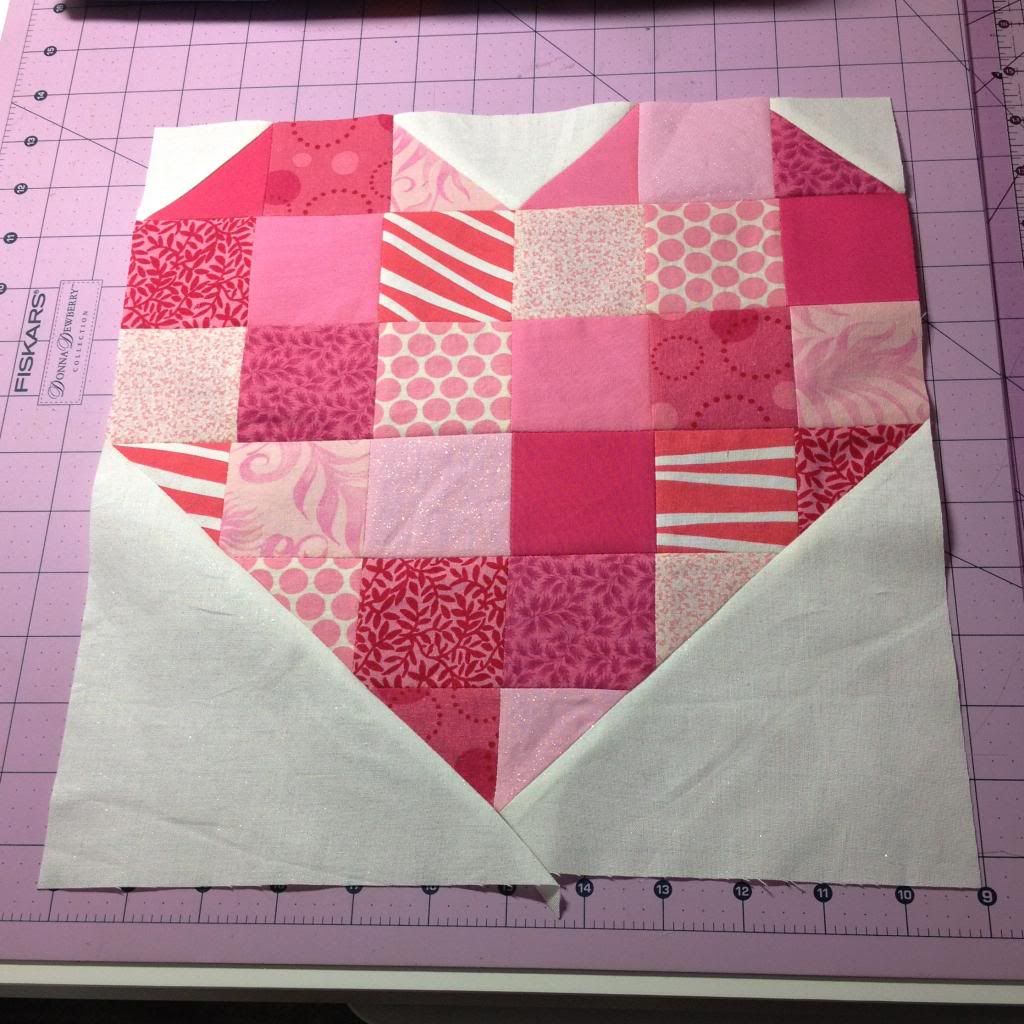
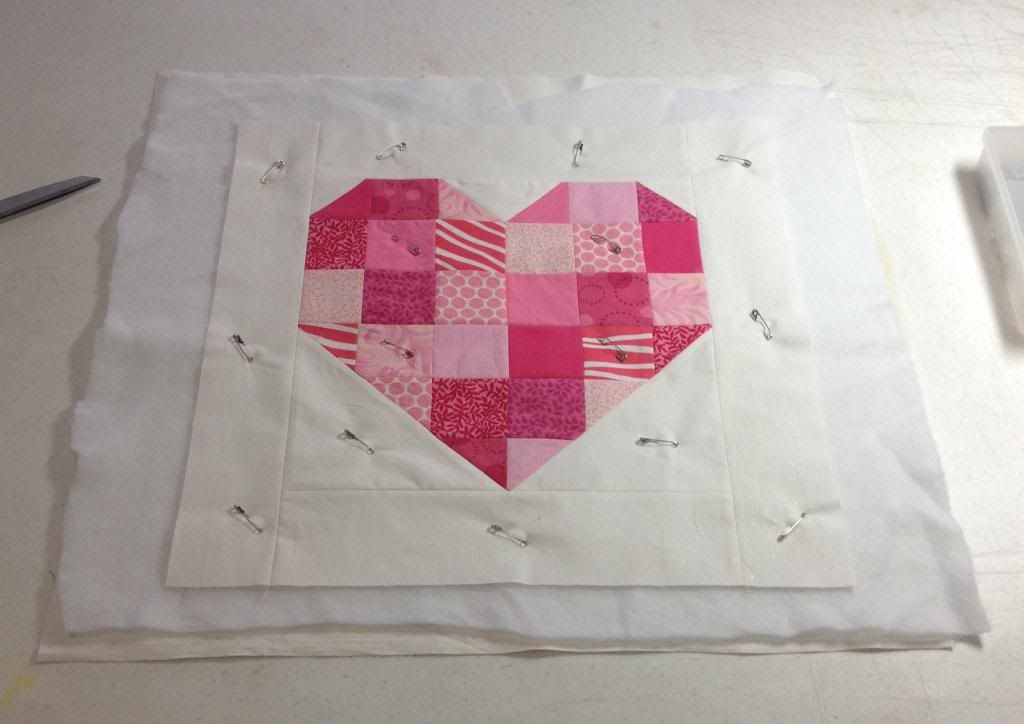
Here's what it looked like after sewing all the pieces together with a couple background fabric triangles to fill in the leftover space.

I'm a little embarrassed to say my patchwork skills need a little dusting off.  I forgot to leave seam allowances on the outside of the heart so some of the seams don't really line up.  But this pillow wasn't something I was going to be selling to a customer.  It's something for my couch, big deal.  After the front was done I didn't feel like it was substantial enough, especially in comparrison to the pink flannel I was going to use for the back side.  Of course since it is a patchwork front that ment I needed to get out the quilting supplies.  After throwing it on some low loft batting and an extra piece of the background fabric I stitched in the ditch around the heart and each of the pink squares with the same white thread I was using to piece it all together.

Now all that was left was to trim it to size and add the back.  To make it dog friendly, = machine washable, I opted for an envelope closure on the back with a couple snaps to keep it secure.  To make it a little more special I also added some hot pink piping.  Something about piping always makes things look more professional, = expensive, to me.

What do you think?  I'm totally more of a pink than red heart gal so this color fits right into the pallet in our living room, next to the purple rug and teal pillows.  How about you?  Got any special Valentine's Day crafting on your to do list?

Sew on!
Anita

Tuesday, November 26, 2013

Pillowcase love

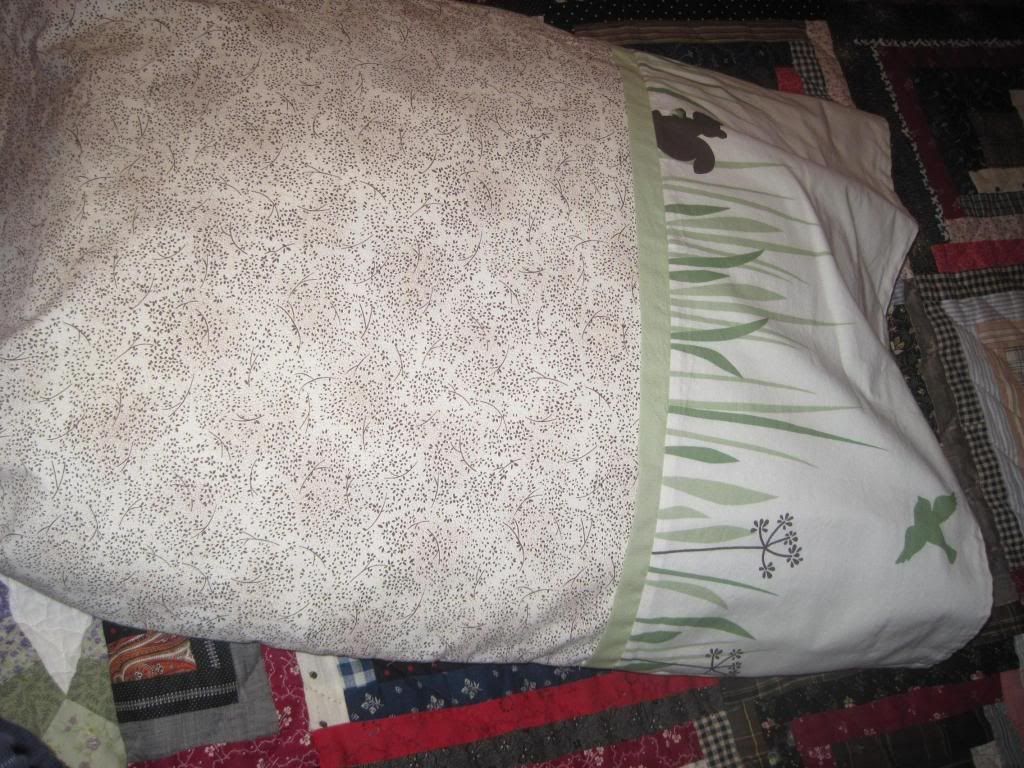
Over the past two weekends I have had enough free time to get more of those nagging to-do crafts finished and out of the dreaded tub.  One of which was a sausage pillowcase that I bought one of the pieces for last year.  I found a wonderful children's room curtain at the Goodwill for about a dollar and was smitten with the cute.  I fell in love with the simplistic momma and little deer as well as the small squirrel and bird frolicking among the grass and tiny trees.  I worked hard to get this cut just right to get the two deer on one side and the other critters together on the back on the pillow case.  I used the amazing sausage pillowcase pattern with the curtain, strip of the same green, and a brown and tan quilting fabric I bought on sale to make a case I am very happy with!


Here is the you tube for the sausage pillowcase with Judy.
Or here is a tutorial brought to by the Rhinestone Beagle herself.


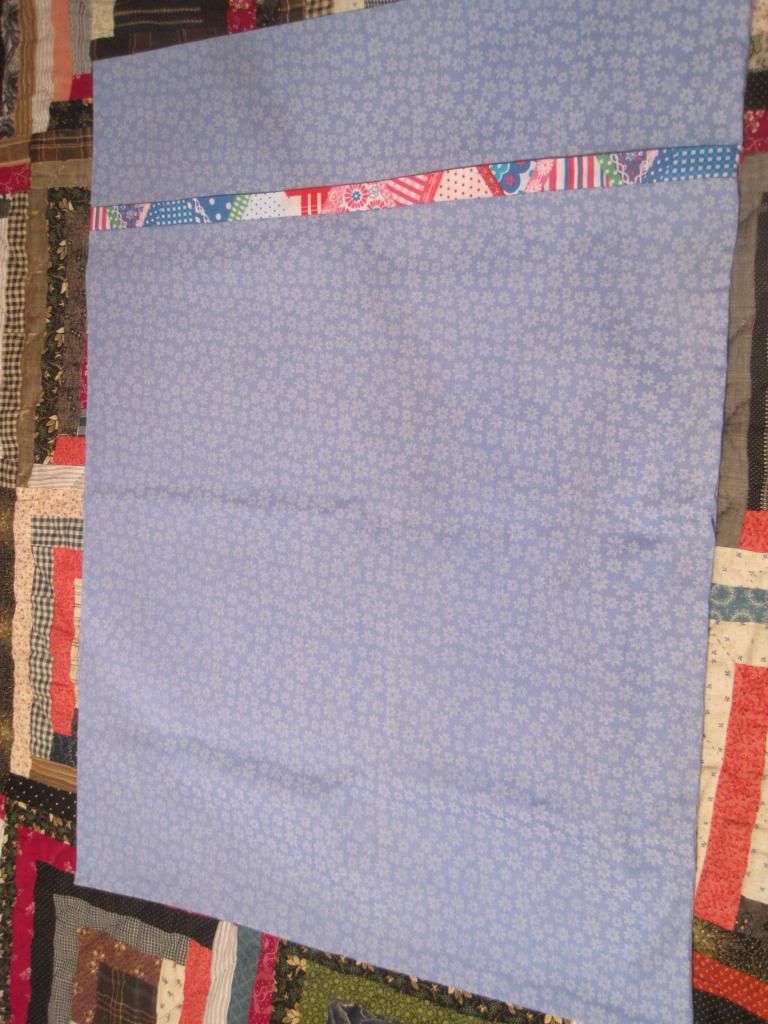
I also got this pillowcase finished.  This is for another Craft Club project we will be doing in January so it will make another appearance then.  The cute blue fabric was on the clearance rack, for reasons I have no idea of.  The bright accent fabric was some gorgeous stuff that was given to me as a gift from London.  It is so perfect with that blue!! I like that sometimes you have to hold on to something for a little bit and then its reason for being comes forward. How fabric deep!

I hope you have a wonderful Thanksgiving and all things end of fall!
Kelly   
Just a little dog lip for your Holiday.