Showing posts with label christmas. Show all posts

Tuesday, November 24, 2015

Let the wonder begin....

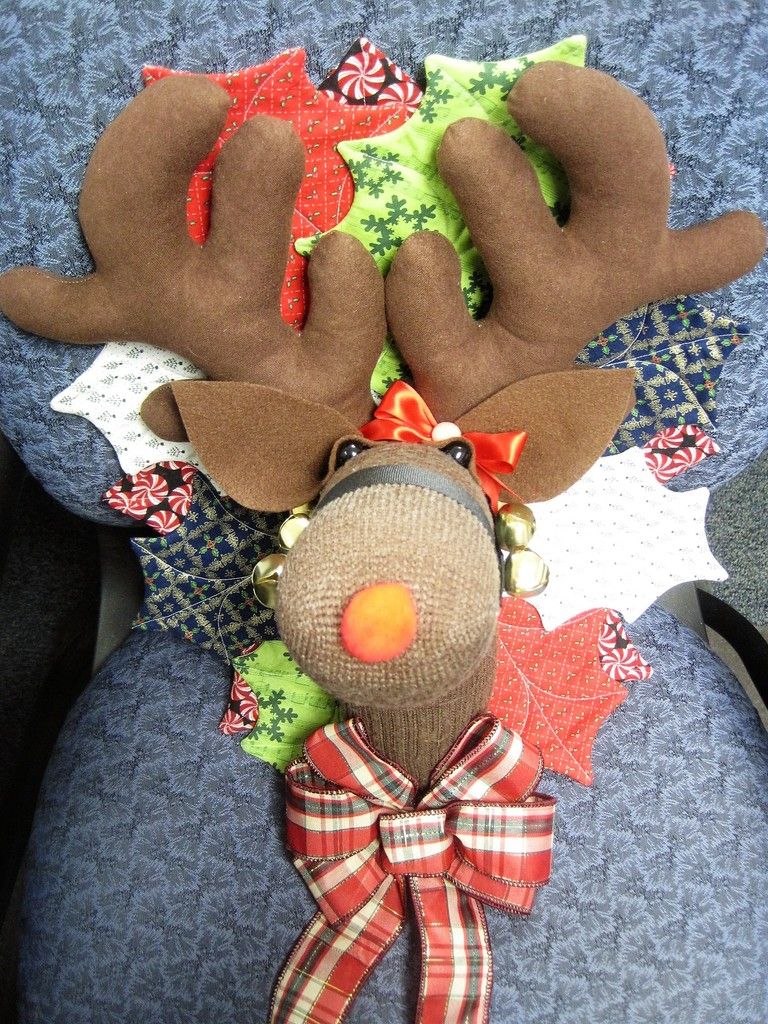
The homemade holiday gift giving has already begun in my household and it makes me so happy.  I had a friend of mine ask for a classic sock reindeer for her birthday present this year.  Her birthday is at the end of November and she wanted the reindeer to put up for Christmas so it was a better call as a birthday gift than an actual Christmas gift.
I have made four of these guys so far.  I found the pattern at a thrift store in Montana and I carried it around with me for for over a decade before I finally made it.  I started out with one for me and loved it so much I made one to share with my work office, then a friend in the office wanted one and offered to pay for one so I made her one for Christmas last year as a gift instead.  Another office friend loved hers so much she wanted one too! And so it goes.....  I know of at least one more I will make this year alone.

The pattern is amazingly fun and the instructions are easy to follow.  I was able to master sewing a curve after all the sewing of the leaves.  You can find copies of this exact pattern for sale on Etsy or maybe eBay.  The company that manufactured the original pattern in the 1980's has a website, and though I did not see that specific pattern for sale they had many really cute animal themed craft patterns!  I would recommend any Cotton Ginny  pattern, the end result is fantastic!   

I will be putting up more Christmas gifts as I finish them, I have a great Dr. Who cross stitch that I am almost done with and I am insanely proud of it!  I also have some quick dinner recipes to share to keep you warm and well fed during these busy weeks.

May your days be Merry and Bright!
Kelly

Monday, December 22, 2014

The Evil Ornament Challenge Part 2


If you read Kelly's last post you'll know a little about the title of this post.  I bought about six of these 4 packs of glass ornaments after Christmas from the clearance bin a couple years ago. Yep I said years. They were a deal too good to pass up being only .99 for a four pack theater was originally 3.99. They have been taking up valuable storage space in the craft room ever since. As Kelly mentioned I recently moved the craft room to the first floor of our house(reveal post coming soon) and decided to purge them in the best way I know how....a Crafty Challenge!  The only rule was that you have to make 4 different ornaments, medium was up to the crafter.

I'm all about glitter this year so I knew it would play a part of at least a couple of my ornaments.  Here is instructions on how to apply the glitter to the inside of the ornament.  Other than that I winged it the whole way.  Here's what I came up with.

In true Anita's-fashion I couldn't just stop at the assigned 4 ornaments. There were two additional rogue ornaments in the storage bin so I decided to do something with them as well.  So here's the run down of what I did with each one.
I took inspiration from a Santa ornament somewhere on the net for this one. Inside was coated in fine red glitter and suit elements were made from ribbon.  A classic look.

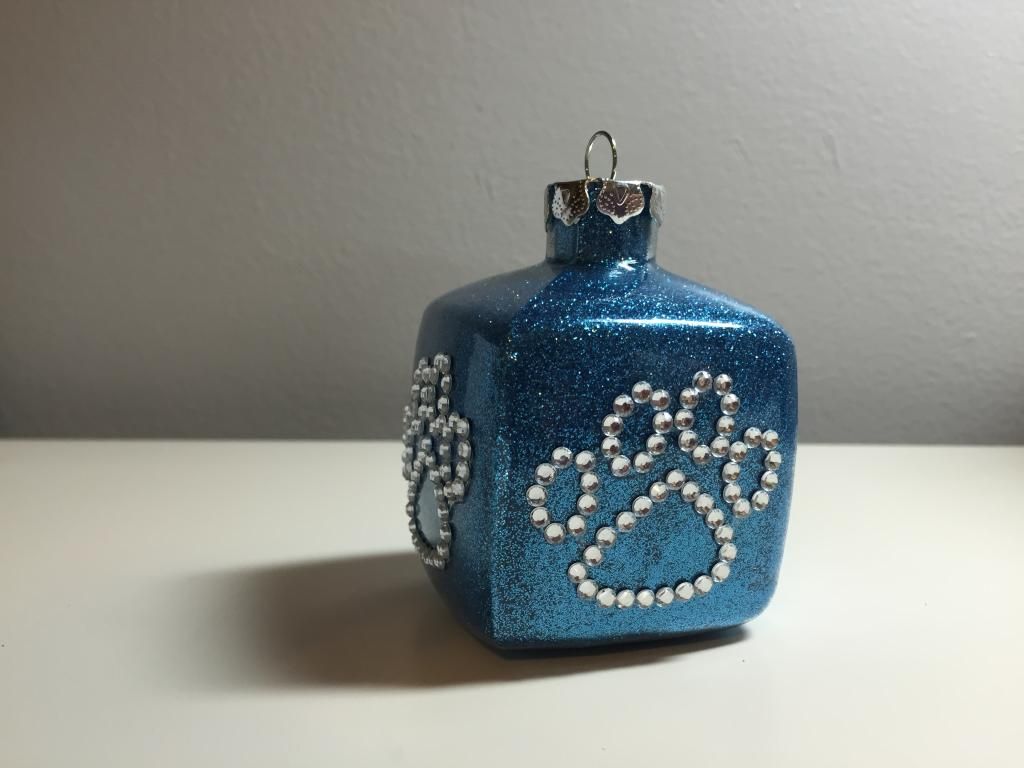
This was the easiest of all six. I coated the inside with blue glitter and stuck on rhinestone paw print stickers to all four sides. That's it!

In contrast this was the ornament that took the longest. I sifted through my button jar and found enough festive red buttons to plaster the exterior of my if my blanks.  This was a little like putting together a jig saw puzzle.  After all the buttons were hot glued in place I filled it with fake snow to make it look so much nicer.

Then there's the polka dot glitter ornament. For the remaining ornaments I painted the outside with glass specific paint, baked them according to the bottle instructions and then filled the interior,  I felt it needed a little something extra so then came the bow.  This one may become a gift.

The snowmen were pretty easy aside from using a super tiny brush to paint their features.  The hubby even picked out the glitter color from my stash because I couldn't decide.  GREAT CHOICE!

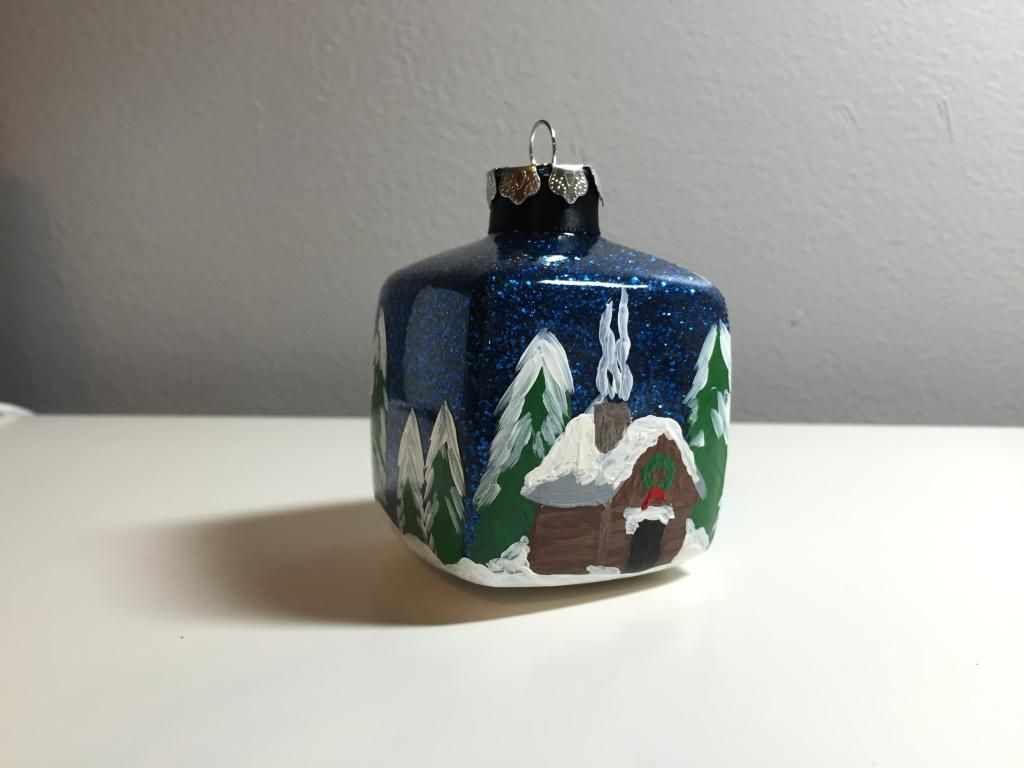
And then there is my favorite.  I painted on this woodland cabin scene and then coated the inside with a dark blue glitter.  Its like a twinkly star christmas night.  Really proud of this one.

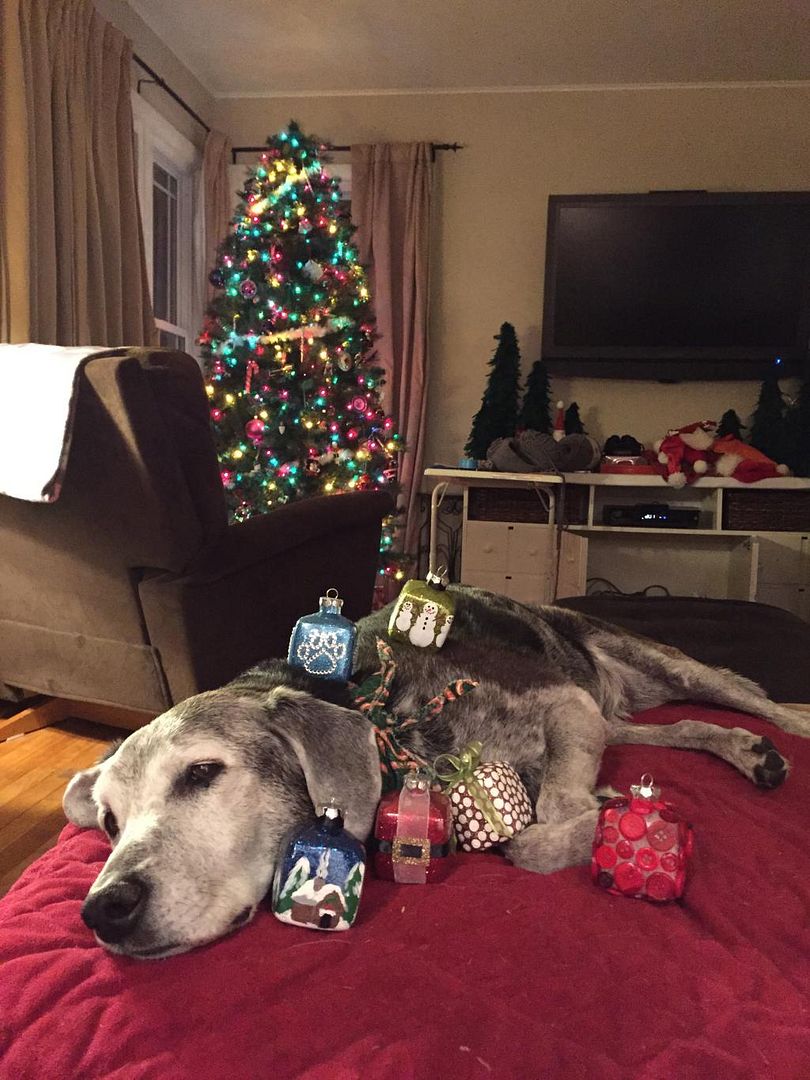
Sadie liked them all so much that she tried to decorated herself instead of the tree with them.
Nice try, adorable old dog.

Craft on!
Anita

Tuesday, December 16, 2014

The Evil Ornament Challenge

My co-blogger was kind enough to start a challenge this Christmas: The Christmas Ornament Challenge.  The inspiration for her challenge was cleaning of all the crazy things.  Anita moved her craft room downstairs and in the process did some cleaning and organizing of the cool bits and nubs one might find in a well stocked craft room.  The new room looks amazing, is quite spacious and comfortable, and the windows let in the crazy amount of light so as to inspire your inner most artist, tres awesome!  While working through this transfer of creativity she found several four packs of glass ornaments she had purchased at a deep discount for a Craft Club project two or three years ago.  Well what does one do with several boxes of plain ornaments, you trick your friends and relatives into taking them while baiting them into a false sense of security with a smile and a gentle tone of voice.

"Hey would you like a box of these? I have several and I can't use them all".
"I bet I could think of some....."
"Too late! You touched it now you have to take it! This is the Ornament Challenge, you have to create four different ornaments and post it in December".
(this whole exchange she did with a big ole smile on her face)

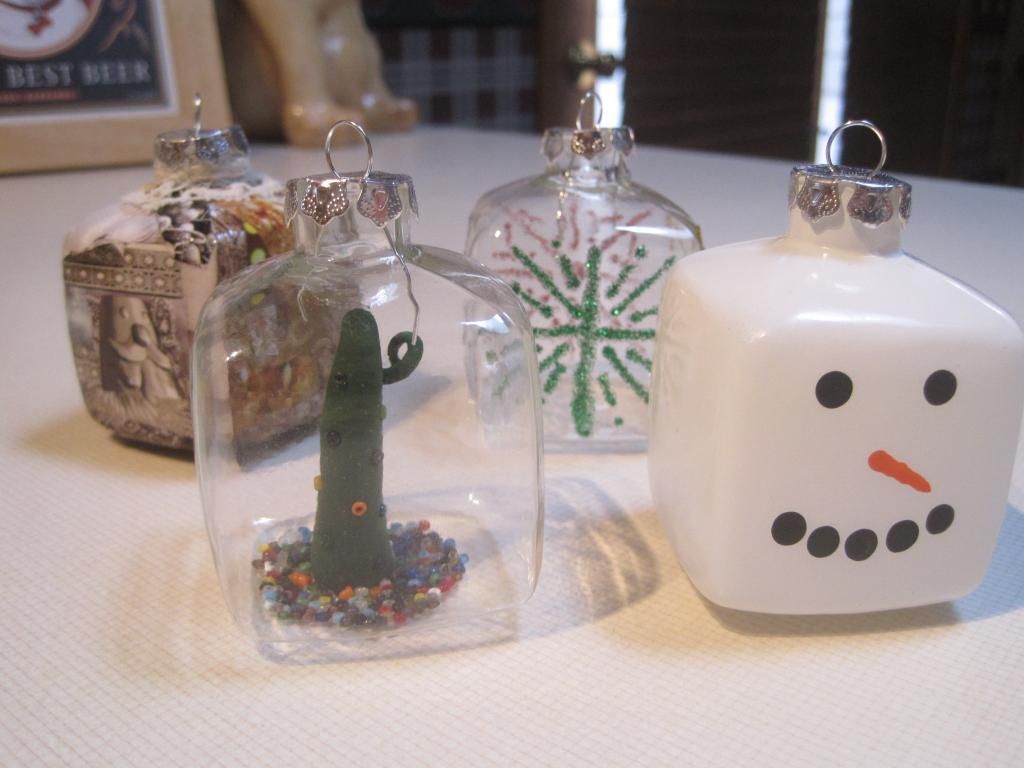
These little glass squares brought me much consternation as I pondered my approach to the challenge at hand. I could think of two or three different styles but I could never quite get to four.  Alas, would I never be able to complete the challenge and be saddled with these little glass squares of doom until the end of eternity?  I think not, the idea finally came to me on my commute home one day.  Kids crafts!  I would decorate my ornaments using the mediums I so adored as a child: clay, glitter, paint, and collage.    

The first one was Paint.  I wanted to make a snowman out of one for sure, I had that idea right away when I was still unsure of how I would approach this bunch of Christmas cubes.  I sprayed him white, used a Q-tip for the eyes and coal smile, and painted on a cute little carrot nose.  He is so happy looking.  This guy took all of ten minutes, not including dry time.

My second inspiration was Glitter!  Oh how I loved glitter as a little girl.  I wanted glitter on every craft project I did back then.  I got some glitter pens and drew different colored glitter snowflakes and all four sides of ornament.  I tried to make them all different, which is why they kind of really look homemade but that makes me love it even more.

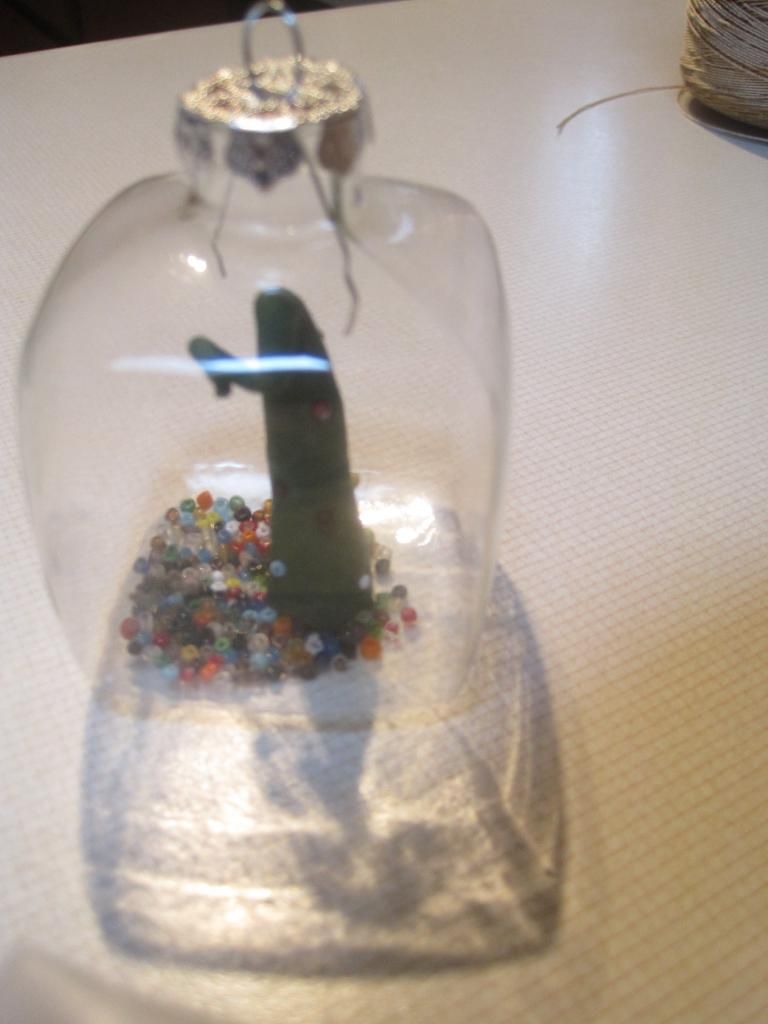
The third option was Clay.  The only clay I had was some Sculpy so I went with that.  I was jubilant to find I had a dark green in my stash as my idea was to do a Christmas tree.  I had to make it thin enough to be lowered down into the cube through the hole in the top.  I decorated the tree with colorful seed beads and gave it a curly top for an increased sass factor.  I glued him to the bottom of the cube and poured in some extra seed beads, they sound so nice tinkling around on the glass.

Finally I did Collage.  The ornament was created by cutting out lots of brightly colored clippings from a Pier1 catalog and modge podging it onto the glass.  I peeked in through the hole in the top occasionally to make sure I wasn't leaving any naked holes in the paper. I added a little touch of lace to the top to dress it up, it needed something to bring it together and helps it look a little more antique-ish.

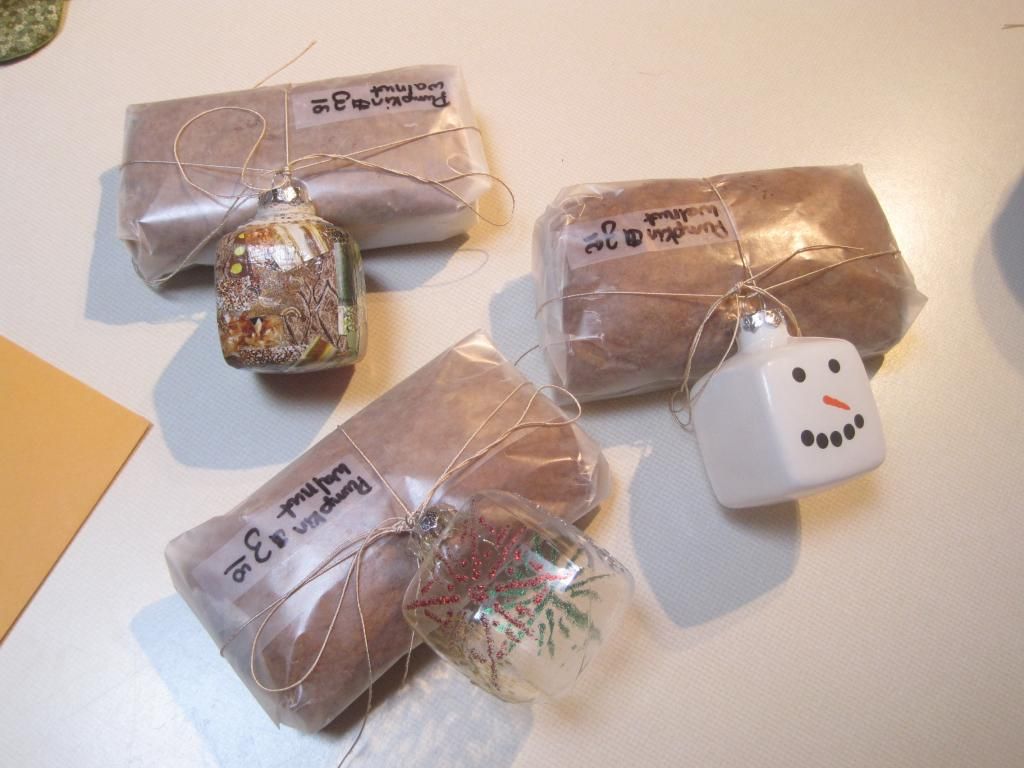
I like how happy it made me getting to delve back into my past and make these ornaments.  Three of them were attached to small loaves of pumpkin walnut bread and donated to Animal House Shelter for their bake sale.  There was one I liked too much to give away, the clay one, so I kept it for my craft room for inspiration.  Keep on keepin on, the 2015 crafts will be here soon!

You're up Anita!
Kelly

Saturday, November 23, 2013

Free Christmas Embroidery Patterns!

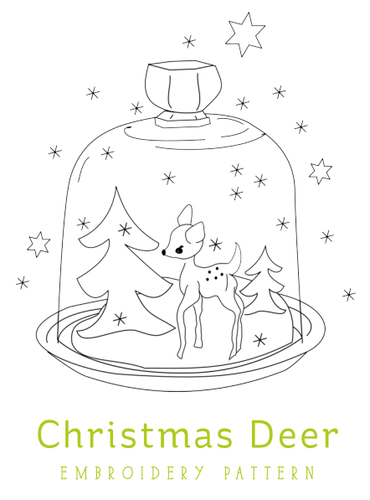
OK so I've been hard working on christmas presents for friends and already have two done!  That's a record for me at this time of year.  Since everything I'm working on is a gift I figured I'd share some of my fave free christmas embroidery patterns in case you still have some gifts to plan.  Any of these would make a great framed gift or an ornament for a decked out tree.  Happy Stitching!


Stitch on!
Anita

Tuesday, December 18, 2012

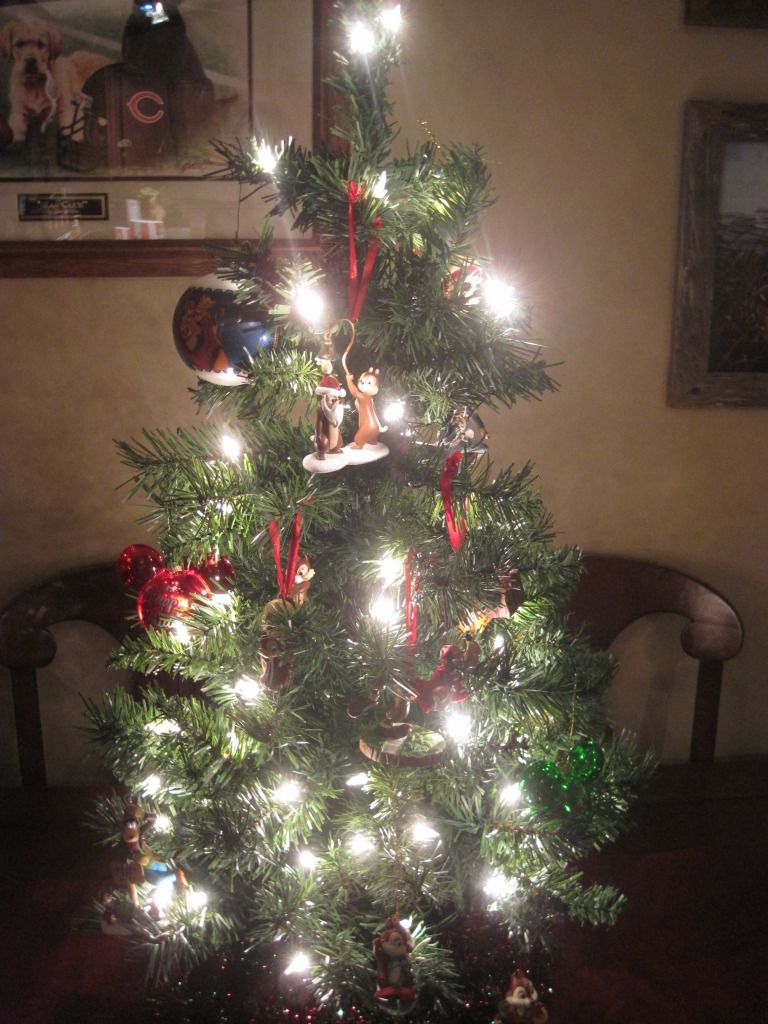
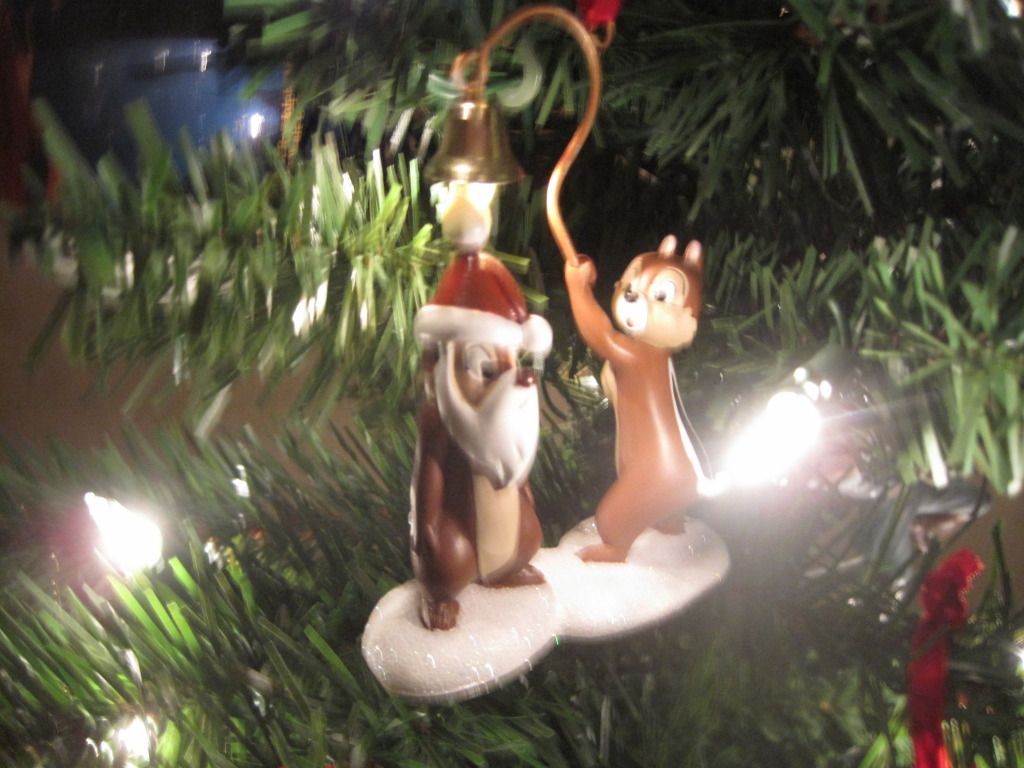
Have yourself a very Disney Christmas


Wishing you all a very Disney Christmas!
May your holidays be filled with fun shenanigans!
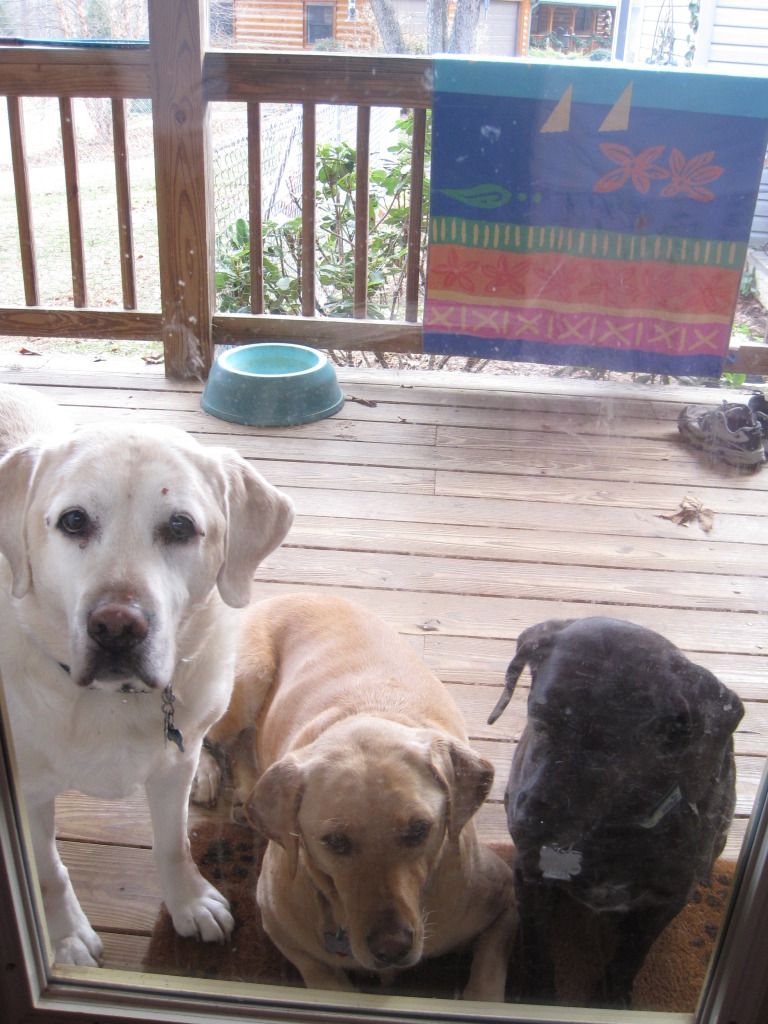
And all your dog days be merry and bright!
Have a wonderful and joyous season.

Kelly, Sage, Sprout, and Abby

Monday, December 17, 2012

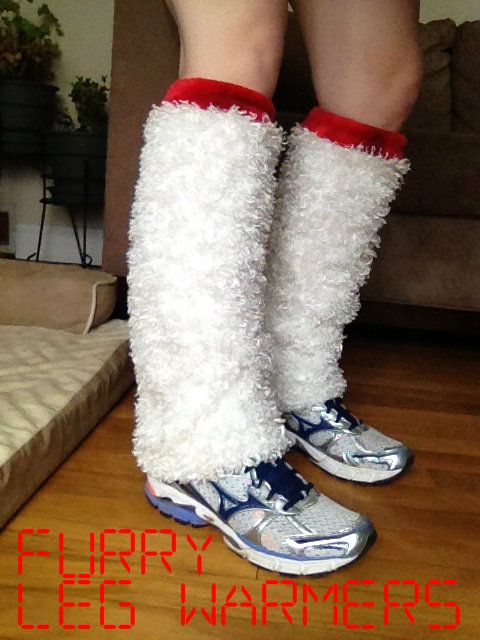
Furry Leg Warmer Tutorial

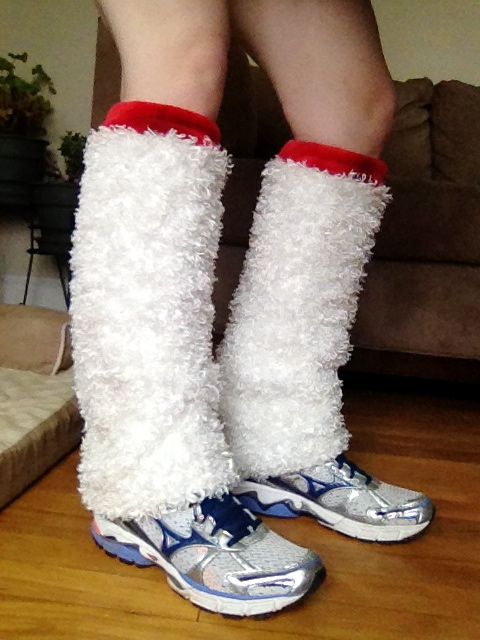
Here's part two of my accessory package that I wore to the Ugly Sweater Run in Chicago this month.  Check out the tute for my stocking hat.  Who wouldn't want to look like a yeti when you're running in the winter?

Supplies
3/4 yard of furry fabric
3/4 yard of fleece in same color (I used micro fleece to keep it nice and thin.)
1/4 yard of red fleece for trim
No roll elastic
Glue gun
Sewing machine with white thread

1.  First measure your leg from the middle of your knee to the floor, this will be referred to as A.  Now measure the circumference of the thickest part of your calf, we will call this B.  Cut out two rectangles A wide by B long, lining B parallel to the stretchy grain, of your micro fleece.  This will be the lining for your leg warmer.

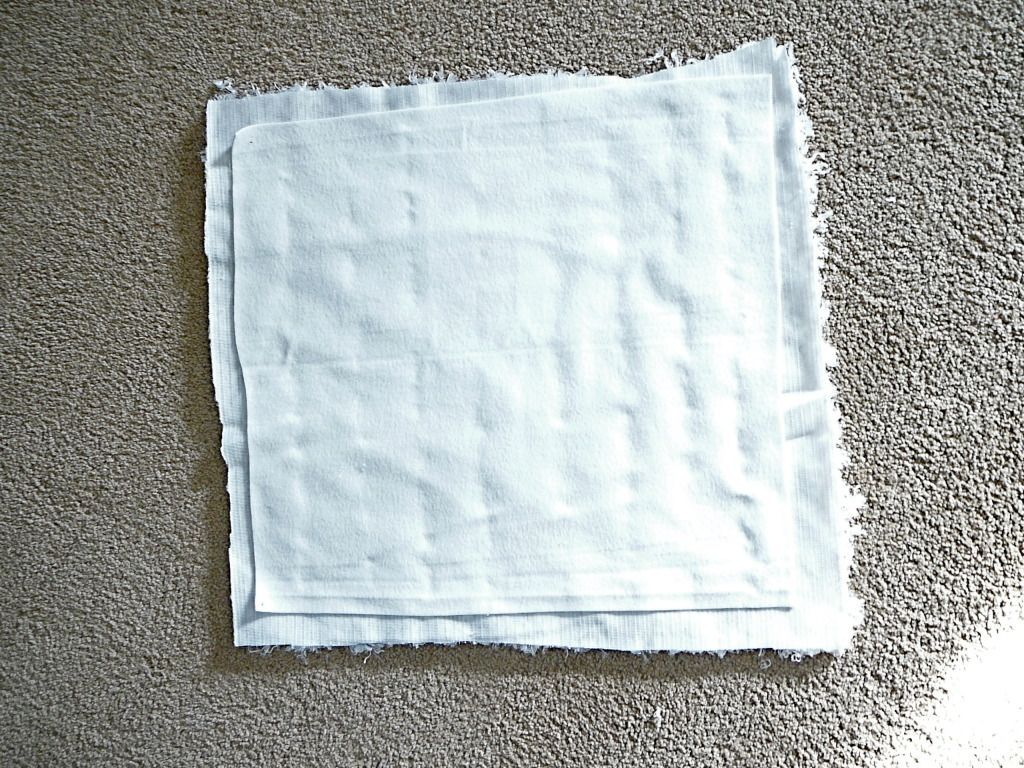
2.  Take your furry fabric and cut two pieces a few inches larger than your rectangles from step one.  Make sure to match up the stretchy grain on each piece and get your glue gun warmed up.

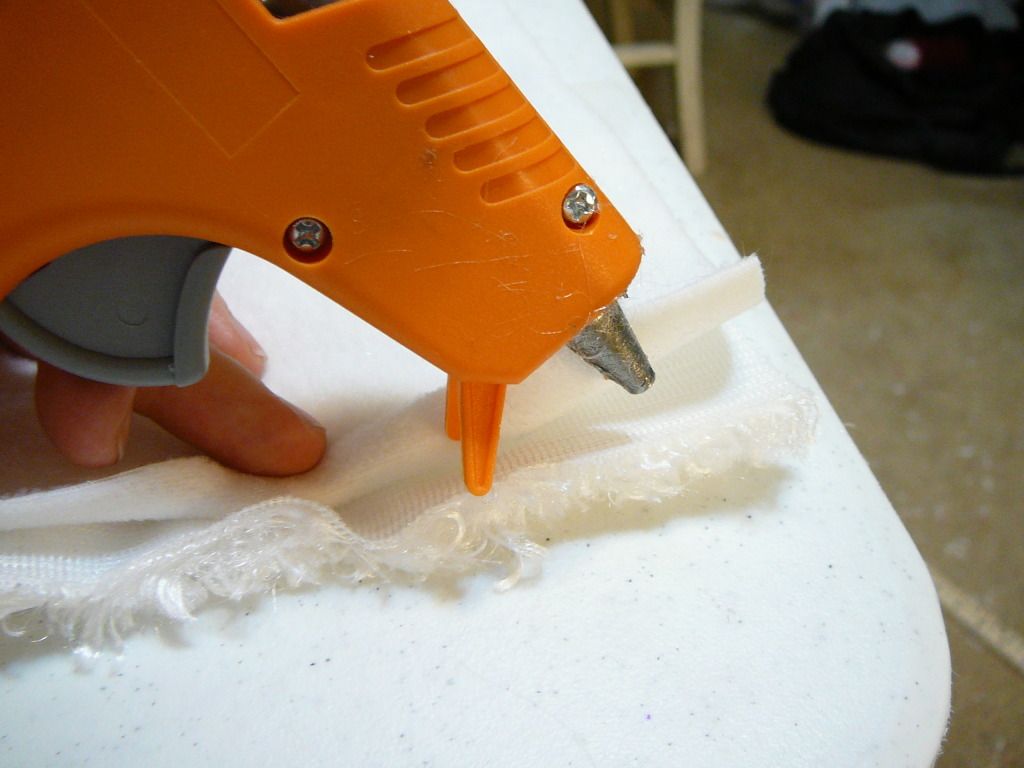
3.  You'll use your glue gun to tack these two layers, furry and fleece, together every few inches.  Also make sure to glue along the hem line, which will be one of your B sides.  Fleece doesn't fray so this will substitute for stitching a hem and the fur hides the edge even if it isn't perfect. *NOTE* I recommend running your tacking/gluing lines perpendicular to the stretchy grain of your fabrics.  This will allow your fabric to stay stretchy.*
This hem line is along one of the B sides.  Glue as close to the edge as you can.
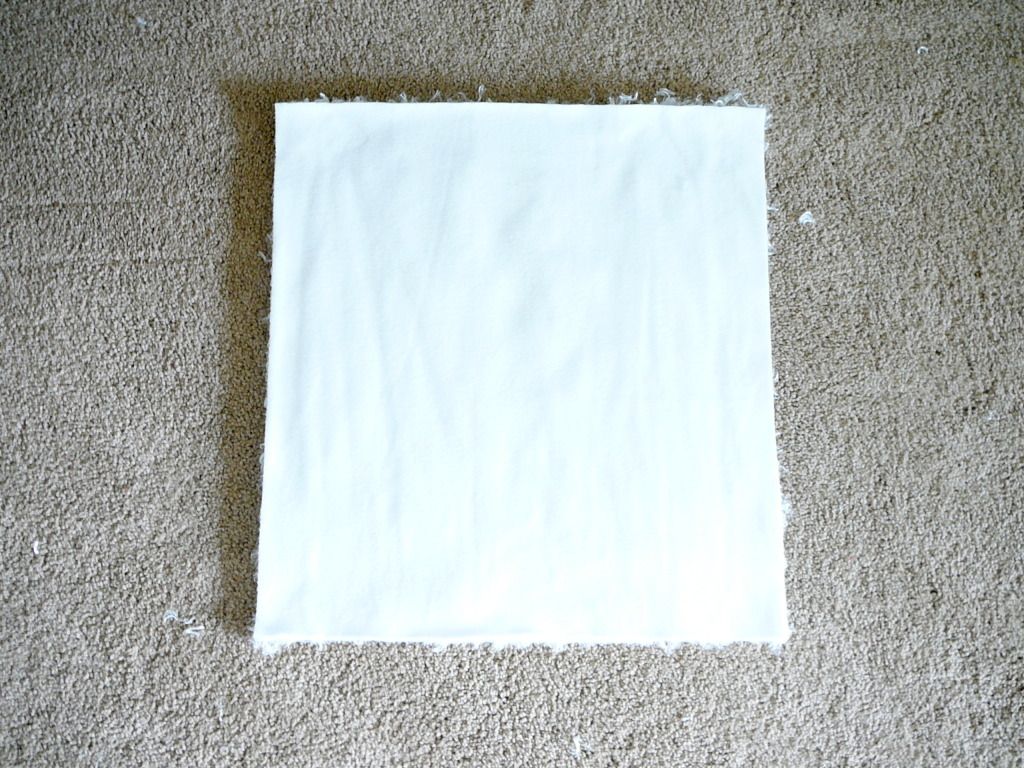
4.  Trim off the excess furry fabric around the fleece rectangle.

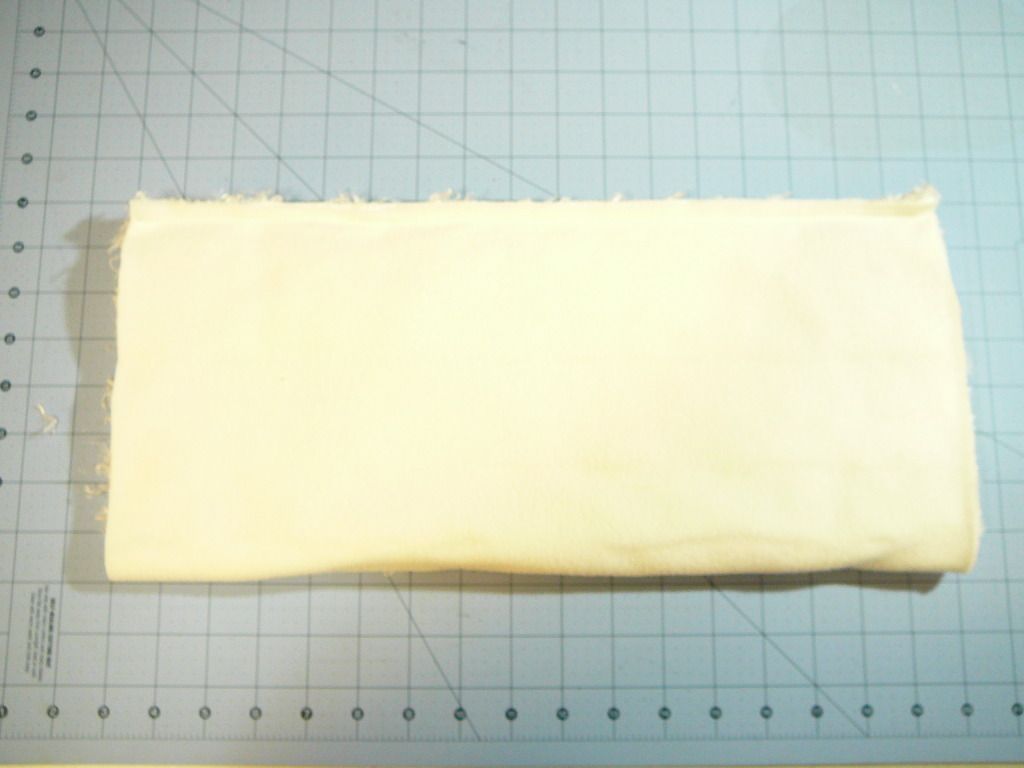
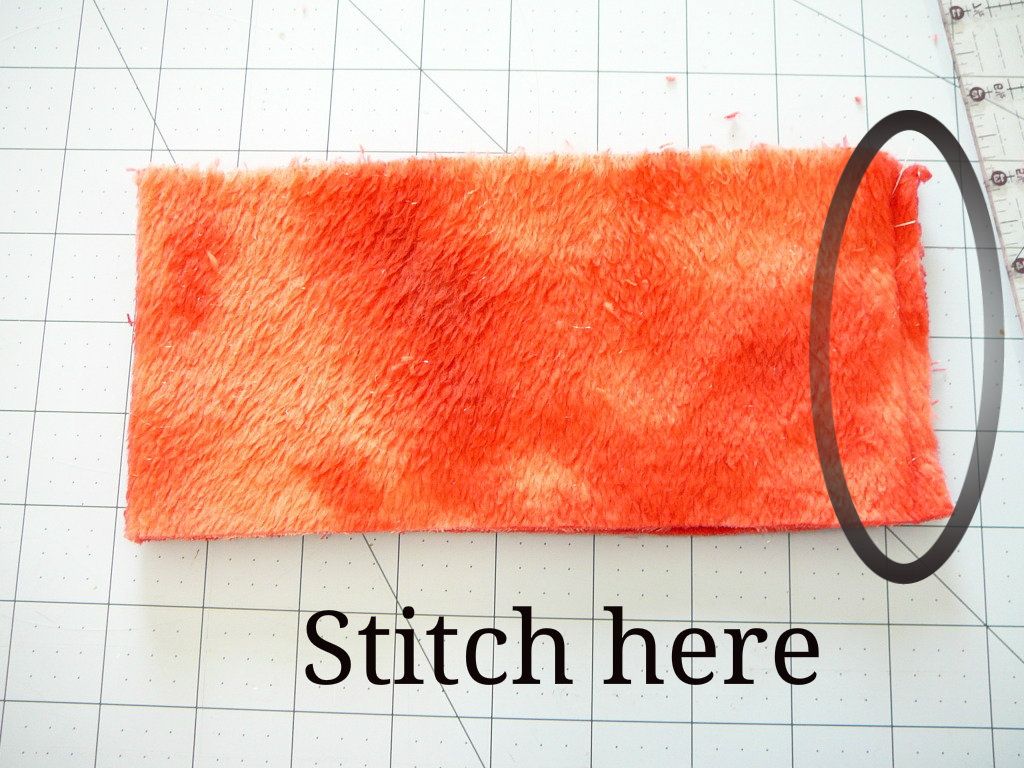
5.  Fold rectangle in half along the B side and stitch down the entire side.  This will result in a tube.

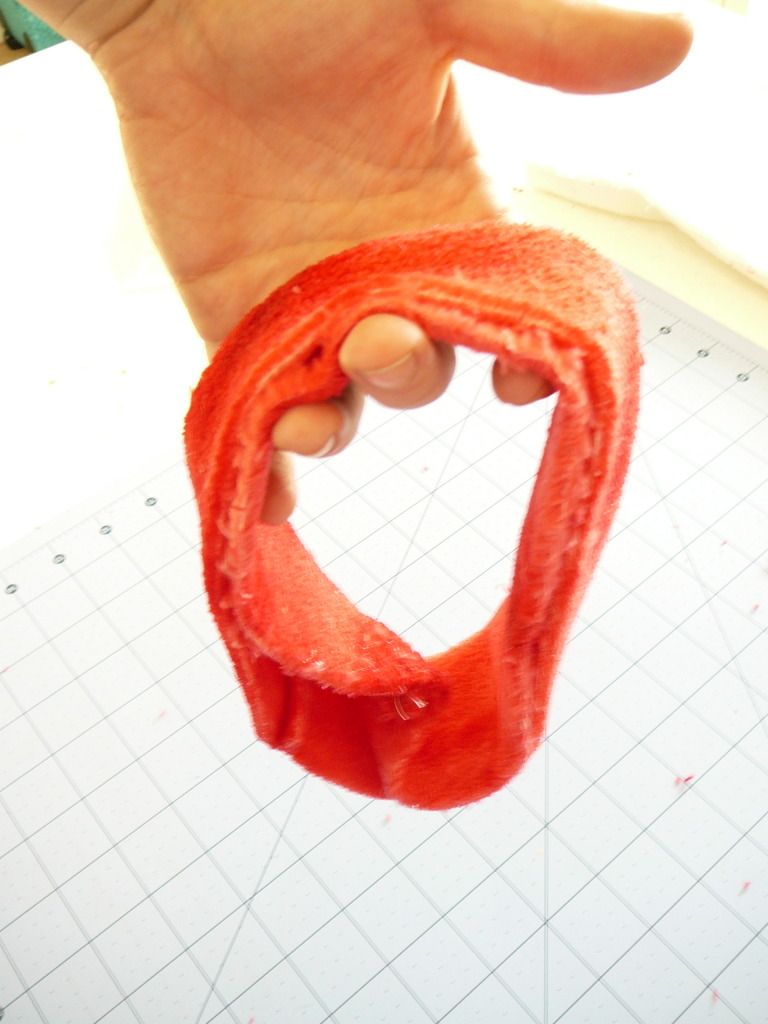
6.  Take your trim fleece and cut a rectangle measuring 4 inches by your B measurement, lining the stretchy grain parallel to B.  Fold it in half along B, right sides together and stitch the ends together.  This will make a loop.

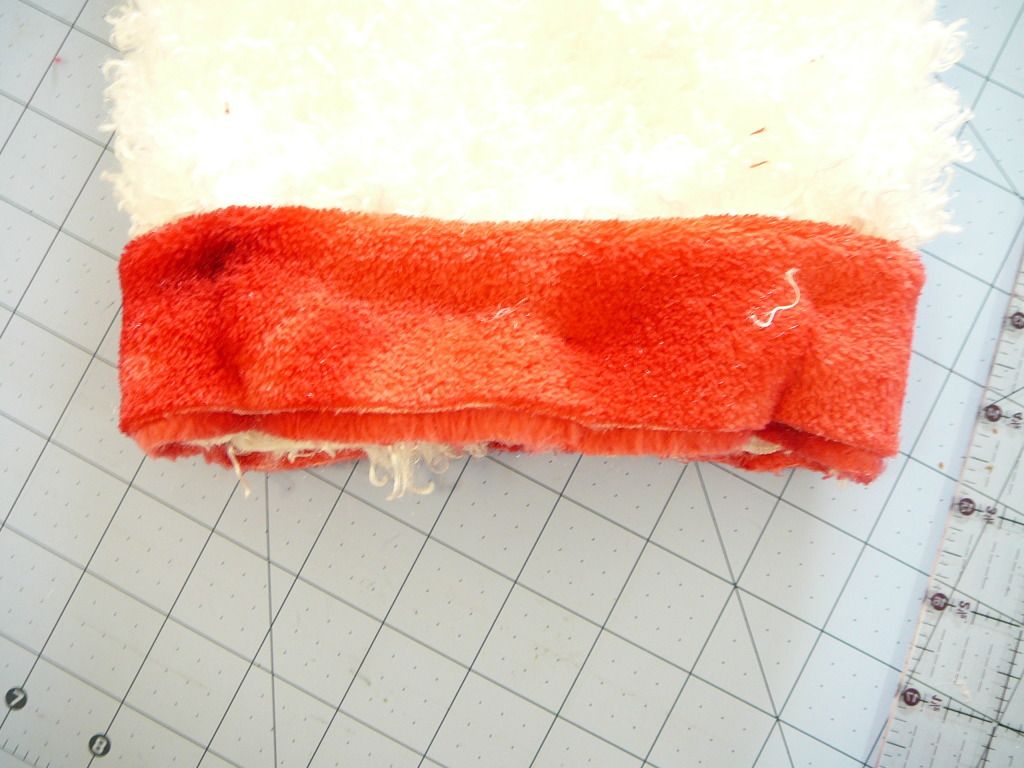
7.  Fold your red loop over so the two edges meet with the right side facing out.  Slide this over the top of your furry tube, that has been turned right side out, with all the raw edges lining up.    Stitch around this edge almost all the way, leaving a space to insert your elastic.
Here's your loop folded over.
I like to align my seams so they are continuous from the top to bottom.
Stitch along the raw seam at the bottom of this pic.
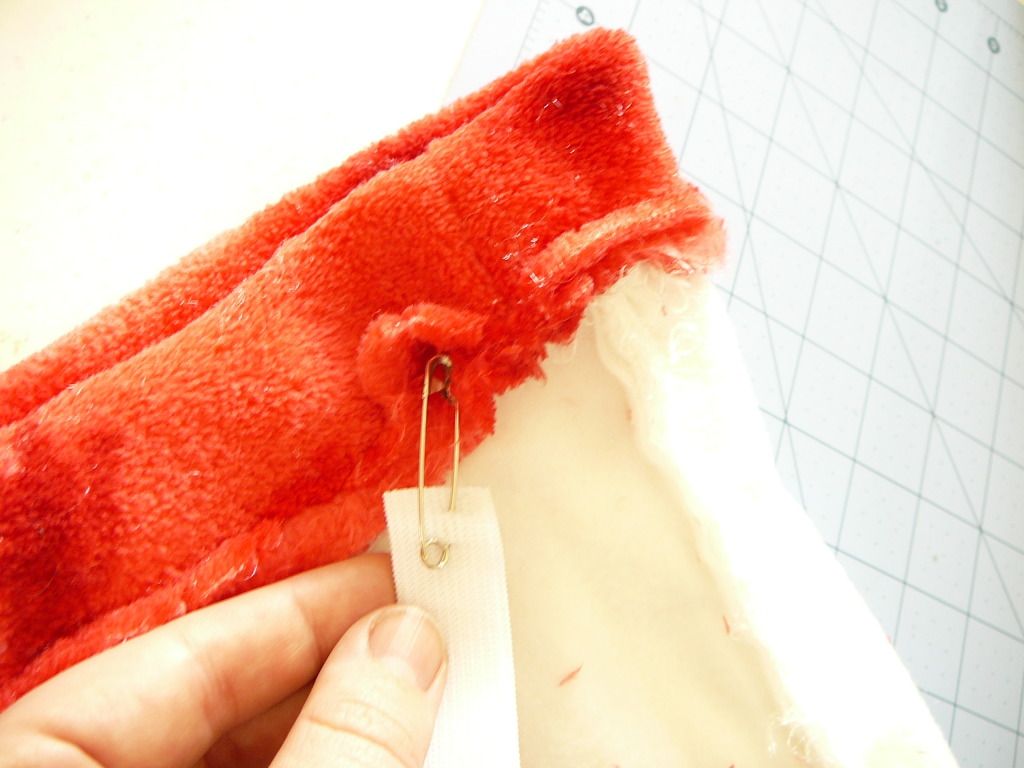
8.  Take a piece of elastic and wrap it around the base of your knee.  Make sure this is pretty tight so your leg warmers wont fall down.  Mark the elastic and thread it through the opening using a safety pin into the red band.
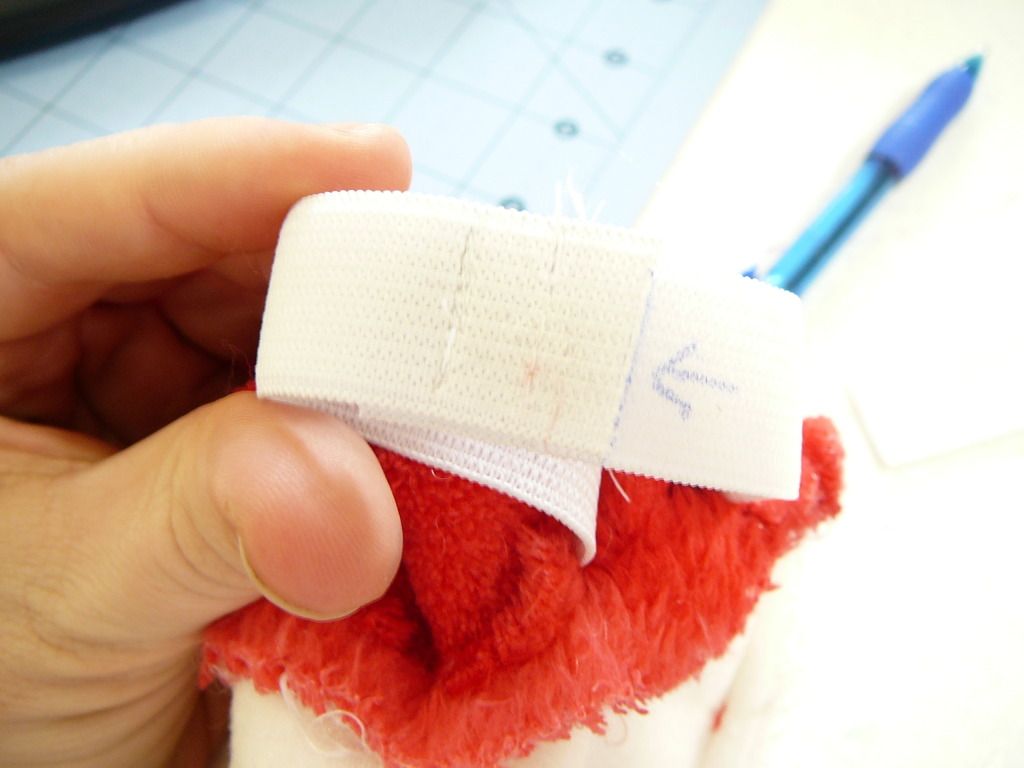
Sew the elastic together a few times where you marked it and close the opening of your fleece band by completing the space you left open earlier.
I trimmed off the excess elastic after sewing it together.
You can also kinda see I sewed it in three places for backup support.
 TADA! You're done!  

Now put them on with your ugly sweater and you're all set for Christmas.  

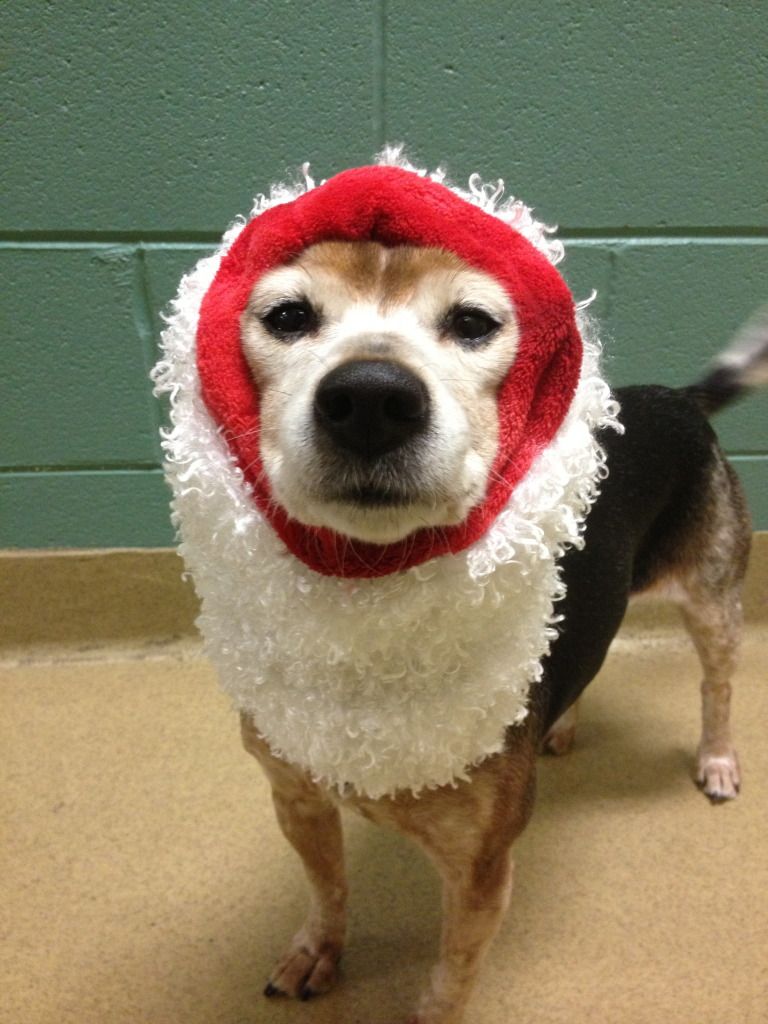
On a side note this leg warmer also doubles as a great neck warmer for your little pooch.  
Look how much Gidget loves it.  
Yes her tail is wagging therefore this isn't consider cruelty to animals.
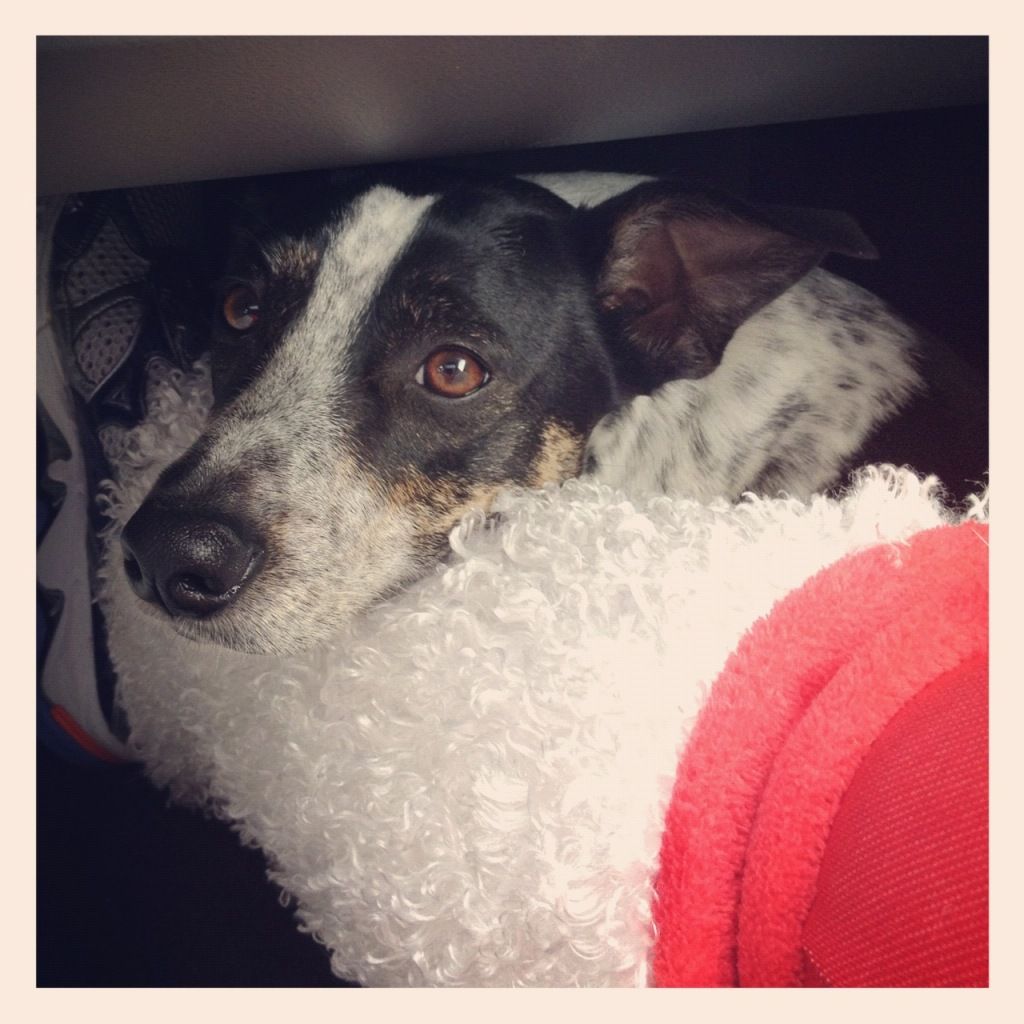
They also are great head rests for sleepy puppies.

Run on!
Anita

Tuesday, December 11, 2012

Easy Peasy Stocking Hat

A couple weekends ago I was one of the thousands of crazy people that did the Ugly Sweater 5K in Chicago.  Of course I had to make a couple extra accessories to go with my sweater that would also help to keep me toasty.  And yes I also made ugly sweaters for the dogs.
Supplies
1 yard Red fleece (this is more than enough!)
1/2 yard White furry fabric
Red thread
Small amount of fiber fill

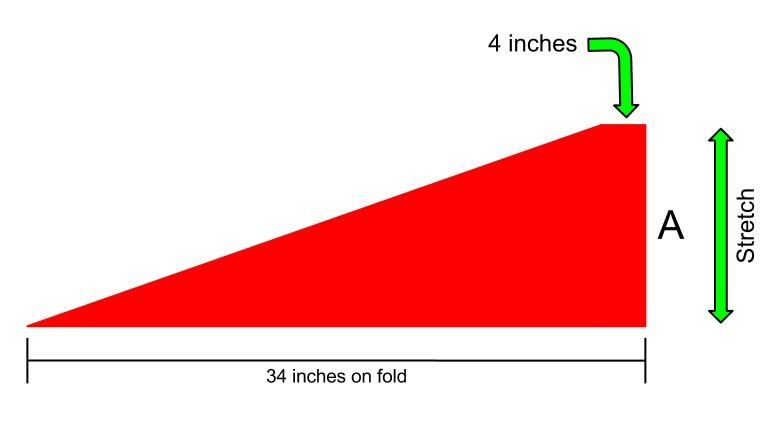
1.  First we need to make your pattern.  Measure the circumference of your head and divide by two.  We are gonna call this number A.  Now take a piece, or two, of newspaper and make a triangle like the one below.
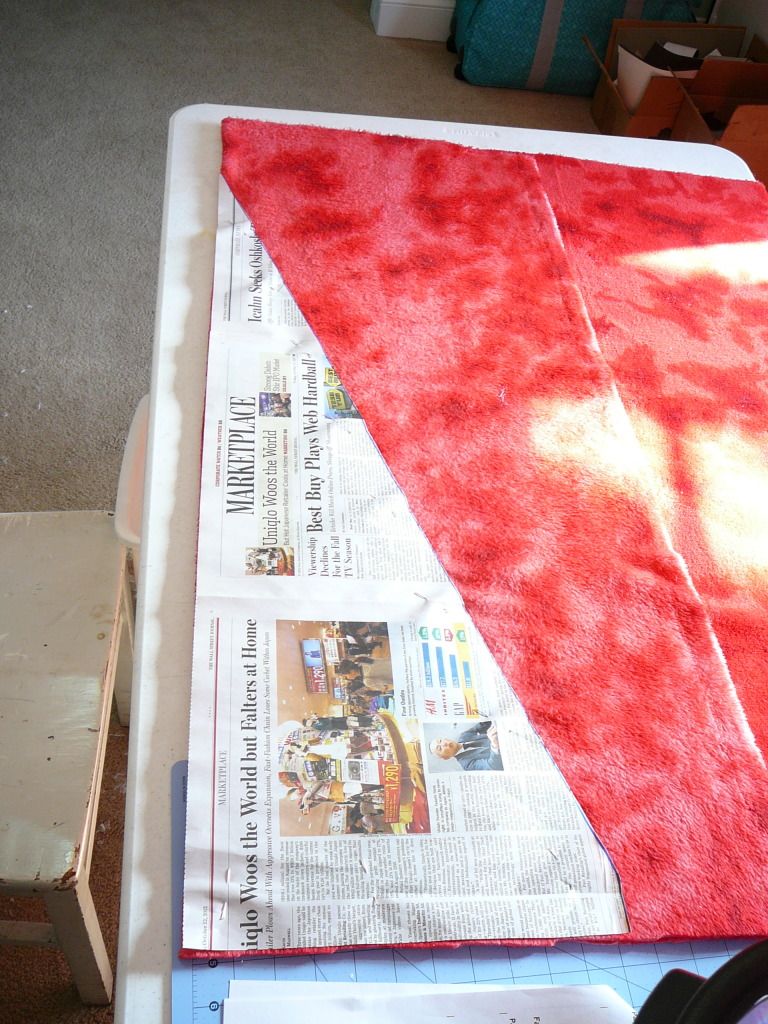
2.  Now fold your red fleece over and place your triangle pattern along the fold.  NOTE* Fleece has two different grains.  One is very stretchy and one is not.  Make sure you line up the bottom of your triangle perpendicular to the stretchy grain direction.  This will allow your hat brim to stretch around your melon when you wear it.

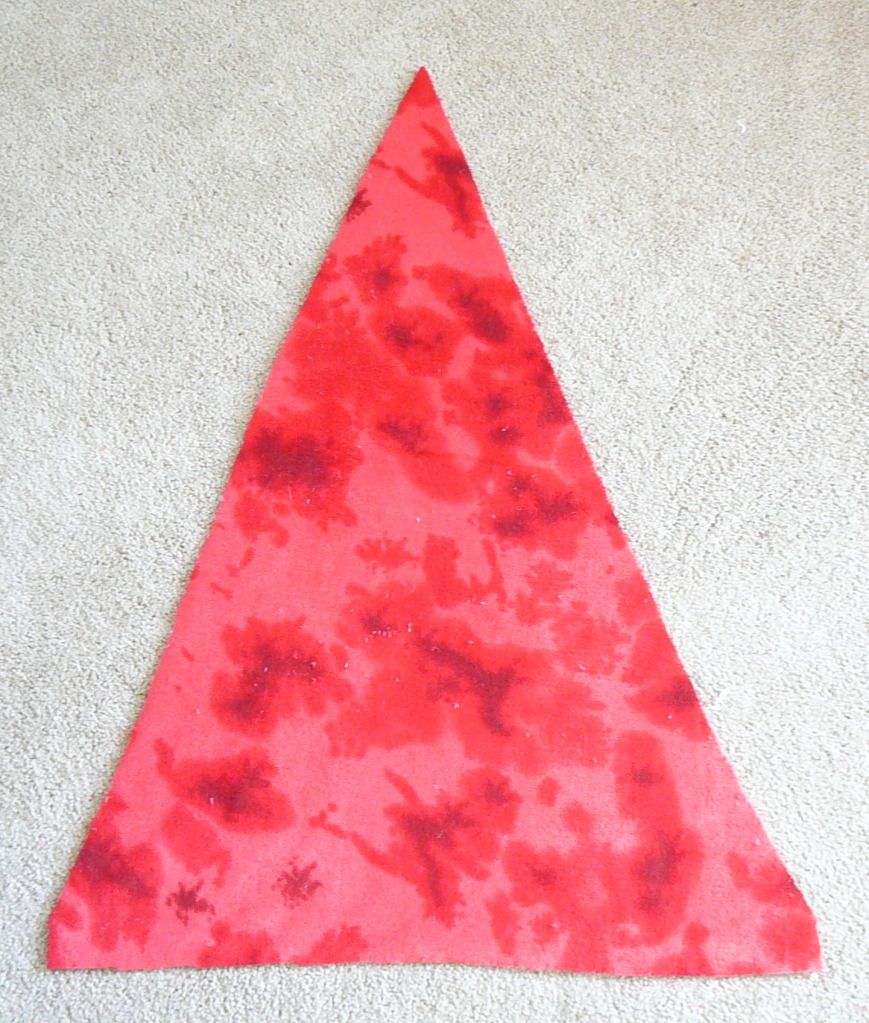
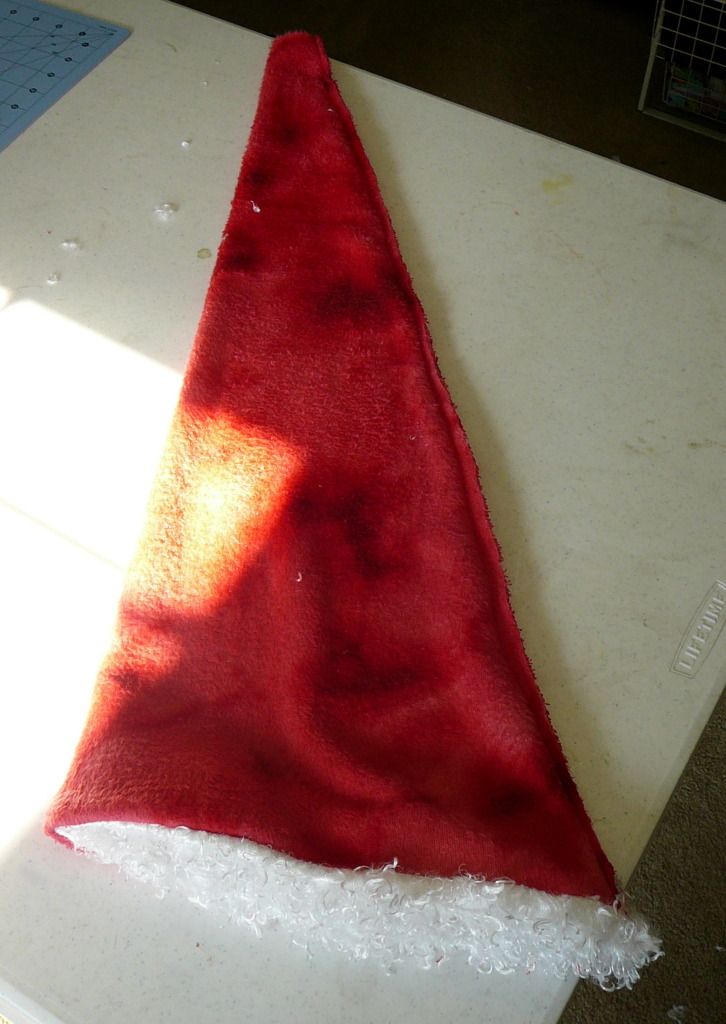
Trace and cut the pattern out of your red fleece.  Here's what the piece should look like when you open it up.

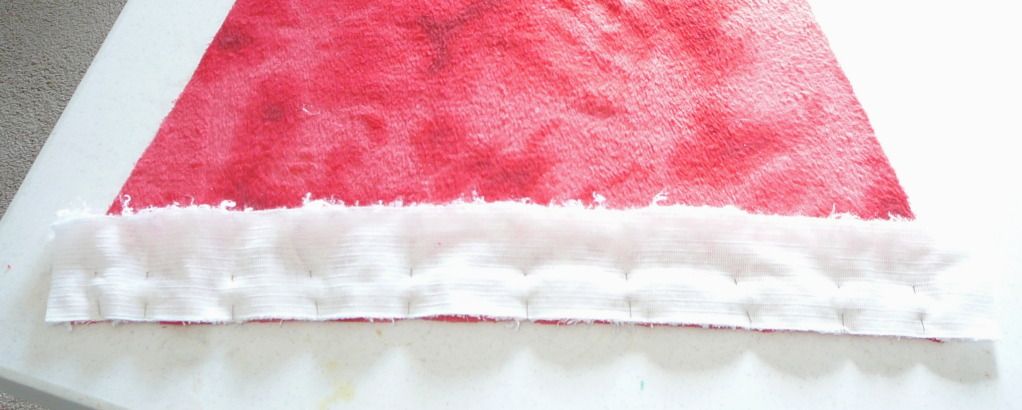
3.  Cut a piece of your white fur fabric 3 inches by your head circumference measurement. (Mine was 3 X 22 inches, and make sure to check if you have a stretchy grain to your fur.  Line the stretchy grain up with the long side of your fur cut out.)  Place this along the base of your triangle with the right side of the fur against the wrong side of your fleece.  (Yes, you can have a wrong side to fleece so check before you start to sew.)  Sew along the edge.

4.  Now flip your trim over so its right side out.  (This will hide the hide the seam.)  Fold your entire piece in half so it looks like it did when you first cut it out.  Sew up the side from bottom to top, leaving a little opening at the tip to affix your fur ball we are going to make next.  
Don't worry about your fur poking out the bottom.  Just make sure it's lined up along the side you are sewing,
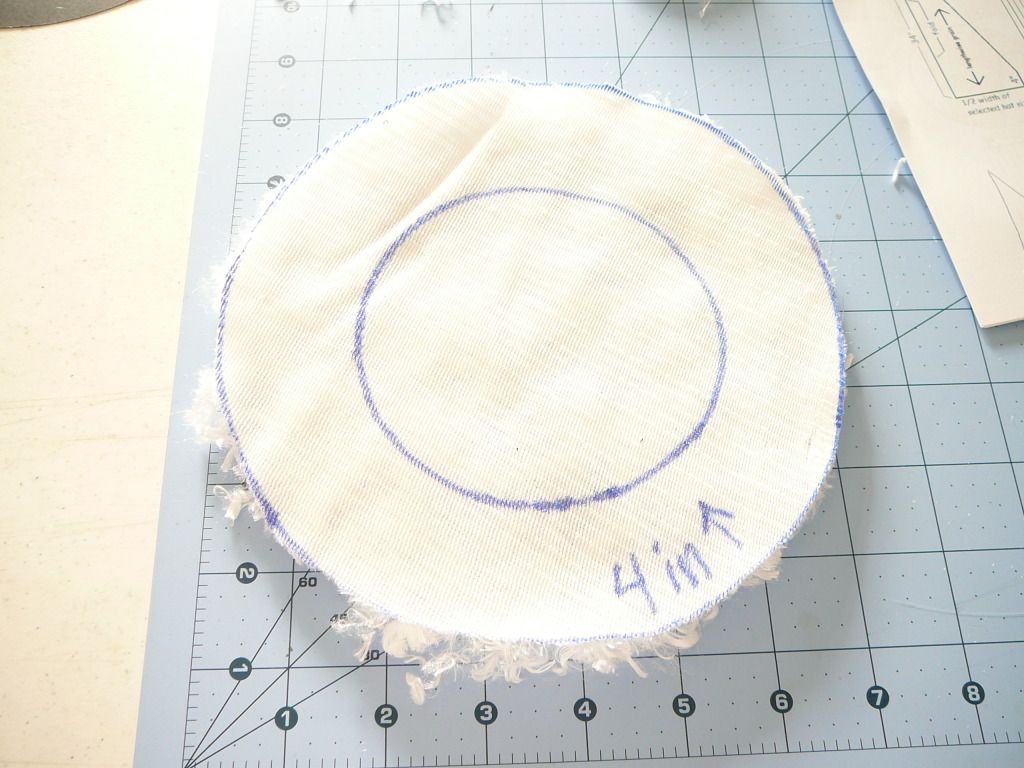
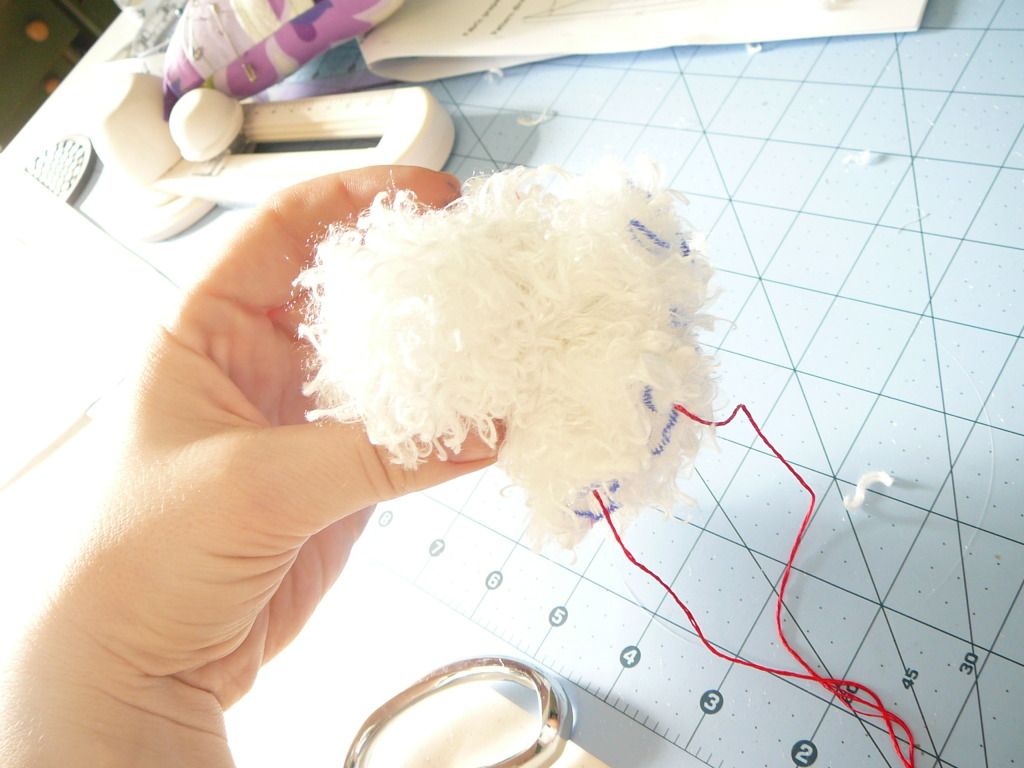
5.  Now we need to make the ball for the end of your hat.  Cut out an 8 inch circle of fur and trace another 4 inch circle centered inside it.  

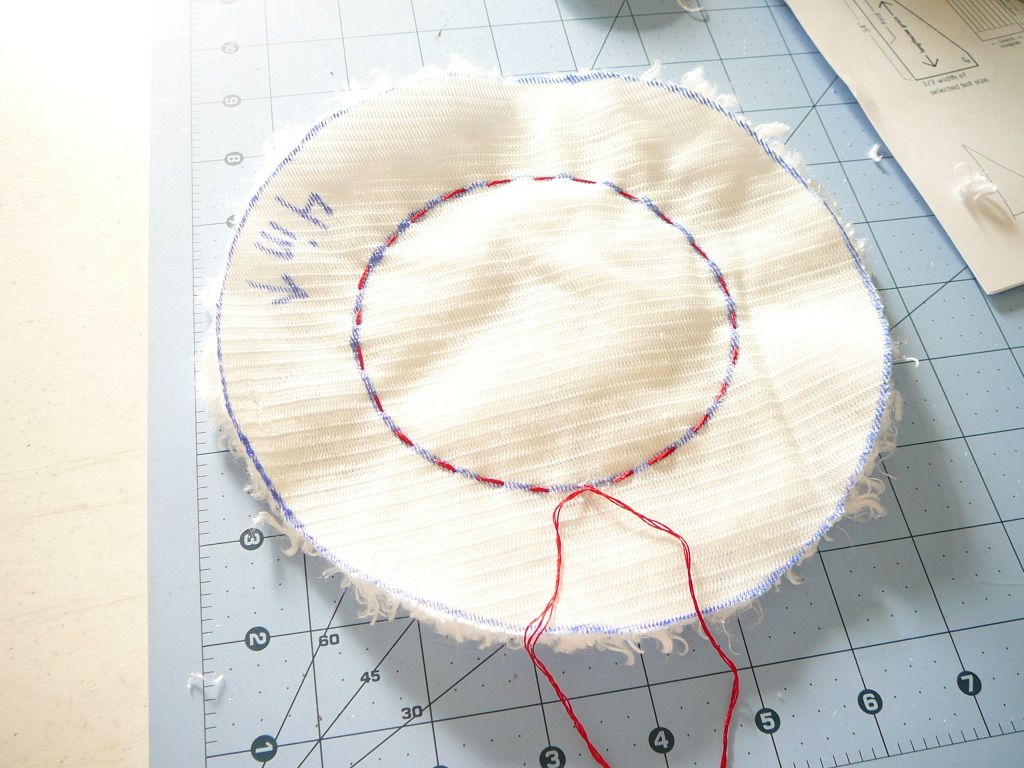
6.  Following the 4 inch circle sew a running stitch around the whole circle.  

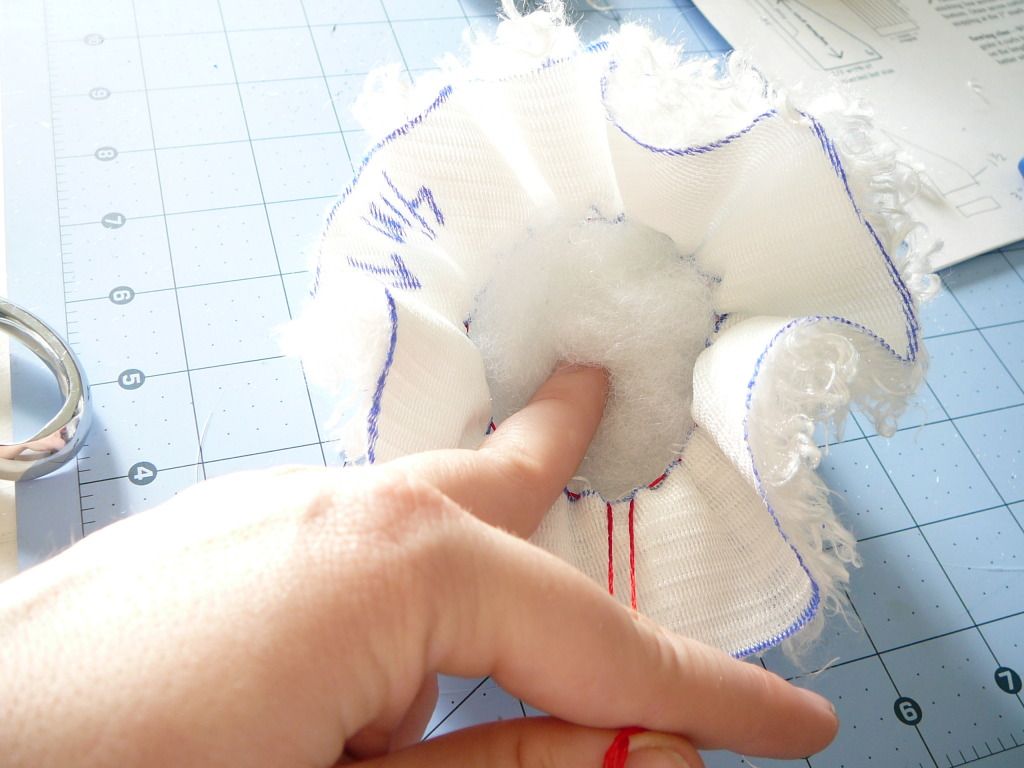
Take a small ball of fiber fill and place it in the middle of your circle and start to pull on the ends of your thread.  As you pull keep your stuffing inside the ball that forms.  Pull the strings tight and tie it off.  Your ball will look a little like the top of a lollypop.


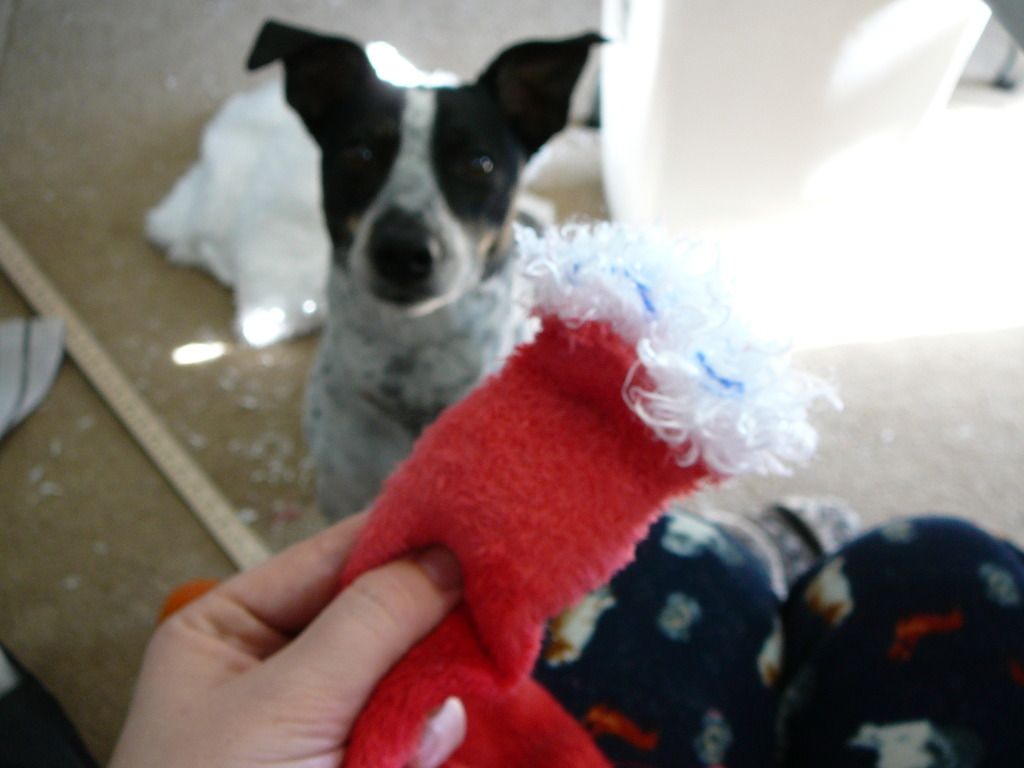
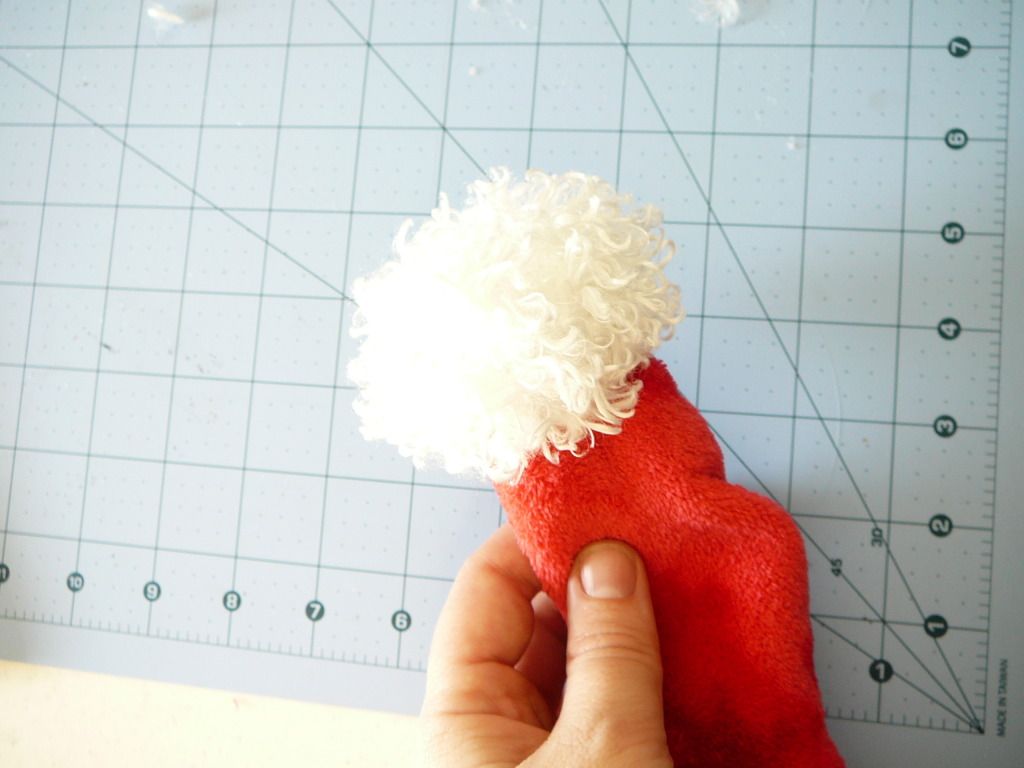
7.  Take your fur ball and stuff it in the tip of your hat that it still turned right side out.  The fringe end should stick out of the hat.  Sew across to join, making sure to stitch as close to your "red" thread as you can.  Trim off the excess fabric close to the seam.
Mr. Biscuit seems to think I'm making a dog toy.  Look at that focus.
Don't forget to trim all that excess fabric on the end.
Here's what it looks like right side out.  TADA!
8.  LAST STEP.  Turn your hat right side out and tack down the brim in a couple places so it doesn't shift.  You can do this with hot glue or hand sewing.  

DONE!
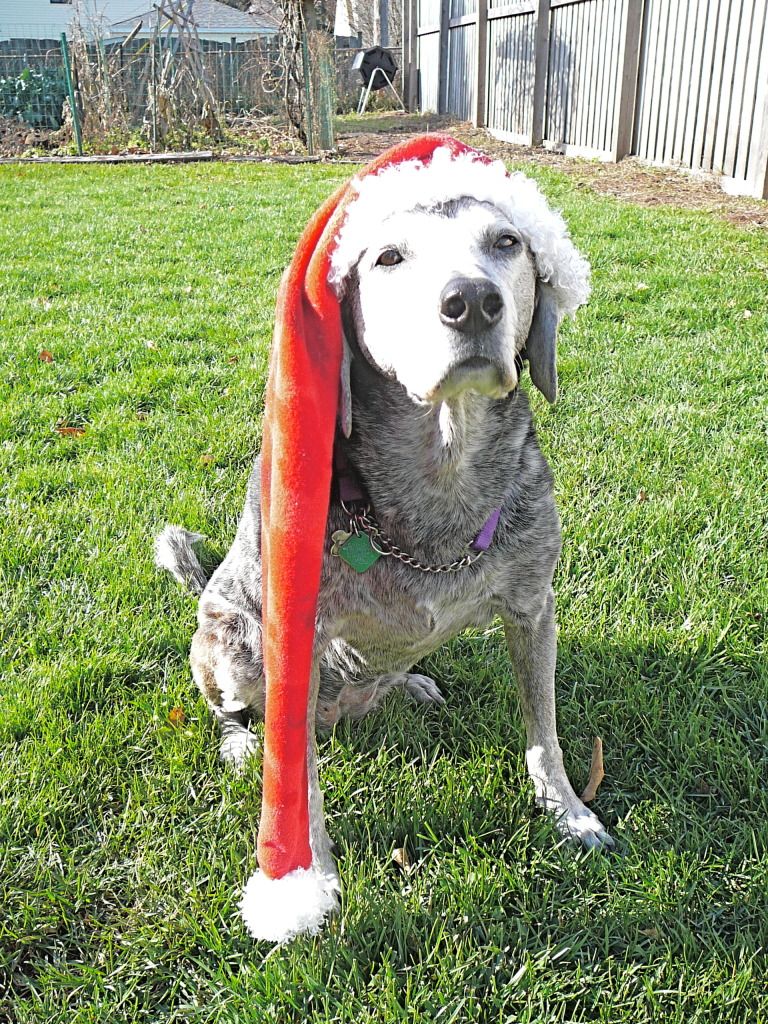
Now just embarrass your dog by making her/him wear your new creation.

 Wassail on!
Anita