Showing posts with label flowers. Show all posts

Tuesday, April 14, 2015

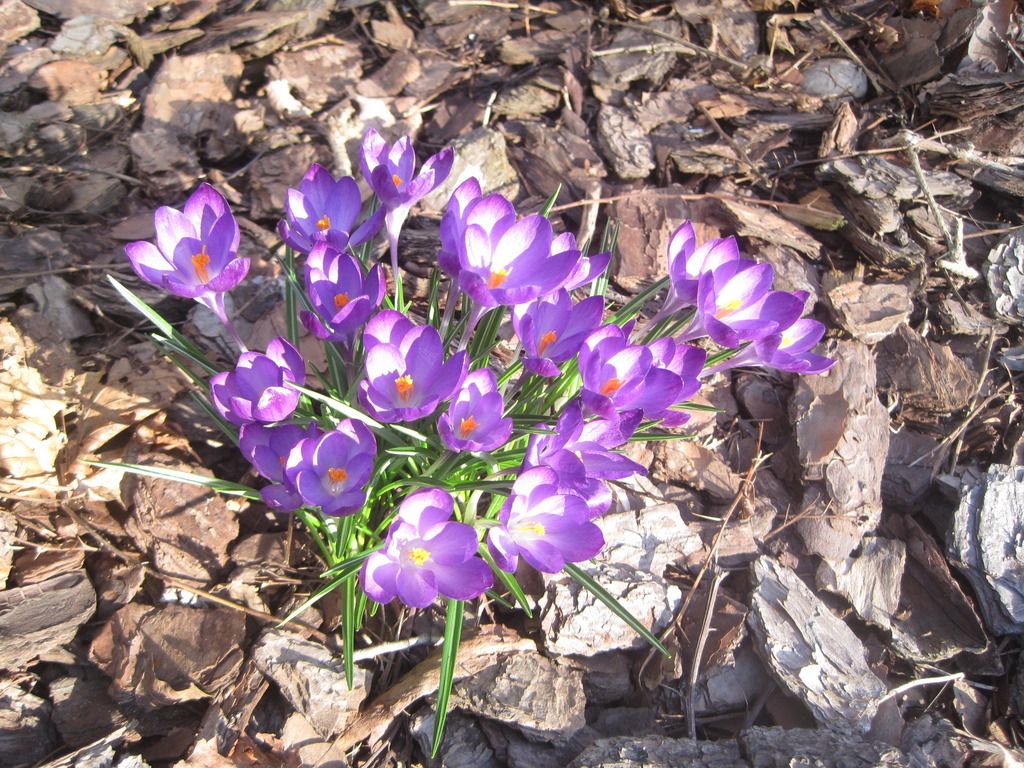
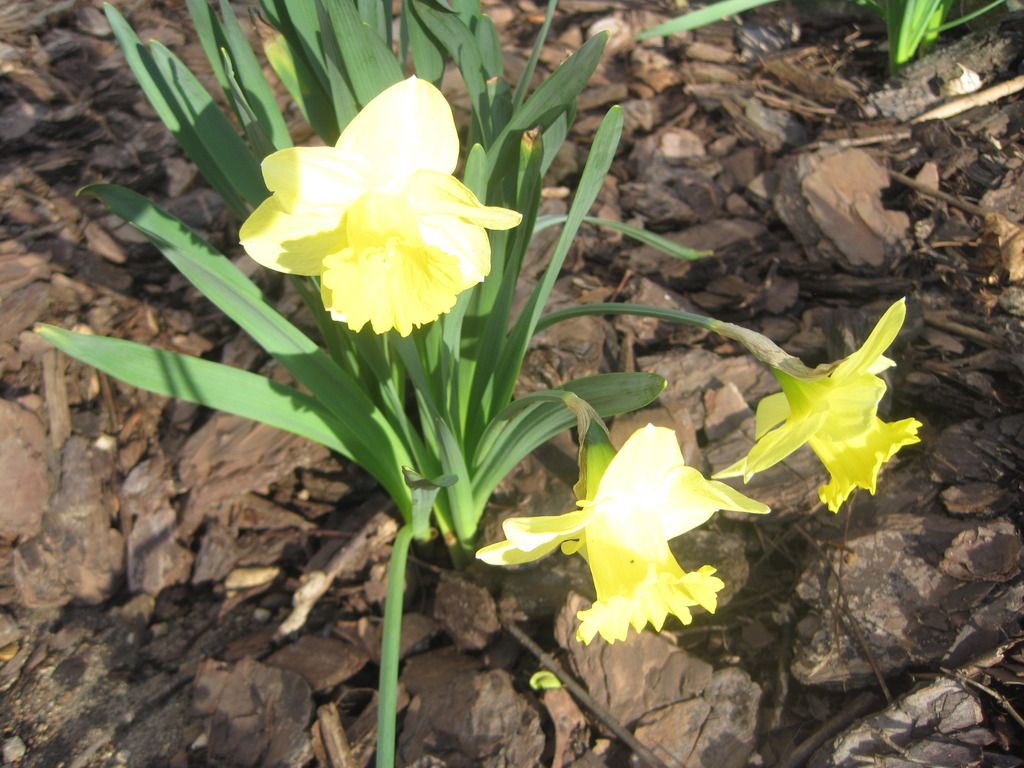
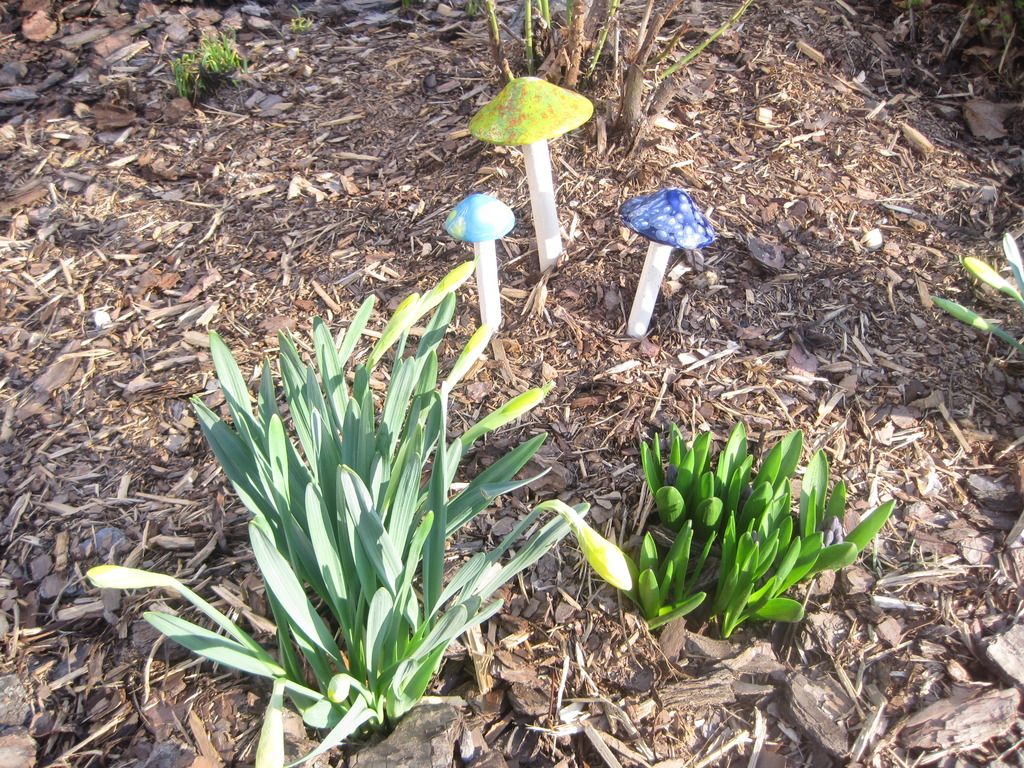
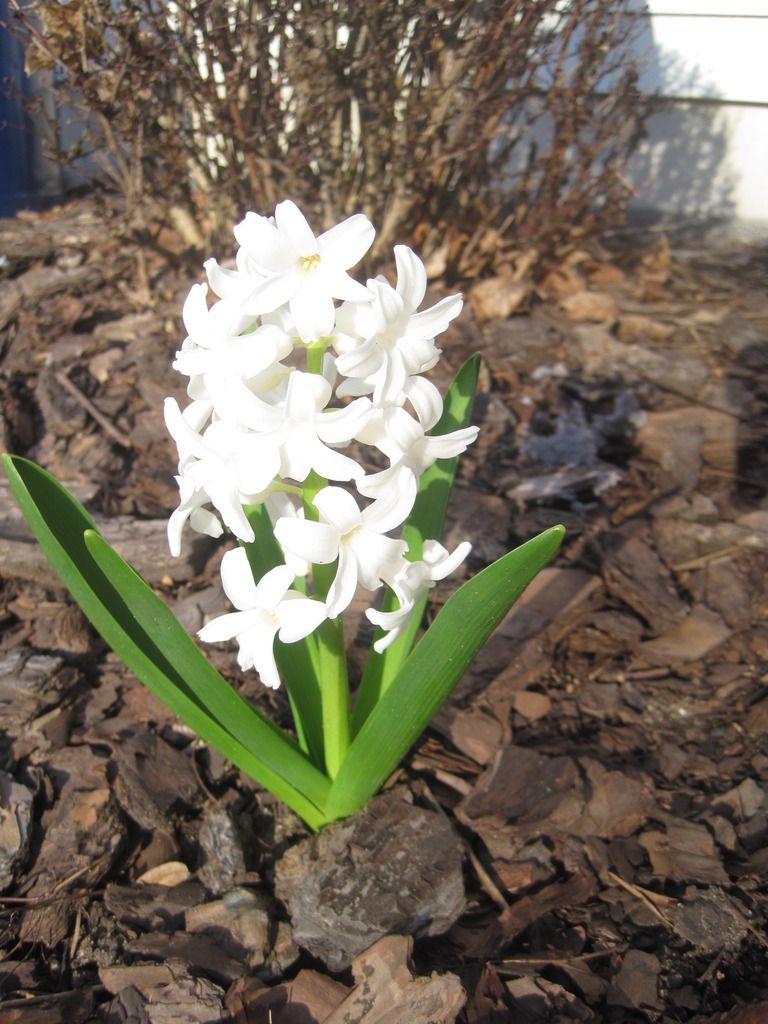
Welcome Spring!

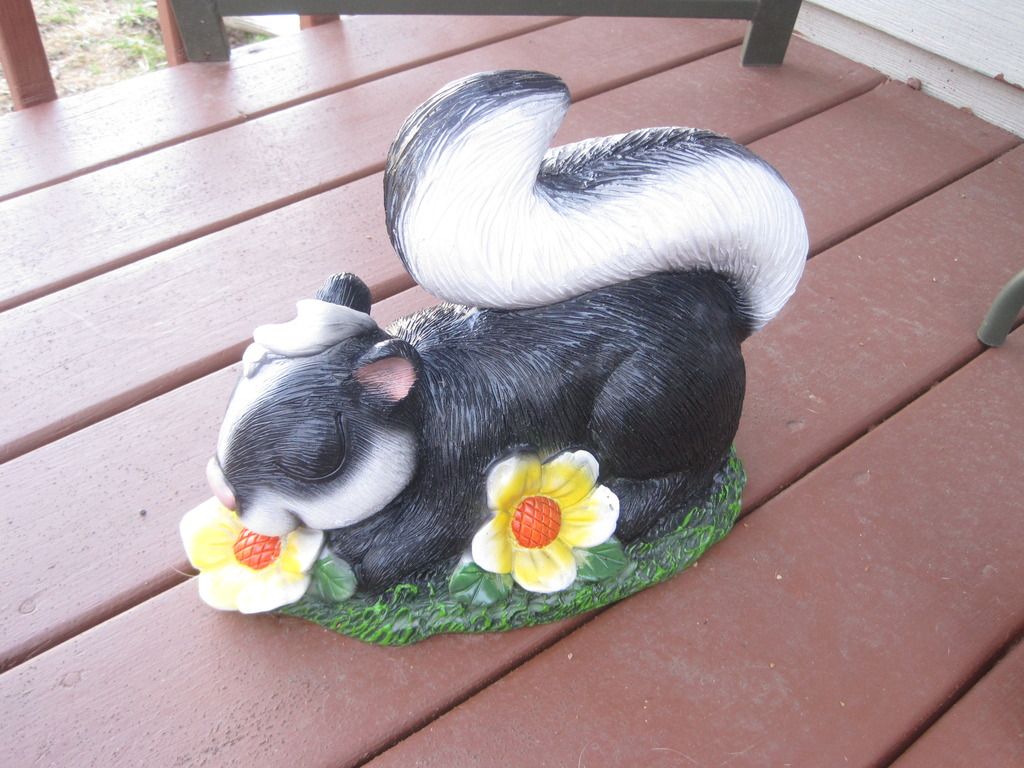
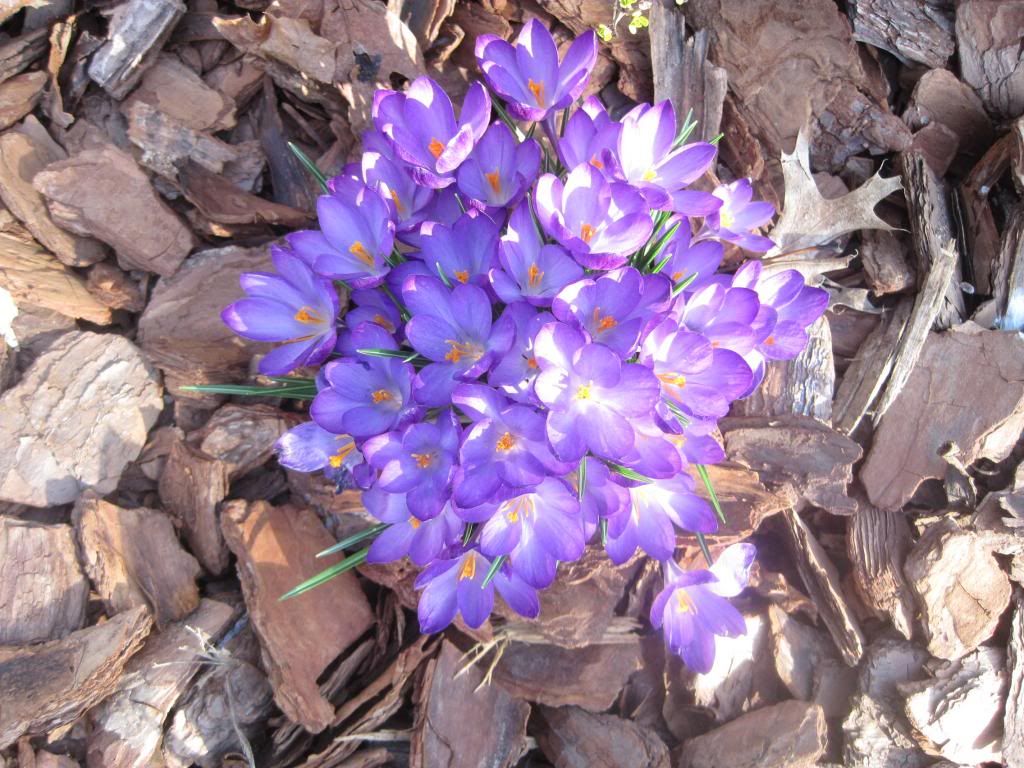
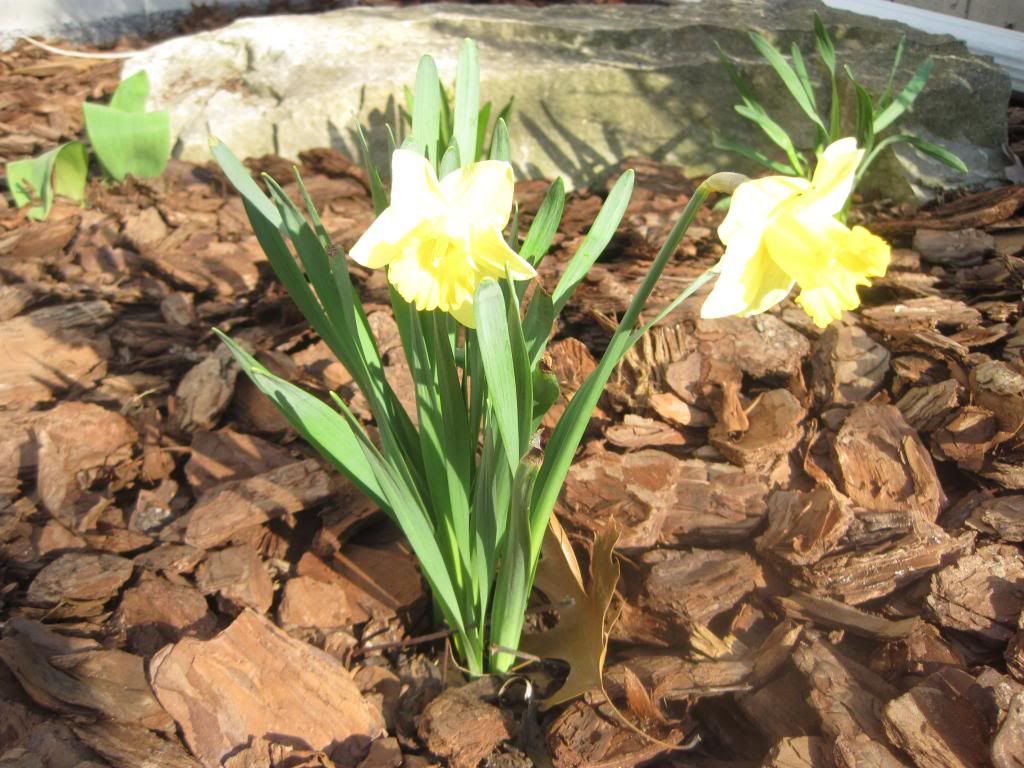
Thank goodness Spring is here.  We hope all things are blooming in yards and gardens too!


Let the beautiful days bring you peace and comfort.
Kelly


Tuesday, July 9, 2013

Quick summer birdy and a savory pie


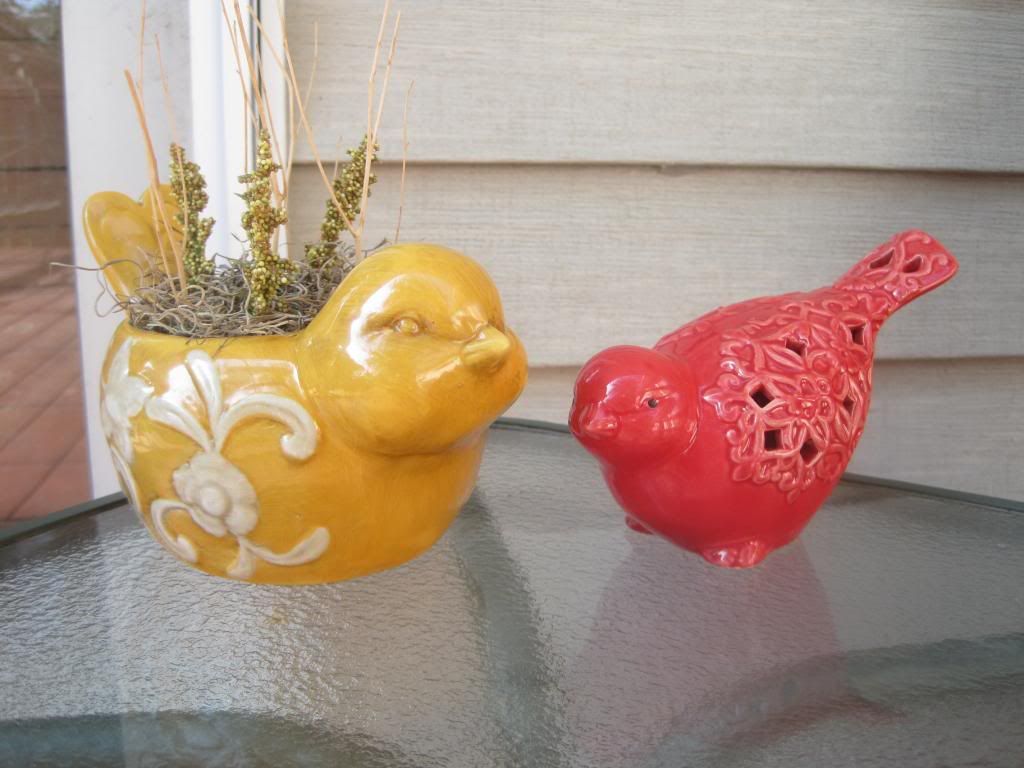
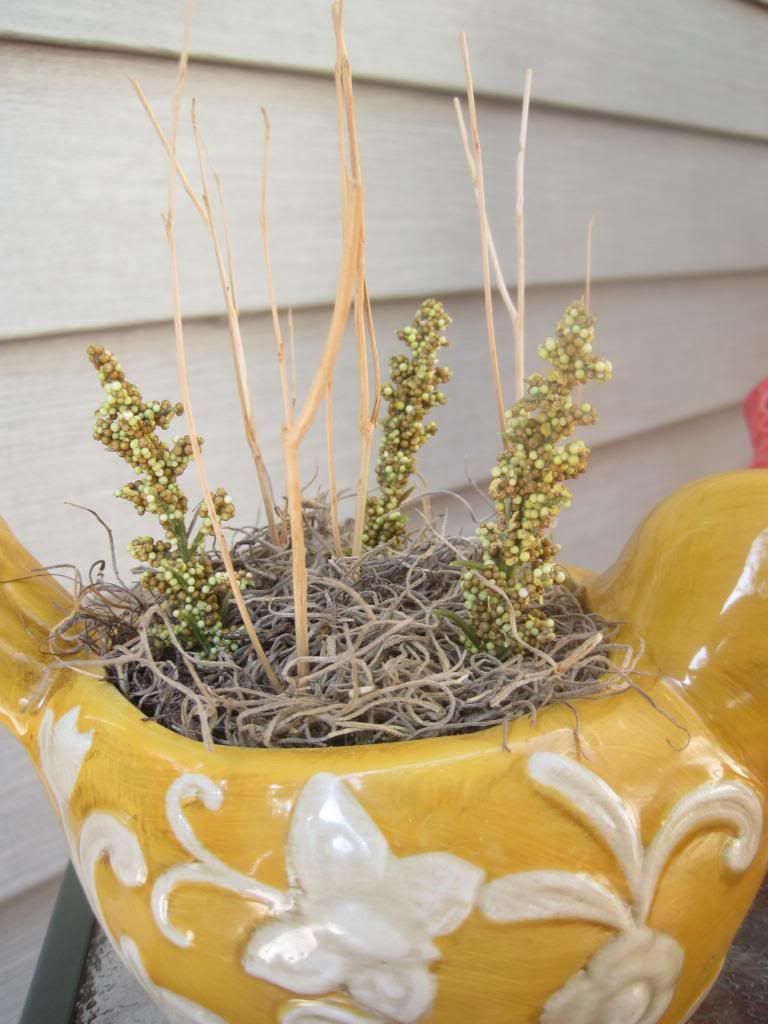
We in the Craft Club are a very lucky bunch, we have our own crafty supply benefactor.  A friend of ours has a very creative mother who is slowly sorting through her past endeavors into different craft loves.  As she sorts through we get all the items that have moved out of her realm of interest to add to our fun! We got another donation this past week and I got right into it and nabbed up some great stuff for a craft a little birdy told me about.  I got this little guy on the "cheep" at Michael's.  We went in just so my husband could use the restroom and ended up with two cute birds.  My husband said it was an expensive bathroom trip. In the craft gifts we received was a bag of Spanish moss and some great little twig things that are fantastic in the tiny pot.  He makes me smile every time I see them, they are just so cute!

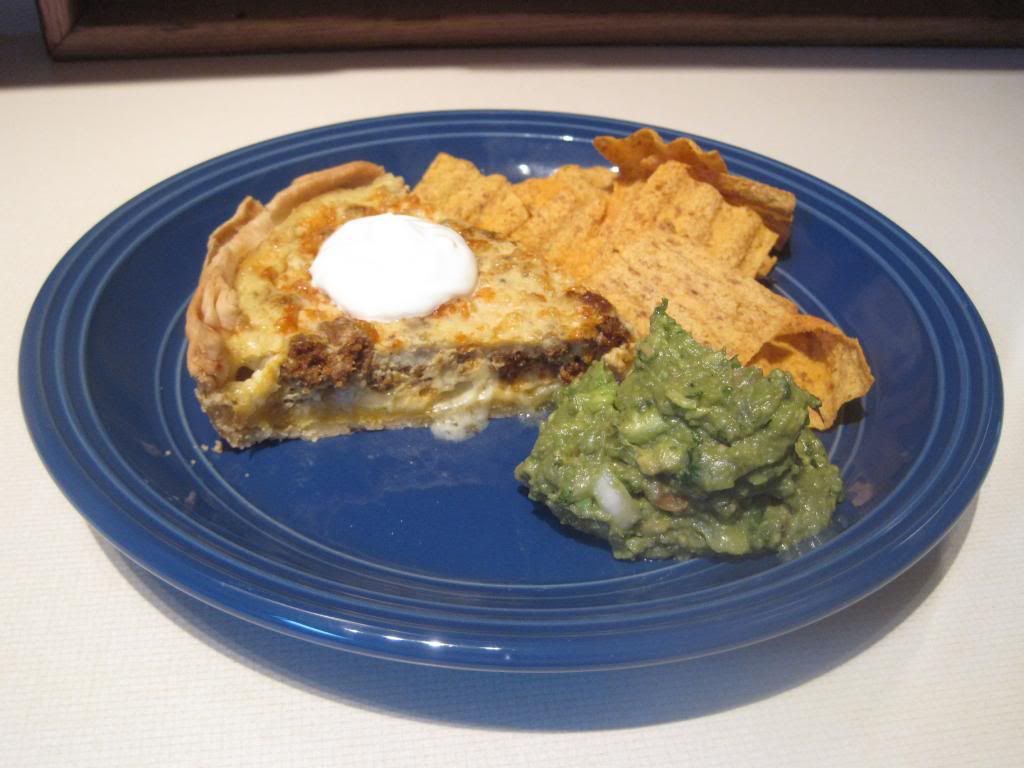
Additionally, I found a wonderful quiche recipe that had some nice bold flavors in it.  Since my sweet husband puts up with all of my craft and costume plans he deserves some good man type food for dinner.  Give this one a go with some salsa and salad for a really good supper

South of the Border Quiche
1/2 lb chorizo sausage
1 pie crust in a 9 inch deep dish pie plate
2 tbsp cornmeal
3/4 cup shredded pepper jack cheese
3/4 cup shredded cheddar cheese
5 beaten eggs
1 can cream of mushroom soup

Remove the sausage from the casing and brown in a skillet until crumbly, drain well.  Prick the bottom and sides of the pie crust with a fork and bake at 425 for 8-10 minutes, until lightly browned, cool.  Sprinkle the cornmeal in the bottom of the baked crust and then sprinkle in the sausage followed by both cheeses.  Combine the beaten eggs and the soup and pour over the cheeses.  Bake at 375 for 40-50 minutes until a knife inserted  into the middle comes out clean.  Cool for ten minutes before slicing.  This is good eating folks!


I hope the summer is going well for all of you out there.  Keep it safe and fun!

Keeping it baked,
Kelly, the origami ninja

Tuesday, June 4, 2013

Some nerdy crafting to get the Summer started

For me this is the start of convention season: Anime Central, Heros Con, and Chicago Comic Con.   I am excited to have been able to incorporate so many crafty things in my costuming this year.  I have two costumes that I have put together and I am very proud of both! I wanted to have a Captain Hector Barbossa from Pirates of the Caribbean too but that had to get pushed back a year so I will smother you with all that piratey goodness next year.  Additionally, I got to attend the Anime Prom at Anime Central so I even got to use some crafting putting that outfit together.  The prom out fit is the one I want to chat about now.

It all started with the aforementioned Barbossa.  I had planned to wear him to the prom because the rules, yep there are prom rules, state that you have to wear formal type clothing: suits, tuxes, gowns etc.  I figured that his long jacket, vest and cute little breeches would work well in that setting, he also has a suave hat.  I am a good seamstress, but not Barbossa good, so I was going to have the costume made.  The wonderful woman who was going to make it had something come up so we couldn't get it all put together before the con season started.  It's not a problem though as we will just work on it for next season.  So I have a ticket to this formal dance and nothing to wear, ok brain what can we pull off.

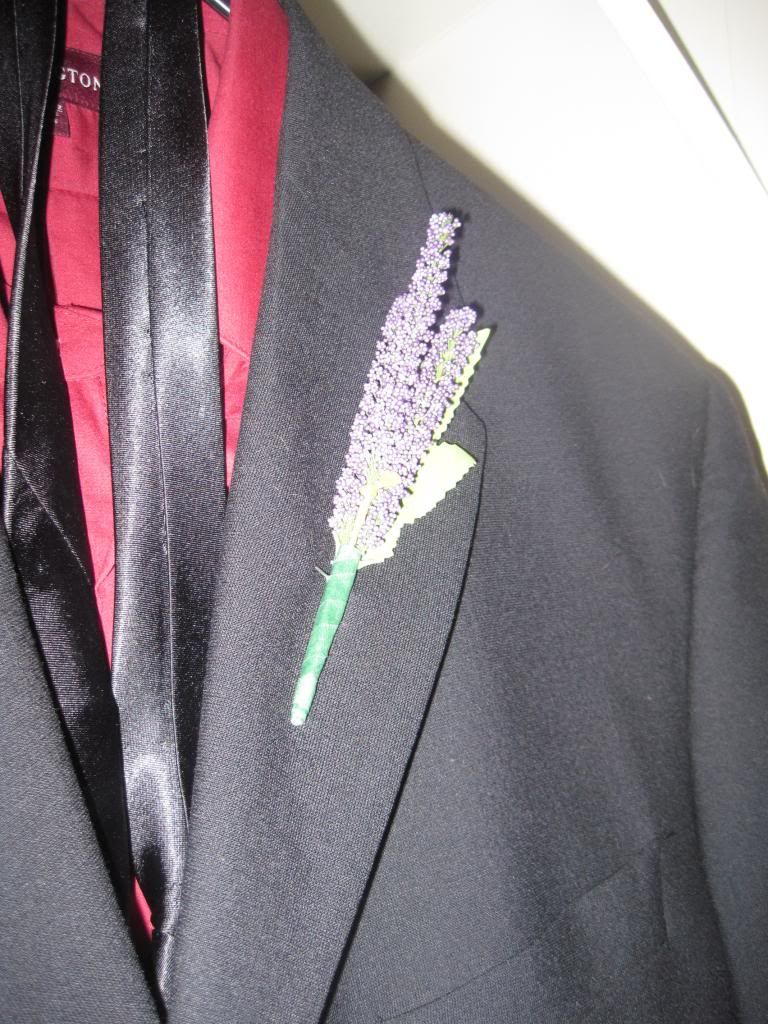
I realized that the ninja I was going as for the rest of the convention, more on him in a later post, could attend a prom just like every one else.  My very smart husband came up with the idea that we could get a suit for very little money at the Sears outlet near our house, I even got the dark read shirt I wanted! Go sears outlet.  I needed to make the suit a little more "him" so I whipped up this cute deserty, he hails from the land of sand, boutonniere from some fake flowers.  I thought it looked very desert grass. 

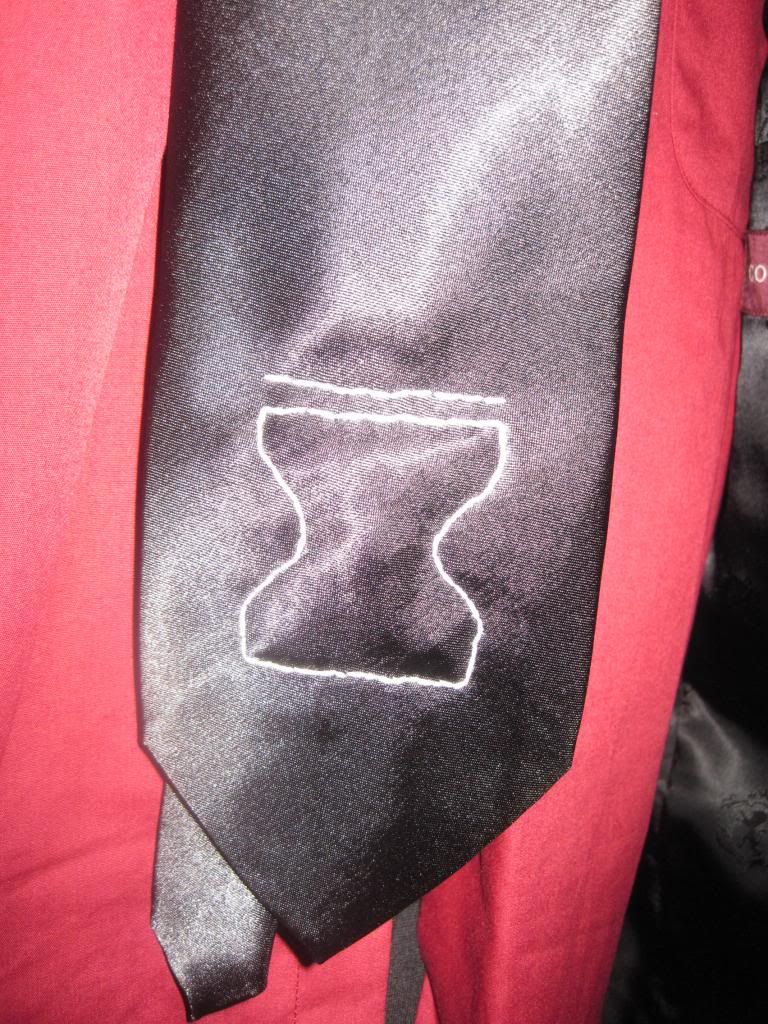
I amped up the tie with his ninja village symbol embroidered, that's right I used ninja and embroidered in the same sentence, on to it.  I really think it brought the whole sand village ninja prom outfit together. What do you think?

I love him in every way so this whole experience made me very happy!
I hope your "seasons" are going into full swing soon!
Keeping it ninja,
Kelly

Tuesday, April 23, 2013

Finally Spring.....

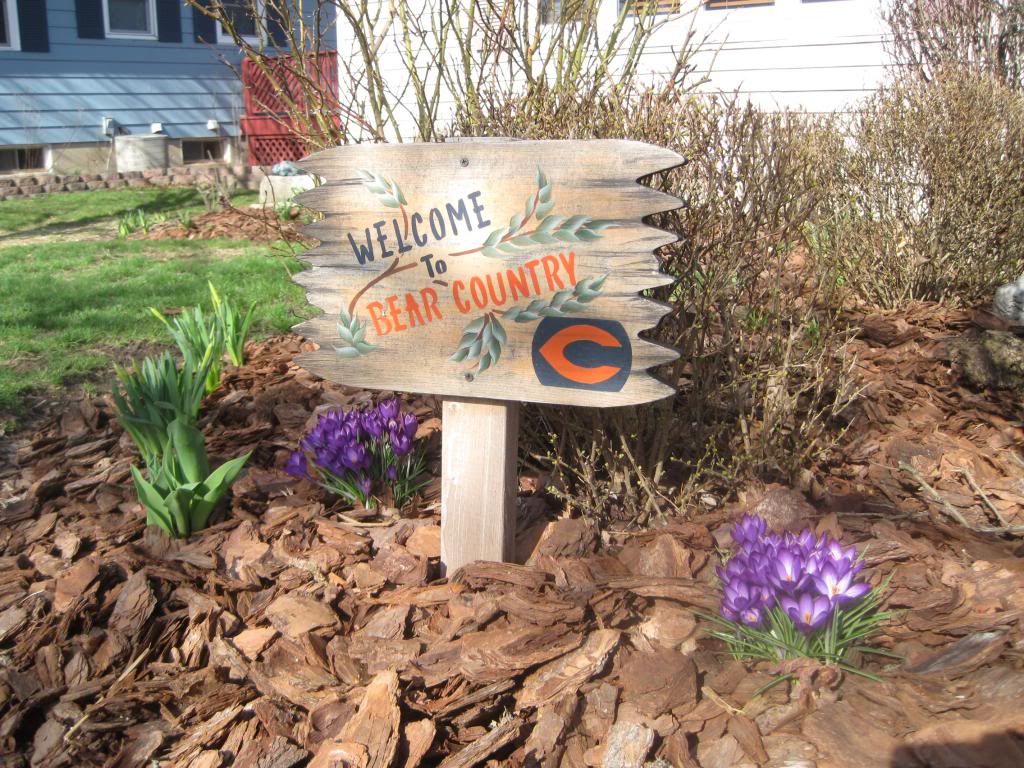
Spring has finally arrived  to Northwest Illinois.  After the monsoon we experienced last week I am getting some blooms that I wanted to share with all of you!


Ok I know it is not quite football season but still.....
 
I hope everything is popping up beautiful by you.
 
Keeping it springtime,
Kelly, the origami ninja


Saturday, March 23, 2013

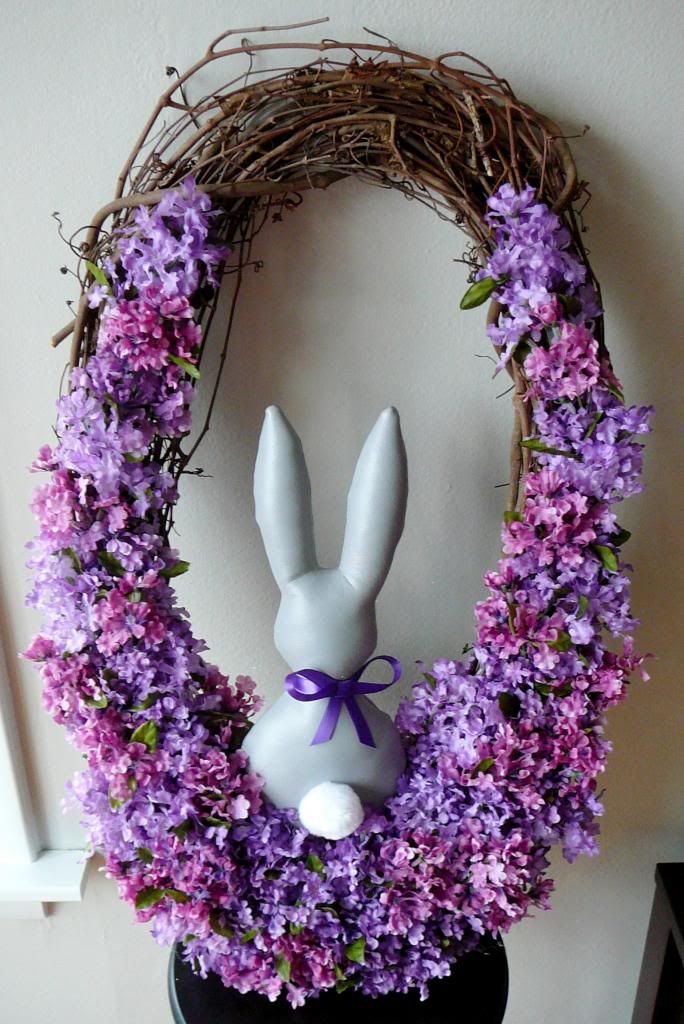
Spring Bunny Wreath Tutorial

I've had this idea in my head for over a year and didn't get to it for last Easter.  
It's also a great wreath to leave up all spring long. 

Supplies
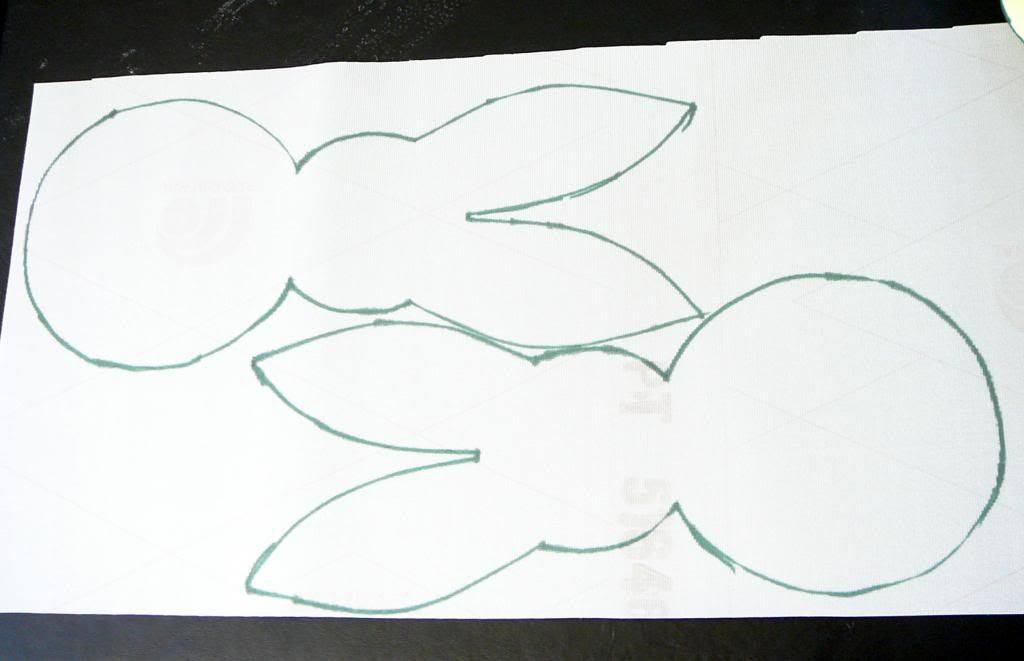
Bunny template
Oval grapevine wreath
1 wooden dowel
3 stems fake lilacs
Grey vinyl (1/3 yard is plenty)
Polyester stuffing
18" Purple ribbon
White pom pom
Glue gun with plenty of sticks

1.  Print out the bunny template and trace/cut out two from your vinyl.  The fabric that I used was labeled marine vinyl.  I opted for it since its going to be outside exposed to all the spring rain.

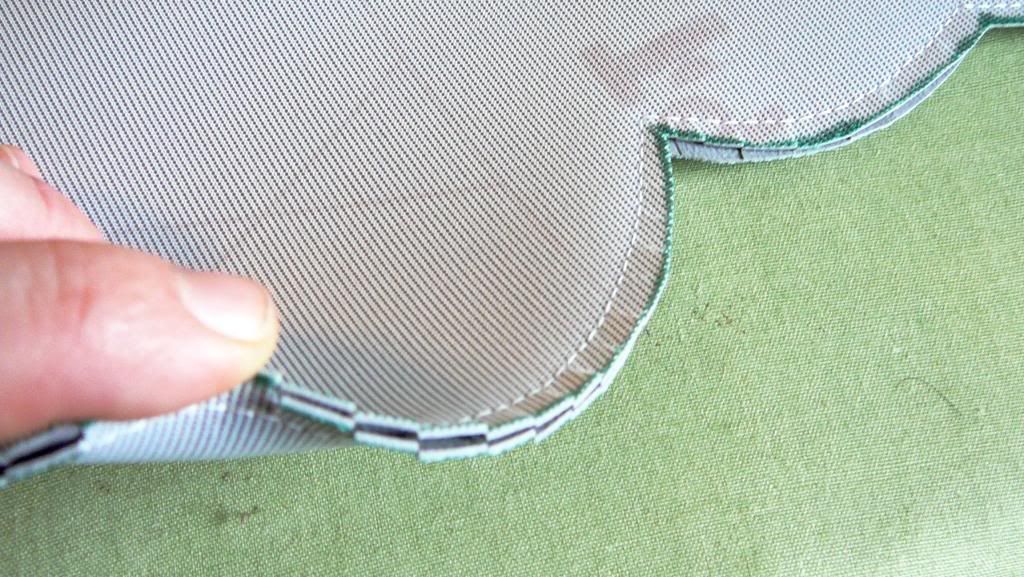
2.  Place your two bunnies right sides together and stitch around the perimeter leaving the bottom open to turn and stuff them.  But first, around all your curved seams make sure to make little snips up to the stitches.  Don't clip your seam.  This step is essential to making sure your bunny looks like a bunny. 

3.   Now we need to turn your bunny right side out.  Be forewarned this is a bit of a pain in the butt so make sure to take your time.  If you try to force it you will rip your vinyl or the stitches.  A bone folder is a very helpful tool for this step. 

4.  Now stuff your bunny with the polyester stuffing and hand stitch the bottom closed.  Don't worry about making your closure pretty cuz you won't be able to see it anyway.

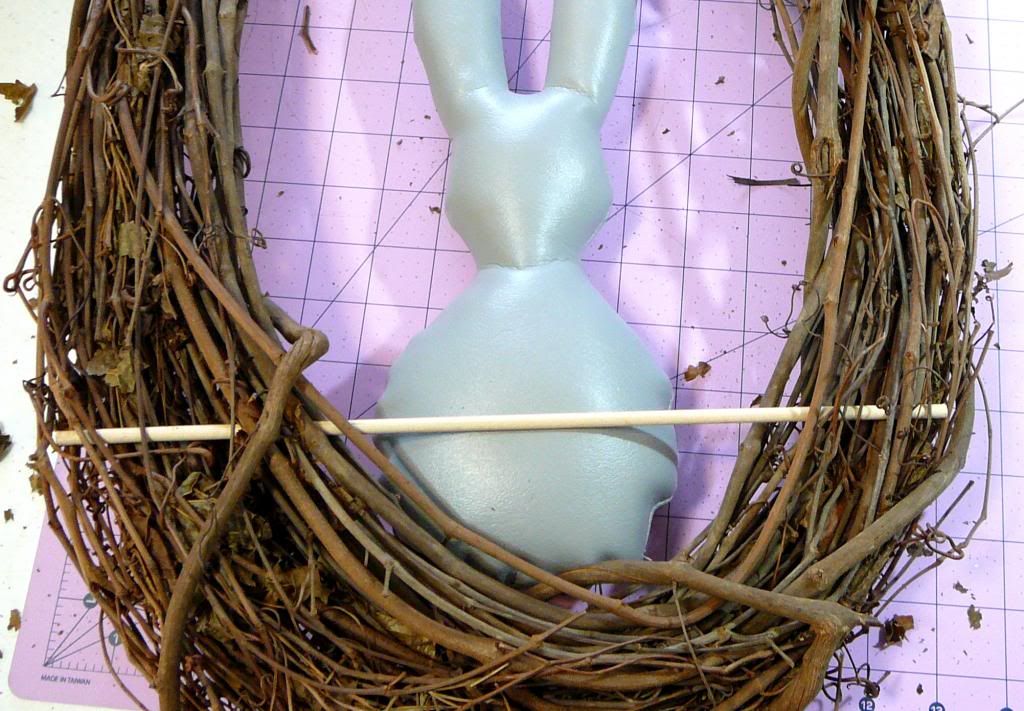
5.  Next we need to mount your bunny into the wreath.  First take your dowel and wedge it into the wreath towards the bottom and the back.  This will be a support for the back of your bunny.  Test fit your bunny in the wreath to make sure you like where you put your dowel and then glue it into place.  Now glue your bunny to the wreath and dowel.  Don't be shy with the glue. 

6. Now flip your wreath over and follow the pictures below to add a bow and tail to your bunny. 

 5.  Now for the last step, and my favorite, we are going to add the flowers.  First you will need to trim the flower clusters off the stems.  There is a wire inside the flower stem so make sure you use something that can cut through it.  I used almost all three stems of flowers to fill mine in.
 Now beginning from the top down start gluing clusters of flowers down to the base.  I tapered mine at the top and made the flowers fuller at the base.  Also make sure to use the flowers to cover up any part of the dowel that is still showing through.  

Mr. Biscuit liked the finished product so much he asked me to take his picture with it. 

Craft on!
Anita

PS I've entered the bunny wreath into CSI's weekly crafty challenge.  Go check out all the other spring wreaths for more fun & colorful inspiration!
Visit thecsiproject.com

Wednesday, February 9, 2011

Valentine Heart Wreath


Tiz the season for hearts and cupids and such, but I just realized we don't have one single Valentine decoration in our whole house.  I had to remedy that.  Enter the Valentine Heart Wreath.  

Stuff you need:
Flower template - print this using landscape paper orientation so it fills up the whole page
Styrofoam heart wreath form (mine was 14" X 12")
1/2" White ribbon - 8 feet
Fabric - light pink cotton - 1/2 yard
             hot pink polyester satin - 1/4 yard
             hot pink polyester organza - 1/8 yard
Rhinestones - 13
Candle w/ candlestick
Glue gun w/ glue
Tweezers
Scissors
Marker

1.  First things first.  If you don't have any already made, assemble your pink bias tape.  You will need 25 feet.  (Need a how-to for bias tape?  Click here.)


2.  Take a scrap piece of your light pink fabric and wrap the two points of your heart. There's no wrong way to do this step.  You just want to make sure the point is completely covered front and back.  This is a background to hide the space you won't be able to cover with the bias tape wrapping.


3.  Take your wreath form and mark where your large flower will be located.  This is where you will start wrapping your wreath with the pink bias tape.  Glue down one of the ends and start to wrap your heart like a little pink mummy, overlapping each layer so there's no gaps.  You will want to periodically glue your bias tape to the form just to keep it pretty.  Here's what my two points looked like when I was done wrapping them.


4.  When you have completely mummified your heart, trim the end of the bias tape so that it ends on the back side of your form.  Fold it over to make it nice and neat.  Glue in place.


And your heart will now look like this.


5.  Now for the flowers you will need to cut out the following numbers of each shape.
  • A - 2 (satin) 
  • B - 5 (organza)
  • C - 8 (satin)
  • D - 8 (organza)
  • E - 8 (satin)
6.  Follow the video below to prep your layers for assembly.


7.  Now that you have all your individual layers melted with the candle we are going to assemble them.  This is the order for each of the flowers.  
  • Large flower
    • A, A, B, B, C, C, D, D, E, E
  • Small flowers 
    • B, C, C, D, D, E, E
I'm sure you've figured this out already but in case you haven't had your coffee yet today, make sure you stack the large layers on the bottom graduating to the smaller ones on top for the center of the flower.  I find it easiest to stack from back to front, so 2As then 2Bs then 2Cs etc. 

TIP* - When you are stacking layers offset them so that the petals show through like below.


TIP* - Hot glue your satin layers together first and layer the organza with them.  Otherwise the glue will just ooze through and burn your fingers.

8.  Now that your flowers are assembled you need to add a couple rhinestones to each for the centers.  I put 4 in the large flower and 3 in each of the small ones.  This is where your tweezers come in to drop your rhinestones in the glue.  No burnt fingers please.


9.  Glue your large flower onto the heart first.  Add two little ones on either side and the third on the opposite corner of your wreath.  Almost done!

10.  All that's left to do is add your ribbon for hanging your beautiful wreath.  You can just tack it onto the back if you want a more simple approach, but I wanted mine to be a little more intricate. 

11.  DONE!


Hope you all have a great Valentines Day with plenty of chocolate.


Craft on!
Anita

Sunday, October 17, 2010

Knock Knock! Who's there? The recycling of an older post fairy. Wait who? Fake Flowers!

Yep, here I come with those fake flowers again.  I think they look really nice, in my nerdy dream world as soon as the neighborhood sees these the football/lacrosse/soccer and scout moms, or any other moms out there, oh I don't know like dog moms, are going to rush to my front door and BEG for me to make them arrangements for their homes.  Thus my crafty hopes of self sufficiency due to my ability to stick plastic stems into floral foam will be realized and you can say you knew me when.  Guess what, they have been out there for a whole six hours and my doorbell has not rung once. Can you believe it?  I guess it's the ole' commute for me Monday morning, oh the pain we crafters must endure.   So are you feeling the fake flower revolution heading your way, well you should be.  It is sweeping the nation.  Take that Justin Beiber!  I can recall the funky look of the fake flower of the past, hello, we had an actual shiny plastic tree glued into a stone pot filled with that horrible white yard rock in our living room, really, I am not kidding.  Thank goodness there are no photos, at least no photos that I can find, I am using the word "can" very loosely here.  Now that we can get sunflowers that even have fuzzy stems like the real thing we can say with conviction: WE HAVE ARRIVED!
So this post is based on a very hard learned lesson, that wind and fake flowers NOT secured into the pot equals hilarity for squirrels and heartache for your local crafty ninja.  You can see where this is going.  After a big wind storm annihilated my first attempt at large outdoor blossom arrangement I turned to the interwebs.  Hey it never occurred to me that I could glue these things into the pot and bring boredom to squirrels everywhere. Muahahahaha, take that you acorn breathed tree leapers!
Anyhoo, I started all over again this time adding rocks to the bottom of the pot and gluing the floral foam with more hot glue then should be legal in my state.  I like it!
Note the look of not quite bemusement on Sprouts face.  In the house the other two are at the door fussing at her for getting to be somewhere where they are not.  Dogs are weird, like the other two would really want to sit with the sun in their eyes between two big fake flower arrangements, but does that matter, no , not really.

Hangin' ten on the wave of the fake flower future.
Kelly, the origami ninja

Materials:
A good flower pot filled with rocks, I cannot stress the importance of this rock thing.
Floral foam
Hot glue
All the fake flowers that one pot can consume
Knife to cut the floral foam
Wire cutter to trim up the fake flower stems, unless you want really tall arrangements


Thursday, September 16, 2010

Time to admit: Alternatives to gardening

Here we go, the always popular Internet confession.  Now I consider myself a good crafter; I can also bake, cook, keep a good home, do my job, and throw a fun Halloween party/luau.  I am, to my credit, a darn good dog mom too, but for the life of me I CANNOT garden.  It happens every Spring.  You walk through the neighborhood and everyone has those happy little hanging baskets out in front of their homes.  Flower waterfalls in all shades of pink, blue, purple, and white to attract your eyes while your brain thinks "hey that would look great hanging from the front porch".  So every year you run out and spend $25 at the local nursery on a truly gorgeous basket and your house looks all picket fence perfect.  At least for a few weeks. Then the sweltering heat hits and, shocker, you forget to water it.  Or it rains like the end of days and the roots drown.  Now you have a $25 white plastic basket of dead shrively plant bits that looks like your house is trying to masquerade as the Haunted Mansion.  So then the wonderful cooling of Fall arrives and thus the hardy mum comes into view.  All covered with big blooms in bold color that looks just stunning with all the foliage and pumpkins and such.  That is going to look great at the end of my driveway, so it's off to that nursery again to drop $48 on four huge pots of this bountiful beauty.  Again, this looks great for a few weeks, then there's that whole forgot to water it thing or the ever present "hard" frost that turns your luscious blooms of yellow into a crinkly tumbleweed. I speak from experience people! It is time to raise up our heads for I bring you: Crafty alternatives to gardening!!!

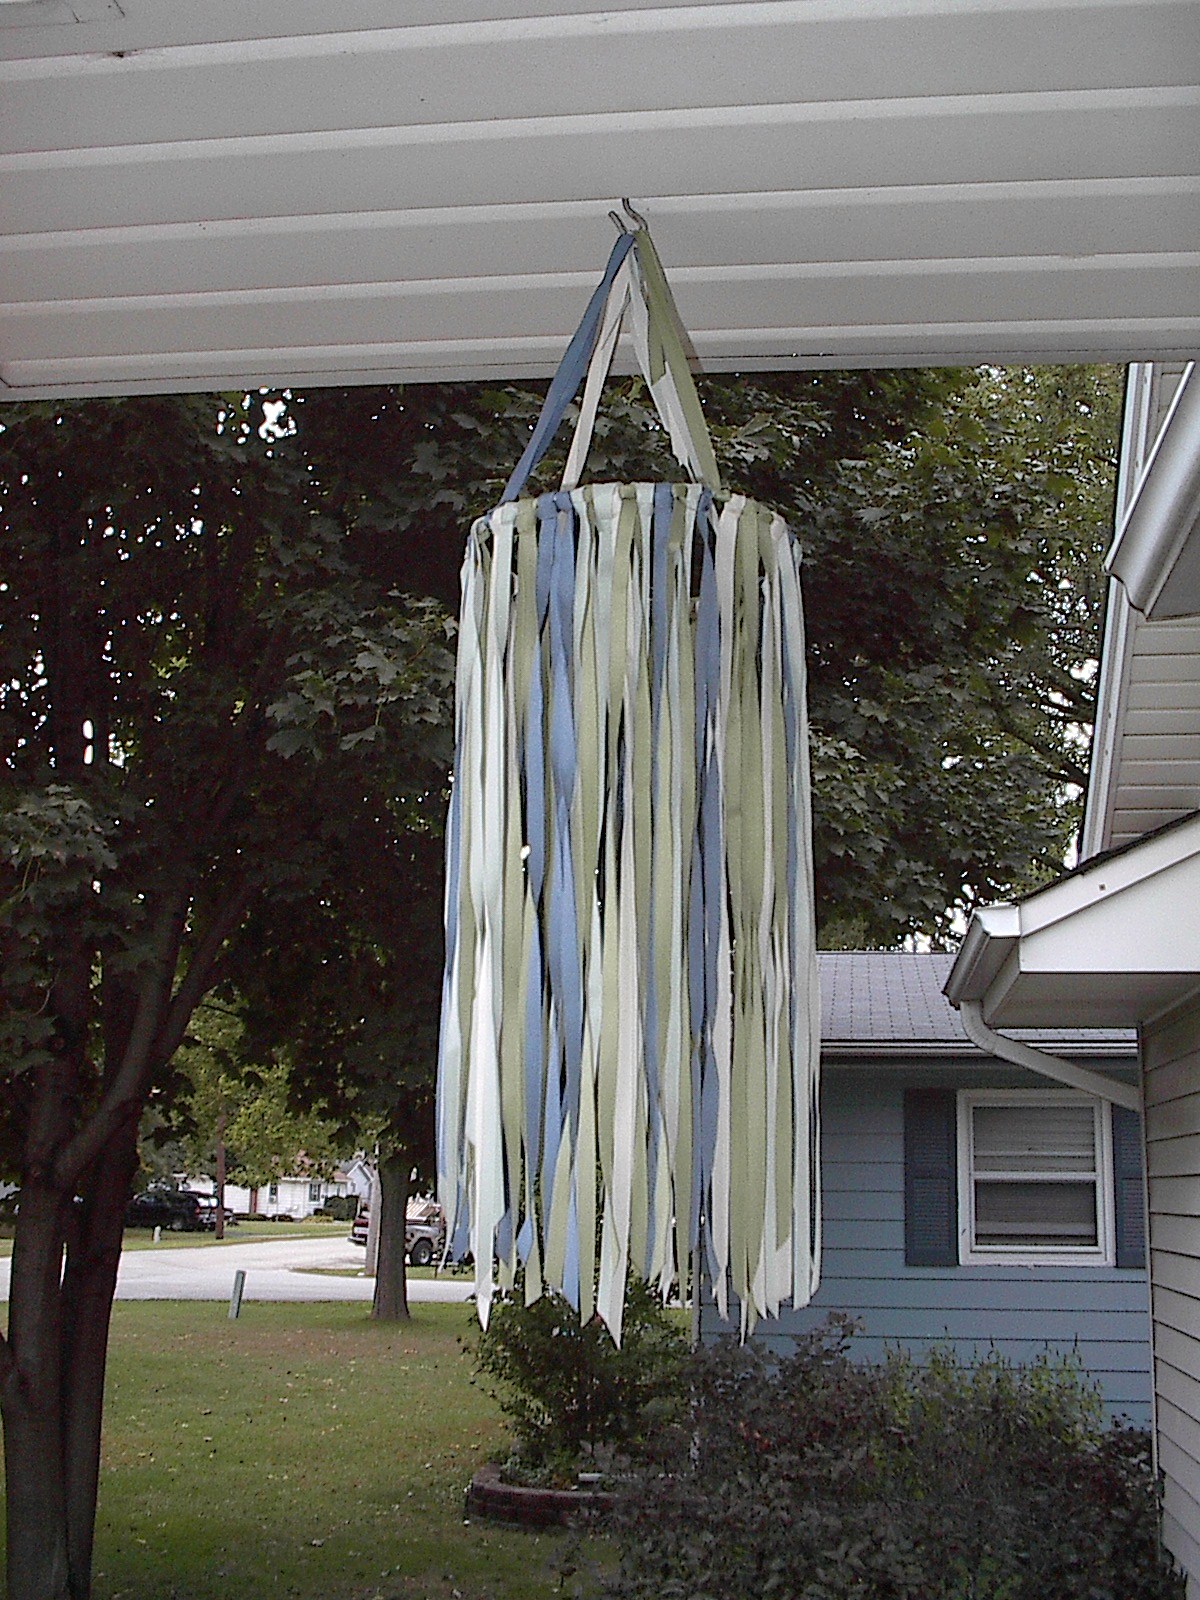
Lesson one: alternative hanging basket; also know as the "blowing in the wind ribbon thingy" (might need a better name for that). 
                                                      
            This is by no means difficult and you can make them in any colors you want, heck even trade them out for holidays if you are so inclined.

Materials:
Wire wreath frame in whatever size you would like your not-quite-a windsock to be
Lots of ribbon in your most favorite of colors; sports teams, holidays, vacations spots, all good inspirations!
A pair of scissors.

The wire frame will most likely have three or four different circles of wire attached to one another by five wire connectors.  You can cut them free from these connectors using wire cutters.  Now you have three wire bases for your project.  The amount of ribbon you need really depends on the width of the ribbon and the length you want your project to be.  Since I used thin ribbon and cut it quite long I had to get 2 spools of each of the four colors that I chose to use.  You can use as many or as few colors as you would like.  Don't be afraid of textured ribbon either.  Decide on the length of the hanging you want and cut ribbon twice as long.  Don't cut all the ribbon at once, do it in batches in case you have leftover spools you would like to return. Now simply attach the ribbon the the wire frame by looping the ribbon over the wire and pulling the ends through the loop.  Now take four of the affixed ribbons equally from around the wire frame and knot them together at the ends to form the hanger. You have now created a beautiful addition to your living abodes exterior, one that is never going to turn brown and crusty if you forget to water it.

Lesson two: Don't be afraid of silk flowers!!!!
         
 For so very long I was afraid of using the silk flower, I thought they would look tacky.  Some people still think they look tacky, but, well, doom on them.  I think they are great looking and can bring a wonderful amount of color to any living space.  They are permanent, but not in a having to dig up the yard because they look bad there, kind of way.  You get to put together your favorite looks; pots, foliage, flowers, fruits, veggies, even grasses, nuts and leaves.  It's all about you! You can create the perfect holiday bush, and then put it away only to bring it out next year and have it still look great.  So this lesson is short and fun: embrace the semi-permanence of silk flowers!

On a side note: if you are a Labrador, this lesson is much more fun if you put lip and nose juice on the flowers right before someone picks them up to add them to the arrangement, especially if your name is Abby.

I hope you all will look to new ways with crafting, don't be shy!
Keep it fun brothers and sisters, I'm gonna make like a tree and get outta here.
Kelly