Showing posts with label quick 'n easy. Show all posts

Tuesday, February 3, 2015

Steamed Potstickers

I have been working hard  in 2015 to keep up with my craft/cooking resolution for the year.  I have completed a knit cowl, which will be a post a later date, and have been attempting so many wonderful new Asian recipes that I plan on sharing here.  I even baked my banana bread in muffin cups for ease of transport for my husband and it turns out it tastes even better than in loaf form with its nice crispy muffin top! I guess the winter weather has been keeping me in-doors more than usual which is helping me stay face to face with my kitchen and craft room.  Small snow blessings.

My recipe today is a pot-sticker from Damn Delicious.  These amazing little edibles work up quick and taste so wonderfully fresh you will won't have to get take out when you need a quick and healthy meal on the table if you keep a big bag of these in the freezer.  I made up a big batch and froze them to keep on hand for later.  To add to the fun I pulled out my bamboo steamer and learned how to use it for the first time!  It was so easy I just know I will be making up tasty food excuses to bring it out again.

Pot-stickers

1 lb ground pork
1 cup fine shredded cabbage
2-3 cloves minced garlic
2 thinly sliced green onions
1 Tbsp hoisin sauce
1 Tbsp grated ginger
2 tsp sesame oil
1 tsp Siracha
1/4 tsp white pepper
36 wonton or 45 goyza wrappers, goyza wrapper are smaller so you will use more of them

In a large bowl mix all ingredients except the wrappers until well combined.  To assemble the pot-stickers: place a Tbsp of filling in the center of a wonton wrapper or a very scant Tbsp in the center of a goyza wrapper, using your finger rub the edges of the wrapper with water to moisten, fold the wrapper over to form a triangle or half moon shape, pinching the edges tightly to seal.  Place uncooked pot-stickers in a single layer on a cookie sheet covered with wax paper or parchment paper and freeze overnight, move to freezer bags when completely frozen.

To steam using a bamboo steamer:   Do not defrost the pot-stickers.  Pour two inches of water into a large pan or wok and bring to a simmer, this water should not be so high as to flood the actual food in the bottom layer of the steamer.  Your bamboo steamer should fit snugly into this pan without fear of tipping over.  Place a layer of cabbage or lettuce over the grates in the steamer and position the pot-stickers on top of the leaves without allowing them to touch each other.  Cover the grates with the steamer lid and place over the simmering water.  Steam for 15-20 minutes until fully cooked.  Serve with your favorite dumpling sauce.

These can easily be made with ground chicken instead of the pork and can be tailored to your taste.  The original recipe called for shitake mushrooms but I don't much care for them so I left them out, plus I added a bit more garlic and ginger. I cannot tell you how great these pot-stickers are compared to store bought frozen ones! It took me less than one hour to make 44 of these things and get them in the freezer.  If you are a fan of fresh Asian cooking you will be an instant fan of these.

Keep cooking through winter, it might be the only way we will make it!
Kelly          


Tuesday, May 13, 2014

Fab or Flop: Biscuit and Egg Puffs

I am always on the hunt for a recipe that can deliver a good amount of protein with little or no meat.  An egg based recipe, if it is savory in nature, usually fits that bill with nutrients to spare.  Egg recipes are tasty and filling with only a small hit to the food budget.  We rarely eat processed foods with hidden egg ingredients so we can keep track of the amount of egg we eat daily.  Additionally, egg dishes often do not rely heavily on meat for flavorings making them perfect for us as we are trying to eat less and less of the real stuff.  My husband can eat these protein dense foods for breakfast before he leaves for work making them a good choice to keep him on the healthy path and keep up his weight loss.

This recipe for Biscuit and Egg Puffs by Joyful Homemaking calls for all of your favorite breakfast items: eggs, bacon/ham, cheese, and a biscuit, in a little bundle of delish! My husband has a heart condition that forced me to make one change to this recipe when I made it for the Pinterest challenge.  Instead of the canned biscuits we used the Hearth Healthy Bisquick mix rolled biscuits that has been oked by the doctor for him to eat.  I mention this because for us the recipe was a flop and I am sure it was this change that made it so.

I totally review this recipe as one you should all try with your families! Since we had to sub out the Bisquick we ran into some unseen issues that would not have been there had be followed the recipe as Margo suggested in her blog.  The Bisquick way over filled the muffin tins as it baked and pushed out the egg on to the metal where it was over cooked and spongy.  With so much biscuit in each muffin the small amount of cheese and bacon, which would have been the perfect amount with the original directions, was almost lost in the breadiness leaving these somewhat bland.  They still turned out pretty and would look great on a buffet or brunch spread.  So even though these muffins won't be a regular in our household, one without the dietary restrictions would be able to make these in lots of tasty different ways!

Biscuit and Egg Puffs

1 7.5 oz can of biscuits (10 small biscuits)
5 eggs beaten
1/2 cup shredded cheese
1/2 cup cooked bacon or ham (optional)

Pat each biscuit in the bottom and up the sides of a lightly greased muffin tin.  Pour the equivalent of half an egg into each tin.  Top with cheese and bacon or ham if you want to.  Bake @ 375 for 12 minutes until your egg is cooked all the way through.

This is such a simple recipe that you should definitely give a try!  My only suggestion is that you stick with the small canned biscuits that the recipe calls for.

Kelly


Saturday, February 8, 2014

Fastest scarf ever made....by me anyway

So I was in my trusty Joann today picking up one thing, which obviously meant I had a cart full of stuff and noticed this fun yarn as I was walking by the clearance bin.  This fluffy monster, Red Heart's Boutique Swerve, caught my eye because my mom had mentioned she liked a scarf made of a similar yarn when we were craft fair hopping last year.  Guess what today is...my mom's birthday!  So I grabbed a neutral grey that goes with everything and headed to check out and back to my car load of dogs.  (Since we are all going to be friends here and if I've failed to mention it I think you all should know that I drive around with a car load of three dogs most of the time.  Even if it's just to go to the grocery store 90% of the time I have at least one dog in the car, unless the weather is too hot or cold, that is.  So yes, today there were three dogs waiting for me when I was done with my shopping excursion.)

Fast forward about 10 hours, I'm sitting on the couch and remembered that I had bought that funky yarn.  I've also failed to mention that I'm going to be seeing my mom tomorrow morning so I put myself in a little time crunch, as usual.  The label promised that you could make a scarf with one ball and in no time flat.  I planned on putting that to the test.

I took another look at the label before stripping the ball of fluff down to its birthday suit.

If you can read it the clearance label says $1.97, but it was actually less cuz Joann had a coupon today for 20% off everything, even sale items.  That brought the grand total for my mom's birthday present down to a whopping $1.58 + tax.  Here's the naked truth....

Yep, it kinda looks like a sleeping longhaired bunny on my couch, but not for long.  The label instructions were really good but I like to be thorough so I googled a tutorial found this is a great one from Red Heart.  It is a finger chained scarf, which I had never done but it was crazy easy.  I'm not kidding in telling you, start to finish, I was done in about 4 minutes.  That includes everything from unwrapping the yarn all the way to hiding the ends and with no crochet hook or knitting needle in sight.  The finished product is pretty adorable and I hope mom likes it.

On a side note, here's what Gidget did once I took it off her.  I had woken her up to take the scarf pic.

I'm totally writing this post at 11:45 at night, which explains the bad lighting in the photos but I felt inspired to put this post together fast.  Night owl that I am I'll probably be up for another hour or two anyway.

Chain on!
Anita

Saturday, January 11, 2014

DIY Cheap & Easy Fabric Storage Station


I knew I was in trouble last week when my fabric stash started looking like this.
Yes I even had batting/interfacing and other fabric stuffed into rubbermaid totes next to my sewing table.  I just didn't have anywhere else for them to live, until now that is.

I've been a fabric horder for a long time and I have a sickening weakness for the remnant section of any fabric store.  I don't think it has completely gotten out of control yet but I was well on my way with that wonderful mess/pile forming.  It was conquer the pile or get swallowed by it so here's what I came up with.  The best part is that this only cost me $30, not counting the drill and hammer I used to put it all together.  I got the shelving units on sale for $10 a piece.  They normally only sell for $20 each so it would be more like $50 for you to make this full price.  Still a steal for a fully functional piece of furniture.  Here's what you'll need.

Supplies
Antonius wire basket shelving unit from IKEA - $19.99 ea
1 small Linnmon table top from IKEA - $4.49 (I picked white but they also have black.)
8 Metal conduit straps, 1/2" w/ 2 holes - $.99 for a bag of three 
16 screws (I used wood screws but I've also seen drywall screws recommended for MDF.)
16 small metal washers 
3 white zip ties
a couple pipe cleaners to help with assembly
drill with bit to fit your screws
hammer

1.  Assemble both the Antonius shelving units according to IKEA's instructions.  Leave the baskets out for the time being.

2.  Now unwrap your Linnmon table top and place it wrong side up.   Find the center and draw a line down the vertical middle of the long side.

3.  Place your shelving unit frames side by side on top of the table top. ( I used the pipe cleaners to snug them together for the time being.)  Line up where they meat on that center line you drew in the last step. 

4.  Now we need to attach the frames to the table top.  Here's where those metal conduit straps come into play.  Before you can use them you need to flatten them out a little so the opening isn't so rounded. This will help them hug the shelving unit frame better.  I just placed them one at a time on the underside of the table top and used a hammer hitting them on the curved opening until they start to look like this. 
Don't worry about how the ends are upturned.  You can just use the hammer to gently tap them down.

5.  Now place the adjusted strap across one of the shelving unit frame pieces and screw it in on one side with a washer between the screw and the strap.  Don't over do it with trying to get the screw in too tight.  MDF isn't as strong as wood so if you put too much force on it the screw will strip the hole and it will become wobbly.  Just go until it is sunk all the way and feels snug.  Screw in the other side the same way and repeat for the other 7 straps.
 

Here's how I laid them out on the under side of my table.  I used 4 on each frame with two in the front and two in the back.  

6.  One last thing I did before turning the unit over was to zip tie the vertical pieces together where they meet in the middle but only at the back so you can't see them.  I did three ties, one at the very bottom of the shelving units and two more moving up toward the table top.  

7.  Now turn it over and slide in your baskets.  TADA!

Of course it took me longer to organize my fabric than it did to assemble this entire storage station but I loved every minute of it.  I get so excited about purging and organizing.  It's totally rejuvenated my crafty spirit for the new year.

I use the station as a cutting table, complete with one of the Ott lights my wonderful hubby bought me for christmas.  It's also my new favorite place to charge my computer.  I don't need to tell you how much the dogs love to model new things so here's a pic just to emphasize it.

Gidget loves the craft room by the way.  I think it's the soft carpet and that there are tons of places to take naps.

Have you ever done an IKEA furniture hack?  Let me know all about it in the comments!

Saturday, November 16, 2013

Garlic Kale Chips

OK so I did a little experimenting with some kale this week and came up with a totally yummy chip recipe.  Best part is that they are super easy to make and pretty tasty.  I'm not a big fan of regular kale chips cuz I don't think they taste like anything but the addition of garlic and a little salt make these totally snackable.  Plus they are way more healthy than potato chips. 

Ingredients
1 pound of kale
2 tbsp of garlic olive oil
garlic salt to taste

1.  Preheat oven to 350.
2.  Wash and dry your kale.  Then rip into large pieces.  I also take out the harder center vein. 
3.  Toss your kale in a big bowl with the olive oil. 
4.  Lay the kale out on two cookie sheets and season with the salt. 
5.  Pop the sheets in the oven for 10 - 15 minutes until the kale starts to brown. 
6.  Enjoy!

Pretty easy huh?  I'll be snacking on these while I catch up on Dance Moms tonight.  I know the show is awful but its a guilty pleasure. 

Snack on!
Anita

Tuesday, November 12, 2013

Peanut Butter Shortbread Dog Cookies

A great big THANK YOU to all our past, present, and future Veterans.  You make our country so very proud!  A long weekend makes for some free time that needs an activity.  What eats more time than some hard core baking.  We made soft pretzels, crackers, and muffins.  But the one I want to share with you today is a quick peanut butter shortbread dog cookie that we made to satisfy our fur kids.  The dough is flakey in the beginning but don't let that deter you from giving this recipe a try.
 
Peanut Butter Shortbread Dog Cookies
 
3/4 cups whole wheat flour
1/4 cup all purpose flour
1/2 Tbsp baking powder
1/2 cup peanut butter (chunky or smooth)
1/4 +1/8 cup milk
 
In a large mixing bowl, combine flours and baking powder.  In a small bowl, whisk peanut butter and milk until smooth.  Make a well in the flour mixture and gradually stir in the peanut butter mixture until well blended.  Using your hands work the dough into a ball.  The warmth of your hands will help make the dough more workable, if you use chunky peanut butter don't be shocked if your peanut nibs come popping out, you can just roll them back in.  Knead the dough ball on a floured surface for two minutes.  With a rolling pin, roll the dough to 1/4 inch thickness.  Cut the dog cookies into your favorite shape, I used a little heart cookie cutter.  Place the cookies on a cookie sheet lined with foil, parchment paper, or silpat.  Bake for 15 minutes at 400.  Cool on a rack and store in a sealed container in the fridge.
It took less than one cookie for everybody to be into these new treats.  Out with the store bought cookies in with the shortbread for my doggers! All the mixing, cutting, and baking took less than one hour.  Why not bake up a batch for your fur babies?
 
 
Keeping them happy,
Kelly, the origami ninja


Tuesday, March 5, 2013

February Craft Club

Let us take a quick moment to check the weather outside, yep still cold and snowy, we now return you to your regularly scheduled blog entry....

February, while we do get a nice break in the middle with the warmth of Valentine's Day, is a very chilly month.  It's a good time to turn to hot stick to your ribs food and crafting that warms the soul.  Our craft was a simple one for this issue of the Craft Club: pet beds.  
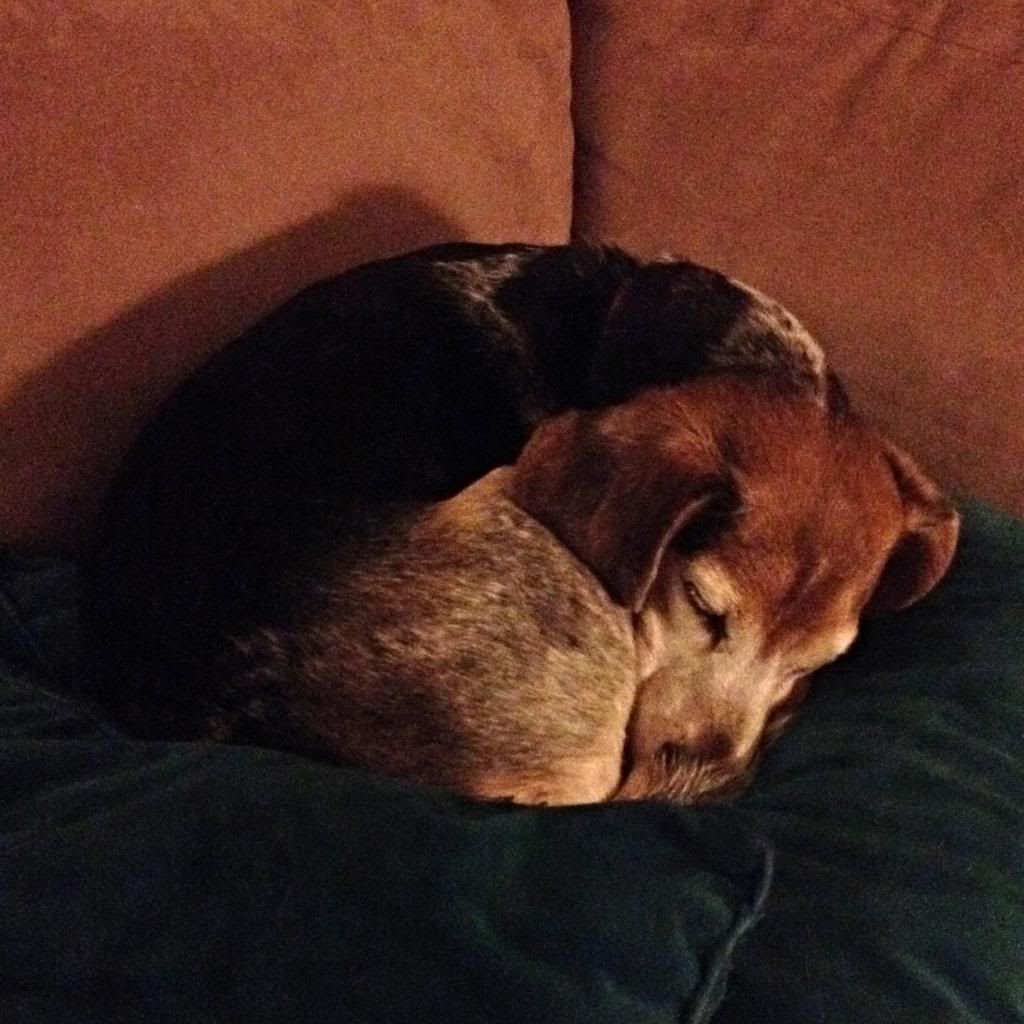
Hugs for Homeless Animals is a great little web page that provides all types of information about helping homeless animals.  They have a Lost and Found Pet section, help with Anti-Cruelty campaigning, provide direction to different types of animal services, and post pets needing their forever homes.  As Anita and I have seven adopted animals between the two of us this is a cause that fits into our daily lives.  So when February Craft Club came around this was a great way to warm our inner being with some charitable creativity.

H4HA has a whole section dedicated to helping comfort those animals waiting in shelters, it's called the 
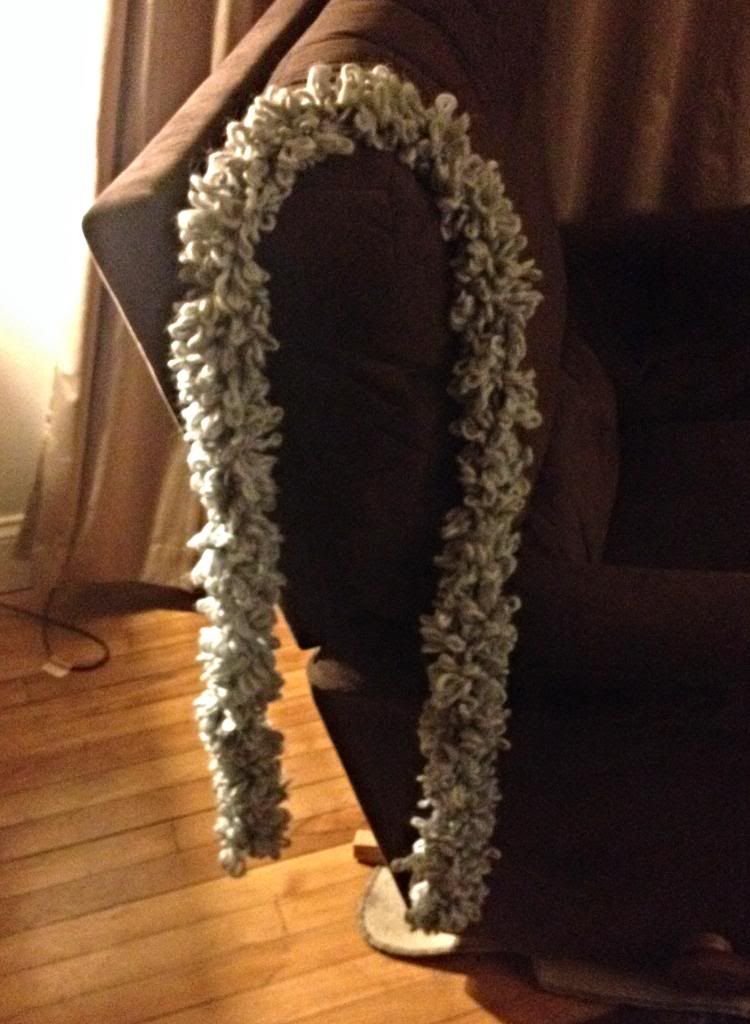
Snuggles Project.  A Snuggle is a handmade bed that is given to a homeless pet by a caring soul that wants to make their time at the shelter easier.  The Snuggle can be sewed, as we did, crocheted, or knit.  This bit of comfort stays with the animal, even traveling with them when they are adopted into their forever home.  Not all of us are able to physically help out at shelters, but still want to do more than donate money or supplies, and this is a great way to do it. 

The website has shelters in over 36 countries and all 50 states, and there are even links to locations where you can donate the Snuggle to help wildlife too.  A snuggle can be made in three different sizes to help fit a standardized cage depending on the animal in need.  Cat beds have a finished size of 14 x 14, 24 x 24 is for large cats and small dogs, while 36 x 36 is for medium to large dogs.  The Snuggles Project web page has all the information you need on how to construct the Snuggles, a ton of great patterns for inspiration, and the forms needed to donate as the web page moderators keep track of all the Snuggles donated.  There are links to shelters that participate in the program, and if your shelter isn't on the participant list they help you get them included!  You can form groups to make beds or work with a organization such as scouts or church groups to have Snuggle-create-a-thons.  This project is great to help boys and girls learn how to knit, crochet, or sew.  They can complete a project in short time and feel great about helping a needy animal in the process.

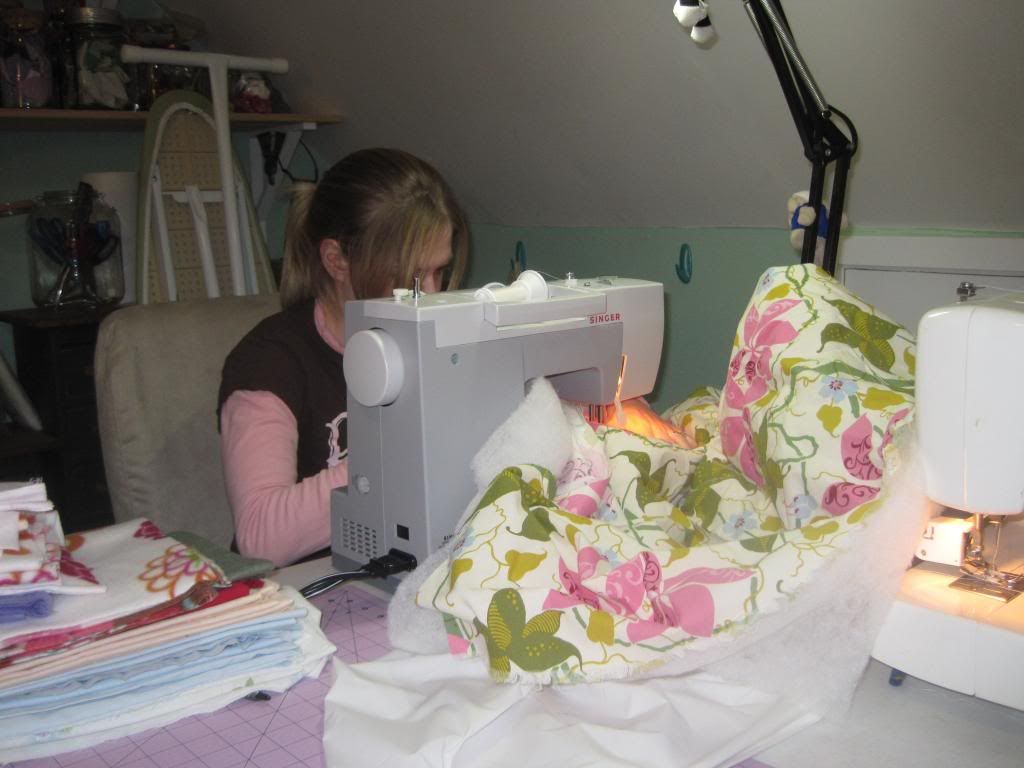
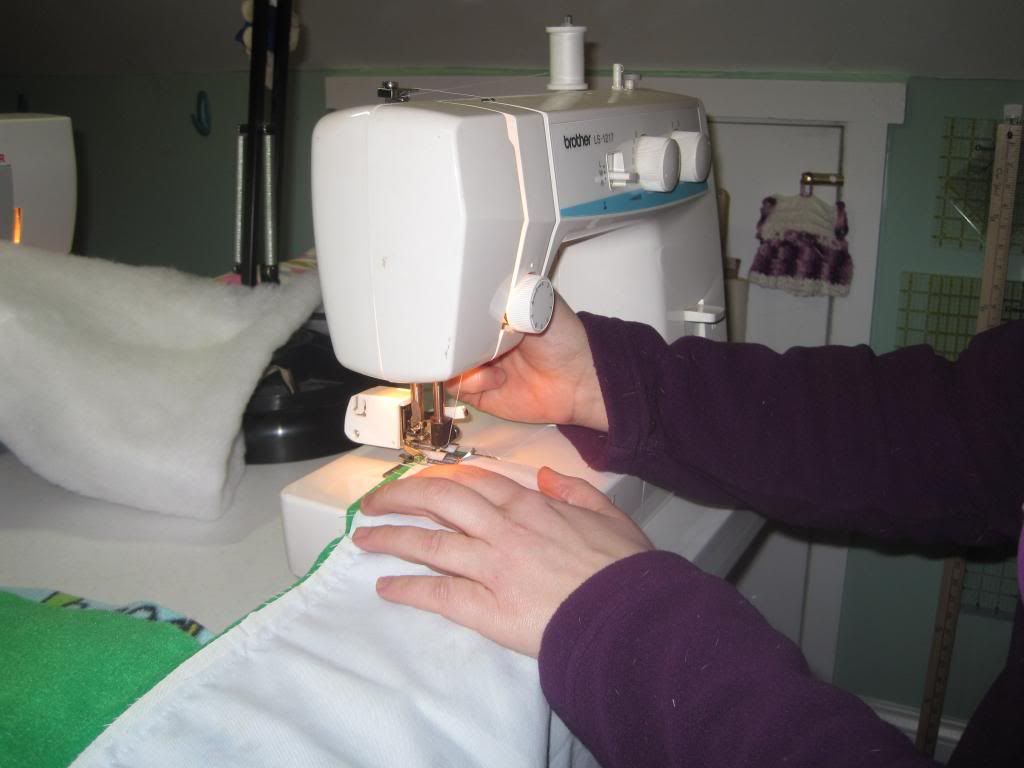
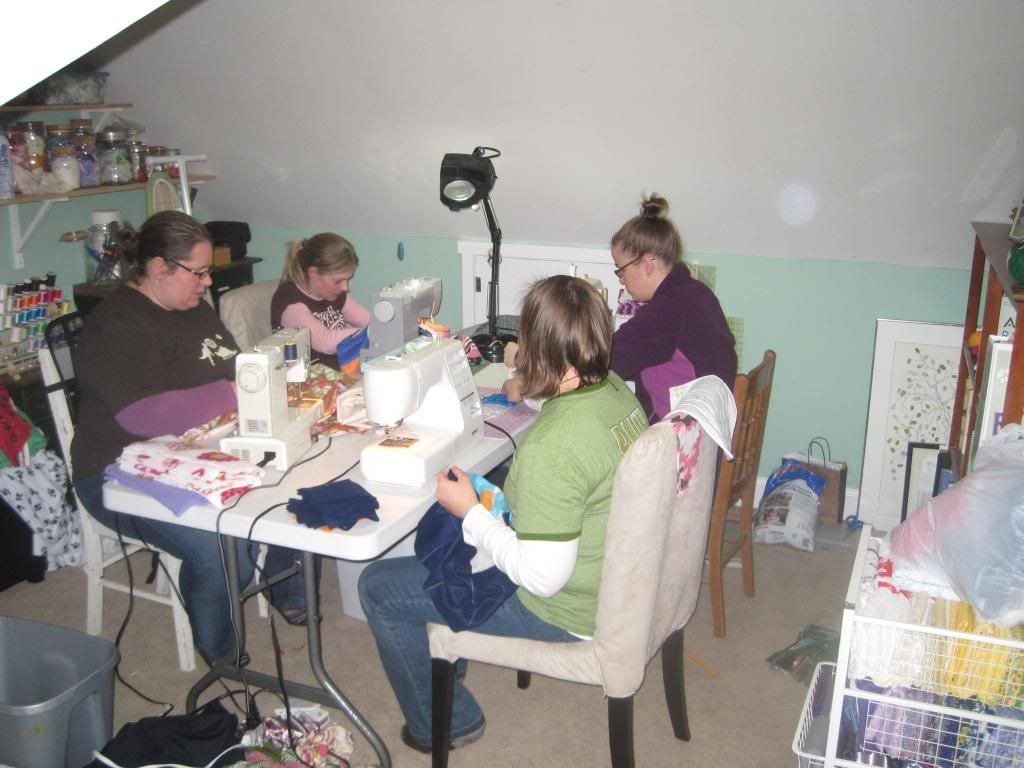
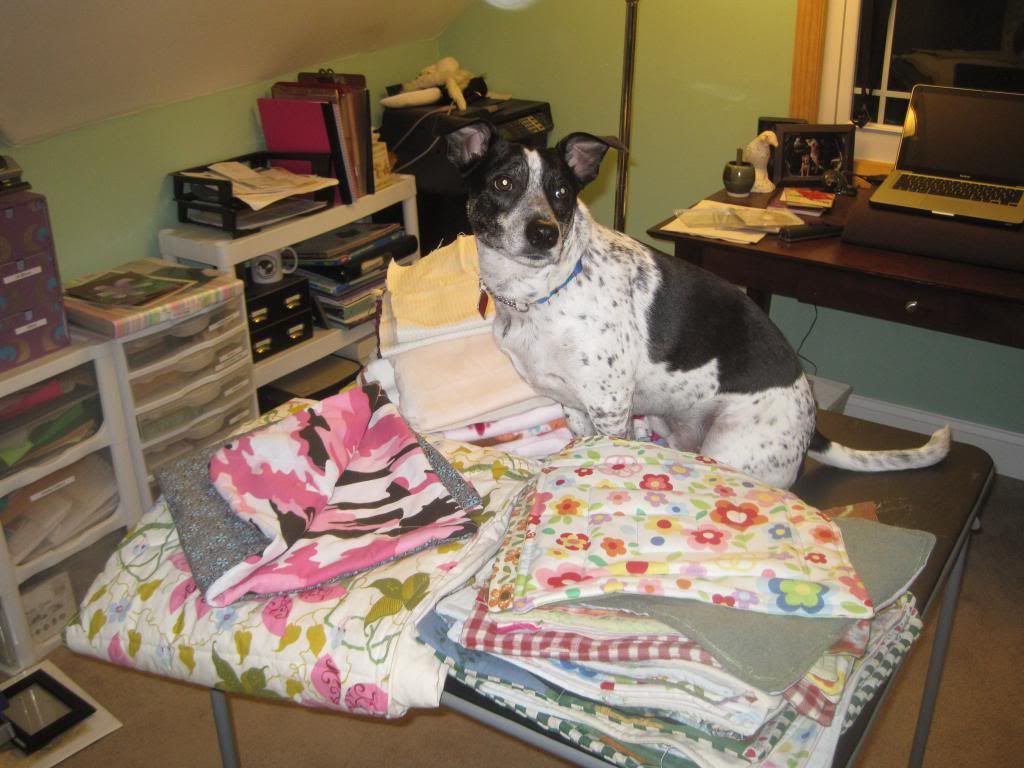
The four of us worked on sewn Snuggles and very quickly got into a grove.  Anita and Laura worked on pre-cut ones and churned out a huge stack of 14 x 14 Snuggles!  I cut out and assembled bigger Snuggles and then passed them to Sarah who did all the sewing.  We got three 14 x 14, one 24 x 24, and one 36 x 36 snuggle complete.  As a group we got over 27 snuggles made! All the 14 x 14 ones we made that evening will be donated to the Animal Rescue Foundation.  The three larger beds went home with me as I have other large beds to make and when they are completed the whole lot will be donated to the DeKalb County Animal Shelter.

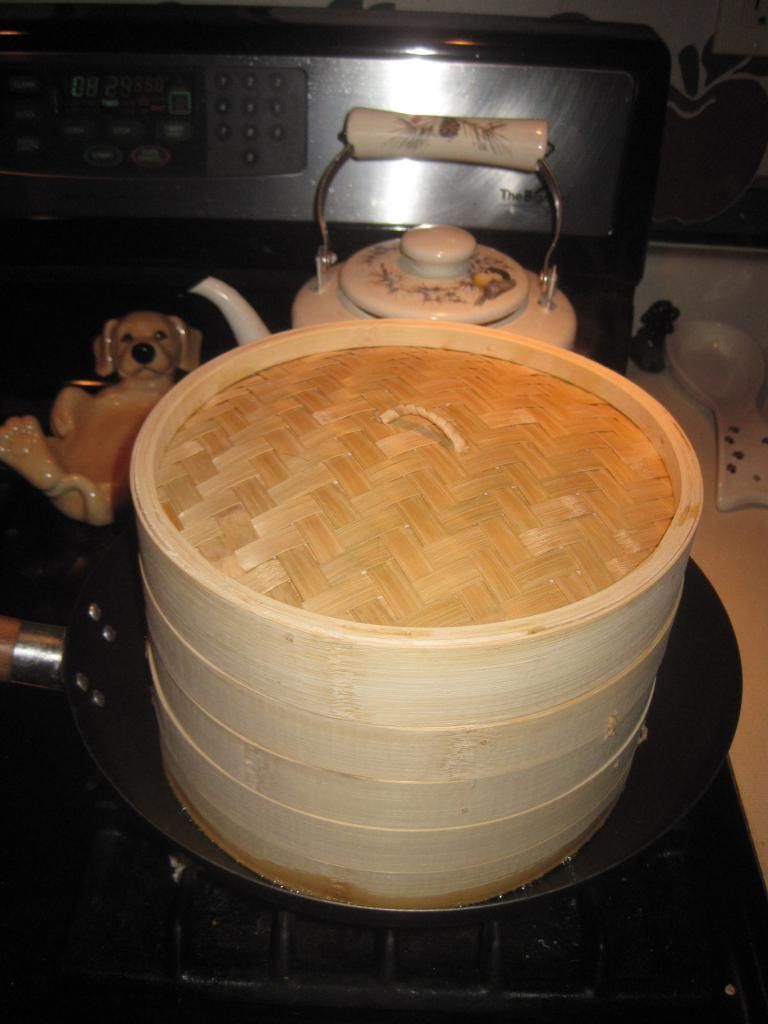
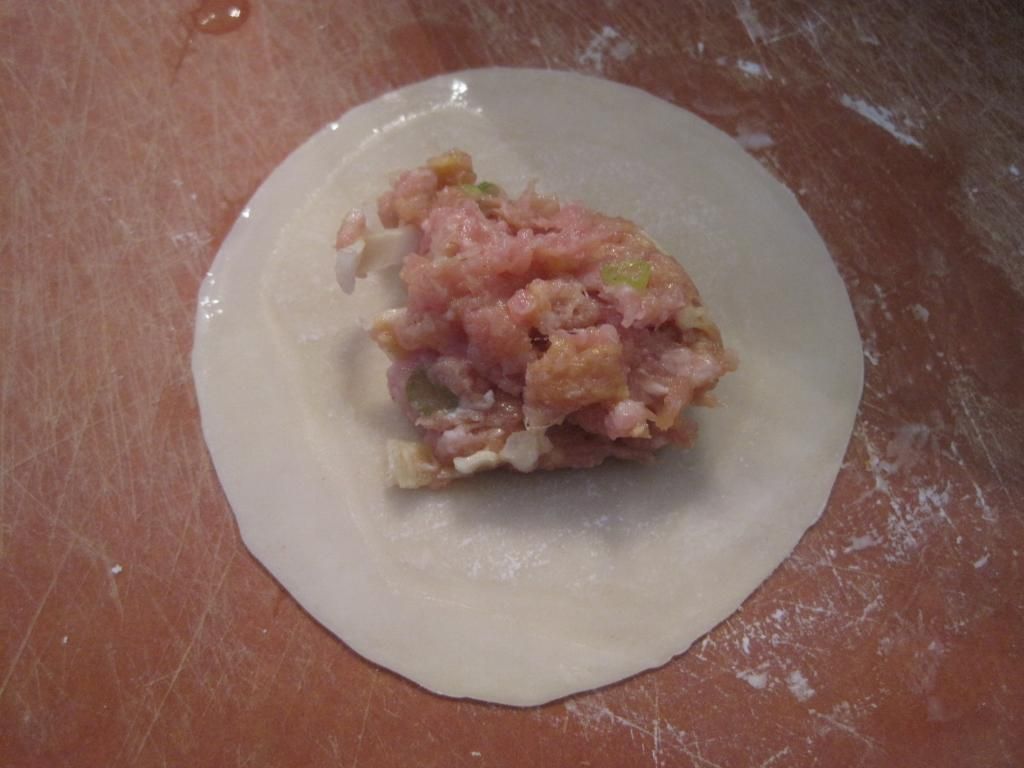
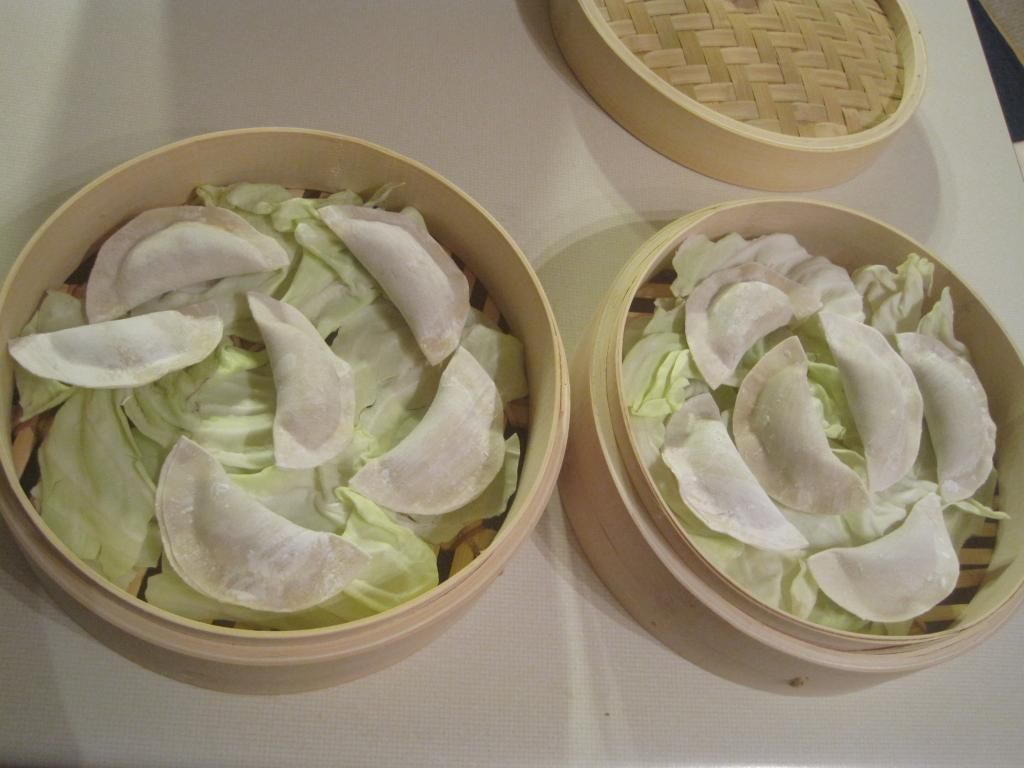
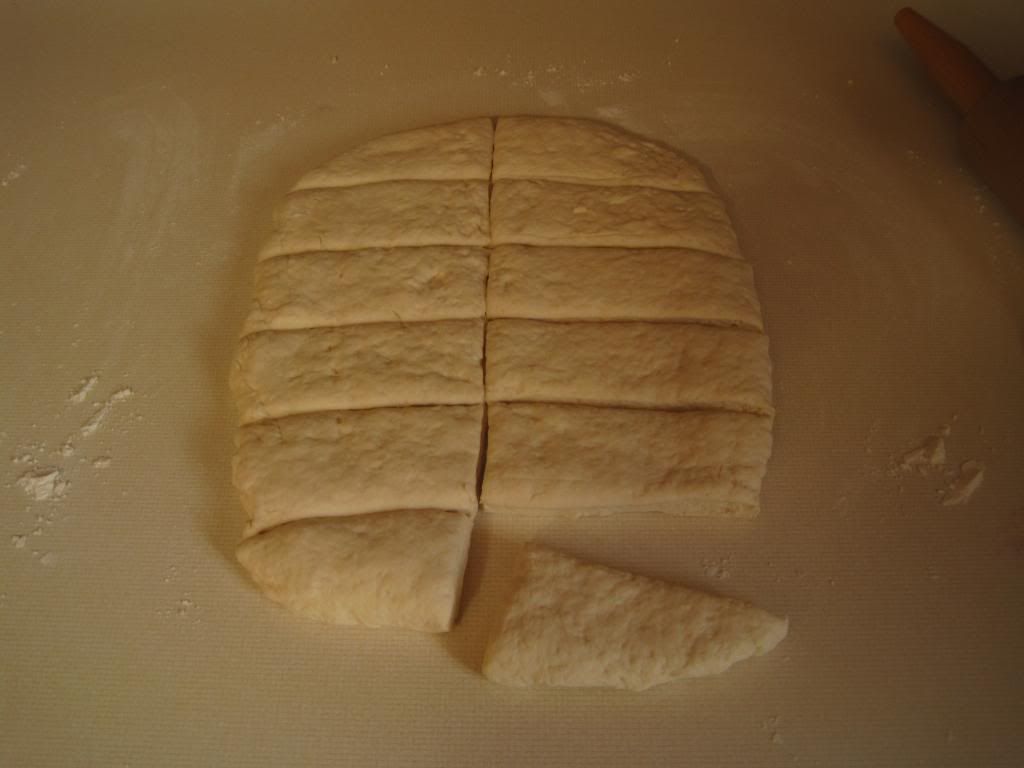
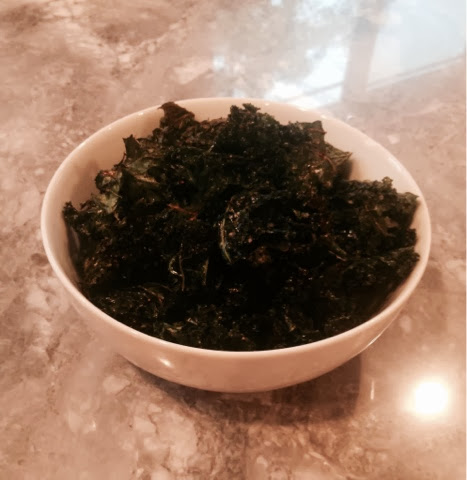
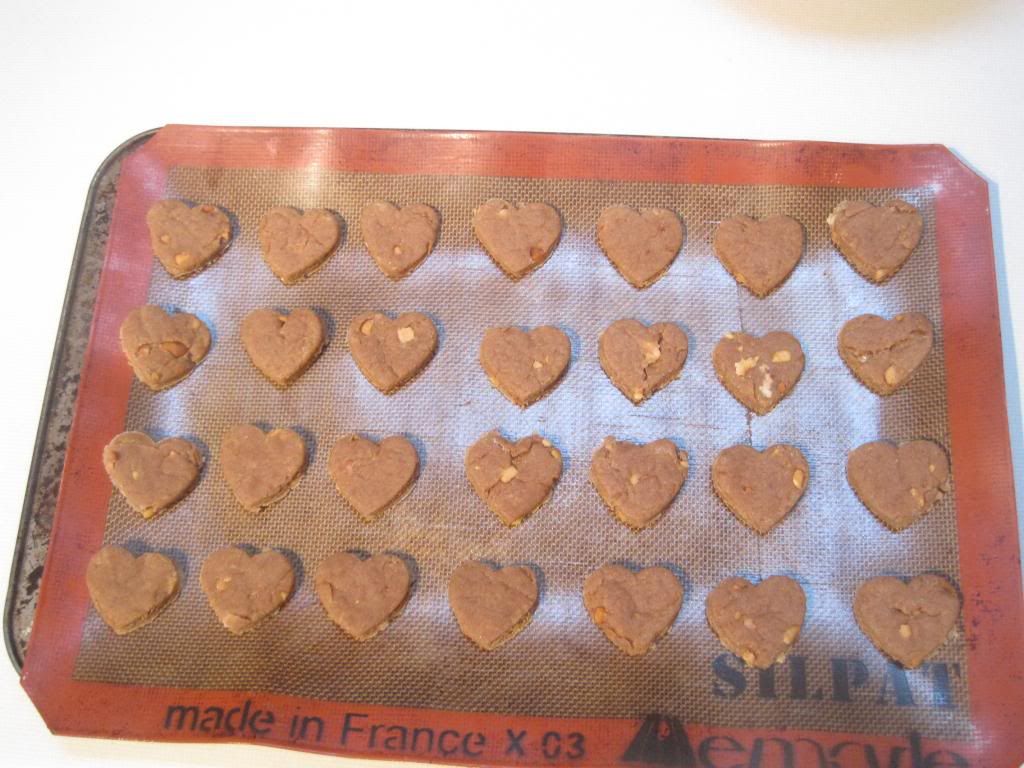
Since our craft was a simple one we decided that we each had to try a new recipe and the theme was Asian.  We had some awesome pot stickers, delish mung bean salad, fantastic veggie noodles with peanut sauce, and yummy red bean rice cake.  My tummy could for some of that right now, it was such a good meal!  It's has been a long time since we have zoomed through the craft to the point of crazed laughter over four running sewing machines and it was marvelous.  I can't wait to see what rolls out next month, see you then!

Keeping it thoughtful,
Kelly, the origami ninja


Tuesday, October 23, 2012

My Halloween craft insipration

All of the posts on the blog and around the intertubes has got my creative brain a thinkin.  I wanted to add to my decorations for this ultimate fun-time holiday, but money is tight in that arena so I took to the nets to see what I could find.  My first choice was based on the sweater pumpkins from the link party a few weeks ago. 
I had a few saved up sweaters from Goodwill that were burning a hole in my to-do box and this was calling their name.  I wanted to take them apart for the yarn but that was so not going to happen, either I can't take apart sweaters correctly or they talk about me and how to thwart my crafting exploits.  I think it's the latter.  So they sat in the box for three years until I saw the sweater pumpkins post at the link party and I knew what had to be done.  PUMPKINS!

I had one fuzzy forest green sweater and one fuzzy orange sweater.  The fuzzy orange one was the one I tried to deconstruct so one of the arms was annihilated.  Since the arms are what is used to make these adorable pumpkins I thought I was going to miss out but my craft muse smiled on me, she is so nice to me sometimes, and that fuzzy sweater gave me a short fat cowl to make into a cute little squat pumpkin.  I added some fun fabric stems and a bit of cotton string for my pumpkin necks and Houston we have decorations. I have these guys on my mantle, on my little decoration table in the hall, and on my kitchen table.  So cute!
 
I hope everybody is looking forward to tricks-or-treats coming up next week, I know I am!!!!
Let us know what you are up to with your crafting genes.
 
Kelly, the jack-o-lantern ninja


Tuesday, June 12, 2012

This year I am knot waiting until November to start my Christmas gifts


As the name of the post suggests I have started my Christmas crafting much earlier this year than I normally do.  I purchased a big ole skein of hand dyed yarn at Stitches Midwest, which is like a comic book convention for yarnies, several years ago because I completely fell in love with it when I saw it!  Martha Stewart once said that if you see something crafty, but don't know what to do with it, you should get it, as the project it belongs to may not have presented itself to you yet, thus the giant yarn buy.  So I have my huge yarn for for a time and then I buy The Handmade Christmas magazine form said same Stewart back in 2009 and there is this pattern for a knotted scarf.  Well I pulled out that big green fluffiness and got to cutting to finally get that scarf going.  The one pictured here is for a family member, that shall remain nameless for obvious reasons, who is a great accessorizer of outfits.


Cut 12 pieces of Bulky weight yarn 1&1/2 times the desired length of your final scarf (example: 140 inch piece in length makes about an 86 inch scarf, and would require 47 total yards of yarn).  Divide yarn into four bunches of three strands each.  Tie two bunches together with a square knot, leaving six inches of fringe at the end.  Repeat with other pair of bunches.  Knot the inner two bunches together about one inch below the existing knots.  Then knot the left bunches together followed by the right bunches together one inch below existing center knot. 


 Alternate knotting the the inner bunches followed by the left and then right ones, spacing all knots evenly.  When approximately six inches remain finish so that the final knots mirror those at the opposite end and trim to make the ends even.  Not very complex but it makes a very nice pattern.  The scarft toom me a few nights of knot tying but these were an hour blocks at the most.  It will wrap aroud your neck more than once for a warmer feel. 


MUTT looks very cute in his fashion scarf don't you think?  Sage was a big help keeping me company while I tied knots.  Sprout did not want to be in the picture as she was diligently watching the guinea pigs and Abby got bored and wandered off.

I hope you have started your holiday crafting, or at least thought about it.  It does feel good getting a bit of it done, though I have knot the foggiest idea what the next gift will be....oh well.

Keeping it squishy,
Kelly, the origami ninja

Tuesday, February 7, 2012

Finished craft of the week.....

I am so proud to finally be able to bring this finished project to you, fellow crafters.  I have been laboring through this for a while now and I am very happy with how it turned out.  You see, Anita taught us about embroidery awhile back at a Craft Club, she showed us how we didn't have to rely on fancy pre-printed patterns.  With a steady hand and some carbon paper you can create any embroidery you could ever imagine, and it's FREE!
So this wonderful dog was in an embroidery book but he wasn't quite right for the friends I wanted to give this to.  With a few tweaks and a fluffy tail we had instant Golden Retriever.  My friends a have a cutie named Sake.  I worried and puzzled and fretted over this piece for so long I had it built up into this massive project that I would never be able to conquer, you would think I was painting the whole house not applying a few stitches.  But low and behold, once I got started I was back on the embroidery bus and moving through it like the Flash.
The worst part of it was trying to keep the lettering in a straight line while I was stitching.  After a few TV documentaries and a viewing of The Princess Diaries I had this great personal gift for two friends who have brought me so much happiness.  I am loving the works that are getting checked off my to do list, keeps me motivated for the next one. Speaking of which, it's time for a new craft as I have been so diligently working on these oldies but goodies, but that is for another post.
I hope you all had a wonderful Super Bowl Sunday, as you can see it really took a lot out of the labs at our house. 

Keep on crafting everybody, 2012 is going to be a great year!
Keeping it lab-radorable,
Kelly

Tuesday, January 3, 2012

Veggie Cooking: Red Curry with Tofu and Vegetables

Well, my wonderful husband is off to visit his family in Florida and I am alone here in the chilliness.  It is bleak and windy outside, but not enough snow to make it a lovely winter view.  So we have cold weather and free reign of the food being served for the week....hmm sounds like some cooking fun!  I am really in need for some fresh bright flavors and for me that almost always leads to Thai. 
I have never actually cooked Tofu, though I really enjoy eating it.  So I am going to give it a go, while there are no man taste buds to worry about, and try to cook up some curried Tofu yumminess.  Serving this dish over a dollop of sticky rice sounds like such a warming gift for the New Year.  Soy allergen alert.

Red Curry with Tofu and Vegetables:

Ingredients:

4 tsp canola oil, divided
14 oz extra firm tofu, rinsed, patted dry, and cut into 1 inch cubes
1 lb sweet potato cut into 1 inch cubes
1 14 oz can light coconut milk
1/2 cup vegetable broth
1 to 2 tsp red Thai curry paste
1/2 lb green beans trimmed and cut into 1 inch pieces
1 tbsp brown sugar
2 tsp lime juice
1/2 tsp salt
1/3 cup chopped cilantro

Heat 2 tsp canola oil in large non-stick skillet over medium-high heat.  Add Tofu and cook, stirring every 2 or 3 minutes, until browned, 6-8 minutes total, transfer to a plate.  Heat the remaining canola oil over medium-high heat.  Add sweet potato and cook, stirring occasionally until browned, 4 to 5 minutes.  Add the light coconut milk, vegetable broth, and red curry paste and bring to a boil.  Reduce to a simmer and cook, covered, stirring occasionally, until the sweet potato is just tender about 4 minutes.  Add the Tofu, green beans, and brown sugar, return to a simmer and cook, covered until the green beans are tender crisp, 2 to 4 minutes, stirring occasionally.  Stir in lime juice and salt, sprinkle with cilantro and serve with lime wedges.  Serve over cooked rice if desired.

Turned out very tasty but it did need a bit more salt.  So hit the spot on this chilly day.
I hope you are staying warm and full this season.

Keeping it curry,
Kelly, the origami ninja


Tuesday, March 15, 2011

Crafty Stash Spring Fashion


Do you have a stockpile of crafting supplies?
Do you feel like you don't even know what's in there?
Are you surprised when you open drawers and boxes to find some awesome forgotten goodies?

Well if you answered yes to these three questions then you are just like me.  I have a little addiction to the craft store and I will not get rid of supplies if I think I might use them.  I also have decided to cut my crafting budget for the time being to be able to save for more important things like.... oh....a new bathroom perhaps.  That being said I have decided that I really need to concentrate more on using the stuff I already have instead of buying more and to finish the projects that I've already started.  So here's what I came up with today.

Can you see the price tag in the picture below?


Yep.  This cute purple sweatshirt was only $6.97 in a clearance bin at my Joann today.  Then, in going with the stash busting attitude I'm adopting, I found this iron on bird graphic.  I think I bought it about 10 years ago but found it in one of my aforementioned drawers this afternoon.  (That means this little guy has lived in multiple states and more than 4 houses.)  The original price tag was even still on it.


Yep $1.11 in the clearance section at Hobby Lobby.    A little quick ironing and I have a great new sweatshirt to wear to yoga!


Since the iron on came with 4 birds I put the other two on the back at the top of my shoulders.  You can only see them when I put up my hood.  (I like surprises.)


The purple color is my spring fix for this week and its Sadie's favorite color too.


Craft on!
Anita