

This week's kitchen adventure was making homemade butter. Believe it or not this was not the first time I'd conquered the delightful dairy condiment, but I've never made it with an electric mixer. A little history: I used to work at a historic landmark called The Grove when I was in my late teens. I worked as a historical interpreter, all dressed up in period gear, and taught visitors about everyday life in the mid 1800s. My speciality was working in the home's kitchen and I actually learned alot about cooking working over a wood burning stove on those summer days, making everything from pies to chicken and dumplings. Suffice it to say I also made butter while I worked there but it was with a hand crank butter churn. The mixer is much faster.
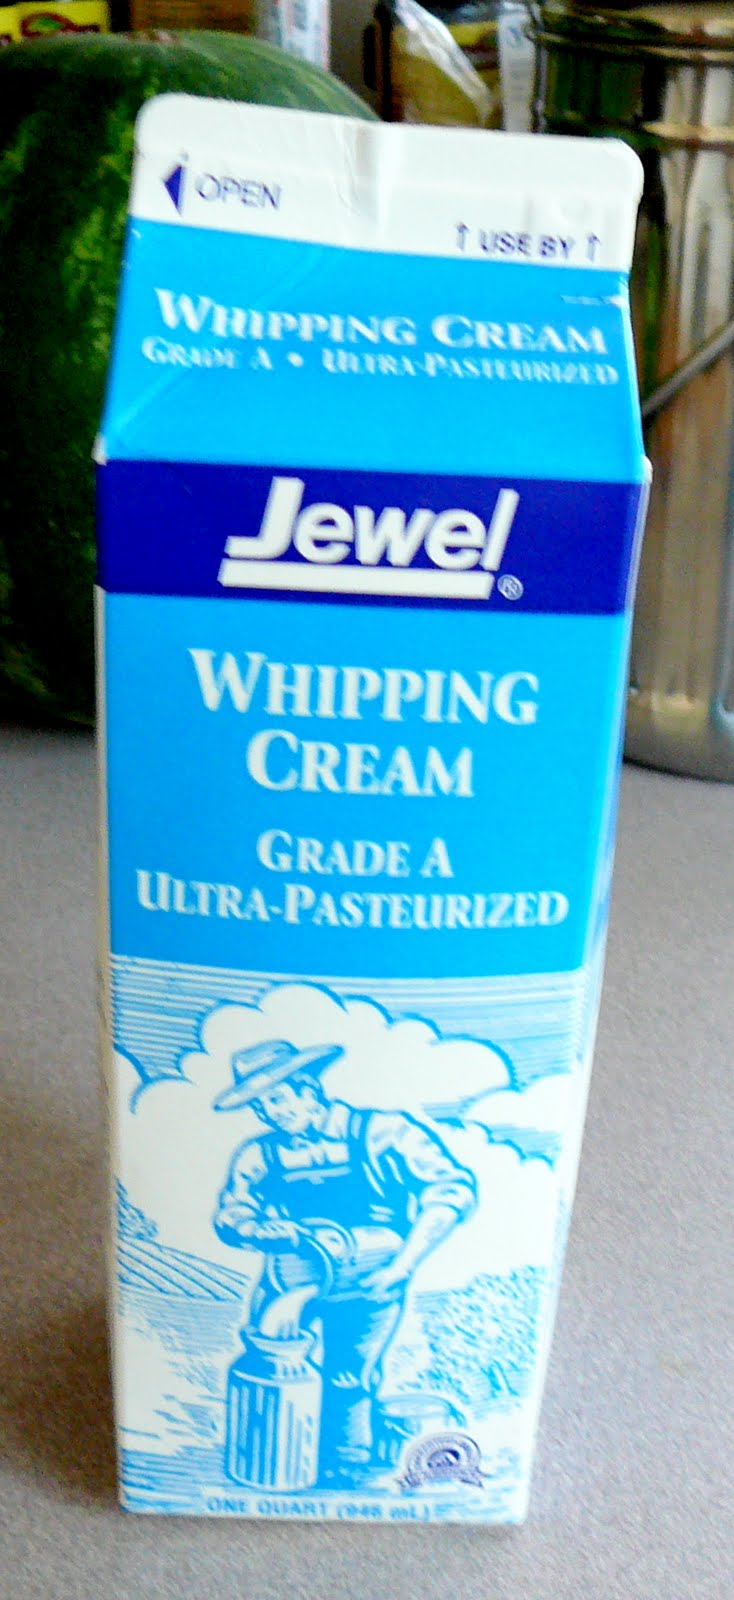
So after making our homemade donuts this weekend I had almost a whole container of whipping cream left and didn't know what to do with it. I hate seeing things go to waste. This was a perfect opportunity to make butter since you really don't need any other ingredients except some cold water and salt if you want.
Ready to see how easy this is? First use whipping cream that has warmed to room temp. This will make it separate faster. Pour your cream into a stand mixer with whisk attachment or blender and turn it on. I mix mine on med/high but remember you'll need a splash guard with a stand mixer if you're going that high of speed. Now you just wait. First the cream will turn into whipped cream, great if you're making sundays. Don't turn back now butter is so close. You'll see the color of the cream actually change to a "buttery" yellow separate into a chunky creamy butter and watery buttermilk. Yep that's how you make buttermilk too.

Now the only step left is to wash the butter. If you don't, the buttermilk will cause your butter to go rancid much faster. Some people do this in the blender/mixer but I use cheese cloth. Spread your cloth open in the sink and pour the contents of the mixing bowl on top. The buttermilk will drain off. *Note - If you want to save and use the buttermilk, do this over a clean bowl to catch it.
Now gather up the cloth and squeeze out all the excess milk.

Open the cloth back up and kneed the butter under cold running water and squeeze it again in the cloth. Continue to do this until the water runs clear out of the butter. Tada you're done! You can also mix in some salt if you prefer your butter salted. Whipping cream will yield about half its amount in butter.
Wasn't that super easy? Now just put your butter into a clean container, refrigerate, and enjoy.
Craft on!
Anita
This is so interesting, I've never seen it done before! I make my own margarine by softening a stick of butter and whipping it with 1/2 cup of oil. It has the taste of butter but it's much easier to spread. Thanks for your tutorial!
ReplyDeleteSherry @ A Happy Valentine
How totally fun! My kids would think this was pretty amazing!
ReplyDeleteHow long does the butter last? Because you may have just saved me from ever buying butter again!
ReplyDeleteWe Indians make our own butter...We love it! :)
ReplyDeleteHi there- found you through Tater Tots's hop and am a new follower. This recipe sounds so easy- I never would have thought of something like it myself. I hope you have time to follow my life in South Africa by http://withoutcomplexities.blogspot.com
ReplyDeleteHave a great weekend!
This is a very fun thing to do for dinner parties too...I just blog about it a few weeks ago. I put a small canning jar on every ones plate with heavy cream, a tsp of salt and a marble inside each jar. As they were sitting around talking and waiting on the dinner they all shook their jars and when I placed the bread I'd just pulled out of the oven they all had their own home made butter to place on it...was a lot of fun and a really good way to keep little ones busy when dinner is running a little late!...lol Love your blog here =O)
ReplyDeleteOh my gosh, so funny, I was just talking to Hubby about whether we could make our own butter, but we had no idea how to do it - now we do! Thanks for sharing the tutorial :-)
ReplyDeleteThis is awesome.. and just a side note.. my kids would Love you! They are super fascinated with history and talked and bowed to all of the coloninians in Williamsburg last summer! Thanks so much for sharing this wonderful tutorial with my Pink Hippo Party.. can't wait to see what you share next week!
ReplyDeleteI'm definitely impressed. I always said God knew what he was doing when he didn't have me living out on the prairie. :) Much better with a mixer I'm sure. Thanks for sharing on Motivated Monday at BeColorful
ReplyDeletePam
Fantastic! This is something I've always wanted to do. And well, you can't go wrong with butter, now can you? Thanks for sharing at I Made It! Monday. I will be featuring this project, so be sure and grab a button when you link up a new project!
ReplyDeleteSo, so cool! I remember making butter in elementary school in a jar, but this takes it to a whole new (and much better) level. I have a pint of cream in the fridge that's just on the verge...gonna have to give this a try with the girls!
ReplyDeleteJenn
Yummy, this sounds awesome. I've made cheese before, but never tried butter, hmmm. and we kind of eat a lot of it, SOOO I should def try it out. Thanks for sharing all the great tips.
ReplyDeleteI'd also LOVE to invite you to check out my weekly parties. I would be so happy if you linked up, this and any other fabulous project you are working on.
Stop by anytime to say hello!!!
Hugs, Bella :)
**AMAZE ME AUGUST** @ Bella Before and After Any projects, recipes, diy welcome.
**PARTY PLANNING TUESDAYS** @ Euro Style Cakes. Any party planning tips, decorations, invitations, recipes welcome.
I might have to try this in my Magic Bullet!
ReplyDelete