

Supplies

Glass or ceramic mug (oven safe)
Glass paint - 2 colors (I used martha stewart. #33132 hummingbird in pearl and #33143 sterling in metallic.)
Glass paint marker - black (I used the DecoArt brand.)
Paint brush
FIRST! Clean your mug. Any dirt or grease could compromise your paint job and cause it to peel. Practice one feather on a piece of paper before you start painting the mug.
1. Paint the feather shaft. This is just a gently tapered line. I mixed it up and made some of mine curved and some straight. The curved feathers looked alot more realistic.

2. Now paint the body of the feather in strokes swept toward the tip starting about 1/4 from the base. You can leave gaps in the feather body and change the general shape from one to the other but try to get a tapered look to the tip.

3. Optional* Now make a couple strokes at the base of the body in the opposite direction. This is those little downey bits on real feathers, but don't go over board. Just a couple strokes is fine. I did this on about half my feathers.

4. Now take your second color and add some interest.

Here's a couple ides for patterns. You can paint directly on top of the previous color. This stuff dries really fast.
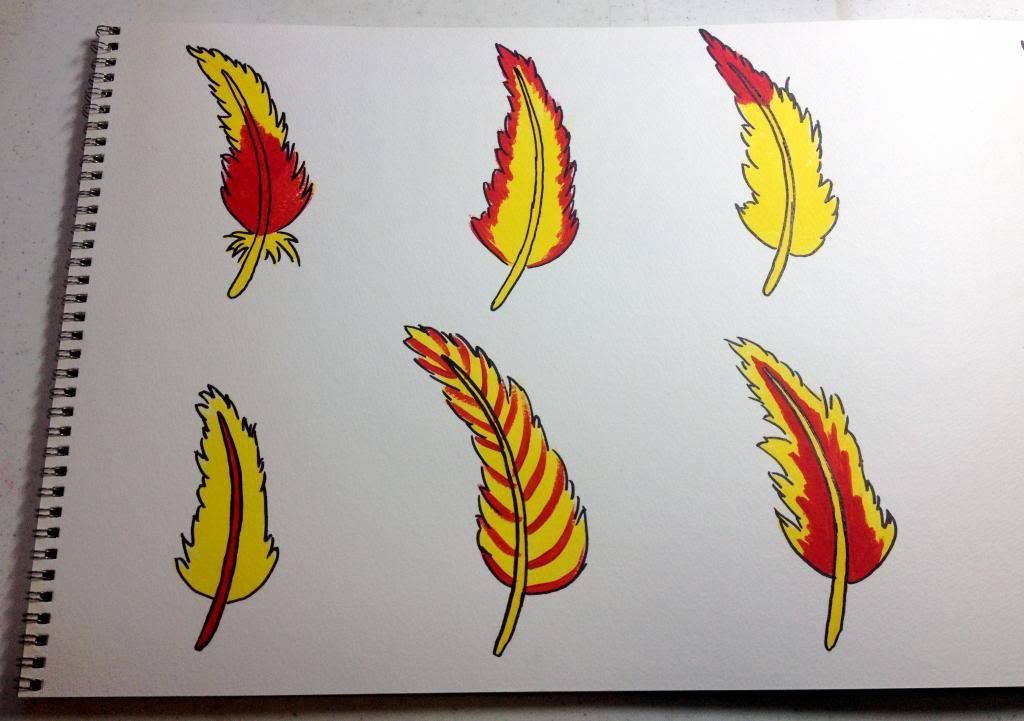 |
| Don't worry about the black outlines. That's coming in step 6. |

5. Now take your glass paint marker and load up the tip just like with a regular paint marker. Now you will outline each of the feather shafts and the general outline of the body. Don't worry about being perfect on the outline. Imperfect and sketchy lines make it more interesting. You're just adding texture.

6. Now take your mug cure it according to your paint's instructions. Here's what I did for the Martha Stewart brand I used. Let dry for 1 hour. Then place in cool oven. Set oven to 350 and bake for 30 minutes. Turn oven off and let mug completely cool in oven. Wait 72 hours before using. Also make sure to wash in the top rack of the dishwasher.
DONE! Now you have a distinct mug you can take to the office that everyone will envy.

Gidget likes the mug but thinks my next one should be paw print. More beagle-centric.


Anita
Looks great! Pinned! Thank you for being part of our party. Please stop by on Tuesday and share one of your incredible projects. http://loulougirls.blogspot.com/
ReplyDeleteHappy Saturday! Lou Lou Girls