
Supplies
1 yard Red fleece (this is more than enough!)
1/2 yard White furry fabric
Red thread
Small amount of fiber fill
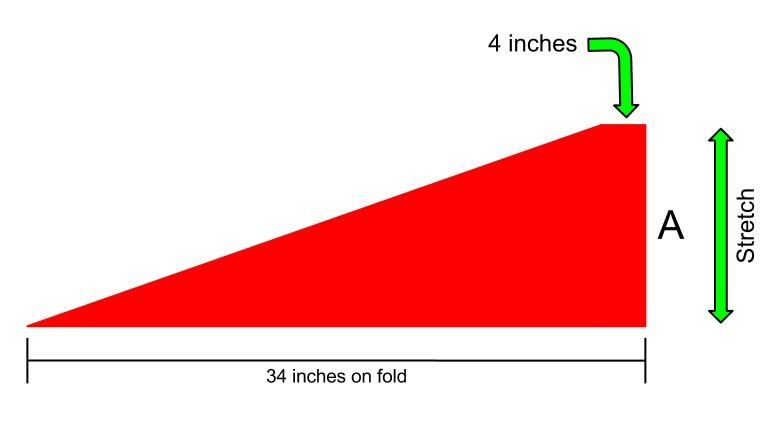
1. First we need to make your pattern. Measure the circumference of your head and divide by two. We are gonna call this number A. Now take a piece, or two, of newspaper and make a triangle like the one below.

Trace and cut the pattern out of your red fleece. Here's what the piece should look like when you open it up.

3. Cut a piece of your white fur fabric 3 inches by your head circumference measurement. (Mine was 3 X 22 inches, and make sure to check if you have a stretchy grain to your fur. Line the stretchy grain up with the long side of your fur cut out.) Place this along the base of your triangle with the right side of the fur against the wrong side of your fleece. (Yes, you can have a wrong side to fleece so check before you start to sew.) Sew along the edge.
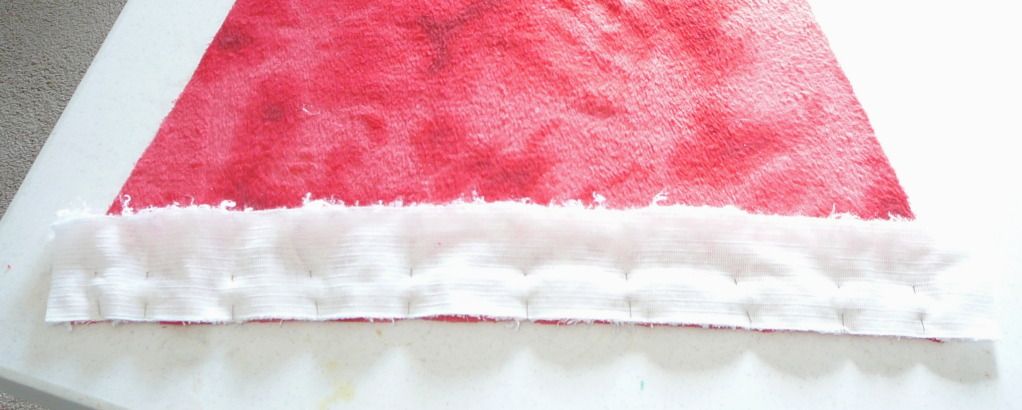
4. Now flip your trim over so its right side out. (This will hide the hide the seam.) Fold your entire piece in half so it looks like it did when you first cut it out. Sew up the side from bottom to top, leaving a little opening at the tip to affix your fur ball we are going to make next.
 |
| Don't worry about your fur poking out the bottom. Just make sure it's lined up along the side you are sewing, |
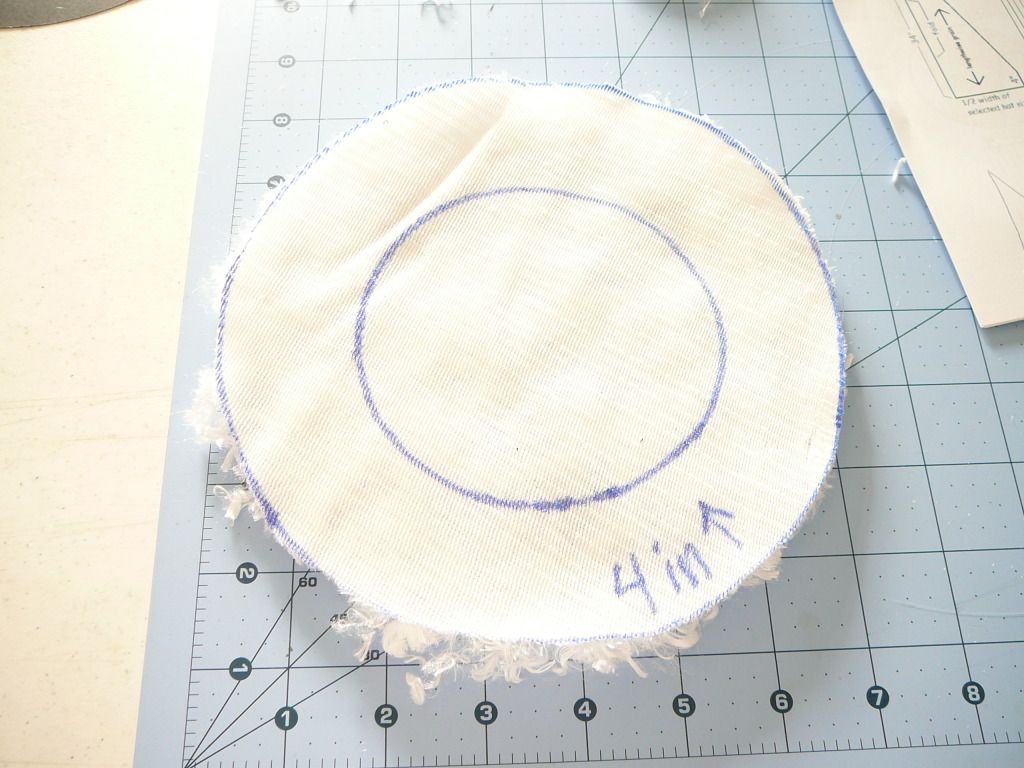
5. Now we need to make the ball for the end of your hat. Cut out an 8 inch circle of fur and trace another 4 inch circle centered inside it.
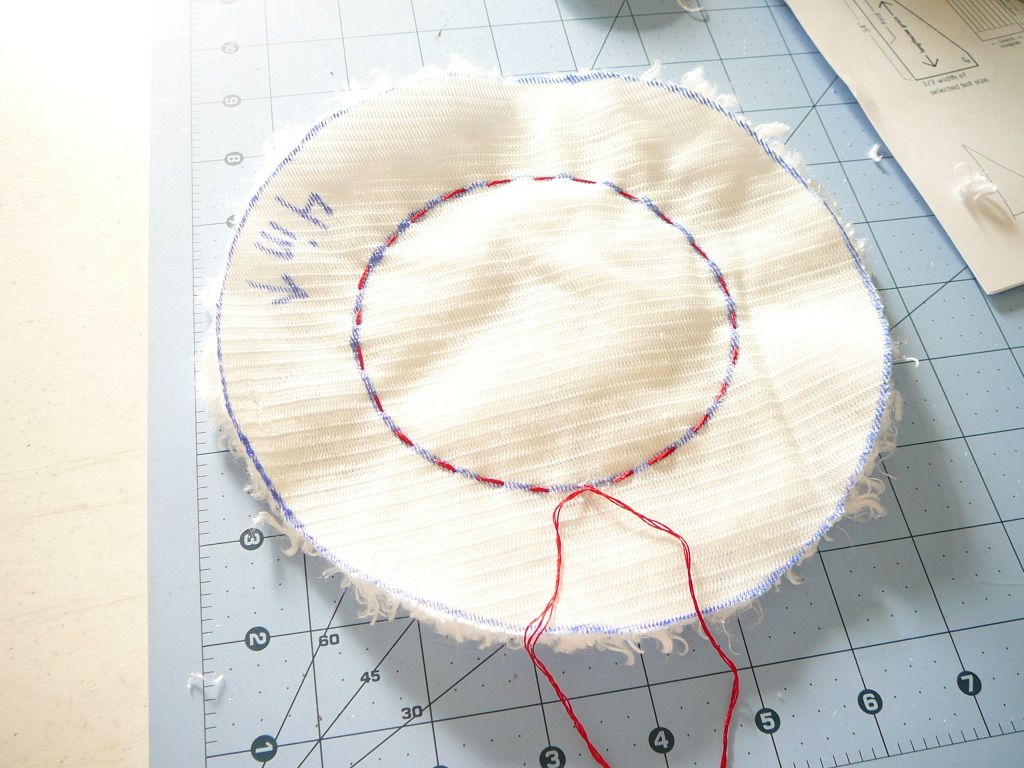
6. Following the 4 inch circle sew a running stitch around the whole circle.
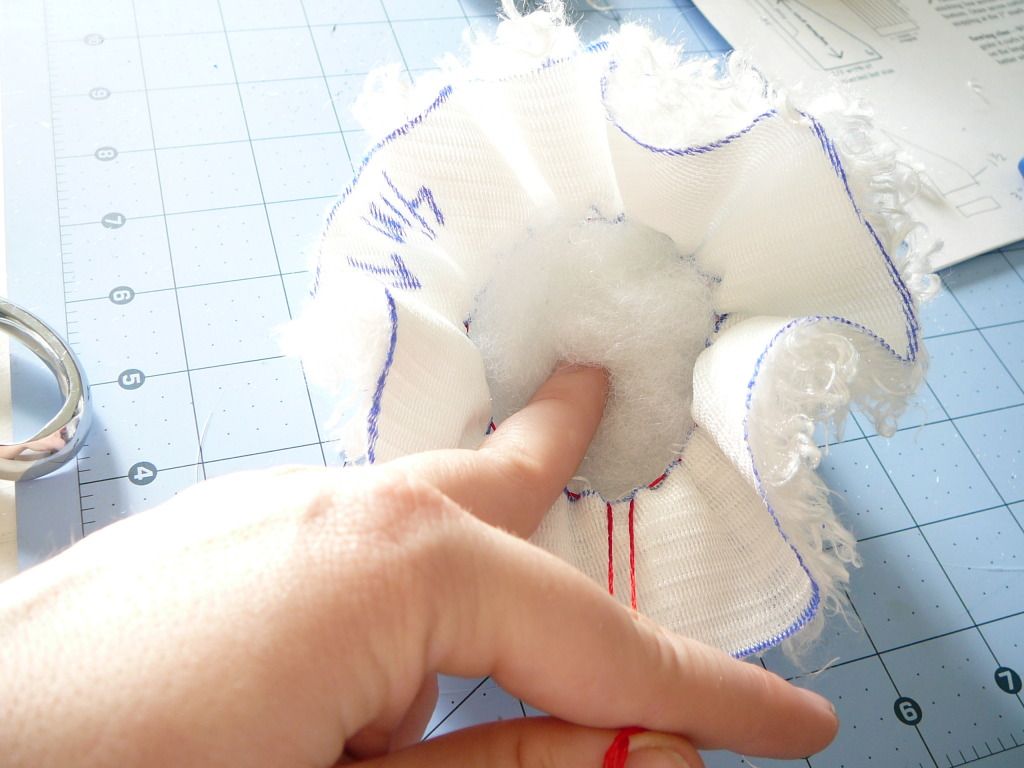
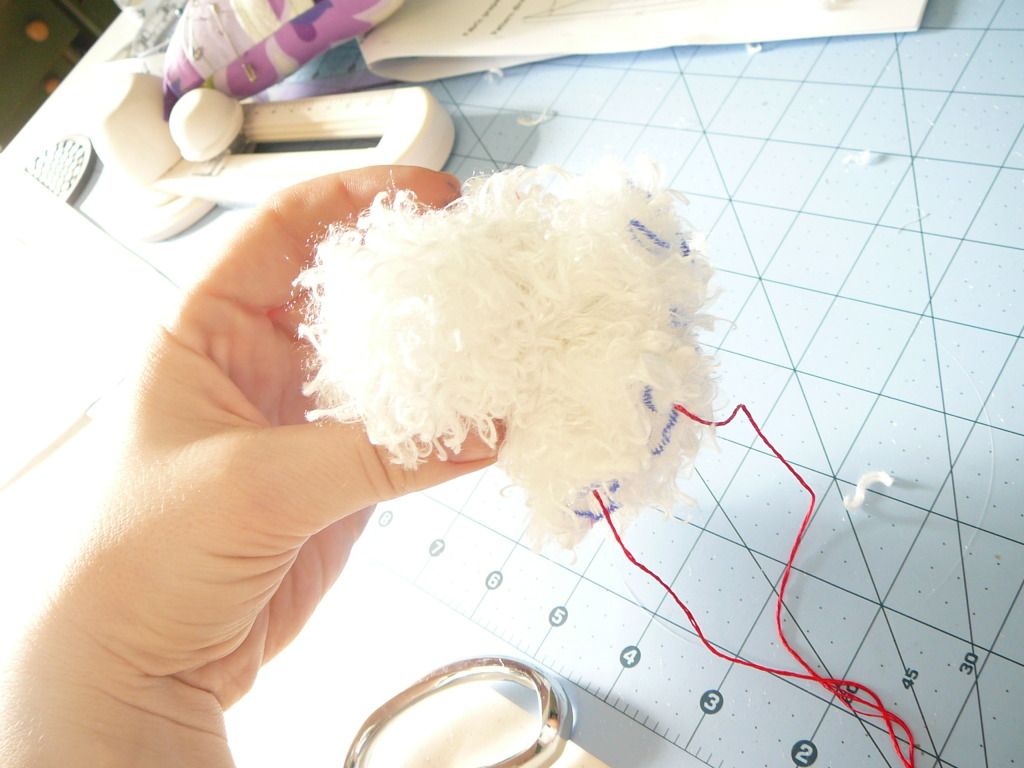
Take a small ball of fiber fill and place it in the middle of your circle and start to pull on the ends of your thread. As you pull keep your stuffing inside the ball that forms. Pull the strings tight and tie it off. Your ball will look a little like the top of a lollypop.
7. Take your fur ball and stuff it in the tip of your hat that it still turned right side out. The fringe end should stick out of the hat. Sew across to join, making sure to stitch as close to your "red" thread as you can. Trim off the excess fabric close to the seam.
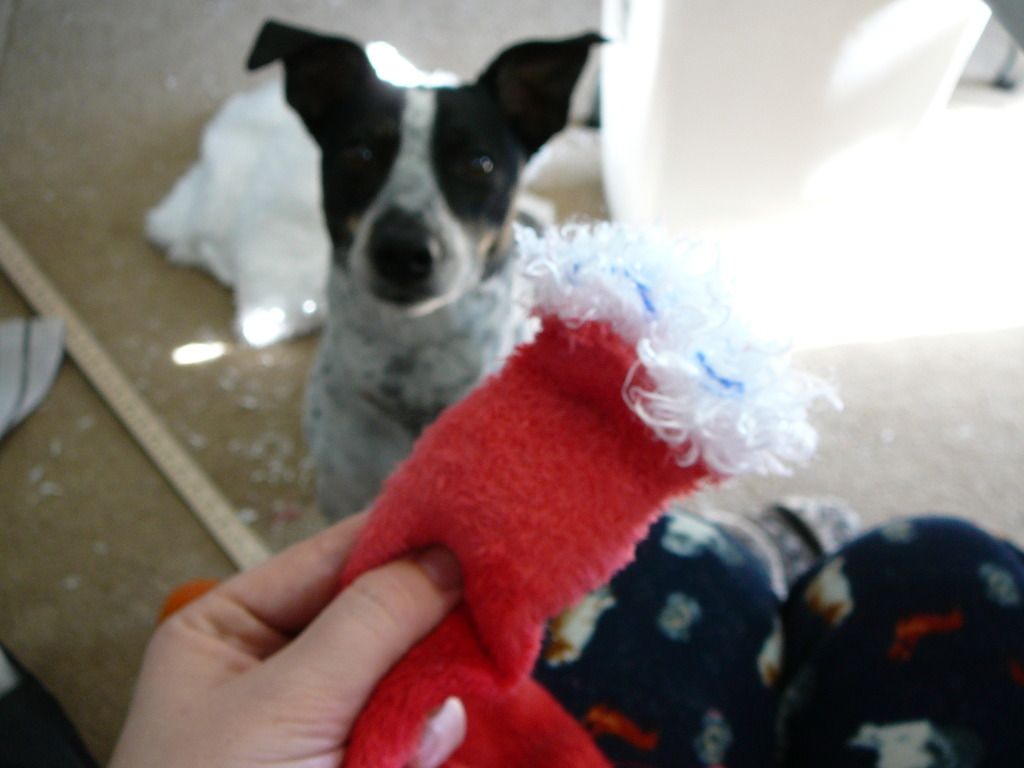 |
| Mr. Biscuit seems to think I'm making a dog toy. Look at that focus. Don't forget to trim all that excess fabric on the end. |
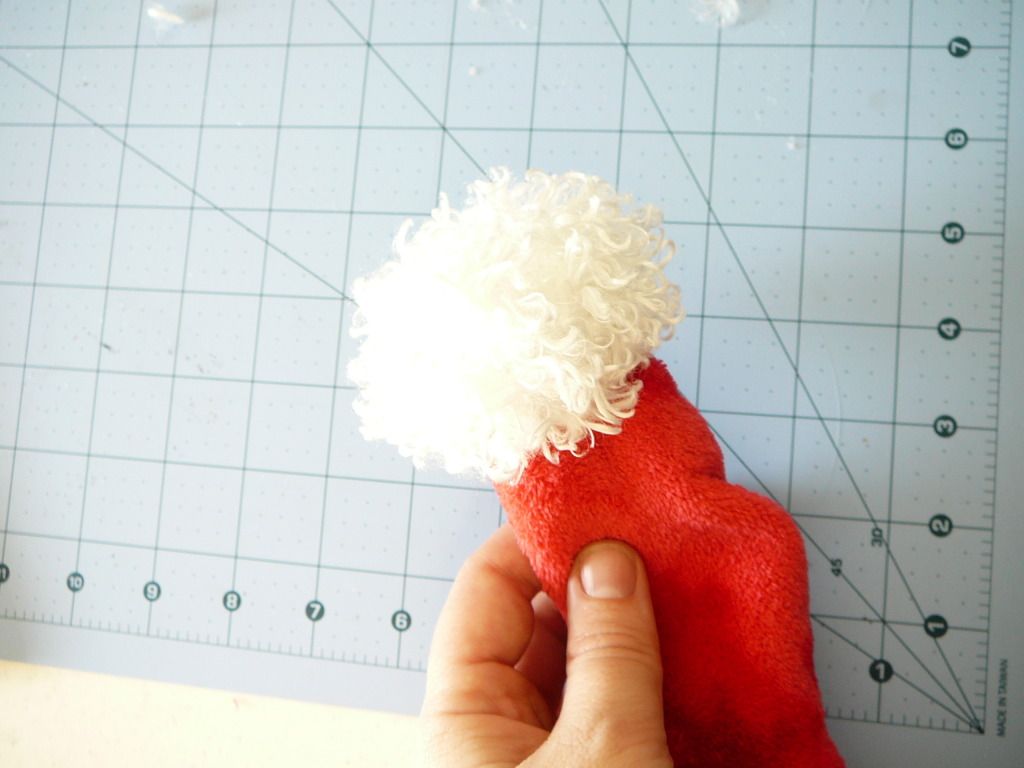 |
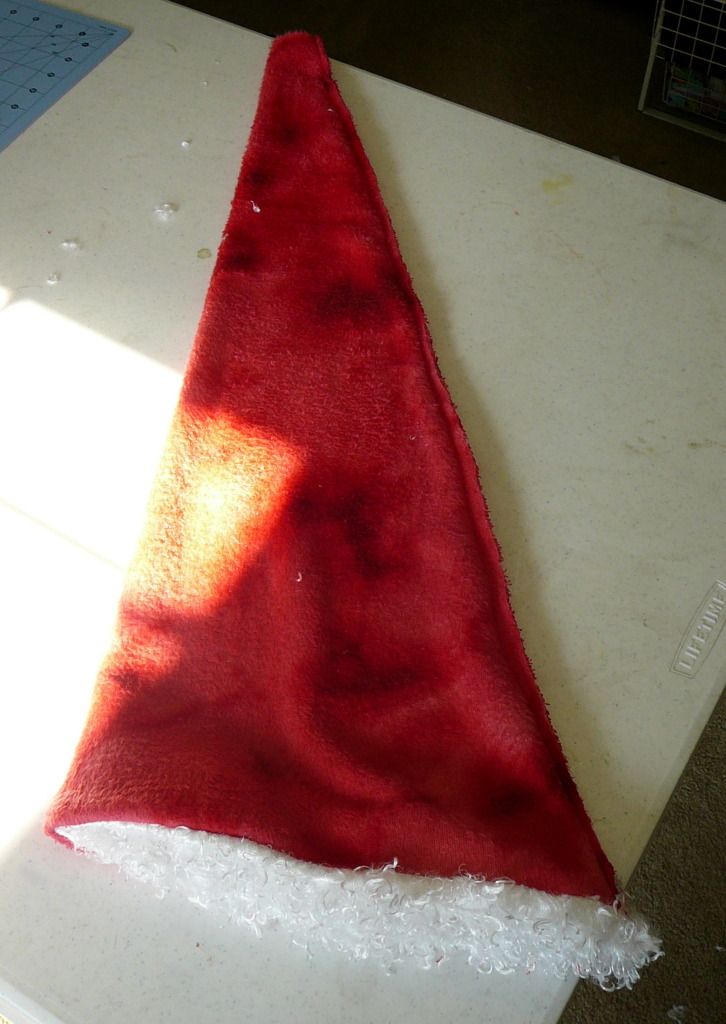
| Here's what it looks like right side out. TADA! |
8. LAST STEP. Turn your hat right side out and tack down the brim in a couple places so it doesn't shift. You can do this with hot glue or hand sewing.
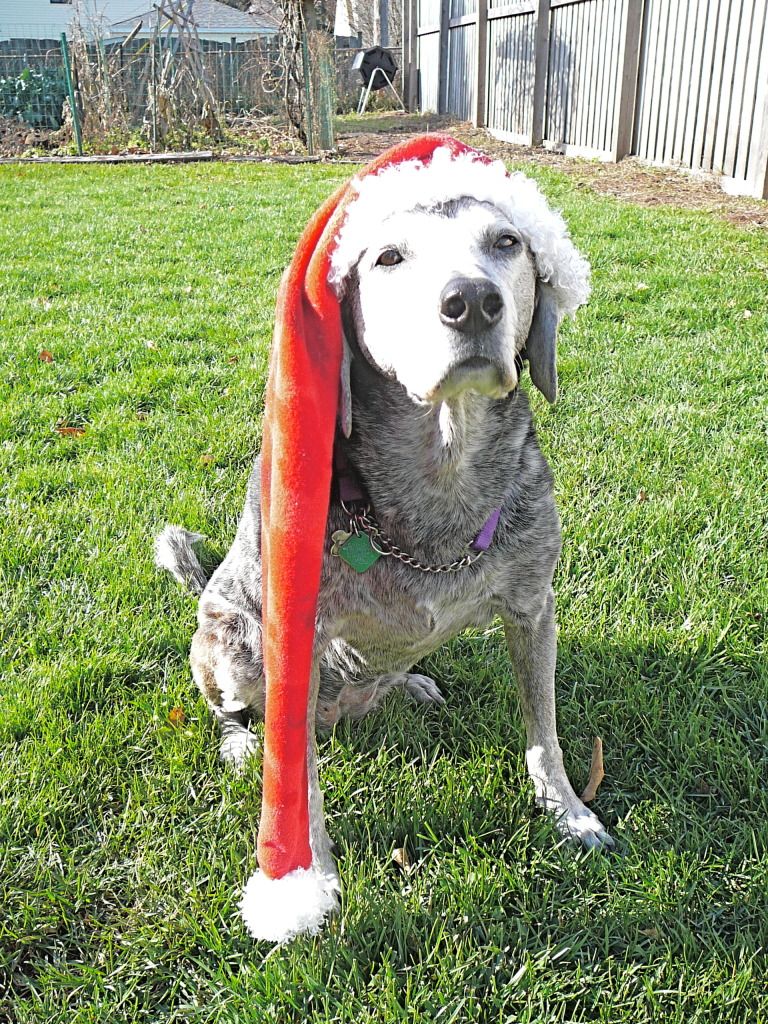
DONE!
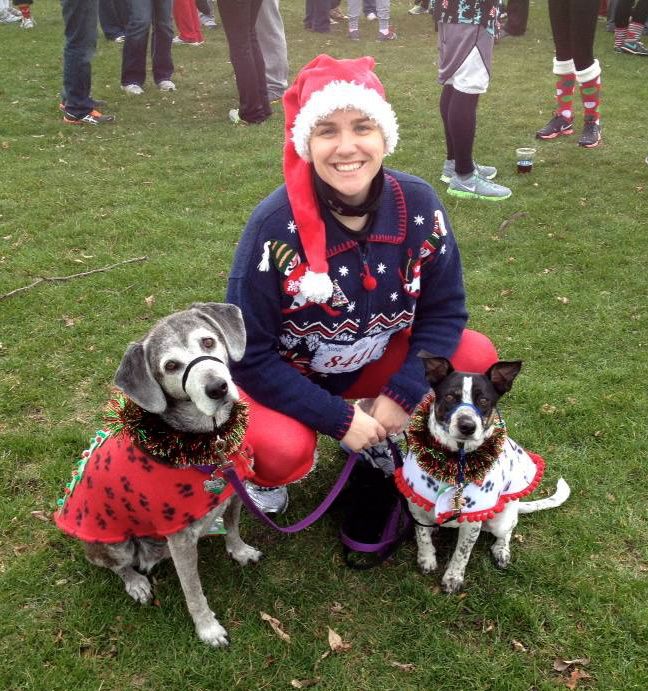
Now just embarrass your dog by making her/him wear your new creation.
Anita
Aaaww! Your dog looks so cute in the hat! One of our dogs LOVES clothes. It's so funny to watch her strut and prance! -Marci @ Stone Cottage Adventures
ReplyDelete