Showing posts with label gardening. Show all posts

Tuesday, April 14, 2015

Welcome Spring!

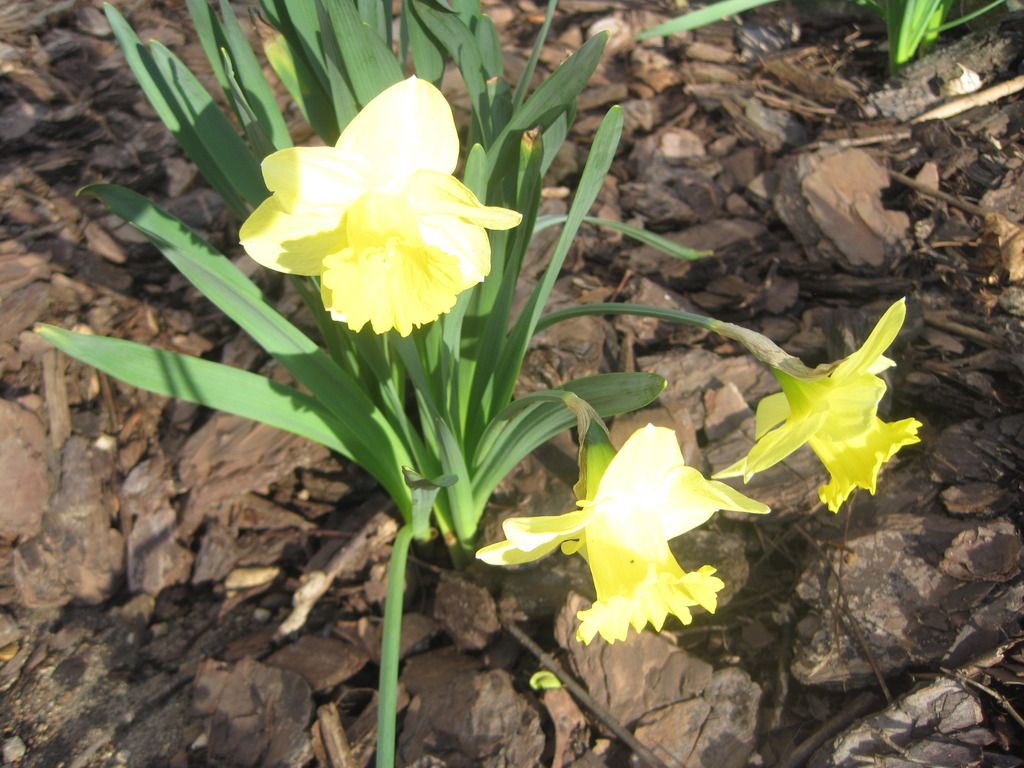
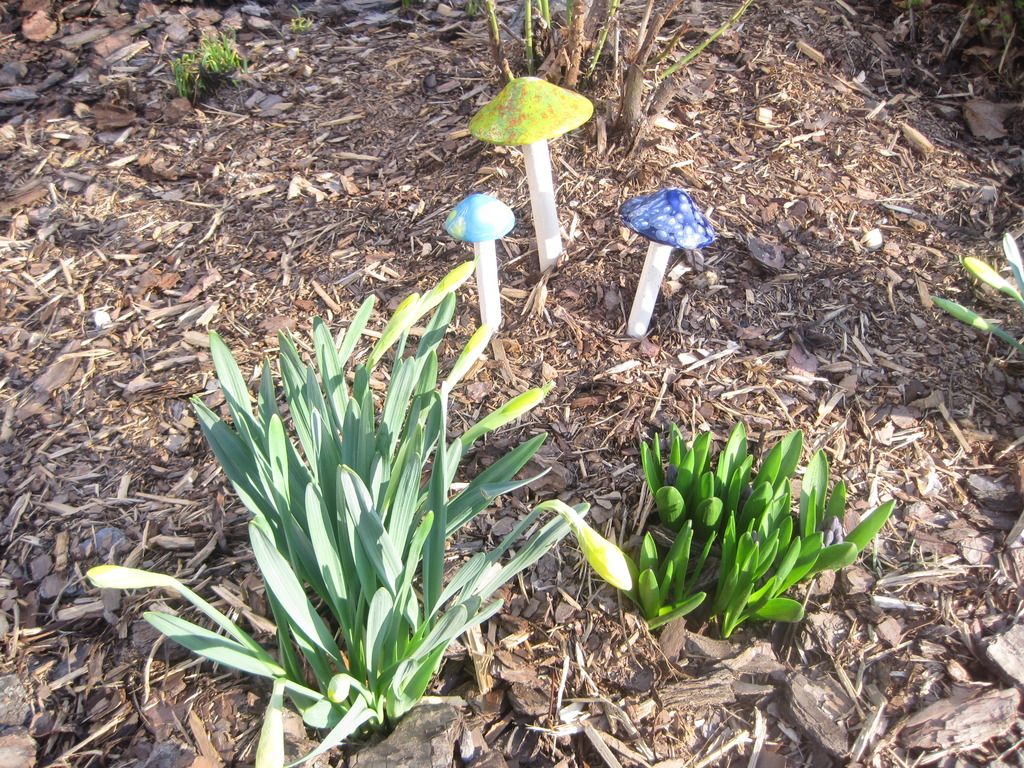
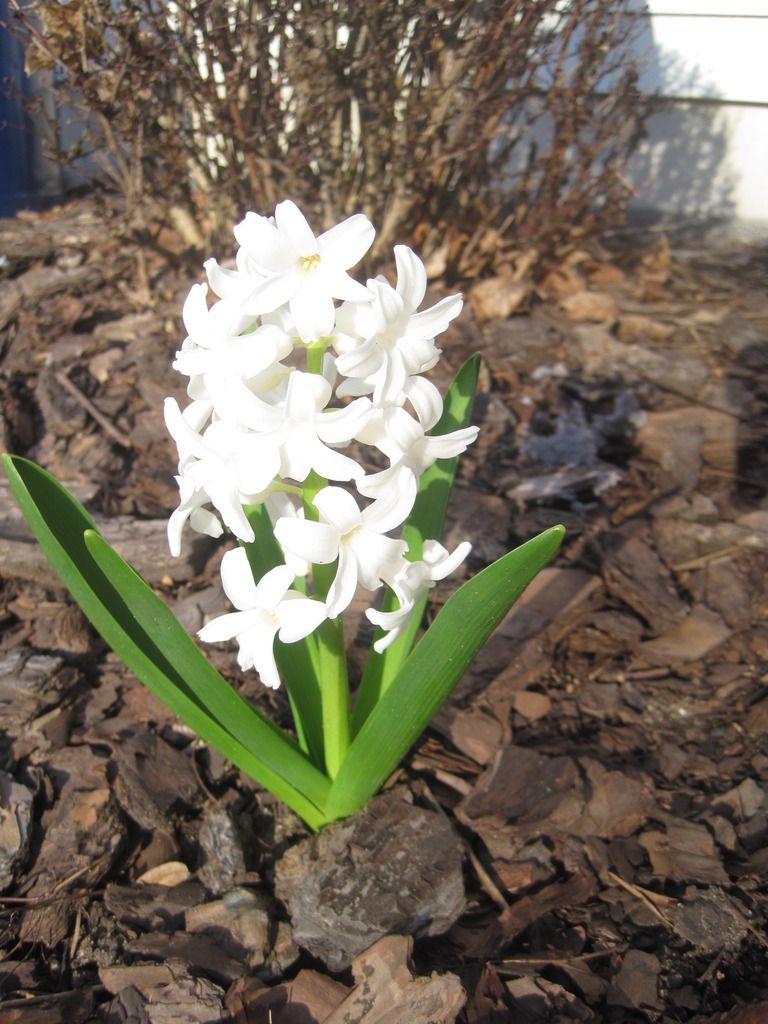
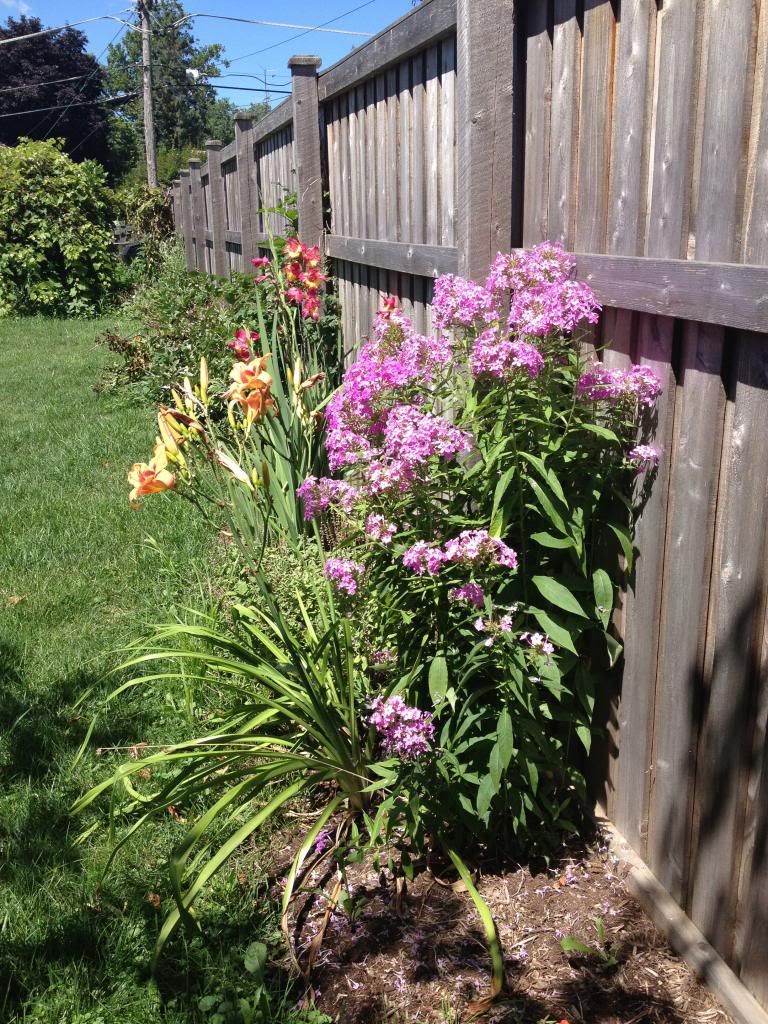
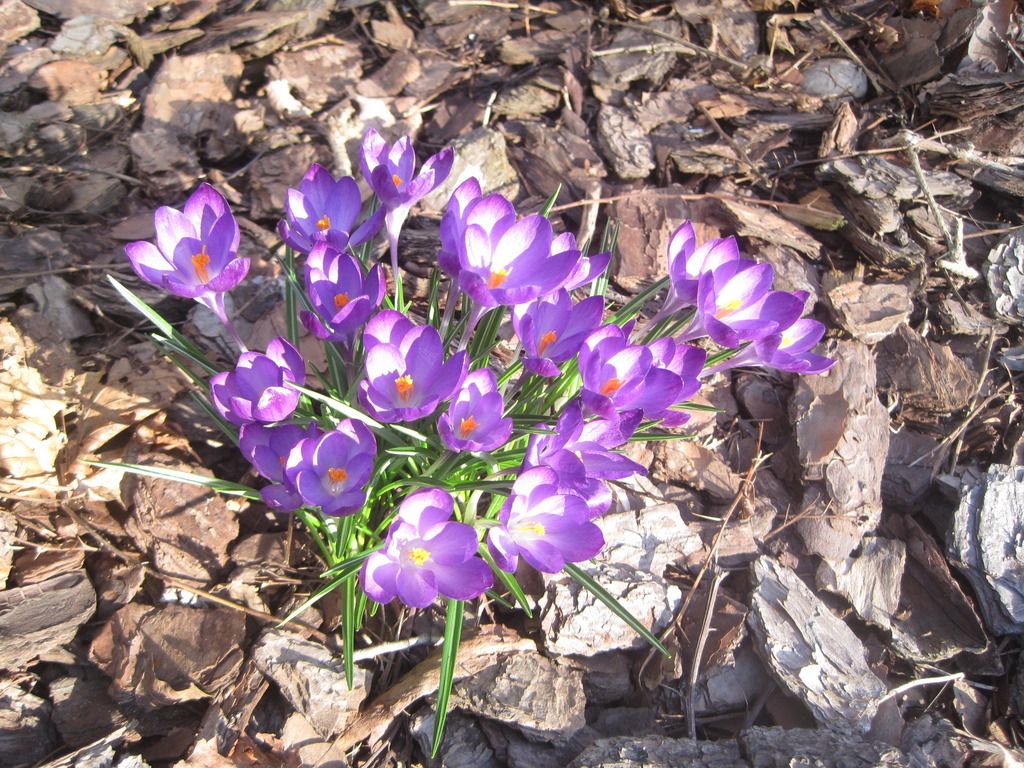
Thank goodness Spring is here.  We hope all things are blooming in yards and gardens too!


Let the beautiful days bring you peace and comfort.
Kelly


Saturday, August 10, 2013

Simultaneous Gardening Update

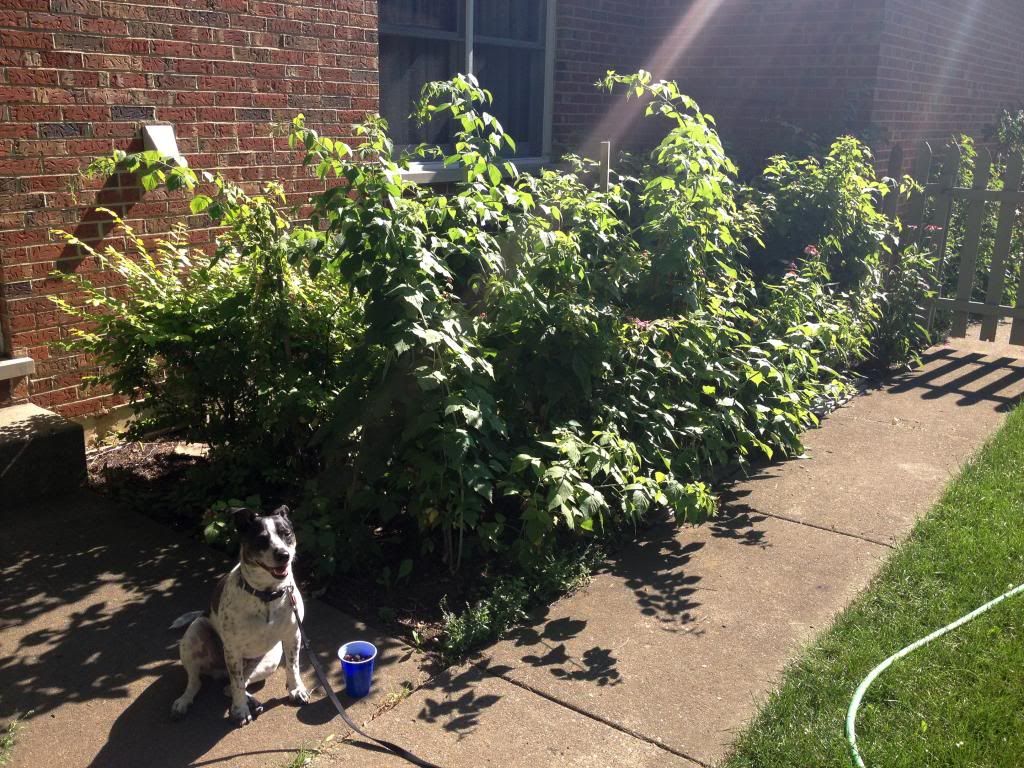
Staying at mom's during the reno definitely has advantages, other than the fact that we don't have to board dogs or stay in a construction zone.  Namely that her black raspberry crop is coming in strong.

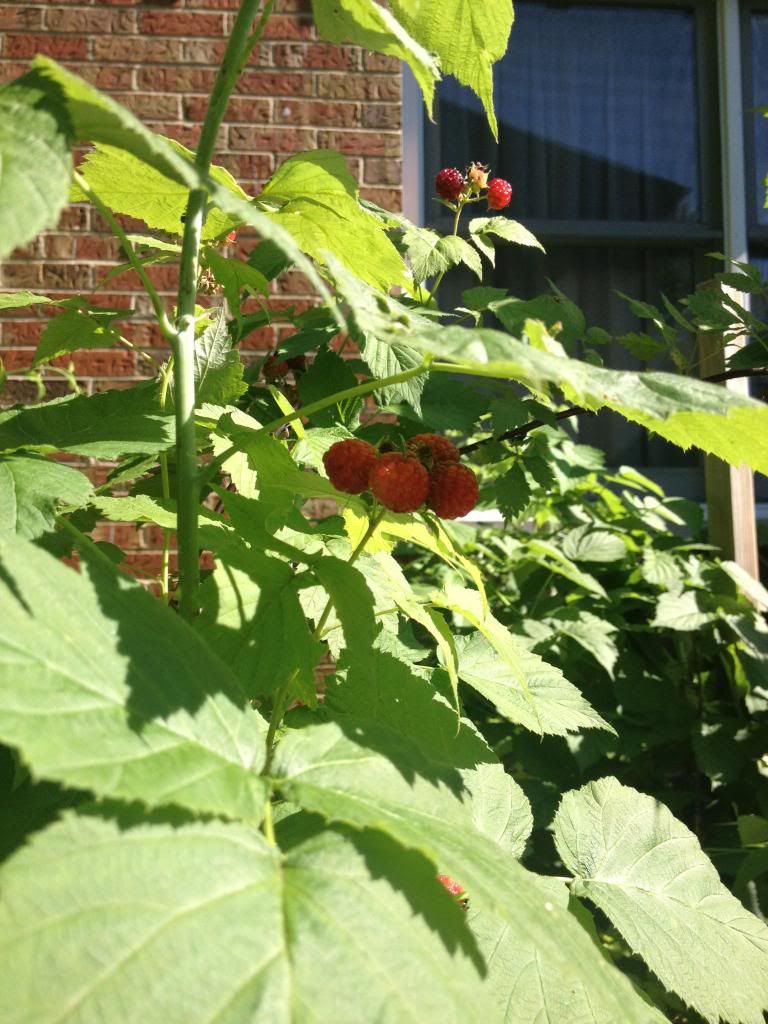
These are not quite ready.  They need to be black.
She's had this patch off the dining room for as long as I can remember but the plants are huge this year. I'm not gonna lie, I totally eat half of the berries before they even make it into my bucket.  Here's what I got the other day.
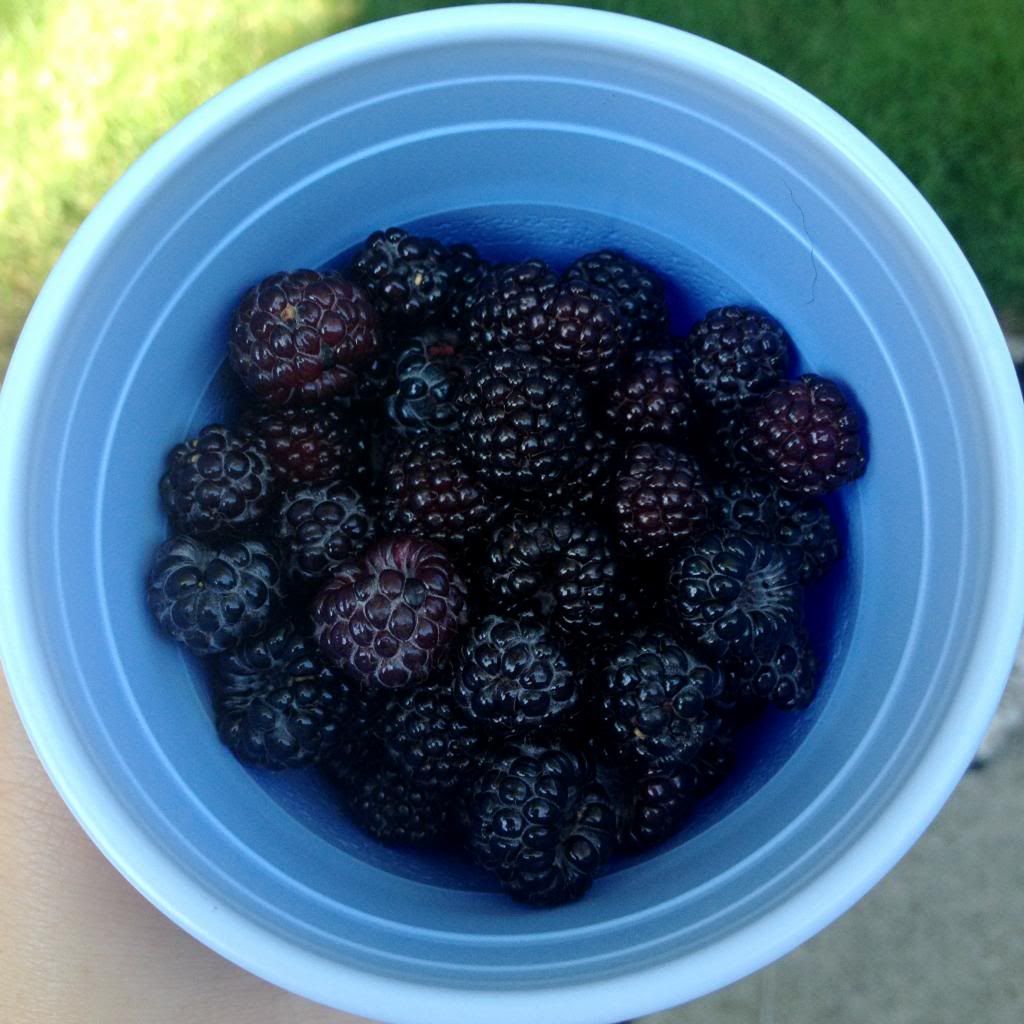
Just the right color!
Almost an entire red solo cup full.  Yumm!  Imagine how many more there would have been if I hadn't been snacking while picking.  ;)  What's your fave summer crop?

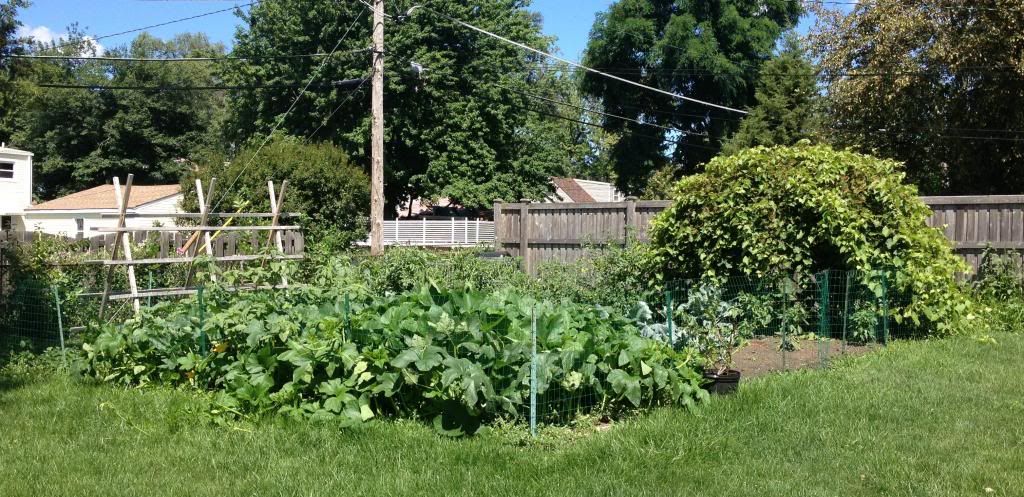
Other than that the garden back on our home front is in full swing as well.  I check on it every week just to keep things weeded and harvested.

See that huge bush in the front corner.  That is 2 acorn squash plants.  Yes just two.  They seem to be taking over that entire side of the garden.  The other large mound on the right is our grapes.  I'm hoping we have enough to make jelly this year.  Other than that my flowers look beautiful.  I just wish we were at the house to be able to enjoy them more.  Soon, I tell myself, soon.

Grow on!
Anita

Sunday, November 4, 2012

Tomatoes up the wazoo

Well its finally getting to the point where I can't leave anything else out in the garden so I started pulling tomatoes out yesturday.  I only made it through three plants and have probably about 40 pounds of unrippened tomatoes in my kitchen.  I figured I'd try a couple different methods for ripening them indoors.

Method 1 - Do nothing.  Yes I'm going to just let them sit and see how long it takes for them to ripen on their own.  I've got a table full already.  Aren't the colors pretty?

Method 2 - Large paper bag.  I've got so many tomatoes that to use regular paper bags would be rediculous.  Solution: Lawn bag.  They are just huge paper bags after all.  I stuffed it full and added a couple ripening bananas to try and help the tomatoes along.  I have a feeling I'll have a couple more of these babies hanging around my house pretty soon as I do more harvesting.

Now it's just a matter of waiting.  Course I still have potatoes in the ground and some hot peppers still on the plants.  Hopefully the tomatoes will ripen fast enough that I can make some more salsa.  How's your garden doing?  Are you in a canning furry too?

Ripen on!
Anita

Tuesday, August 21, 2012

Up to my ears....


Feeling like I haven't laid a finger on the blog in a couple weeks doesn't really surprise me when I think about all the stuff that's been going on around here.  Mainly going on outside.  We are inundated with weeds again this year and the garden has been a project as usual.  See the pic above of my hubby surveying the situation with the dogs?  Those giant bushes to the left are our tomato plants, or should I say trees.  It took me two days alone to get them out of an untangled mess after a big growth spurt.

Besides that our corn has been ravaged by neighborhood squirrels, cucumbers took a big hit in the heat and I think I killed my squash plants.  It's not all bad news though.  The peppers are doing great (I have more banana peppers than I know what to do with), harvested broccoli three times already, along with beets, onions, and some squash and cantaloupe that matured before the vines died.  We still have potatoes to look forward to and I'm thinking about planting some fall crops this year.


So now what to do with all this produce.  I can't eat it fast enough so I finally broke out my canning equipment last week.


A few jars of salsa later and the canning sessions around our house have begun.  I even grew my own hot peppers this year so I don't have to buy anything but garlic from the store.  Maybe that will be on the list for next year.

Sadie is just getting over a bad case of nausea and diarrhea brought on by her mommy being irresponsible and letting her eat a pig's ear.  ($250 at the vet later I will not be making that same mistake twice.)  So she has been spending alot of time by my side and supervising as usual.

The last week and a half has had amazing weather so working outside has been a joy.  I'm hoping to have a few more big harvests before the end of the season.  How's things in your garden?

Weed on!
Anita

Saturday, July 14, 2012

Cucumber Trellis Tutorial


Last year I put together this cucumber trellis on a whim and it has really held up.  Some of the pictures are from last year when I was putting it together and some are from this year so if the wood looks a little weathered that's why.

Supplies
Lumber (These can be any length you want.  I ended up using 8 ft pieces but you could totally use something smaller.)
1 X 2 - 8 pieces
2 X 2 - 7 pieces
Galvanized nails (these won't rust)
Twine or rope
Polyurethane sealant

1.  First you're going to need to mark all your boards.  Take one of your 2X2s and mark a line down 24" from the edge.  Now add another mark at an additional 2".  (Each of your 2" marks is where your other board will overlap.)

2.  From your last 2" mark place another mark 12" down the board.  Continue to mark at additional 2" and 12" increments until you have 4 2" spaces.  Repeat steps 1. and 2. on 6 of your 2X2s.  These 6 boards will be your upright poles.

3.  Next we are going to lay out your grid for each side of the trellis out on the ground.  Start with 3 of your marked 2X2s and lay them parallel to each other.  Here's where those 2" marks come in handy.  Now take 4 of your 1X2s and place them perpendicular to the 2X2s on the ground, matching them up on top of each of the 2" marked gaps.  Here's what it should look like before you put any nails in.

As far as the three uprights, just make sure they are evenly spaced along the horizontal poles.  You can go more narrow that I did if you want.  

4.  Now put 2 nails in each joint of the trellis and repeat step 3. for the other side.

5.  After you've got your two sides nailed together you need to seal them.  I used a spray on polyurethane but I have to say I'm not a fan.  Just stick with the stuff in the can and brush it on.  You don't have to seal your wood but trust me it is worth the extra little step to have your trellis last for years to come instead of rotting by your shed.

6.  After your poly dries the last step is to assemble your trellis.  You'll need a helper for this step.  I dug 6 holes for the upright posts to sit in, each about 8 inches deep.  I'm sure you could just sit it on top of the ground but I wanted to make sure it wasn't going anywhere.  Place your two sides in their respective holes and lean them towards each other so they cross at the top about a foot down from the edge.

7.  Now take your last 2X2 and place it in the V that was created by crossing your two sides.  Having your helper hold the trellis in place, take some of your twine/rope and wrap each of the top joints to hold them together.  This isn't an exact science so go with what kind of knot/wrapping technique works for you.  Don't forget to fill your post holes back in after you're done.  

8.  Thats it!  Now just wait for your cucumber plants to get big enough to climb this sucker.  I'm using some extra strips of panty hose to attach them in the training process.

Hope this is a helpful garden tute for your outdoor projects this year.  The best part, next to the price, is that you can take it down at the end of the year and store it to use again and again.

Garden on!
Anita
Saturday, June 23, 2012

Orchid goosebumps surprise


Alright all you plant nerds out there.....put your seat belts on.  We're taking a trip to an amazing local I discovered this last week.  I drive past it two times five days a week and never bothered to check it out until now.  What am I talking about?
It's a very deceiving place from the street.  You see some of the green house but everything is down this long drive behind some residential houses that I later found out belong to different members of their family.  I've also since found out through their website that they are the oldest and largest orchid growers in the Midwest.  It's a 4 acre orchid ranch!  I had no idea what I was in for when I went their as all this information was acquired after my visit.  Why then did I go?  I was having a rough day, needed a distraction and saw on their sign they were having a sale on perennials.  Of course.  A SALE!  And off I went down the inconspicuous driveway to a little parking lot. 


I spent a little time walking around outside in what I thought was the majority of the plants they had, all perennials, veggies and annuals though, the selection of which was pretty awesome.  I was getting ready to leave when I thought, hmmm, didn't the sign say orchids?  So where are the orchids?  Well I looked around and there was this tiny sign that read "Orchids This Way" with an arrow.  I of course followed the arrow around a dark corner.  I got goosebumps when I was confronted with this.


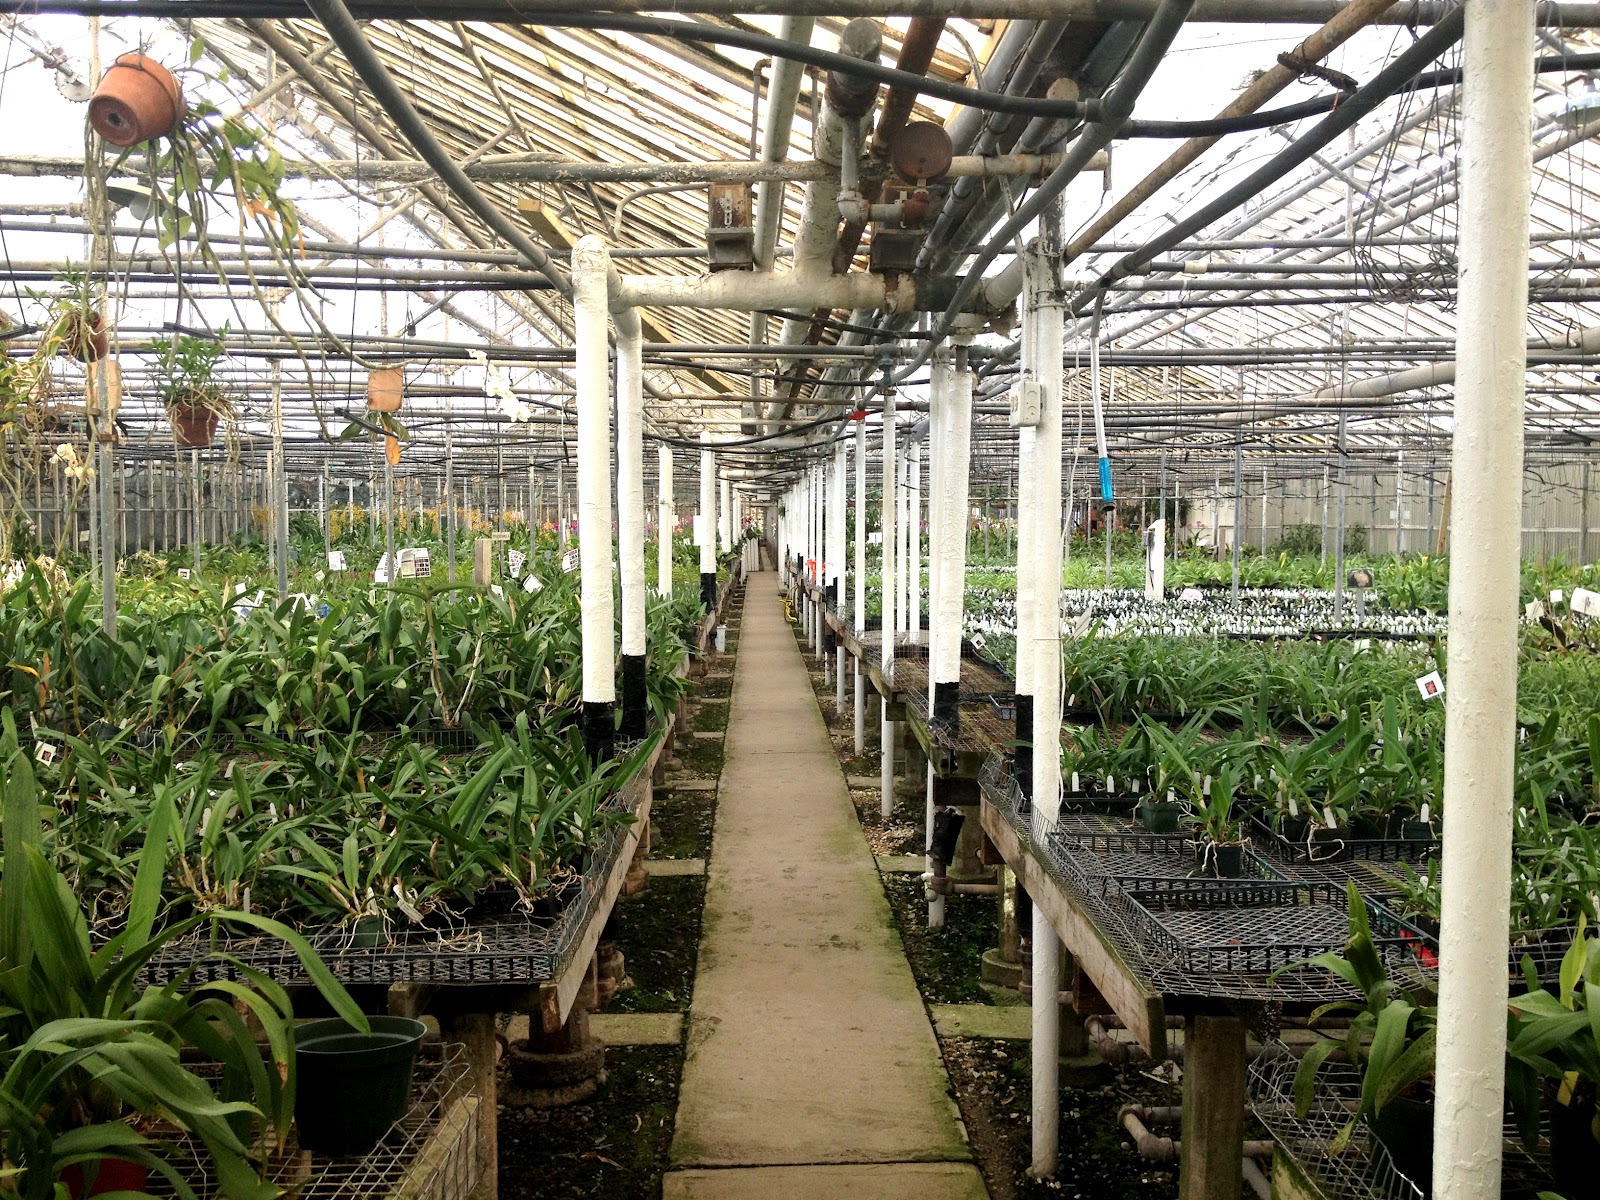
The hallways that wove through the series of greenhouses was like a maze.  It seemed like every time I would hit the end of one there would be a little sign saying "More Orchids" directing me onward. 

There were orchids on tables, on the walls, and even hanging from the pipes above my head.


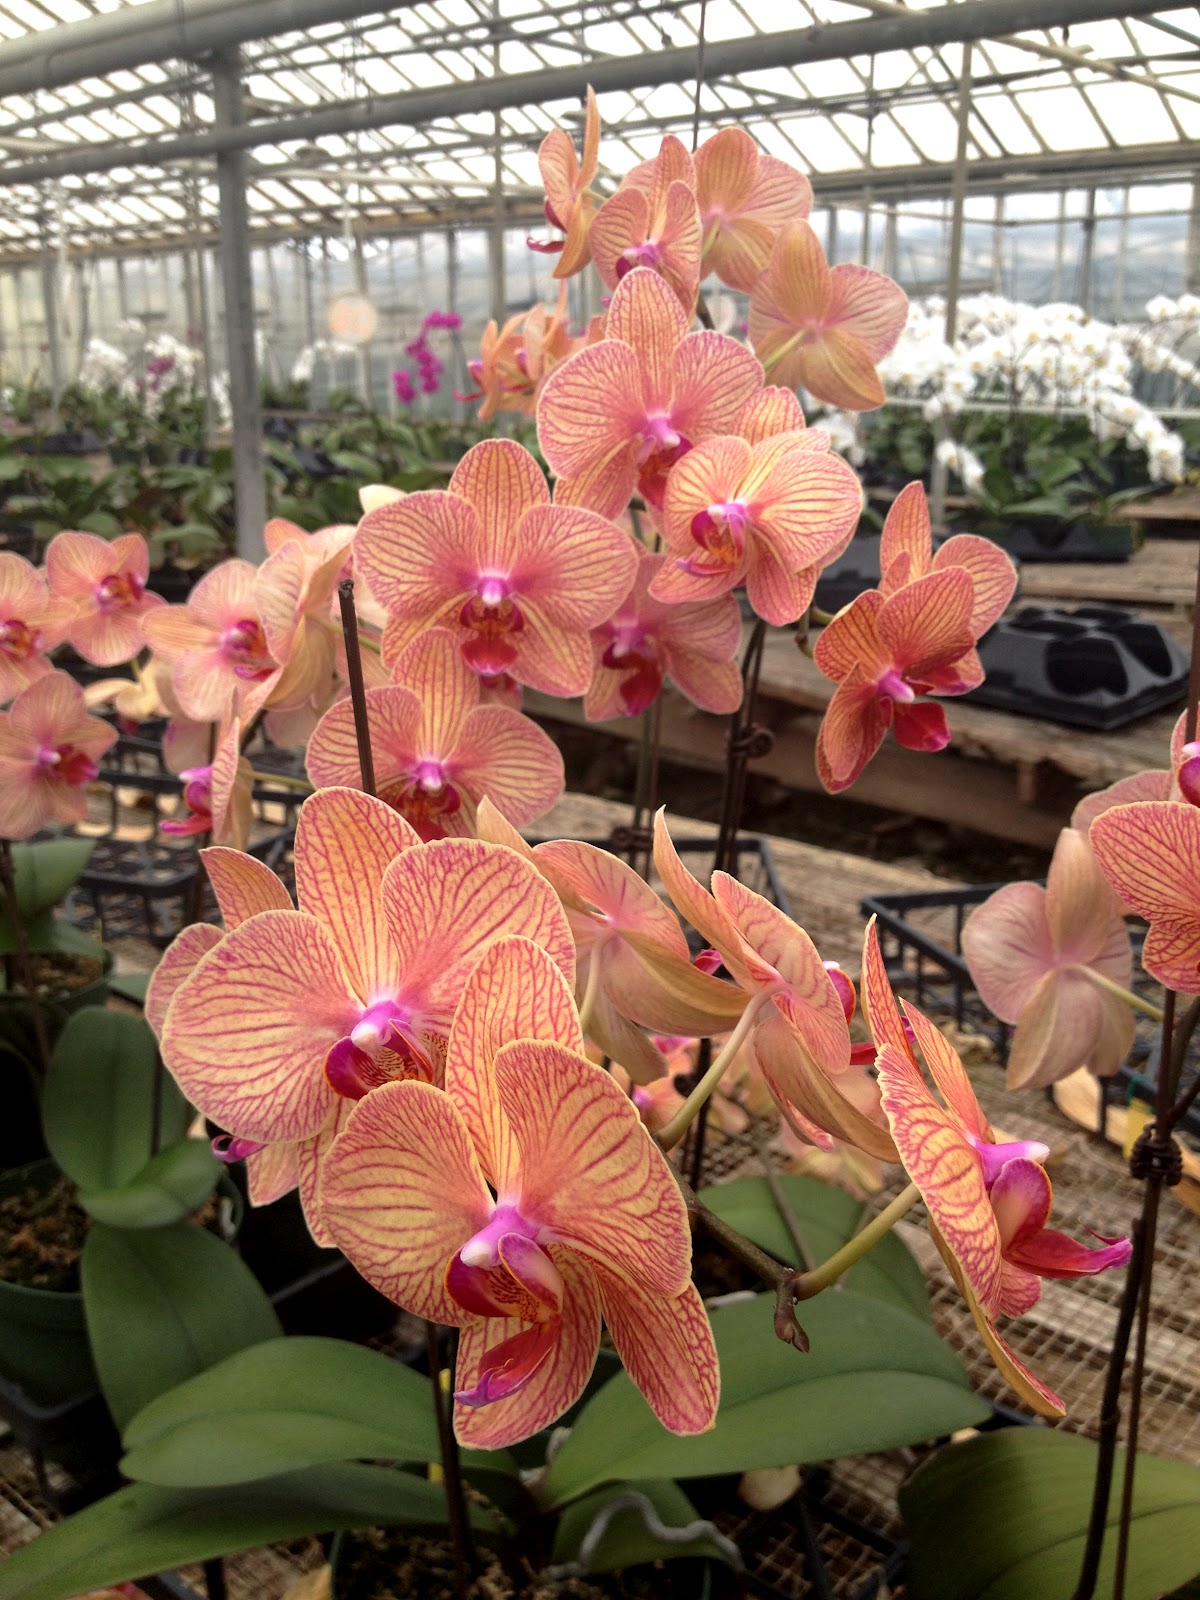
More and more and more rooms full of amazing color.  Now I've seen alot of orchids in my day and even shipments of them coming in from overseas but never anything like this.  Finally I realized they were closing in 2 minutes and I had left my cart of plants somewhere a few greenhouses away so I ran back to find it.  After chatting with the lovely lady at the checkout I went back to my car and just sat there for a minute thinking "Did I just see that?"  I liken it to walking into the Willy Wonka of orchid factories.  Oh yea I'll return, maybe with backup, when I have a few more hours to wander the isles of orchids, if nothing but to just take more pictures.  Don't cha just love surprises like that?


Garden on!
Anita

Sunday, June 17, 2012

Welcome to the Jungle - 6/16


Well its that time of year again.  Gardening season!  I've already been hard at work weeding my heart away along with getting the veggie garden prepped, planted and watered.  I think I actually spent 10 hours working in the yard yesterday and of course it was in the 90s.  I know I know, I'm crazy.  But yesterday was my only day off from work this week as I'm doing a little overtime so it needed to be done.  I'm sore but it was well worth it. 

I also got 5 yards of mulch delivered this morning that I've got to get into flower beds and managed to get a little of that accomplished before work too.  (Wow I'm kinda sounding like superwoman in this post but trust me I needed a swift kick from the hubby to keep it in gear.)  Here's the first of this year's videos.  Enjoy!

Weed on!
Anita

Tuesday, August 16, 2011

Jungle update

Here's the latest update video for the garden.  Can't believe its been over a month since I took the camera out to the garden.


Garden on!
Anita

Saturday, July 30, 2011

Harvest has begun!


Well here's the first big take of the season.  My parents stopped by for dinner and in true fashion mom came out to the garden and helped me pick a bunch of goodies.  I've been so busy lately that almost everything other than dishes, laundry and work has been on hold.  All of my tomato plants had been knocked over from our latest storm so I shored those back up and mom started pulling fruit off the other plants.  Here's what we came up with.


Purple and white eggplants
Green, red, and black bell peppers
Broccoli
Green beans
Corn
and Beets bigger than my fist


A big thanks to my mom for taking the beets home to pickle them for me!  Once I get the garden weeded and looking presentable again we'll have another video update.  Hope your gardening adventure has been as fruitful as mine this early in the harvest season.

Garden on!
Anita

Saturday, July 9, 2011

Back to the Jungle


Thanks for coming back for another installment of 
Welcome to the Jungle
garden updates.
Here's the latest video of our gardening adventure.


The trellis tutorial will be up some time soon.  We are working on a super fun summer tutorial week to include that among other fun summer projects.

Garden on!
Anita

Tuesday, June 28, 2011

Welcome to the Jungle - Update


Here's the latest in our garden update series.  Im hoping in the next one I'll have more fruit to show but what a difference already.


The holly hocks(above) are starting to bloom and man are they big this year.  Enjoy the video!


Garden on!
Anita

Monday, May 30, 2011

Welcome to the Jungle - UPDATE


Well the second leg of our garden updates wasn't expected to take this long, especially since I bought my plants over a week ago.  We were movin right along, got the roto tilling done when the rains came.  It seems like its been raining everyday for the past two weeks.  I had to wait two weeks before that because the soil was too wet to just till it over, let alone put plants in the ground.  Yesturday I'm proud to say, I got the plants and seeds in the ground.  Now we just keep our fingers crossed and wait.  The only thing I have left to get in the ground are my herbs and seed potatoes.


Here's a little list of the plants and varieties I'm attempting to grow and how I've got them laid out in the garden.
  • Beans  - Burpee's tenderpod 
  • Beets - Detroit dark red 
  • Broccoli - Premium crop
  • Carrot - Kaleidoscope mix 
  • Corn - Sweet corn
  • Cucumbers - Chicago pickling
  • Eggplant - Fairy tale, Ghostbuster
  • Peppers - Golden summer, Jalapeno, Purple beauty, Red beauty
  • Spinach - Baby leaf hybrid
  • Squash - Table ace acorn squash
  • Tomatoes - Brandywine, Caspian pink(2), Costoluto Genovese, German Johnson, Pineapple, Mr. Stripey, White, Yellow pear
Click here to see the mapped layout.

Stay tuned for projects to come:
Plant markers 
Path through garden from recycled bricks
Berry garden
Raised bed herb garden
Concrete stepping stones
FLOWERS!
and more

Garden on!
Anita

Tuesday, May 17, 2011

Welcome to the Jungle


Gardening?  You may be wondering how that fits in here at the RB so I'll tell you.  More than crafting we are really in love with handmade/homemade things.  Making something from start to finish yourself.  Gardening totally fits that bill.  Plus, dogs + dirt = tons of fun.

We are also big lovers of food here at the RB and especially when its uber fresh.  Because we're into local and eco-friendly food choices, I knew that a backyard garden was in our future when we bought our house two years ago, not to mention we bought a house with a giant garden plot and tons of inherited plants left by the previous owners.  Kelly unfortunately gave up on her green thumb but we have an agreement that she's welcome to anything that sprouts out of mine.  Last year was the first year we had a garden since we had just bought the house and I'm glad to say somehow it was a success.  My mom says she's jealous of my soil.

So since its that time of year again I'm going to be chronicling our garden progress from start to finish in a series of updates I'm calling Welcome to the Jungle.  I'm the farthest from a master gardener, and don't claim to have any great advice, but I love getting my hands dirty and I have an awesome resource in my mom.  (I think she's kinda proud that I've taken to one of her favorite hobbies.)  So maybe this little journey will at least let those of you with a beginner green thumb know you're not alone.  Here's the first video we took today after the first 2 hours of weeding.


Thankfully it rained a couple days ago so all the weeds came out pretty easily.
Up next is a little roto tilling and a garden plan.  Stay tuned!

Garden on!
 Anita