Abby is quite stylish in her Auntie Bellum costume. She may not be the greenest thumb though, she has planted many a tennis ball tree, yet so far, none have grown. :(
Showing posts with label Abby. Show all posts
Sunday, October 18, 2015
Thursday, January 1, 2015
Happy 2015!
Wishing a happy and healthy 2015 from our large family to yours, may the crafting be forever in your favor.
Monday, October 27, 2014
Costumed Canines - Super Bubs
I though long and hard about what type of superhero Abby would be. She is way too silly to be anything hard core tough and has been known to hide behind her momma when other dogs come around so bravery is not her thing either. She has tried to get the stuffed bunny we put out for Easter to throw the ball for her and has offered to trade her chewies for human food so she is too sweet to be a villain. Naps are her weekend plans meaning super speed is out, and she could never stay focused long enough to even attempt to control someone mind.
So that leaves only one type of superhero.....the one that thrives in the imagination of little kids, complete with dad's clothes and a towel cape!
Mild mannered Abby by day, working a desk job for the man.
Super Bubs by night, Punisher underwear wearing vigilante keeping the streets safe for puppies everywhere. I've heard tell she might have a bit of a crush on Sgt. Smashy.
Monday, October 6, 2014
HTTC: Little Kid Ghost
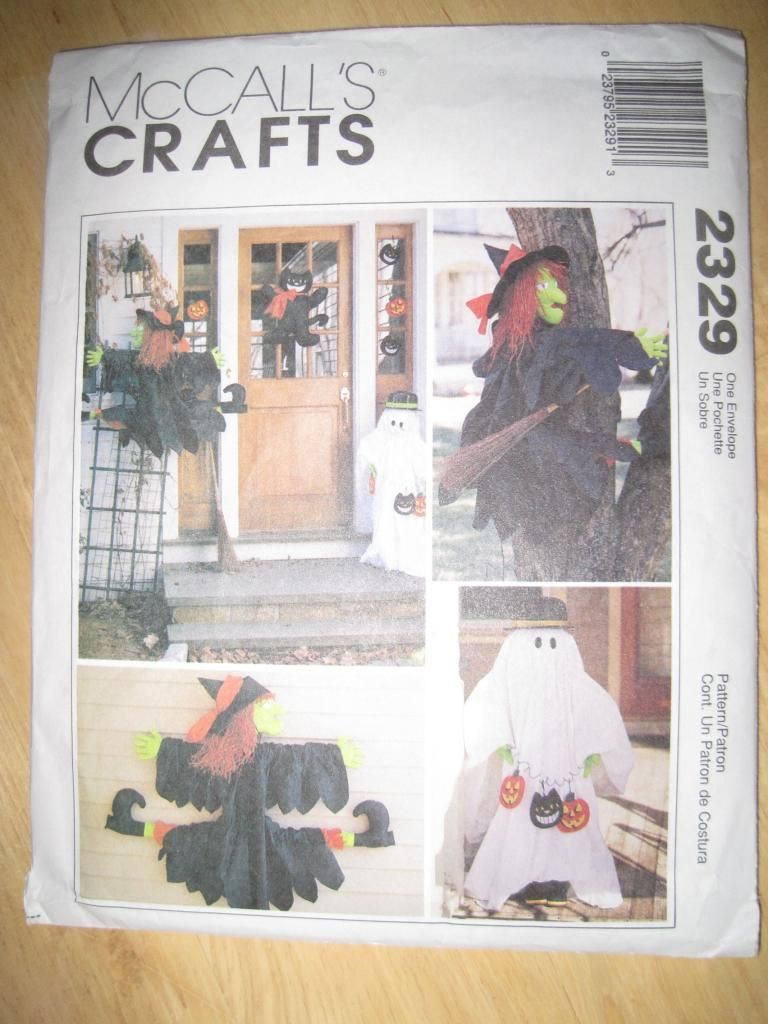
I learned a very important lesson while making this little guy; I may love the look of the draped fabric ghost, but I do not have the patience or the math skills to pull one off without pulling out my hair. At first I tried to make a cute light up ghost with a tomato cage, a sheet, and some Christmas lights but that was not even close to looking anything like a ghost, more like a lit up tomato cage with a piece of garbage trapped on it fluttering in the wind! I worked off of McCalls's Crafts pattern 2329 with a few changes. Some of the things that were needed as per the pattern were ridiculously priced or would not add enough to the craft to be worth the cost so they got nixed. You really don't need the pattern to make this guy all you need are a few tips and you can make one of your own with all the customization and upgrades you want!
Little Kid Ghost:
2&1/2 yards 120" white muslin
scrap of black felt
one wire hanger straitened out
masking tape
pair of shoes
stuffing
30"x 30" square of white fabric
2 36" 5/8 inch diameter wood dowels
scissors
glue gun
cording or twine
Start by cutting/ripping the 120" inch wide piece of muslin in half width wise so that you have two 60" wide pieces that are 2&1/2 yards long. Cut/rip off two 2 inch thick by the 60 inch wide strips from each of your pieces of fabric. You will have four strips total, set these aside. Place the two big pieces on top of each other, these will be the covering for your little guy.
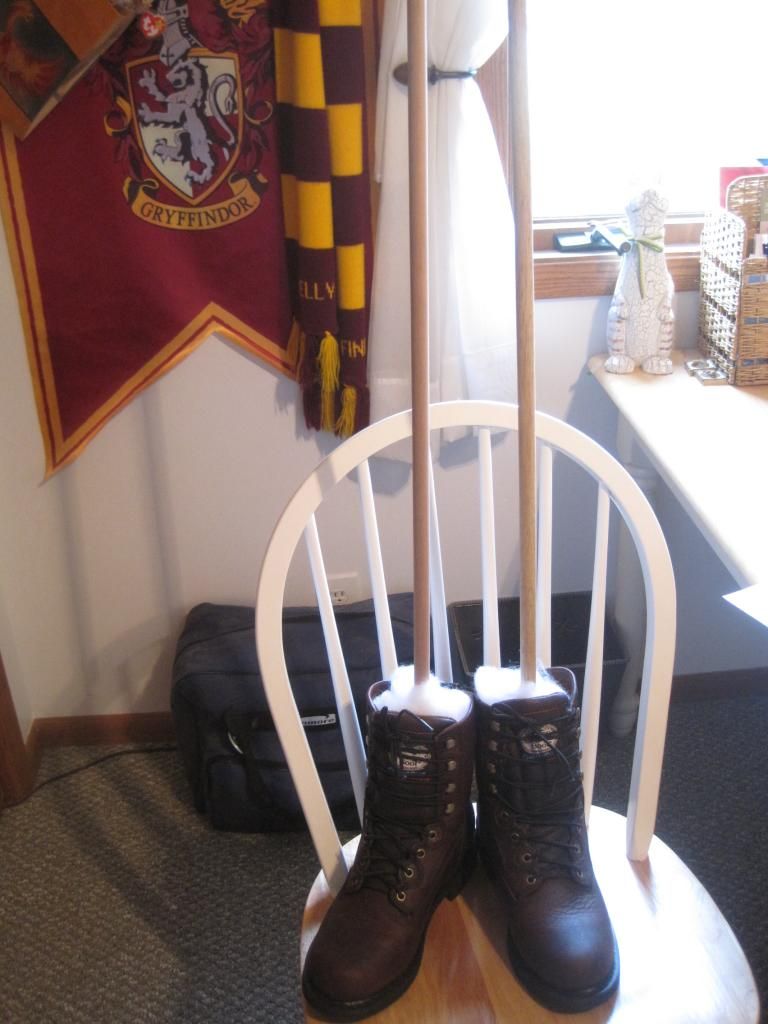
Next take your pair of shoes and stick your dowel rods in them. Pack around the rods with fabric scraps or stuffing so that they stand up in the shoes. Measure and mark four inches down from the top of the dowel sticking out of the shoes.
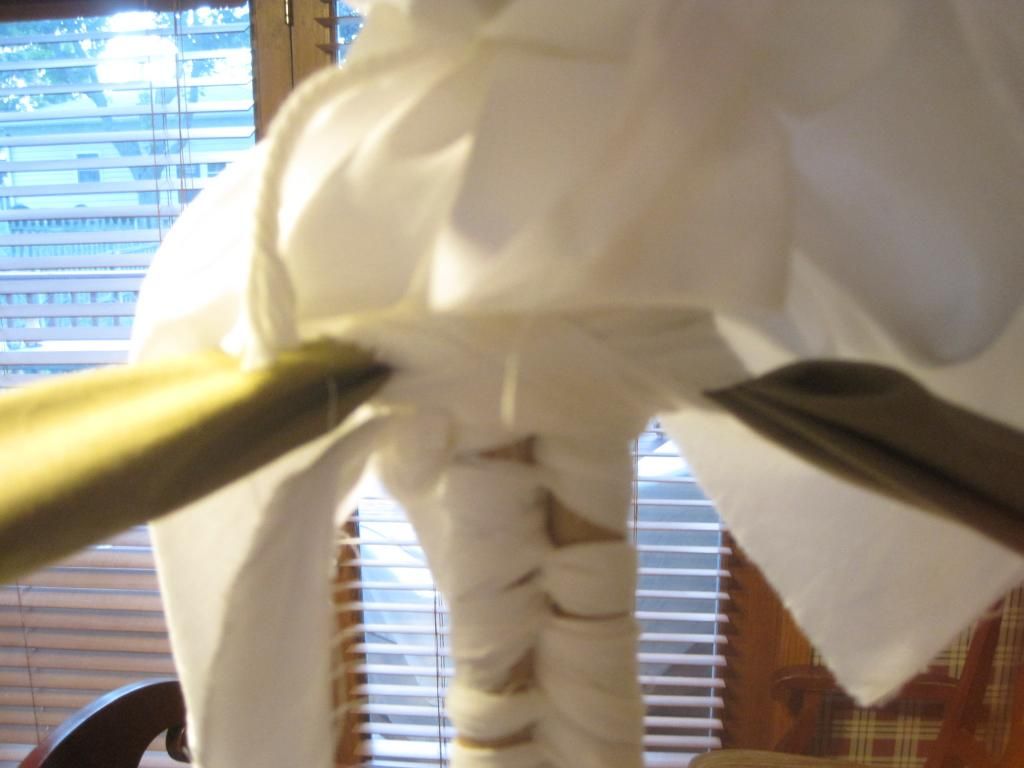
Using one of your 2" x 60" strips of muslin, starting from the marks on the dowels and working down, weave the strip in and out of the dowels securing them together. Tie the ends together.
2&1/2 yards 120" white muslin
scrap of black felt
one wire hanger straitened out
masking tape
pair of shoes
stuffing
30"x 30" square of white fabric
2 36" 5/8 inch diameter wood dowels
scissors
glue gun
cording or twine
Start by cutting/ripping the 120" inch wide piece of muslin in half width wise so that you have two 60" wide pieces that are 2&1/2 yards long. Cut/rip off two 2 inch thick by the 60 inch wide strips from each of your pieces of fabric. You will have four strips total, set these aside. Place the two big pieces on top of each other, these will be the covering for your little guy.
Next take your pair of shoes and stick your dowel rods in them. Pack around the rods with fabric scraps or stuffing so that they stand up in the shoes. Measure and mark four inches down from the top of the dowel sticking out of the shoes.
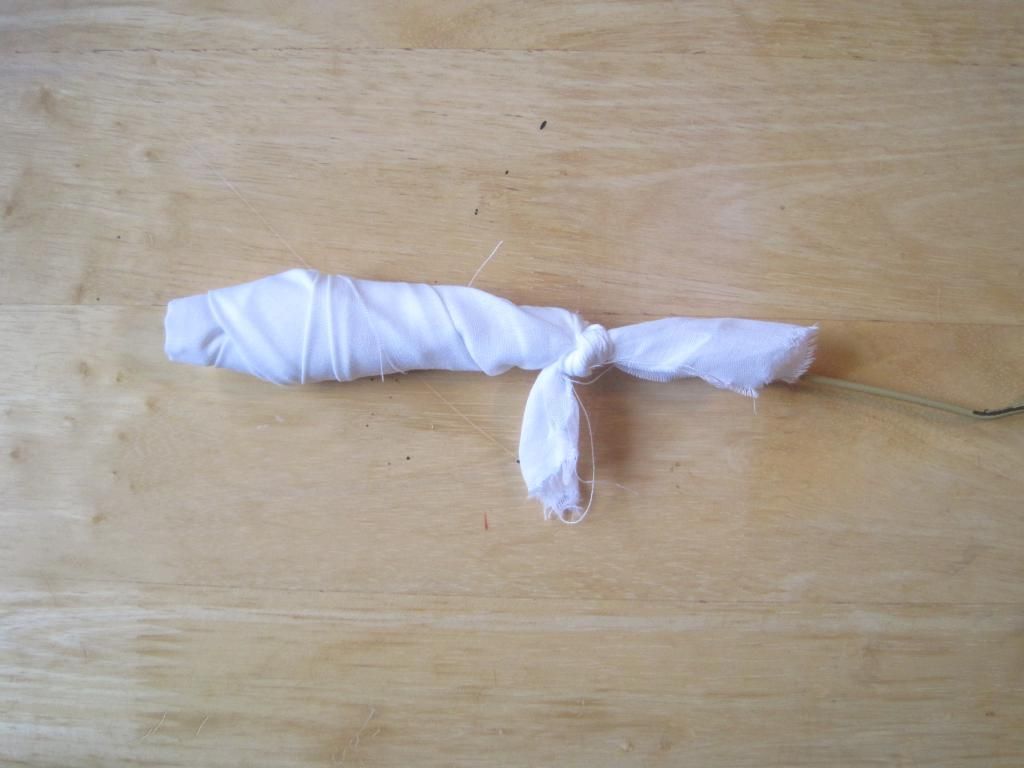
Bend over three inches of the end of the wire hanger. Using one of the strips wrap the end securely and tie into knots. Repeat with the other end of the hanger and another strip.
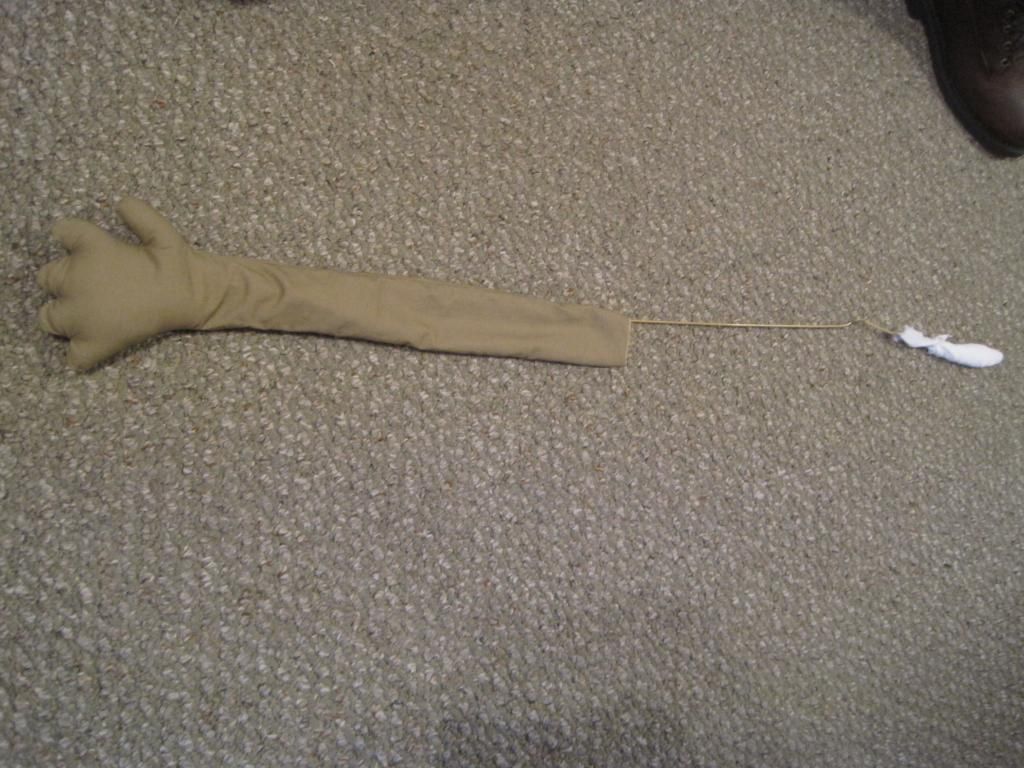
Cut out and sew hands in whatever pattern and fabric you like, making sure that they are long enough to cover a bit more than half of the wire hanger. My hands kind of look like muppet hands. Clip all curves and turn right side out. Stuff to the wrist and slide the hanger in so that the covered metal end ends up in the stuffed area.
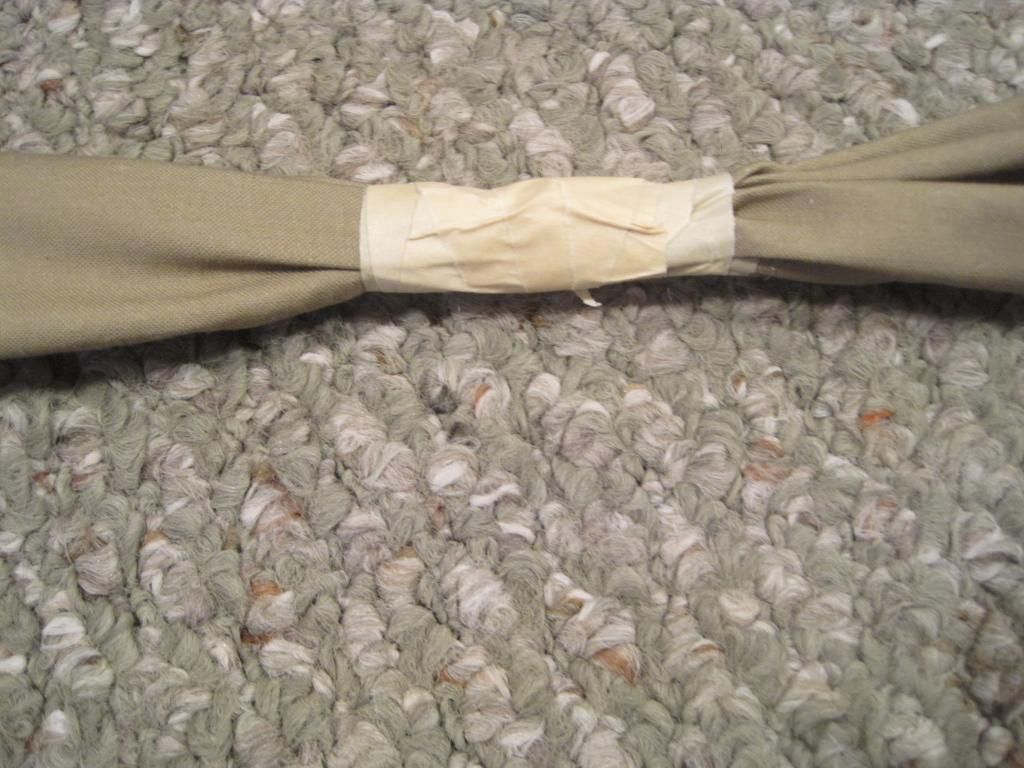
Repeat with the second hand and wrist. Place both hands on the hanger, one end overlapping the other, and tape in the middle with the masking tape.
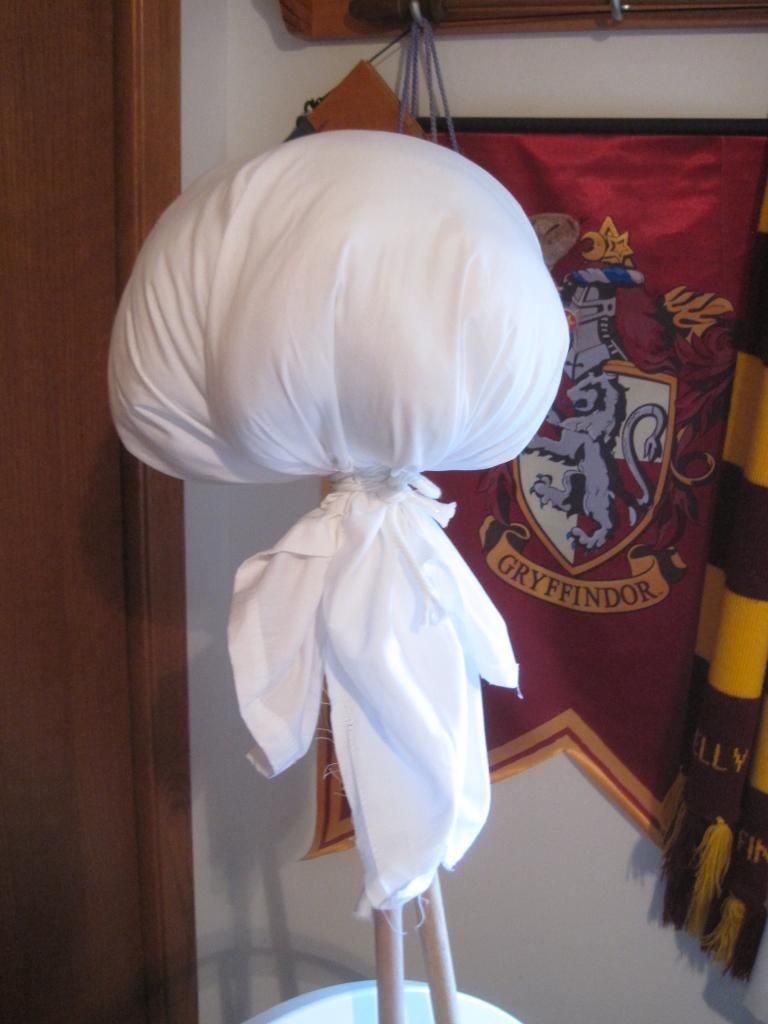
This is where I deviated from what McCall's wanted. The pattern called for using an 8" styrofoam ball as the head, and if I had one I would have used it, but I didn't. So I trek off to Joann's to get one only to find that they wanted $16.99 for it! Yeah, no. So a 30" x 30" square of white fabric filled with stuffing and tied onto the dowel with white cording around the neck may not be a perfect round head but its free and I like it!
Using the last strip secure the arms directly beneath the head on the dowels, tie the ends tightly.
All that is left is to cover your you dowel with head and arms with the fabric, glue on two eyes cut from the felt, and decorate as you see fit. I made the little garland from the pattern, but how cute would this look with a little trick-or-treat bag! Check out Abby giving a disapproving photo bomb. As the fabric is draped on him and not stuck down he is not weather proof. He will stay inside until Halloween and then he will go out to entertain the kids looking for candy. He can be taken apart at the end of the night to be packed away until next year!
I hope you make some great crafts for Halloween this year and thoroughly enjoy your candy haul.
Keep it spooky ,
Kelly
Labels:
Abby,
costumes,
halloween,
home decor,
Howl-o-ween Tricks and Treats Craftathon 2014,
sewing
Wednesday, January 1, 2014
Happy New Year!
Wishing everyone a wonderful 2014! May we all be happy, healthy, and our crafts completed on time.
Love the rhinestone clan:
Anita, Kelly, Sadie, Sage, Sprout, Gidget, Abby, Mr. Biscuit, and Dino
Tuesday, November 26, 2013
Pillowcase love
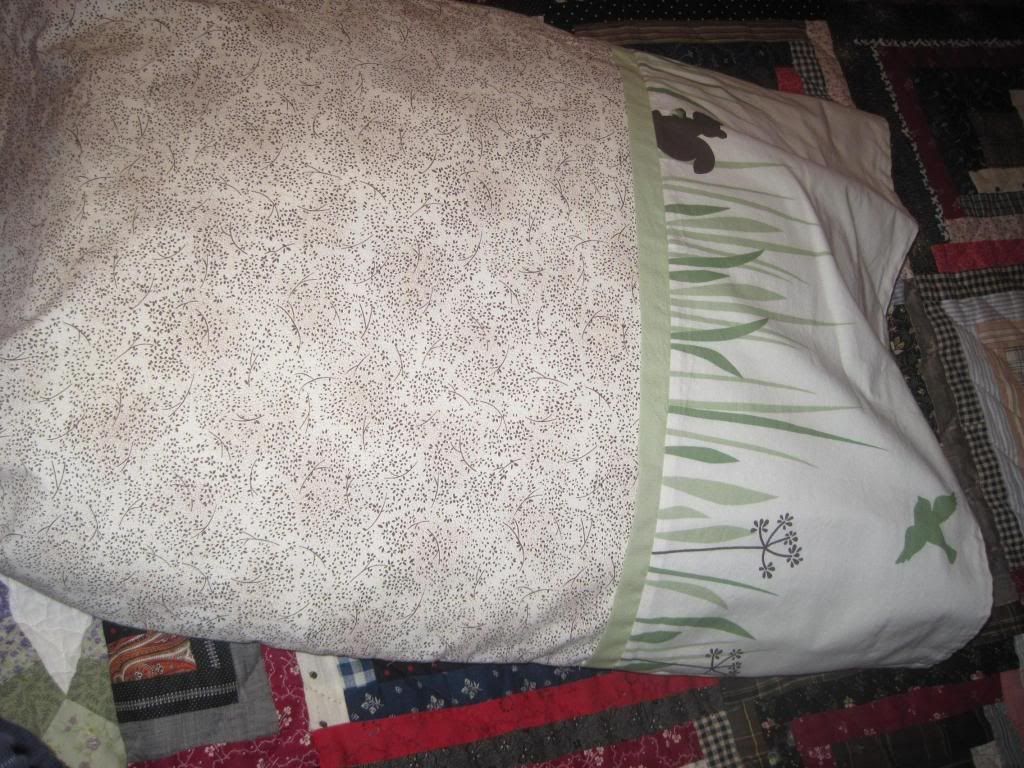
Over the past two weekends I have had enough free time to get more of those nagging to-do crafts finished and out of the dreaded tub. One of which was a sausage pillowcase that I bought one of the pieces for last year. I found a wonderful children's room curtain at the Goodwill for about a dollar and was smitten with the cute. I fell in love with the simplistic momma and little deer as well as the small squirrel and bird frolicking among the grass and tiny trees. I worked hard to get this cut just right to get the two deer on one side and the other critters together on the back on the pillow case. I used the amazing sausage pillowcase pattern with the curtain, strip of the same green, and a brown and tan quilting fabric I bought on sale to make a case I am very happy with!
Here is the you tube for the sausage pillowcase with Judy.
Or here is a tutorial brought to by the Rhinestone Beagle herself.
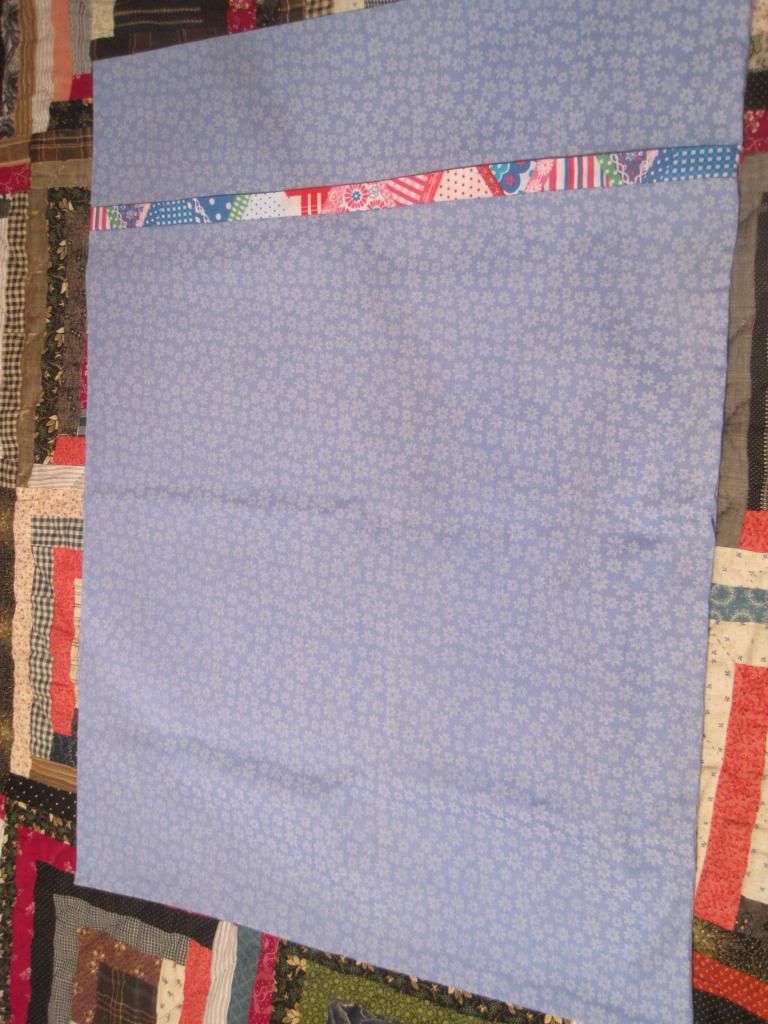
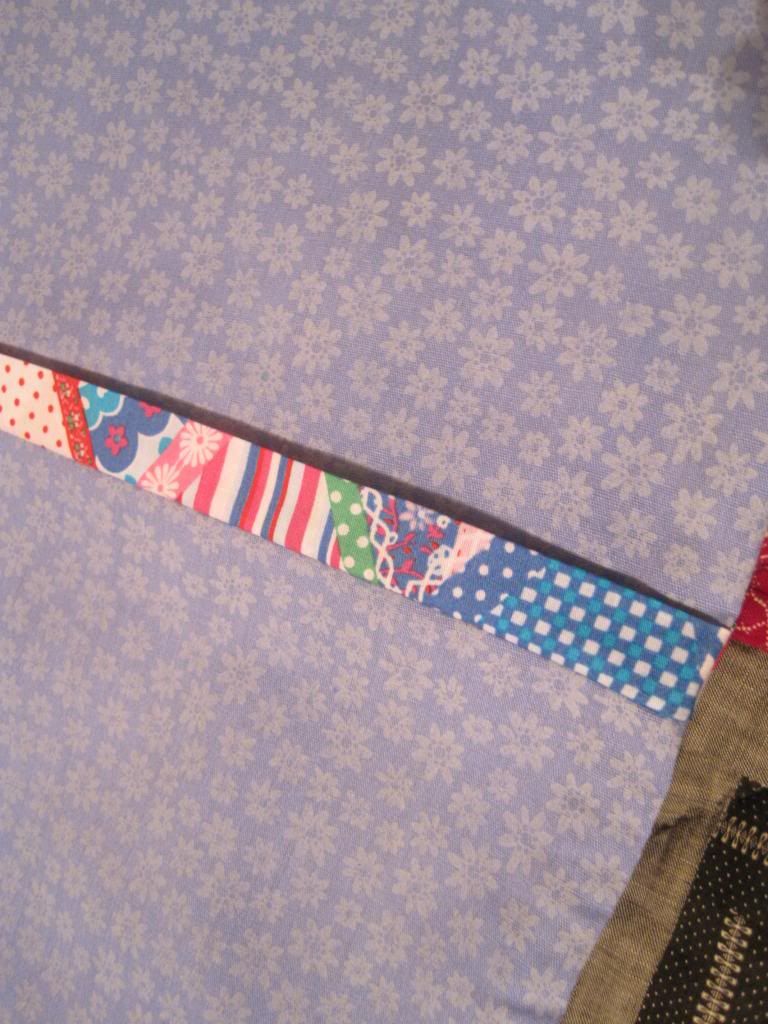
I also got this pillowcase finished. This is for another Craft Club project we will be doing in January so it will make another appearance then. The cute blue fabric was on the clearance rack, for reasons I have no idea of. The bright accent fabric was some gorgeous stuff that was given to me as a gift from London. It is so perfect with that blue!! I like that sometimes you have to hold on to something for a little bit and then its reason for being comes forward. How fabric deep!
I hope you have a wonderful Thanksgiving and all things end of fall!
Kelly
Just a little dog lip for your Holiday.
Tuesday, November 12, 2013
Peanut Butter Shortbread Dog Cookies
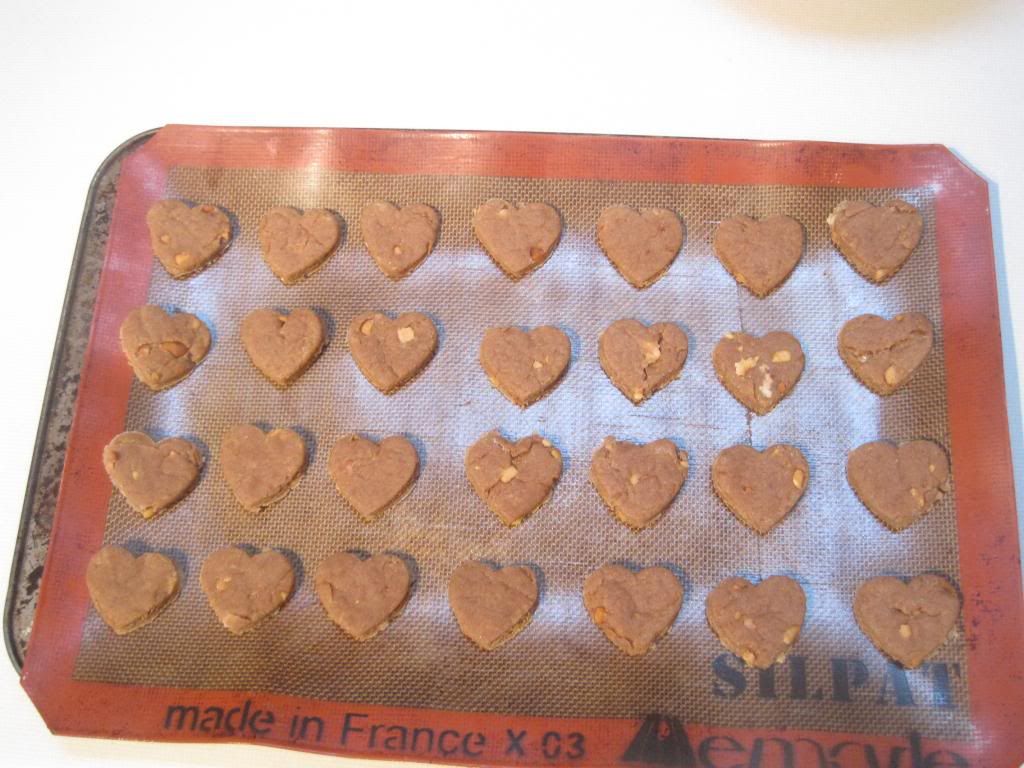
A great big THANK YOU to all our past, present, and future Veterans. You make our country so very proud! A long weekend makes for some free time that needs an activity. What eats more time than some hard core baking. We made soft pretzels, crackers, and muffins. But the one I want to share with you today is a quick peanut butter shortbread dog cookie that we made to satisfy our fur kids. The dough is flakey in the beginning but don't let that deter you from giving this recipe a try.
Peanut Butter Shortbread Dog Cookies
3/4 cups whole wheat flour
1/4 cup all purpose flour
1/2 Tbsp baking powder
1/2 cup peanut butter (chunky or smooth)
1/4 +1/8 cup milk
In a large mixing bowl, combine flours and baking powder. In a small bowl, whisk peanut butter and milk until smooth. Make a well in the flour mixture and gradually stir in the peanut butter mixture until well blended. Using your hands work the dough into a ball. The warmth of your hands will help make the dough more workable, if you use chunky peanut butter don't be shocked if your peanut nibs come popping out, you can just roll them back in. Knead the dough ball on a floured surface for two minutes. With a rolling pin, roll the dough to 1/4 inch thickness. Cut the dog cookies into your favorite shape, I used a little heart cookie cutter. Place the cookies on a cookie sheet lined with foil, parchment paper, or silpat. Bake for 15 minutes at 400. Cool on a rack and store in a sealed container in the fridge.
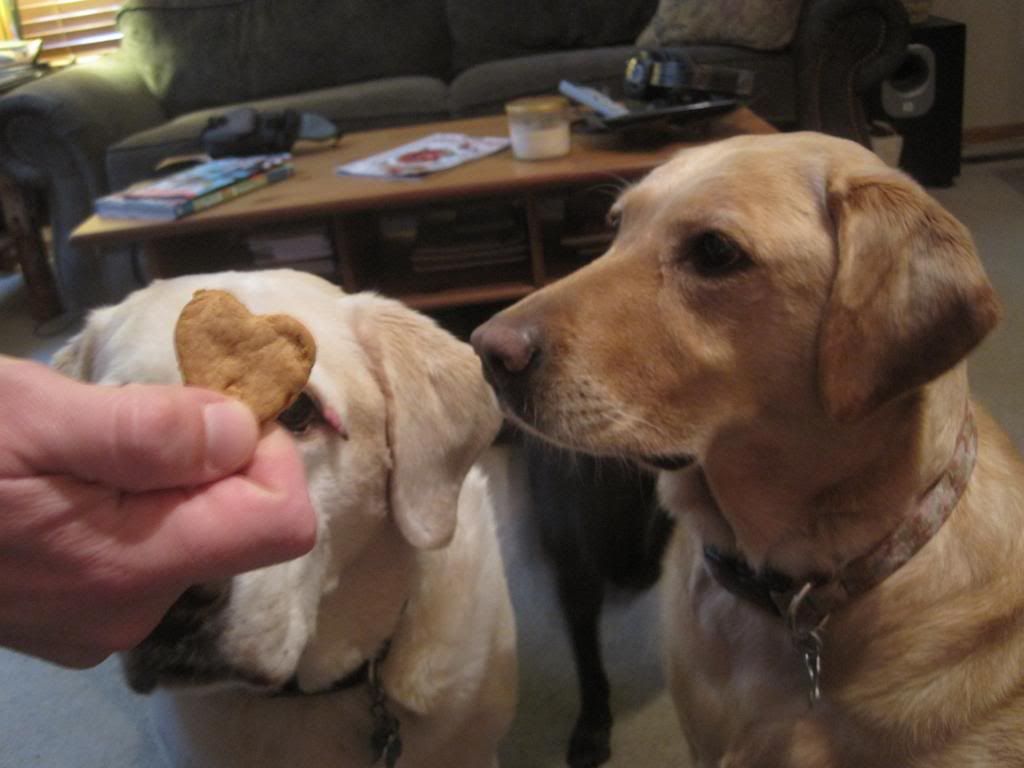
It took less than one cookie for everybody to be into these new treats. Out with the store bought cookies in with the shortbread for my doggers! All the mixing, cutting, and baking took less than one hour. Why not bake up a batch for your fur babies?
Keeping them happy,
Kelly, the origami ninja
Labels:
Abby,
baking,
dog treat,
quick 'n easy,
recipe
Saturday, October 5, 2013
HTTC-Howliday Dogs
Abby and Sage want to wish you a Happy Howl-o-ween and may all your buckets be filled beyond imagination.
Keep it Spooky,
Kelly, the origami ninja
Tuesday, August 20, 2013
Choclate Zucchini Bread
Oh how the quest continues, the search for that Holy Grail of recipes, that elusive one that promises to use up that immense zucchini you have staring at you from the big bowl in the kitchen. It taunts you doesn’t it? Leering at you with that bright green freckled skin, taunting you with its sheer size. How will you ever use me up before I go rotten and play havoc with your sense of frugality? Will your husband divorce you and your children run away to grandma’s because you served them poorly hidden zucchini one too many times? Oh Mother Nature, why is the asparagus so short lived and fragile while the zucchini perseveres during droughts, hurricanes, and possibly coming of the four horsemen of the apocalypse? She answers back with a knowing smile, much like that of the Mona Lisa: because of its versatility!
While I may not have located that singular recipe that can use 100 pounds of zucchini in a single serving I have come upon one that comes close to a more realistic expectation of a massive requirement. Four cups! Four glorious grated cups of zucchini go into this recipe, which gives it a moist density like that of a homemade chocolate cake, but at the same time does not overwhelm the bread with veggie pungency. I have three loaves of other zucchini breads in my freezer and for the sake of my husband’s sanity I wanted to do a chocolate version for some variety. So I hunted the internet for one that was going to be rich, required only simple ingredients, and used lots of the green giant torpedo giving me the stink eye from the fruit bowl in my kitchen. Enter: a post on Simply Recipes that met all my requirements and then some. The post pointed out that this recipe is using fresh in season zucs that have lots of soaked up moisture, leading to the tasty spring of the bread. Recipe makes two loaves.
Chocolate Zucchini Bread
· 4 cups grated zucchini (from about a pound and a half of zucchini)
· 2 1/2 cups all-purpose flour
· 1/2 cup unsweetened cocoa (use natural unsweetened cocoa, NOT Dutch processed)
· 2 teaspoons baking soda
· 1/2 teaspoon salt
· 1 teaspoon cinnamon
· 1 1/2 cups granulated white sugar
· 2 eggs, or egg substitute equivalent
· 3/4 cup unsalted butter (12 Tbsp or 1 1/2 sticks), melted
· 1/2 teaspoon instant coffee granules
· 1/2 teaspoon almond extract
Place the freshly grated zucchini in a sieve over a bowl to catch any excess moisture as it drains. If for some reason your zucchini is on the dry side, hydrate the shredded zucchini by soaking it in water first, and then place in sieve. Preheat oven to 350 with a rack positioned in the middle. Grease two loaf pans with spray or butter. Vigorously whisk together the flour, unsweetened cocoa, baking soda, salt, and cinnamon in a large bowl. Whisk until there are no more clumps and the ingredients are well combined. In a separate large bowl, beat together the sugar and eggs until smooth, about a minute. You can do this with an electric mixer on medium speed, or by hand with a wooden spoon. Add the melted butter, instant coffee granules, and almond extract and beat until smooth. Mix the grated zucchini into the sugar egg mixture. Add the flour to the zucchini mixture in 3 additions, stirring to combine after each addition. Work quickly, and divide the batter between the two prepared loaf pans. (Work quickly because once the dry ingredients have mixed with the wet ingredients, the leavening has begun.) Place into the oven. Bake for 50 minutes at 350°F, or until a skewer inserted into the center comes out cleanly and easily. Remove to a rack. Let cool in the pan for 5 minutes and then run a blunt knife around the edges to separate the bread from the pan. Remove from the loaf pans and let cool completely on a rack.
The resulting bread is quite good with a bit of whipped cream cheese spread on a slice almost as a frosting. The loaves hold together well and look pretty, each slice showing off the dark chocolaty texture. I chopped up some little dark chocolates that I needed to finish off and tossed them into the flour mixture just to add a tiny surprise every now and then. You could easily add nuts or fruit as well. I think I may try it without the cinnamon next time; I am not a fan of it combined with chocolate, but that is in all things not just this recipe. I thought I was going to have to leave out the coffee too but it really did help perk up the cocoa. My husband gave it two thumbs up which makes me very happy since he has been taking all these baking projects to work day after day in his lunch as a snack and has not complained once. He says his co-workers want some too!
If you have a delicious zucchini recipe we would love for you to share it with us either by email or drop us a comment with a link to it. We will gladly try it out and credit you up on the blog! I hope you have been enjoying all the wonderful fruits and veggies of the summer and trying all kinds of new recipes and cooking techniques with them as well. Stay creative and safe this summer!
Keeping it baked,
Labels:
Abby,
baking,
cooking,
from scratch,
recipe,
sage,
Sprout,
veggie cooking
Tuesday, April 23, 2013
Finally Spring.....
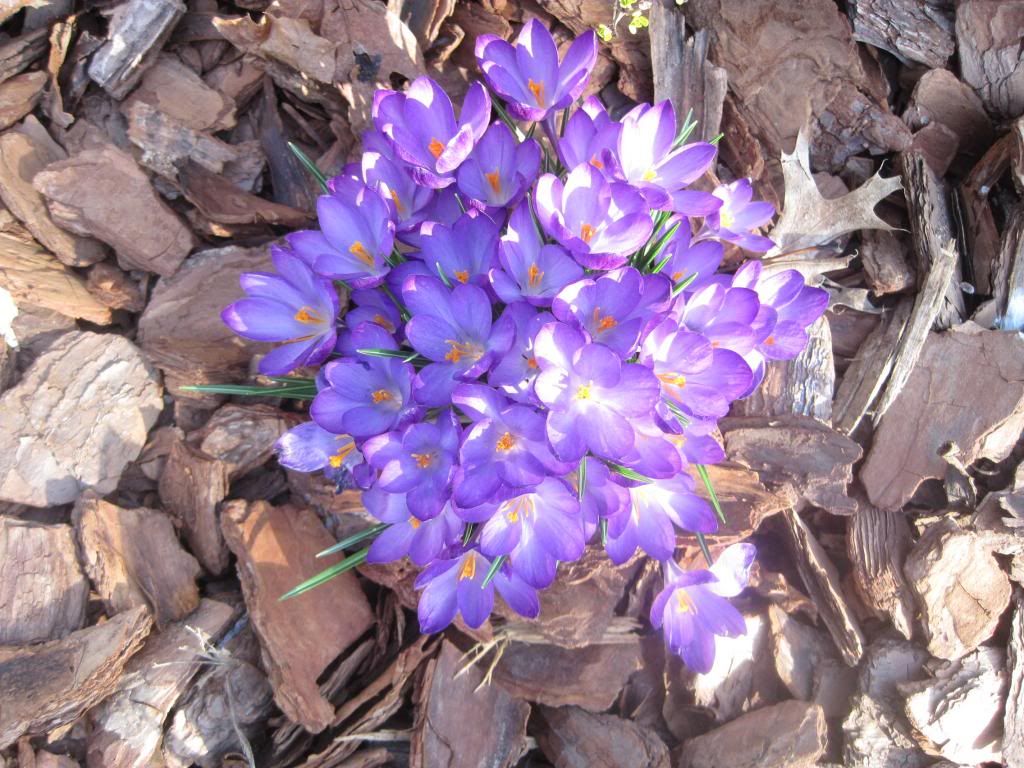
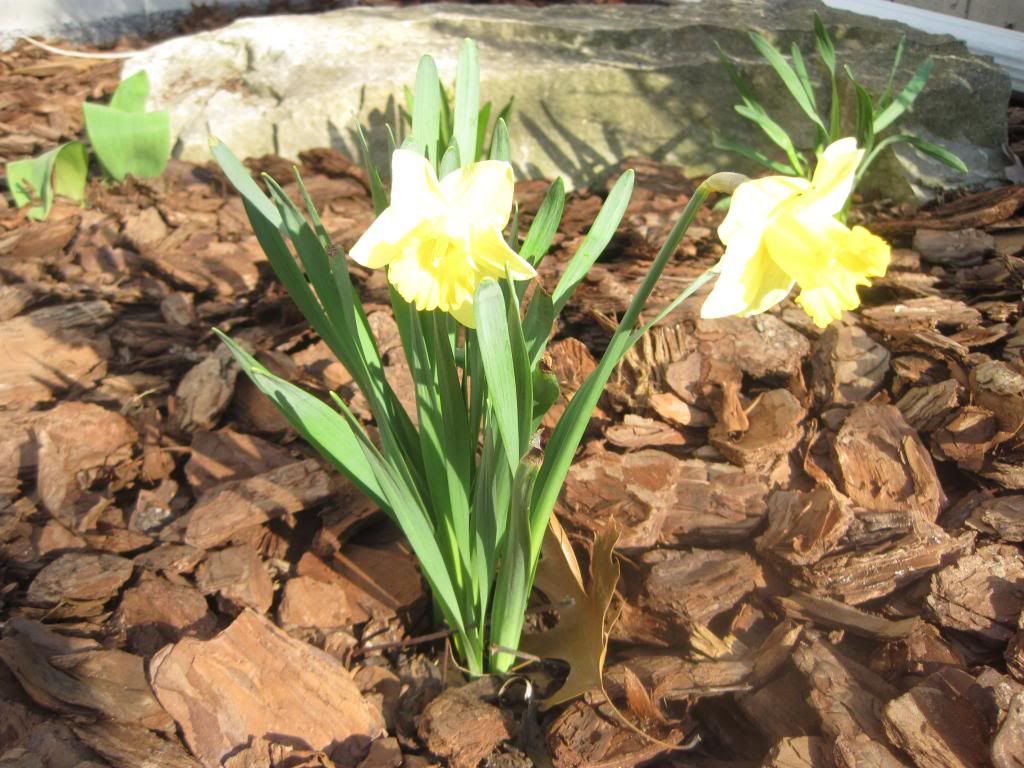
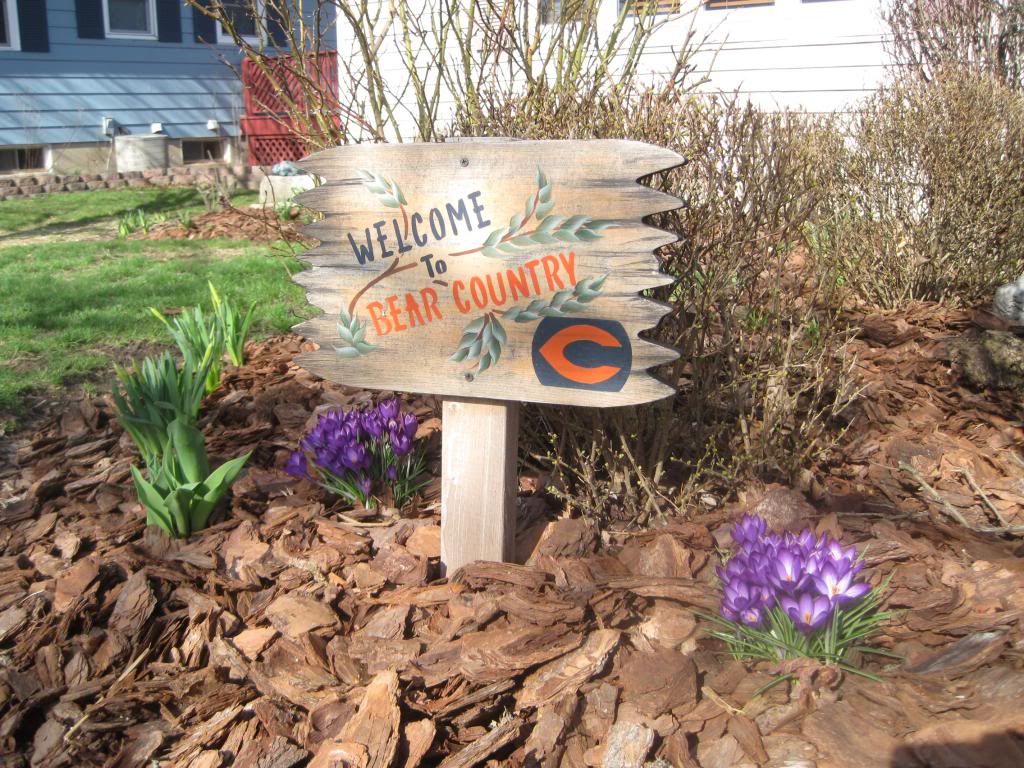
Spring has finally arrived to Northwest Illinois. After the monsoon we experienced last week I am getting some blooms that I wanted to share with all of you!
Ok I know it is not quite football season but still.....
I hope everything is popping up beautiful by you.
Keeping it springtime,
Kelly, the origami ninja
Tuesday, January 29, 2013
Temari fun day
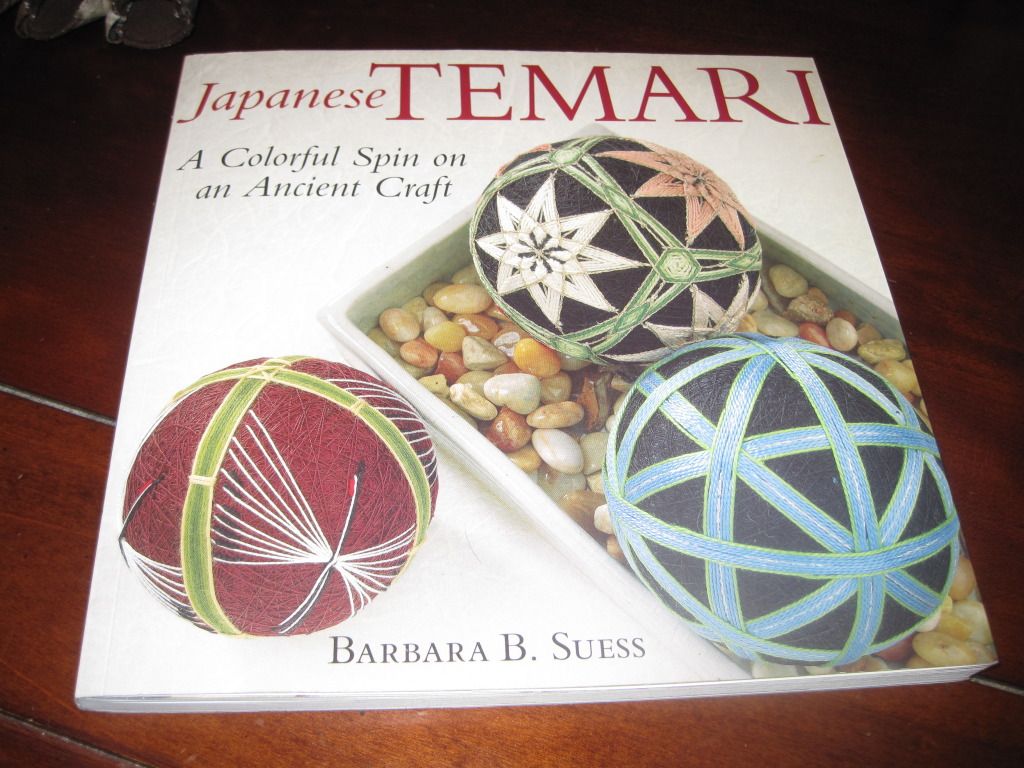
This post has been in the making now for over a year and Anita and I didn't even know it. Let me start at the beginning and when I get to the end I'll stop, I promise. In February of 2012 I took a cooking/baking class with my mom at the John C Campbell Folk School, which is very near her house in NC. If you ever get a chance to take a class there you really should, this place is amazing, you can stay at the folk school in cute dorms and they have hundreds of classes. They even feed you. Anyhoo, their gift shop has a wonderful book section about all thing crafty and traditional. The bread making and woodworking sections are to be envied! While thumbing through said room of literary requirement I came upon this book....
Now I had seen these round works of art made back when I was in college in Montana but I had no idea what they were or how to even start looking for them on the Internets, let alone the fact that they were a craft all the way from Japan. So I peruse the book and decide that if I really want it I will come back and get it on my last day of class. Well, that didn't work out so well as we got so busy I forgot to go back. I spent the next nine months thinking about how I wish I had purchased that book and given the craft a try. Fast forward to November and a trip to Disney World and then back to my mom's for a week with her. I made sure that I went back to the Folk School to pick up that book. If I had been thinking about it that long I definitely wanted to give that craft a go. We go back to the gift shop and low and behold they have one copy left and it was even on sale, serendipity at its best I say.
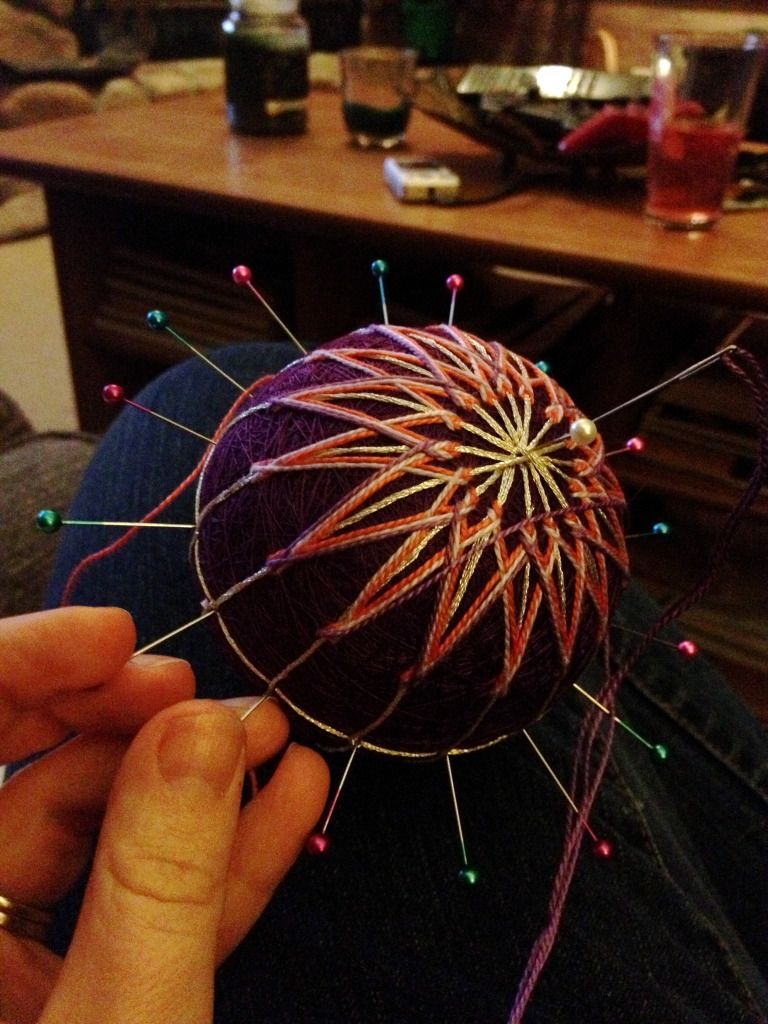
Jump forward a few more weeks and we are in January 2013. I'm at work with Anita and she tells me she has this new craft she has been stalking on the Internets made out of these thread wrapped balls and it's called Temari. I kid you not almost a year later the two of us independently come around to the same craft out of nowhere. Well I tell her I just got a very nice book on the topic and we decide to make a date to try out this traditional craft. I picked one of the very beginner Temari balls to start off with, but not Anita. No, never Anita. She finds the one that strikes her like a bolt of lightning upon first glance and vows to do it come hell or high water. The one that jumped out at her was almost all the way at the back of the book in the "Ninja masters only" section. But while I say all this about my lovely blog-buddy she always comes through with a phenomenal project in the end, so even though there is much to do about fussing during the crafting, she has a project to be proud of.
Now I had seen these round works of art made back when I was in college in Montana but I had no idea what they were or how to even start looking for them on the Internets, let alone the fact that they were a craft all the way from Japan. So I peruse the book and decide that if I really want it I will come back and get it on my last day of class. Well, that didn't work out so well as we got so busy I forgot to go back. I spent the next nine months thinking about how I wish I had purchased that book and given the craft a try. Fast forward to November and a trip to Disney World and then back to my mom's for a week with her. I made sure that I went back to the Folk School to pick up that book. If I had been thinking about it that long I definitely wanted to give that craft a go. We go back to the gift shop and low and behold they have one copy left and it was even on sale, serendipity at its best I say.
Jump forward a few more weeks and we are in January 2013. I'm at work with Anita and she tells me she has this new craft she has been stalking on the Internets made out of these thread wrapped balls and it's called Temari. I kid you not almost a year later the two of us independently come around to the same craft out of nowhere. Well I tell her I just got a very nice book on the topic and we decide to make a date to try out this traditional craft. I picked one of the very beginner Temari balls to start off with, but not Anita. No, never Anita. She finds the one that strikes her like a bolt of lightning upon first glance and vows to do it come hell or high water. The one that jumped out at her was almost all the way at the back of the book in the "Ninja masters only" section. But while I say all this about my lovely blog-buddy she always comes through with a phenomenal project in the end, so even though there is much to do about fussing during the crafting, she has a project to be proud of.
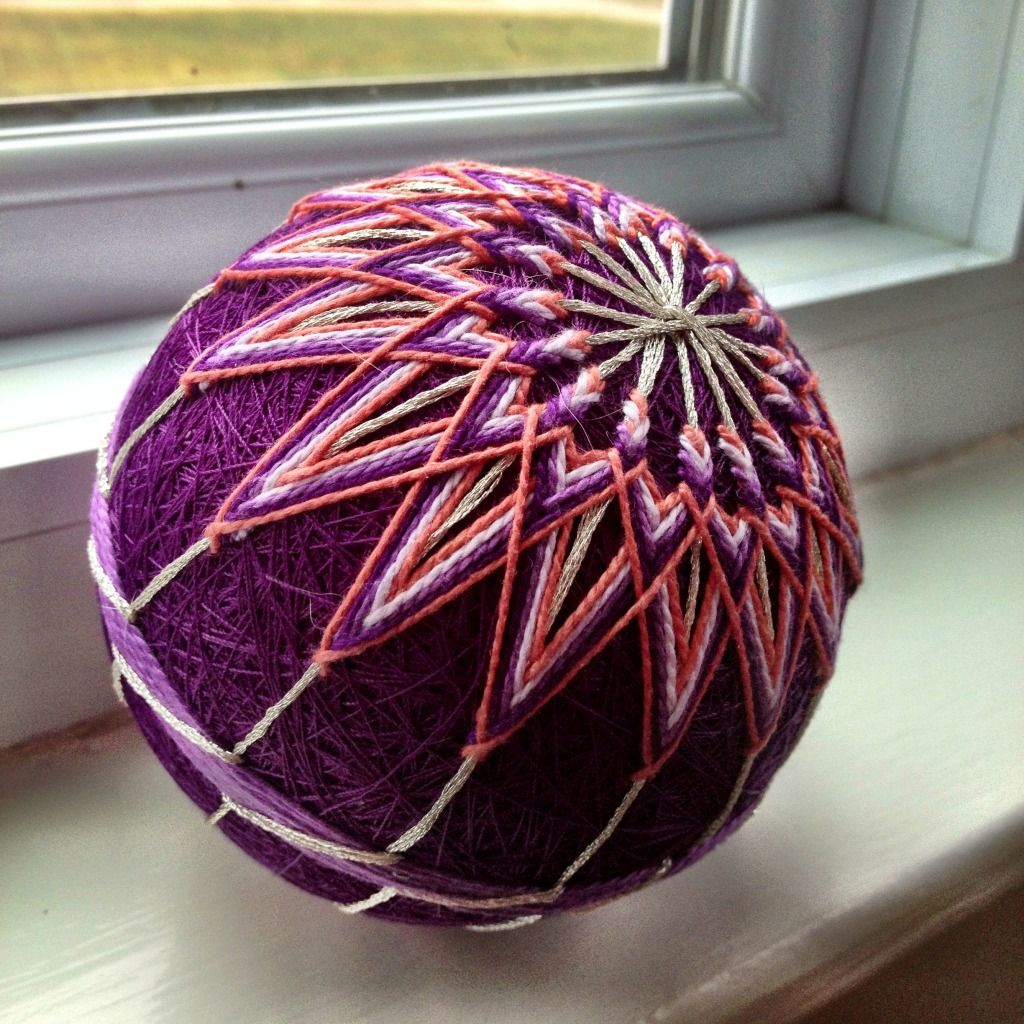
Anita's in all its wonderful purple glory. She is a bit of a purple nerd, this is so up her alley it is silly.
This is my Temari ball, much less adventurous, though that gold floss is a pain in the butt to work with.
While the craft is a bit time consuming with all the thread wrapping, it is very relaxing, sans the gold floss that is, and I will keep this as a favorite craft to turn to when I need to keep myself busy and happy. Have you been trying a new craft, we would love to hear about it!
Keeping it thready,
Kelly, the origami ninja
Abby though Anita needed help with the pinning, a tennis ball can work wonders on everything according to her.
Tuesday, January 1, 2013
Happy New Year
We hope 2012 was a wonderful year for everyone and that 2013 will be even better!
The Labradors don't remember much of last night. Good thing Sprout has video evidence.
Blessings to you all in the New Year.
Rhinestone Beagle
Tuesday, December 18, 2012
Tuesday, November 6, 2012
Happy Election Day!
I hope everyone was able to get out and vote today. No matter the party, no matter the issue, voting is right we all must take part in. Here is some of the voting that took place in our house today.......you know....if dogs had elections.
Sprout voted not to have her picture taken and put on the blog....that was immediately vetoed by me.
Sage voted to have cookie taxes levied on the other two dogs. These taxes would be paid directly to him daily.
Abby tried to vote no on Proposition Bath time. The Proposition passed anyway.
Way to get out and bark the vote everybody. May our country grow stronger and smarter, compassionate and helping, sufficient and giving, and all things great with this election.
Keeping it elective,
Kelly, the origami ninja
P.S. the bunny and the guinea pigs choose not to vote, they were busy playing halo 4.
Saturday, October 6, 2012
Happy Halloween from Abby.
This is Abby's Hipster Convention Costume:
She is sporting her hand crocheted sushi scarf, her handmade purple fox hat, and her knit wolf gloves.
Very urban now. She is so patient.
Hope your moth is spooktackular!
Kelly, the hipster pup momma
Wednesday, July 4, 2012
Happy Fourth of July!
We hope you all have a wonderful Fourth of July wherever you are celebrating it! Sage, Sprout, and Abby will be trying to stay cool in the house and keeping a watchful eye out for anything that might fall off the grill. Here's to tasty recipes, patriotic decorations, and more friends and family than we know what to do with!
Keeping it crafty, American style,
Kelly, the origami ninja
Keeping it crafty, American style,
Kelly, the origami ninja
Tuesday, June 5, 2012
Craft Club with an Indian Flair
Oh how wonderful is the month of May. The leaves are full and lush, the fragrance of hundreds of flowers hangs thickly in the air, the birds wake you up every morning with such happy twittering, and the monthly Craft Club meeting was all about cooking Indian food. Our normal compliment of five had shrunk to three for this months' get together so instead of paper art like we had planned we decided on cooking. Not to fret paper lovers, we will tackle that craft soon so stay tuned. I am not quite sure how we got to Indian, but once we were there we rejoiced in the tastiness of it all. Before we move into the food porn that was that Saturday night let me preface this with the fact that we did a 5K walk/run early that morning in preparation for the bounty to come.
1) Vegetable Pakora
2) Saag Paneer
3) Saffron Mango Mousse
4) Jalebi
All of these items were made from scratch with love and hungry tummies. Those pakora were nibbled on almost right out of the fryer. I learned recently in a cooking class that frying can be part of your diet if it is kept to high quality foods that are at room temperature to keep the oil absorption to a minimum. These pakora were not greasy at all and had lots of veggies inside. The Saag had my homemade paneer, Indian compressed cheese, and rich coconut milk. The mousse was so rich and the Saffron really did make the difference in this dish. It went from comfort food to classy dessert with that simple addition. The julebis right out of the oil were sticky and crunchy, so very good. We finished off the night with some Bravo TV and a happy warm fullness that I think back on very fondly. I can't wait to have another cooking Craft Club, it is both tasty and informative.
I hope you are all cooking up a storm with the spring vegetable showing up in the farmers markets right now. Head on over to Show Me The Curry and try a new Indian recipe with your favorite veggie, I am sure they will have one you will adore!
Keeping it tasty,
Kelly, the origami ninja
Anita, Mr Biscuit, and Sadie all dominated on the running while Katy, Abby, and I walked the 5K with pride. In all honesty we walked at a pretty good clip but we still got passed by a very determined bull dog that I swear was a trained speed walker. He was too cute to stay mad at and his daddy looked so proud. This is the second year we have done the Lilac Mutt Strut it is such a nice way to welcome Spring and get dogs out for some well deserved social time. Way to go pups!
Ha, look at those dog hineys go! See this is why we needed to go home and have some killer Indian food to fill us up after all that outdoor dog time. Let us not take into account that after the 5K they give you pancakes and sausage, but that is not important here. What is important is this very valuable piece of information that I am about to give you right here right now. Get your Pintrest pins ready as you will want this link available always: Show Me The Curry. I cannot express in words the epicness of this web page. These two wonderful women have put together terrific videos showing you the hows and whys of delicious Indian cooking. With lots of yummy tabs to choose from both vegetarian and meat eaters alike will find lots to tug at their culinary heart strings. Hetal and Anuja add comfort and ease to cooking an ethnic cuisine I though was beyond my skills. Their humor and warm approach to the videos make me want to experiment with everything they offer. They have so many recipes and how-to videos to watch one should never go hungry!
Our yummy offerings for the evening: 1) Vegetable Pakora
2) Saag Paneer
3) Saffron Mango Mousse
4) Jalebi
All of these items were made from scratch with love and hungry tummies. Those pakora were nibbled on almost right out of the fryer. I learned recently in a cooking class that frying can be part of your diet if it is kept to high quality foods that are at room temperature to keep the oil absorption to a minimum. These pakora were not greasy at all and had lots of veggies inside. The Saag had my homemade paneer, Indian compressed cheese, and rich coconut milk. The mousse was so rich and the Saffron really did make the difference in this dish. It went from comfort food to classy dessert with that simple addition. The julebis right out of the oil were sticky and crunchy, so very good. We finished off the night with some Bravo TV and a happy warm fullness that I think back on very fondly. I can't wait to have another cooking Craft Club, it is both tasty and informative.
I hope you are all cooking up a storm with the spring vegetable showing up in the farmers markets right now. Head on over to Show Me The Curry and try a new Indian recipe with your favorite veggie, I am sure they will have one you will adore!
Keeping it tasty,
Kelly, the origami ninja
Labels:
Abby,
cooking,
craft club,
from scratch,
Mr. Biscuit,
recipe,
sadie,
veggie cooking
Subscribe to:
Posts (Atom)