Showing posts with label Howl-o-ween Tricks and Treats Craftathon 2013. Show all posts

Wednesday, October 30, 2013

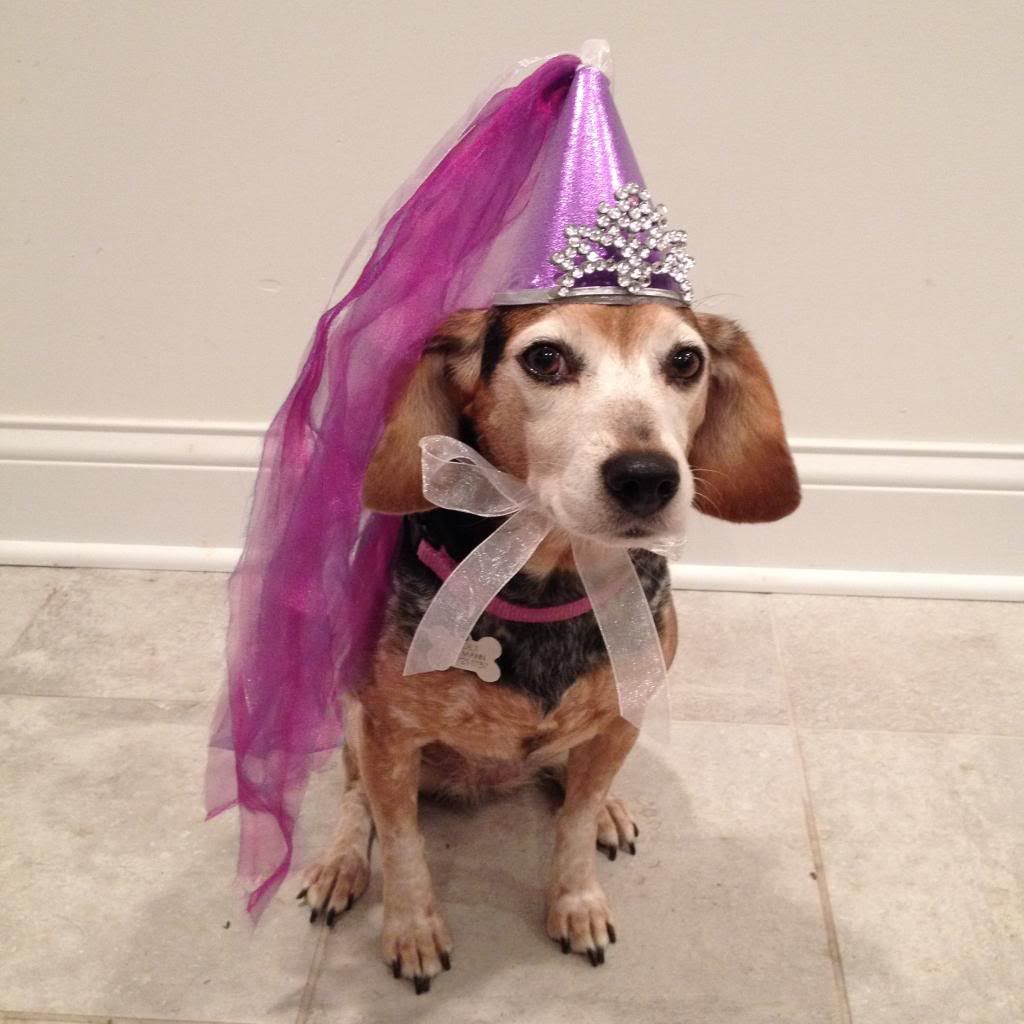
HTTC - HRH Princess Gidget


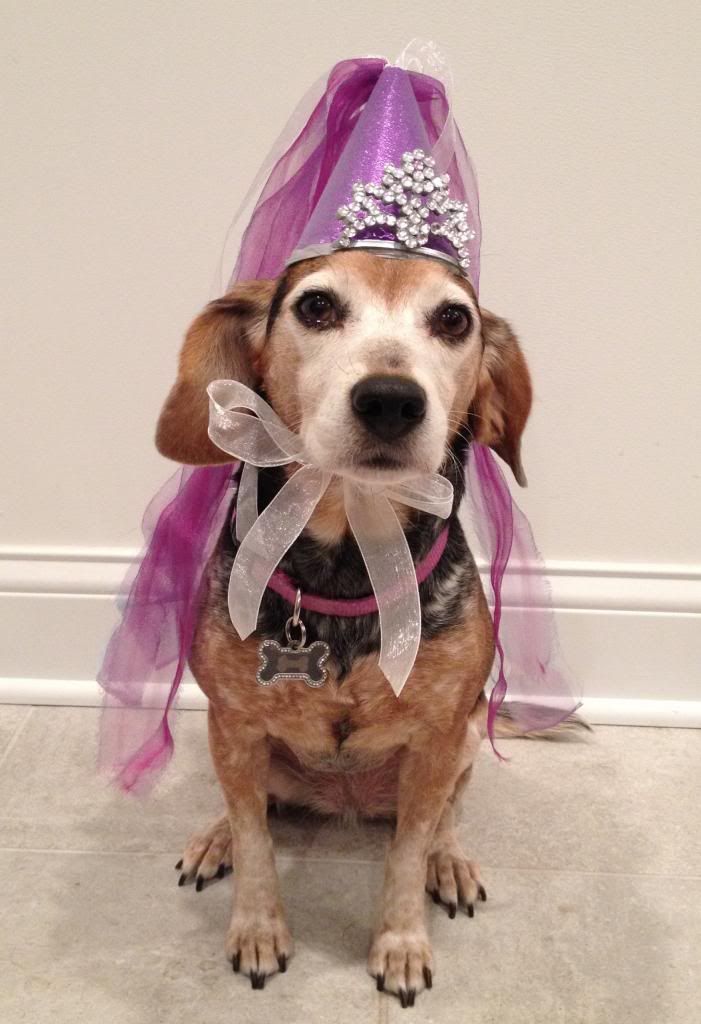
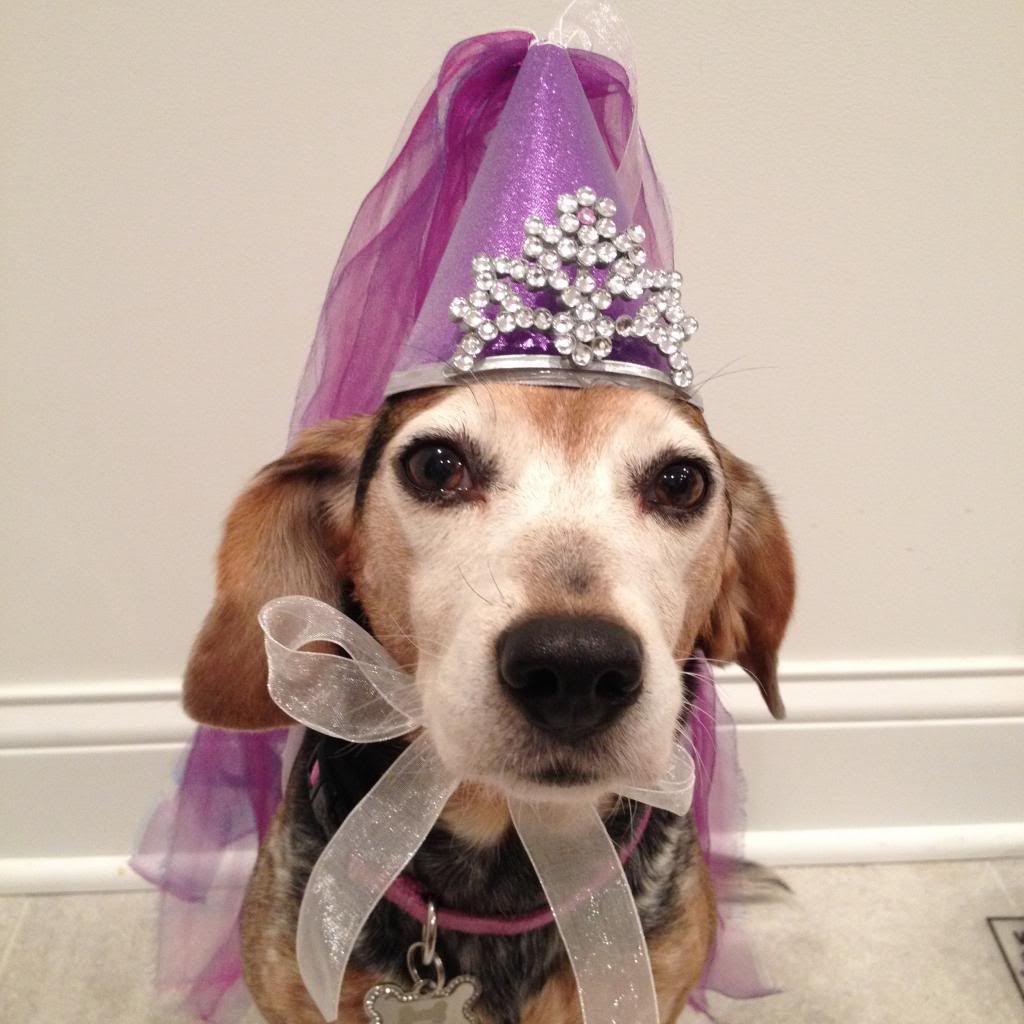
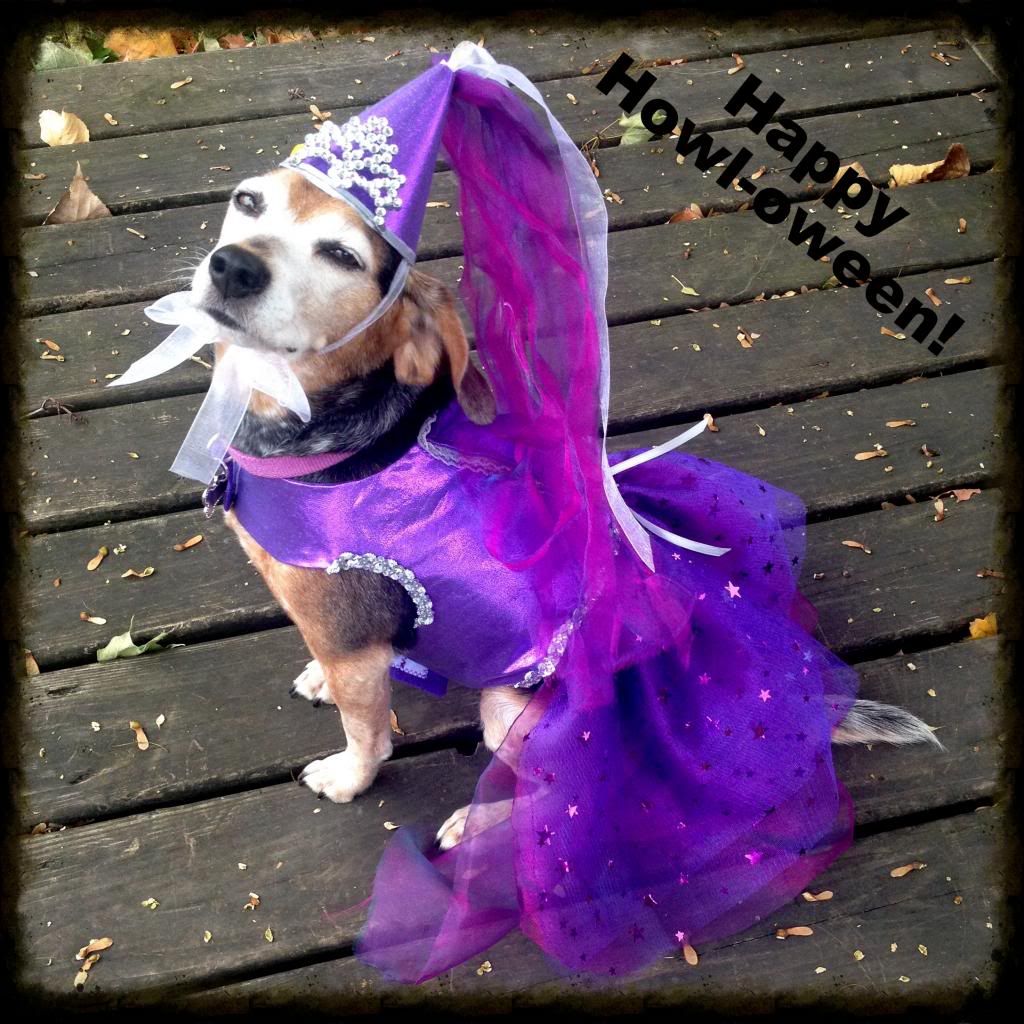
By royal decree, Gidget commanded me to make this adorable regal outfit for this year's festivities.  She even smized for the picture.  (Tyra Bank's reference.)  If you've met her in person its easy to understand why this costume for her.  Princess is a great word to describe Gidget most days.  Wanna check out how to make a custom hat for your fave princess?  Check out this link to my post earlier in the week. 

Haunt on!
Anita

HTTC - Princess Hat Tutorial

I love torturing my dogs at Halloween and this year I felt Gidget needed a new accessory.  This can easily be adapted for a child or adult that is channeling their inner princess any time of year. 

Supplies
Small plastic crown (try the dollar store)
Rhinestones
Firm cardstock or posterboard
Fabric to cover the hat
Ribbon, satin for trim and organza for chin ties
Organza 1/4 yard
Stapler and glue gun

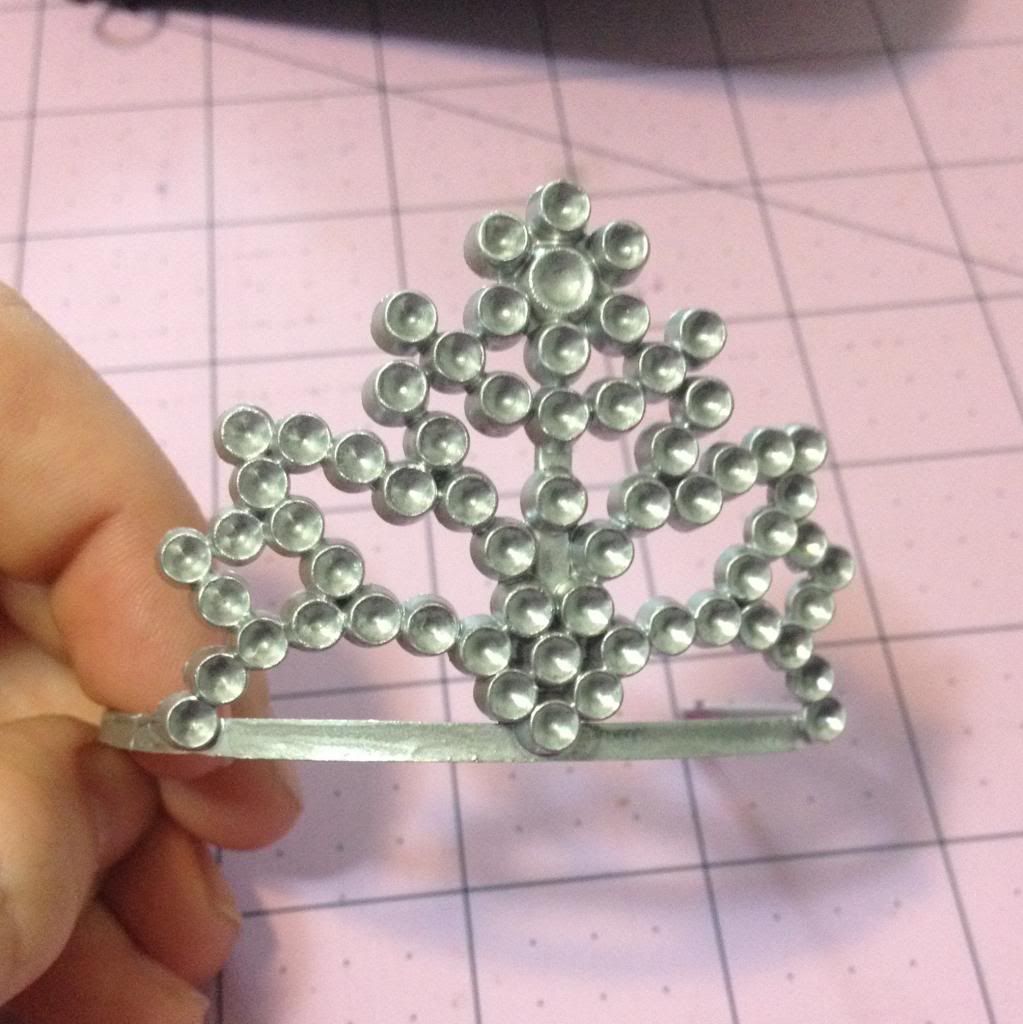
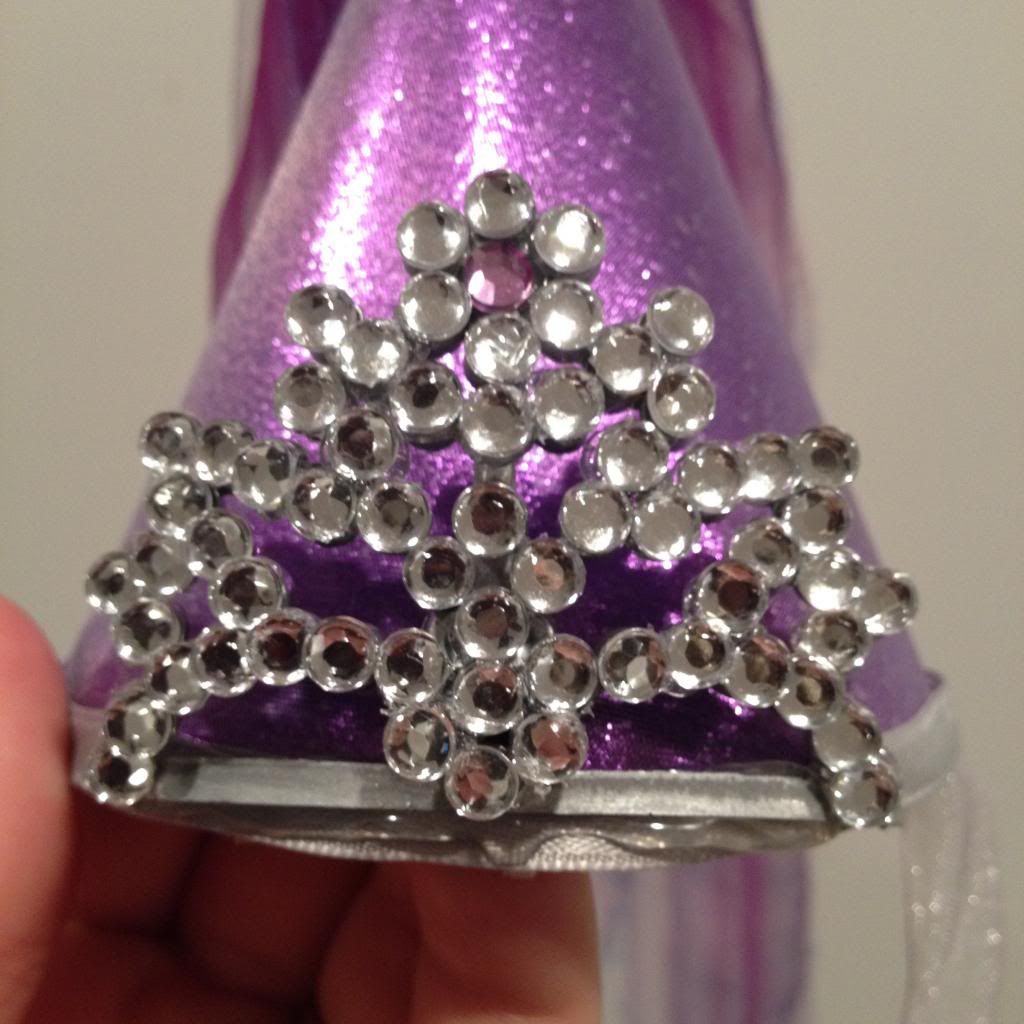
1.  First we are going to make the crown to go on the front of your hat.  I cut off the comb and extra plastic so I only had the decorative front and spray painted it silver. 
 
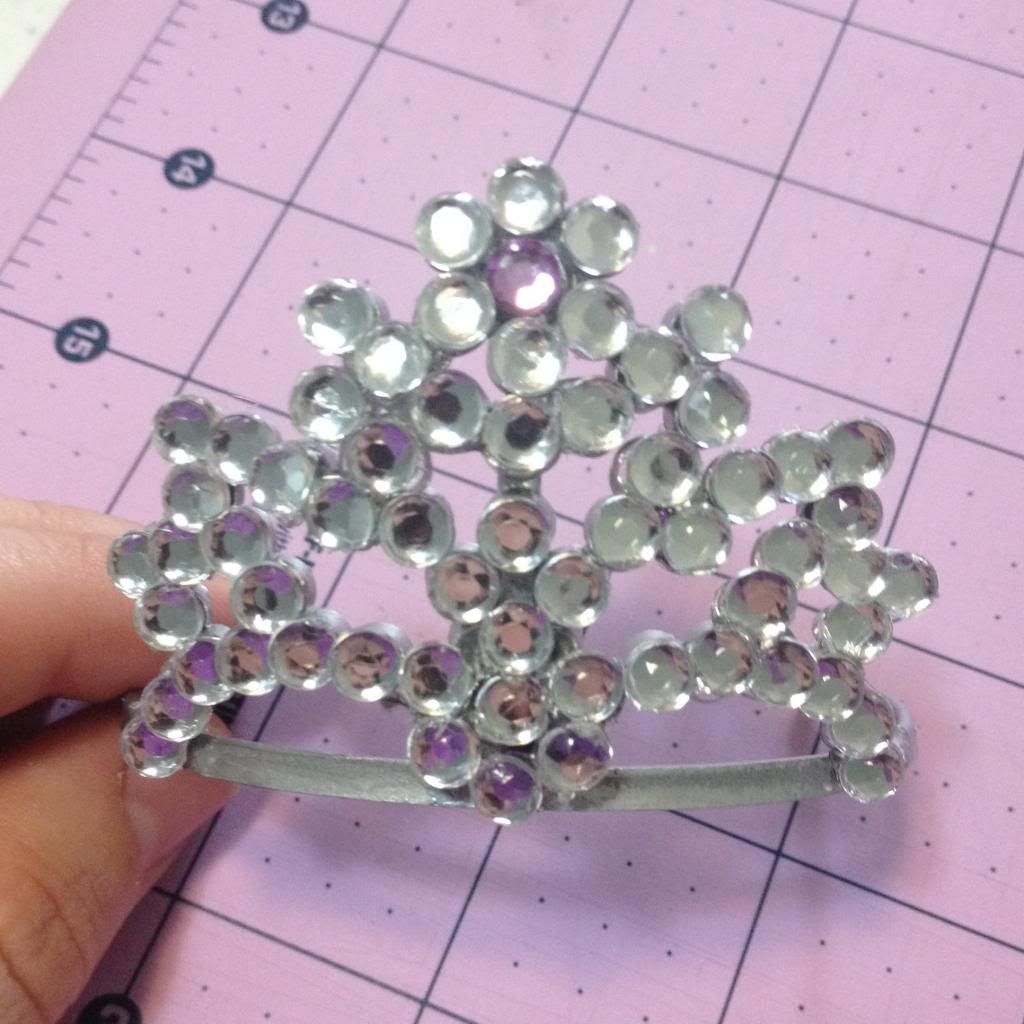
2.  Next take your rhinestones and bedazzle your painted crown.  I used hot glue to make them stick really good and a set of tweezers to keep from burning myself.  Plus it dries super fast. 

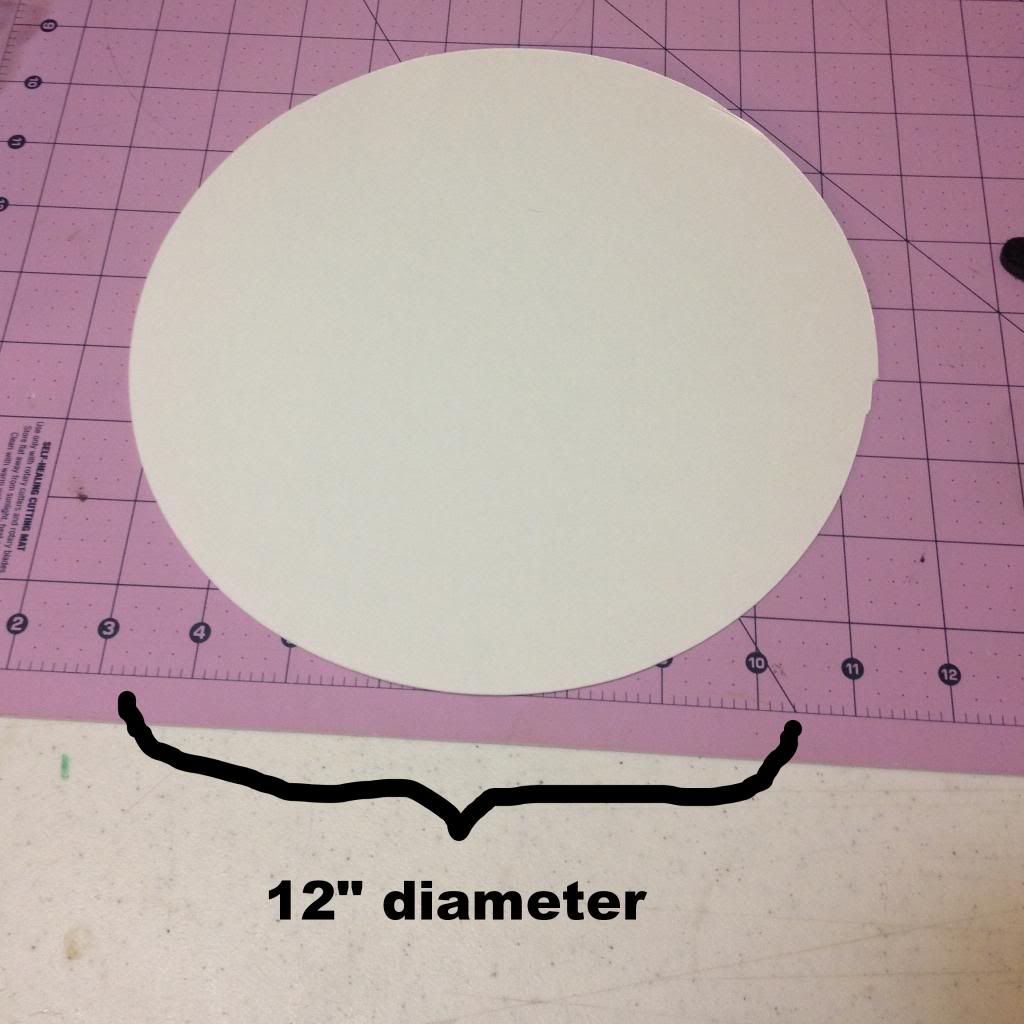
3.  Now you'll need to measure two things, how tall you want your hat to be(A) and how big around the base needs to be(B).  Next draw a circle on the cardstock/posterboard that has a diameter 2 times A.  EX 6" tall hat needs a 12" diameter circle.  Now cut it out.

4.  Now you're going to cut a large wedge out of your circle.  Mark a starting point at the edge of your circle, now from there measure around the edge the length of B plus 1.5 inches and make another mark.  Cut from the center to these two points.  You will have a wedge like below. 

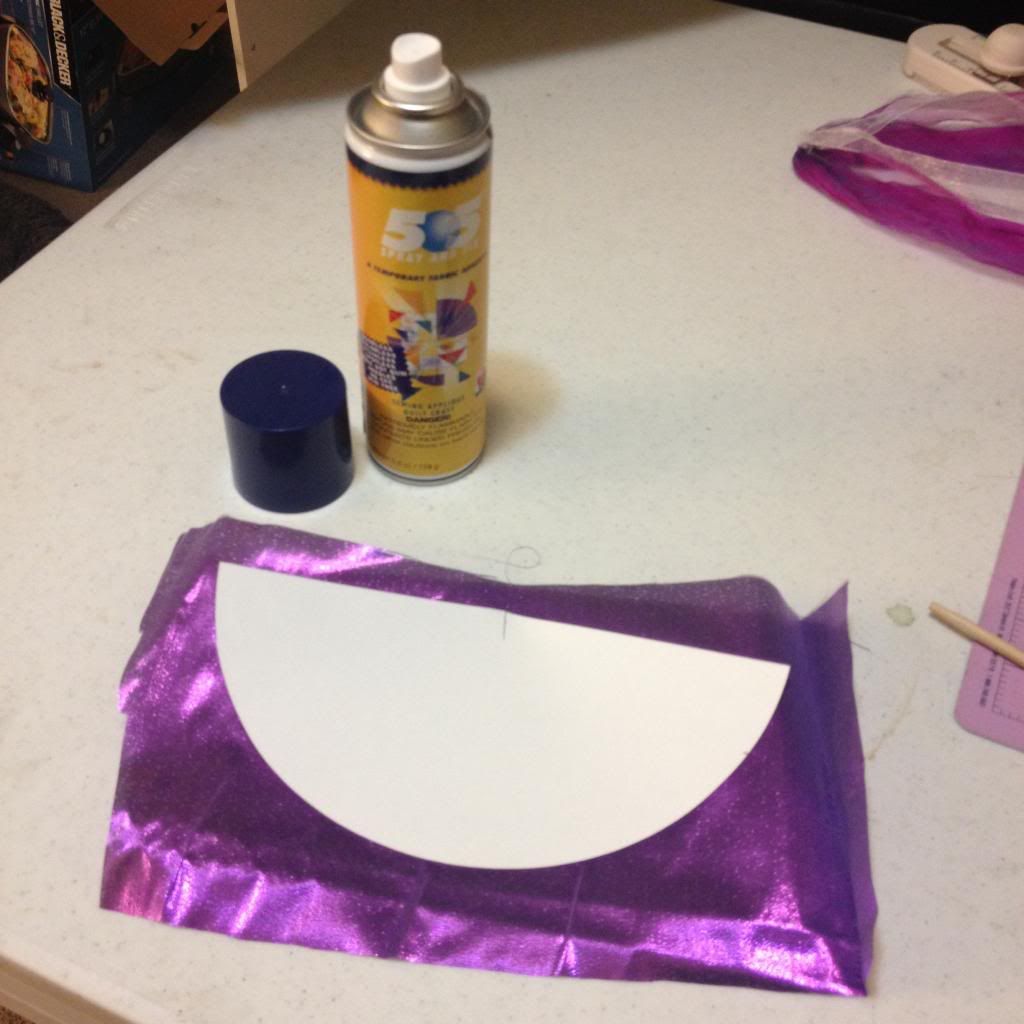
5.  Next glue your paper wedge to the wrong side of your fabric and cut around the excess. 

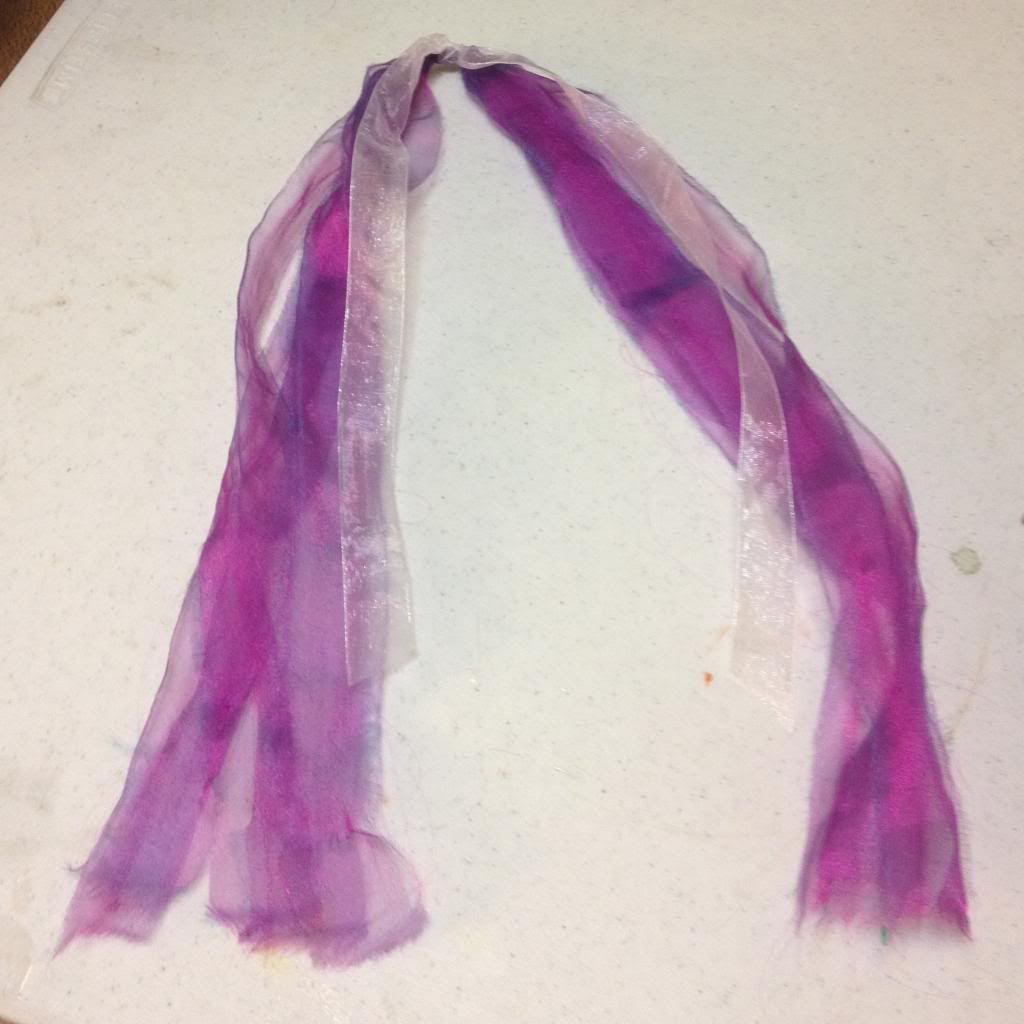
6.  This is where we make the streamers for the top of the hat.  The organza is easy to rip if you make a little cut at the bias.  Rip 5 strips and tie them all together in the middle.  (I also added a bit of white ribbon for contrast.) 

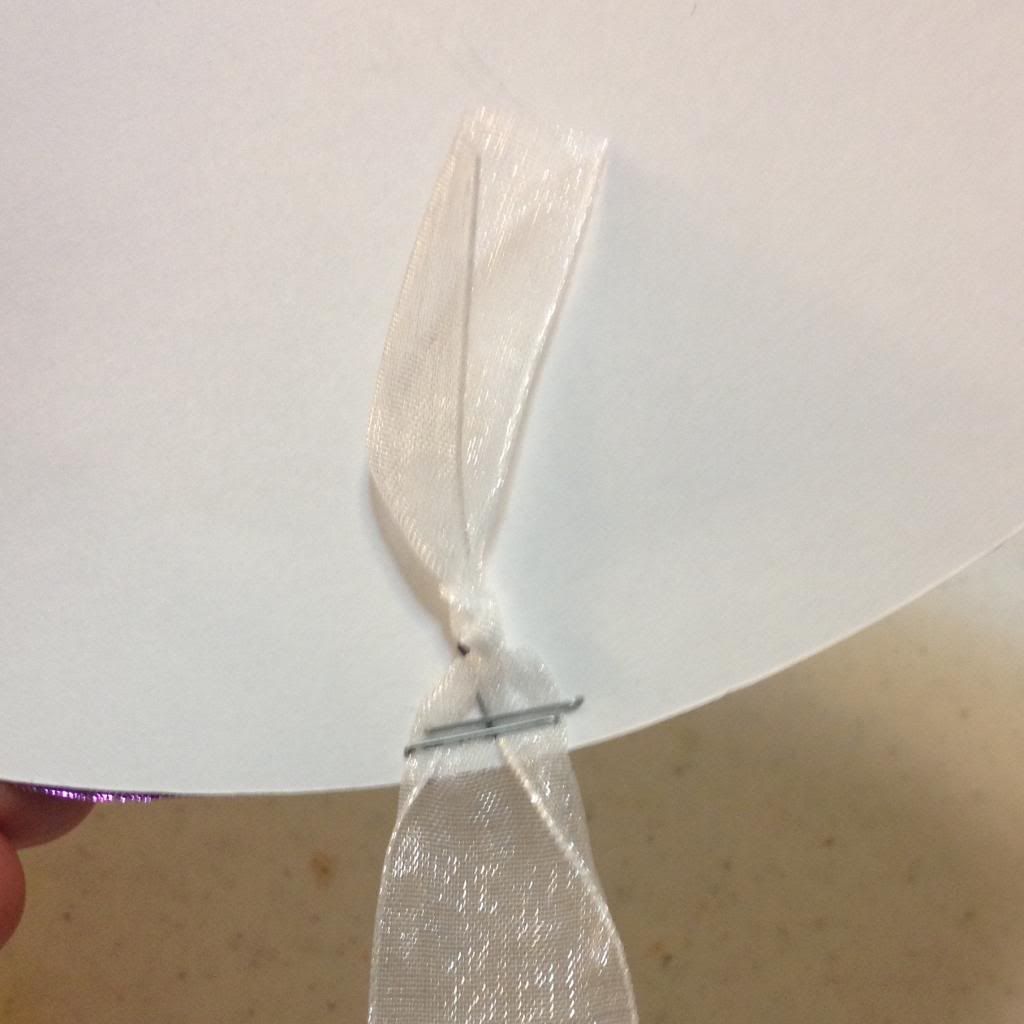
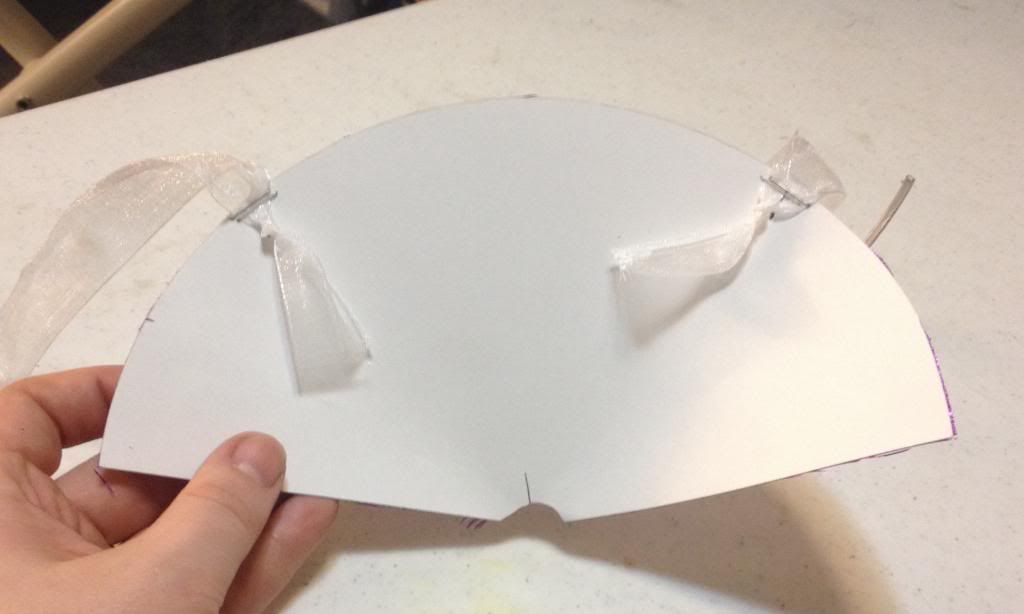
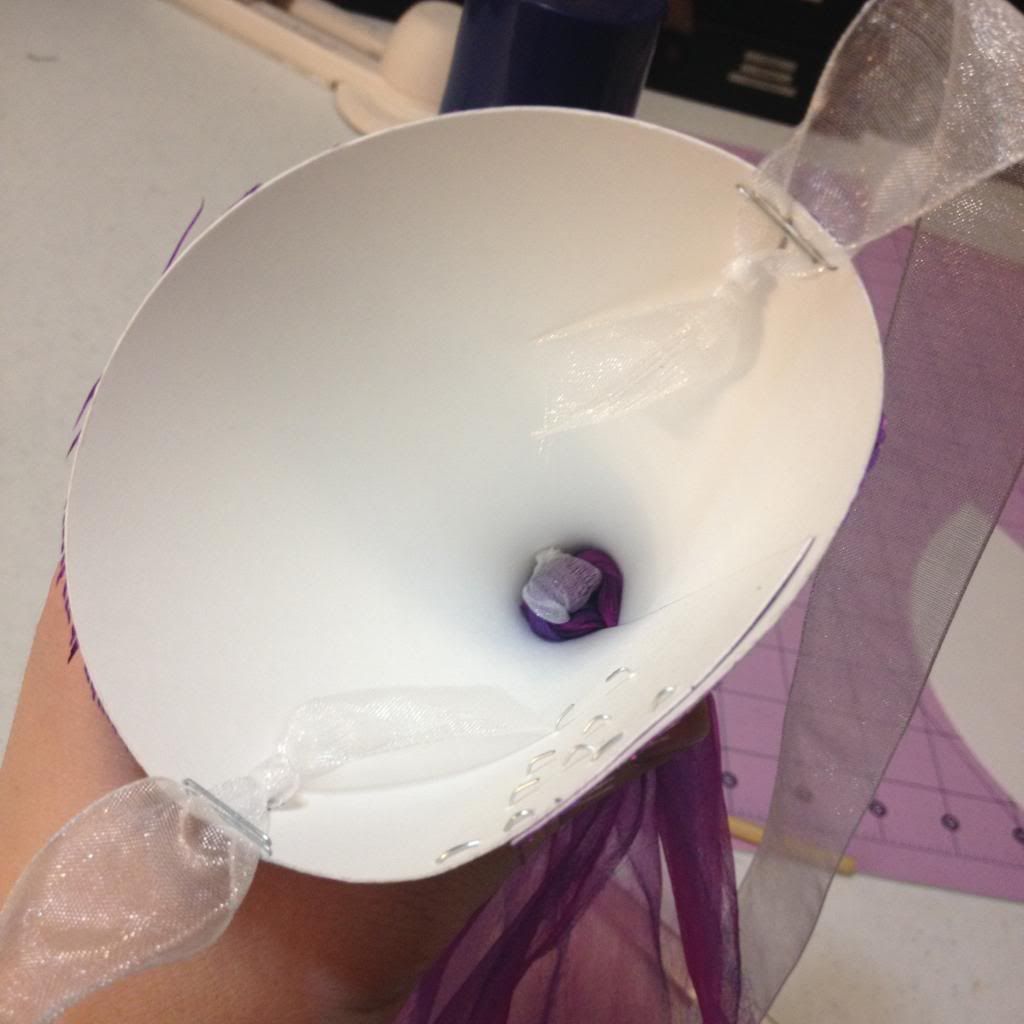
7.  We need to add some straps to tie the hat on.  Take your organza ribbon and cut two pieces long enough to come down and meet in a bow below the chin.  Now tie a knot near one of the ends on each piece and staple it to the underside of your hat spaced evenly.  Try to keep the staples close to the edge of the paper so we can cover them later.  Also cut a little notch tip of your wedge.  This makes room for your streamers. 


8.  Now we assemble your hat.  Wrap your wedge around itself to make a cone and staple once at the base.  Now slide your streamers through the tip keeping the knot on the inside and staple the rest of the cone closed.  These staples will be on the back so you won't see them but you can always cover them with ribbon.
 

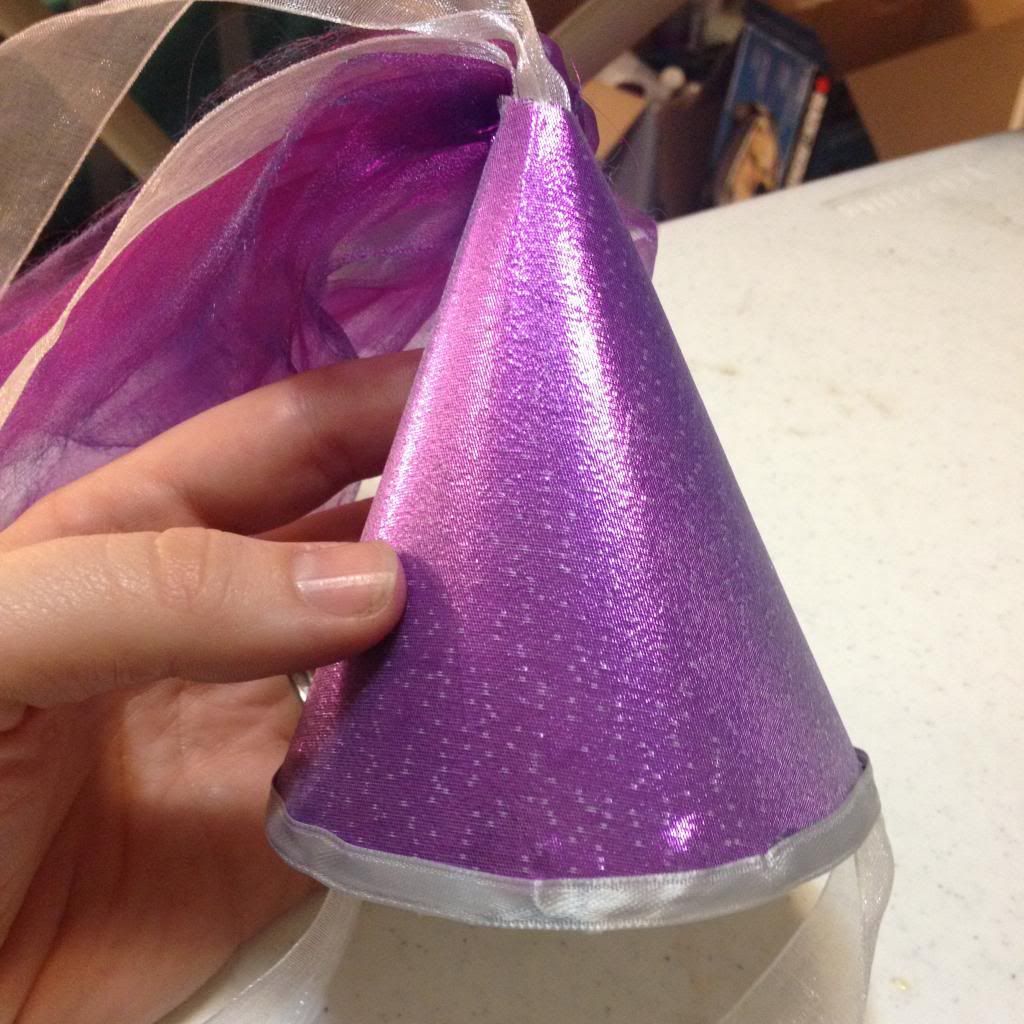
9.  Last but not least we add the bling!  Glue your satin ribbon around the edge covering the staples, meeting the ends in the back.  Now apply a generous amount of glue to the front of the hat and stick on your bedazzled crown piece.  DONE!

Now you have an adorable princess hat for Halloween or any old time you want to play dress up.  Plus it's great for dog shaming.  Enjoy!

Craft on!
Anita

Sunday, October 27, 2013

HTTC - Sheriff Deadeye


There's new law in town.  Mr. Biscuit wanted to be a cowboy this year.  But not just any run of the mill cowboy.  He's Sheriff Deadeye.  I almost made him a bandit cuz he's a little bit of a clepto with toys but he's more a good guy any day.  Doesn't he look like he means business?

Friday, October 25, 2013

HTTC-Upcycled Pumpkins

The crafts that have been popping up both here and all over the internets for Halloween this year have been amazing!  I am very impressed with our guest posters this year, your creativity is quite inspiring.  So inspiring in fact that after checking out all of your posts I decided that I should keep crafting along spookily even after I finished my posts for the blog.  I dug through my crafts-to-do tub and found this little cutie half finished and begging for attention.  Her name is Punkin and she was a kit I bought in college.  When I say college I mean 1999.  I have had this craft partially finished in that tub for 13 years! Even though it took me so long to finish her I am proud of how she turned out.  I think she looks very cute with my skull and crossbones button art and sweater pumpkin.

My Halloween craft for this post are some cute pumpkins made from wood scraps I have collected.
I cut several pieces of varying heights from 2 x 4, 4 x 4, and 1 x 6.  I cut the stems from 1 x 1.  I used some orange and green spray paint I already had.  This craft was very much about making something fun out of bits and nubs I already had. 
I sanded the bottoms of the stems and glued them on to the painted pumpkins with wood glue.  I wanted to spice them up a touch so I used some floral wire to make little vines.
We wanted to make sure these guys wouldn't blow over in the wind, especially the 1 x 6 who was cut rather tall, so we added some nice strong yard spikes to the bottom.  And by yard spikes I mean big ole screws.  So we drilled some deep holes for the screw tops to fit into.

Again I used the wood glue and glued the screws in place in the bottoms.
We let them dry overnight and "planted" my little pumpkin patch right in the front yard near the road for everyone to enjoy.
I love my little cuties to no end as wood crafts really do make me happy.  I can't help but smile when I look at them.  All in all a very easy craft that ended up having way more of an impact on the look of my yard than I thought it would when I was working on it. This would be fun and inexpensive for scout troops to do so that each scout could have their own forever pumpkin.  Or a neat family craft where everyone can decorate their own jack-o-lantern. Anyway you look at this is a great holiday for crafting!
 
Have a Haunted Holidays,
Kelly, the origami ninja


Saturday, October 19, 2013

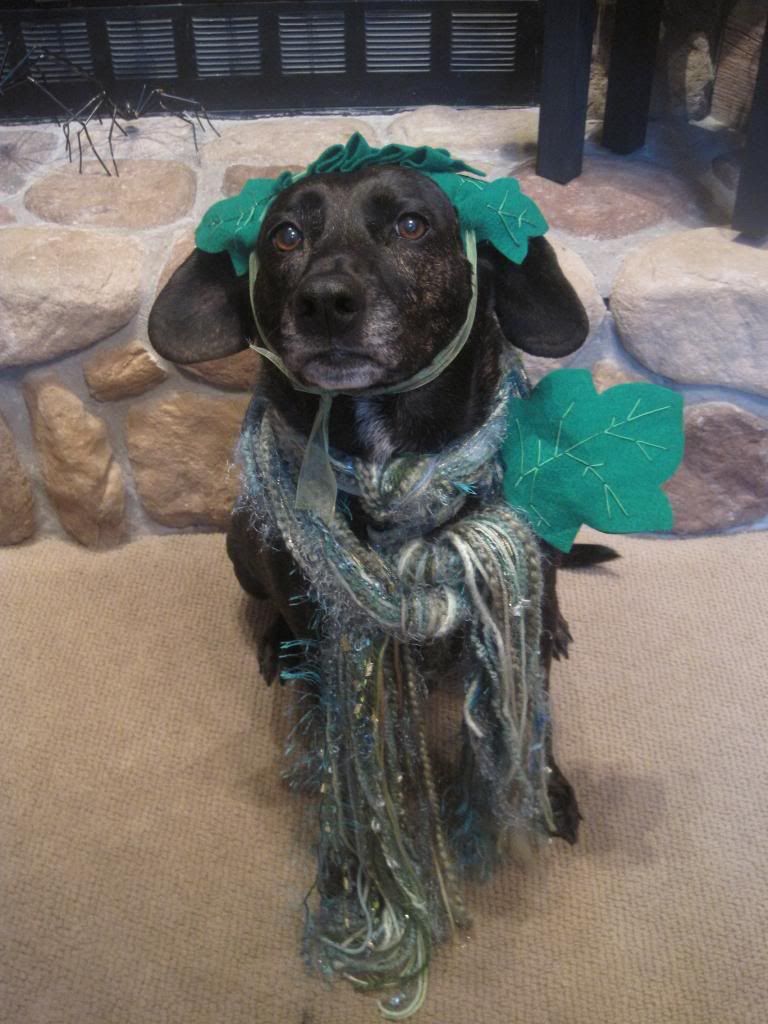
HTTC- Sprout

Sprout wants to wish you a very Happy Halloween.  As you can see, she is not thrilled to be in her woodland fairy costume, but she will wear it just for you!
Happy Trick-or-treating!


Friday, October 18, 2013

HTTC - Spooky Halloween Wreath

Hi Everybody! Let me take a moment to introduce myself. My name is Katy and I am one of the trusty members of the Rhinestone Beagle Craft Club. If you have kept up with Anita and Kelly I am the show off who either does multiple crafts or gets the project done first.  I am so happy to be invited to be a guest writer especially for one of my favorite holidays, Halloween! In the past few years Halloween has exponentially climbed up as one of my favorite times the of year. I have taken pride in my decorations and almost all of my Halloween decorations are made, not bought. I try to add at least one new item each year. This year I felt I needed a wreath to spook out my front door. Unfortunately, I didn't have a lot of time so I headed to the trusty internet for some quick and easy ideas. So after an hour or so of browsing many different pages and pictures I had a vision in my head and off to the local craft store I went. 

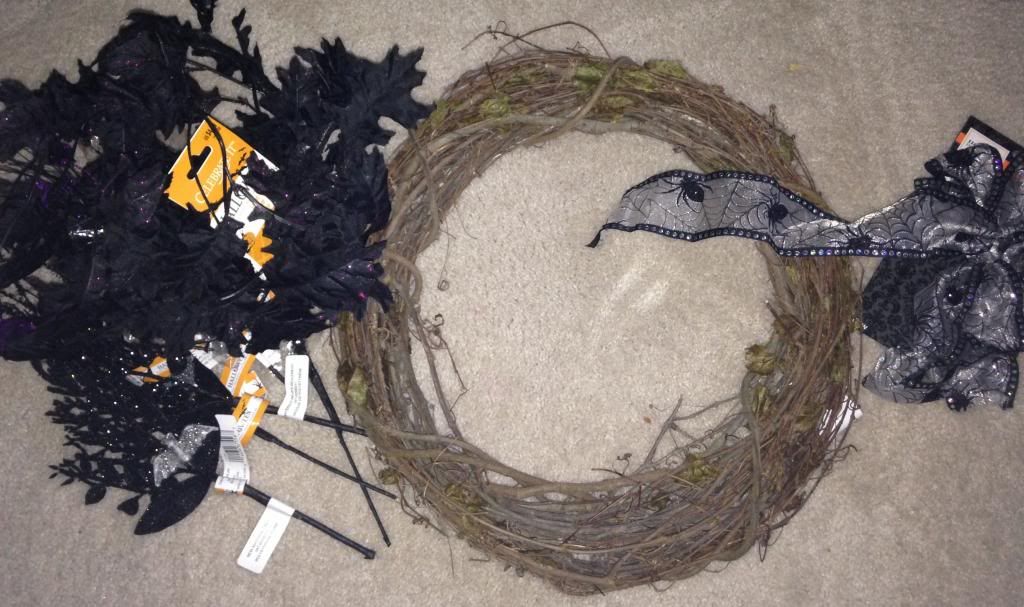
I picked up the following items. 
  1. 18" grapevine wreath
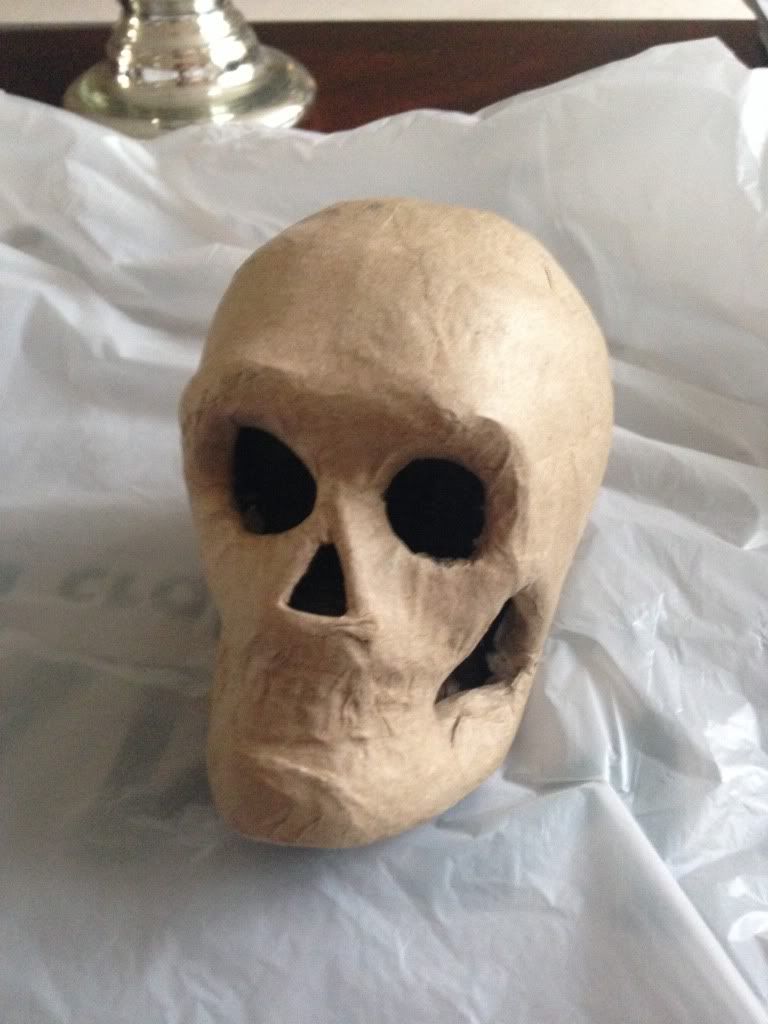
  2. Paper mache skull (as seen in Anita's previous blog post)
  3. Ready-made spooky halloween bow (yes, I could have made my own but it was on sale and I was low on time) 
  4. Purple glitter (Martha Stewart makes the best glitter, I highly recommend it)
  5. Sliver metallic paint
  6. Modgepodge 
  7. Halloween themed leaf garland
  8. Various halloween decoration "picks" (I bought 3 sets of 2)
  9. You will also need your trusty glue gun. 

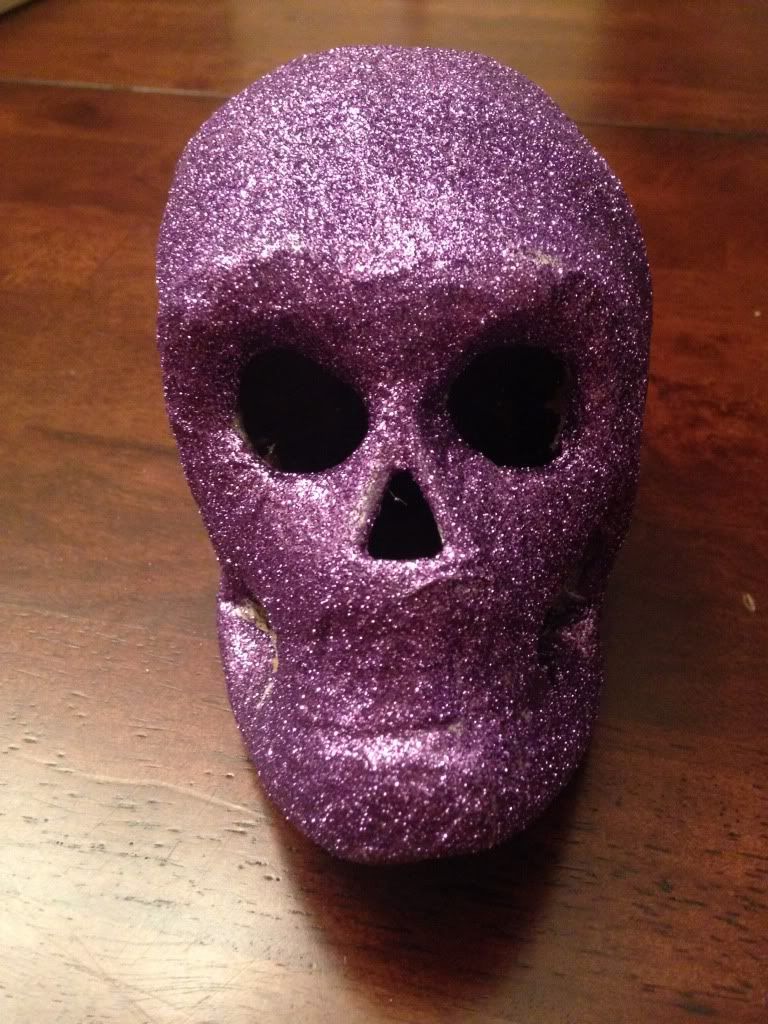
First, I took my paper skull and painted it with the silver metallic paint. Once dry, I covered the skull in modgepodge (Eeeee!! So exciting!) and released the glitter-I think more got on the table but eventually I was able to cover the skull to a vibrant blinged out purple. 


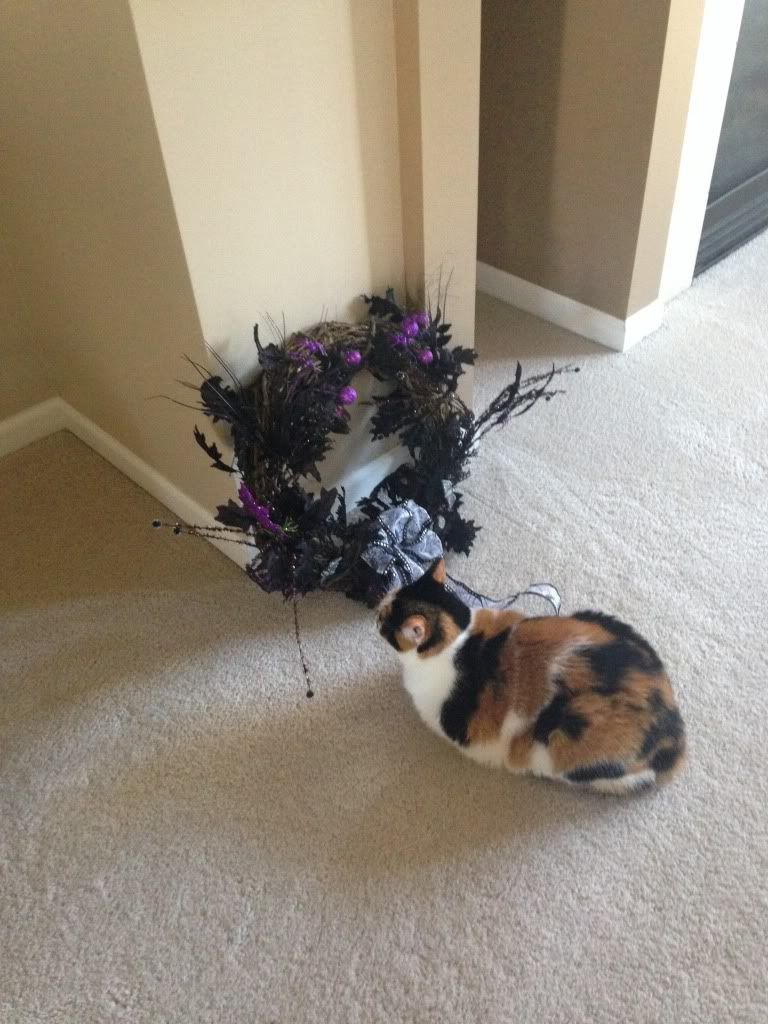
While my skull was drying I took my grapevine wreath and my halloween garland and wrapped it around the wreath and then took the decoration picks and basically just weaved the decorations into the grapevine. If you feel the need you can use hot glue or thin wire to secure the decorations to the wreath. 


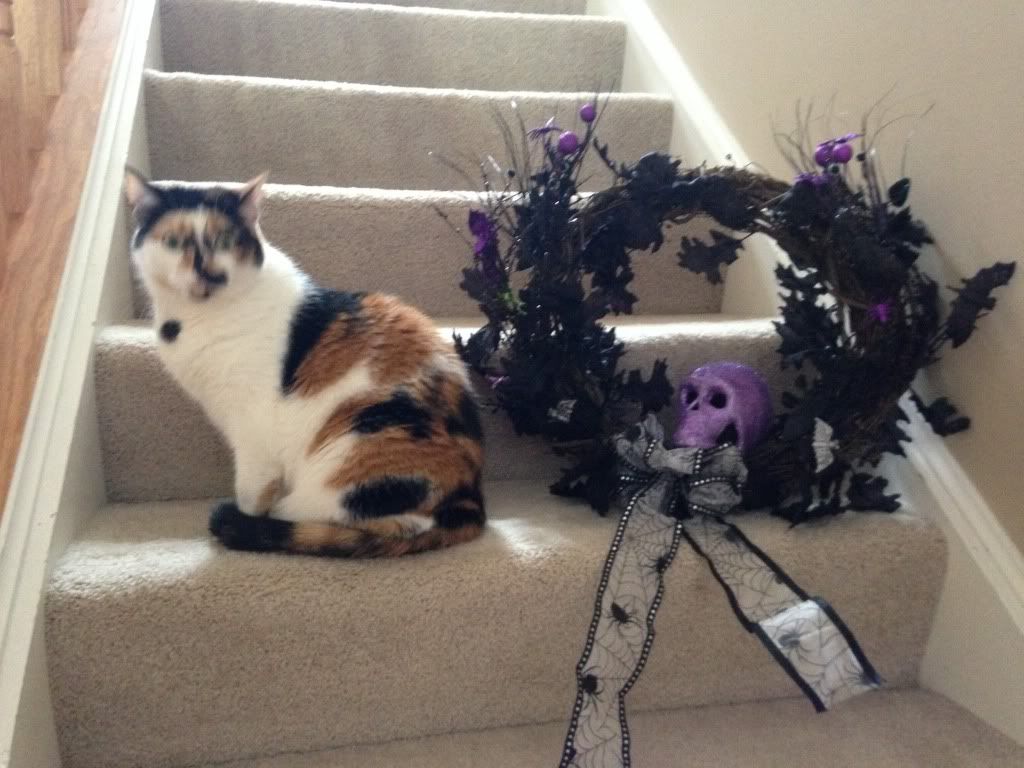
Once my skull was dry I hot glued it to the bottom inside of the wreath and then attached the bow below the skull and voila! My wreath is completed! 


I think Lulu approves of the final product and I am sure she looks forward to enjoying it for years to come. 

Tuesday, October 15, 2013

HTTC- Wooden Ghost

I am always looking to expand my outdoor Halloween decoration collection.  At the same time I am in love with wood crafts that use up nubs and bits of lumber that are hanging out around the garage or have been reclaimed out of dumpsters.  This craft gave me the best of both of these worlds!

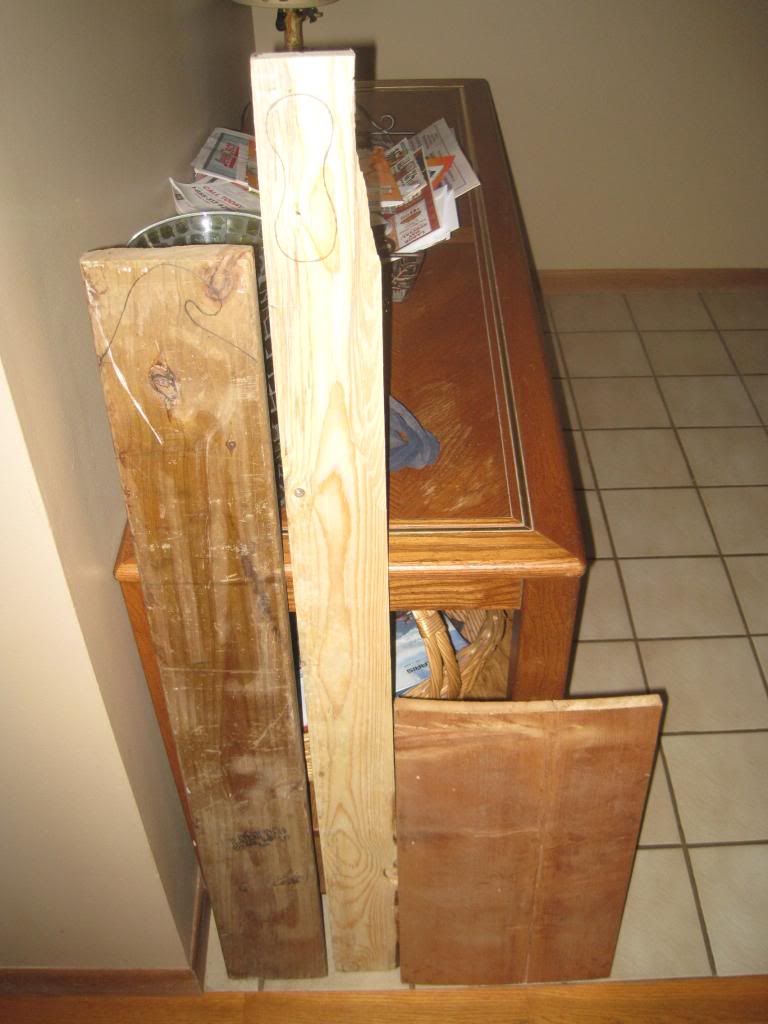
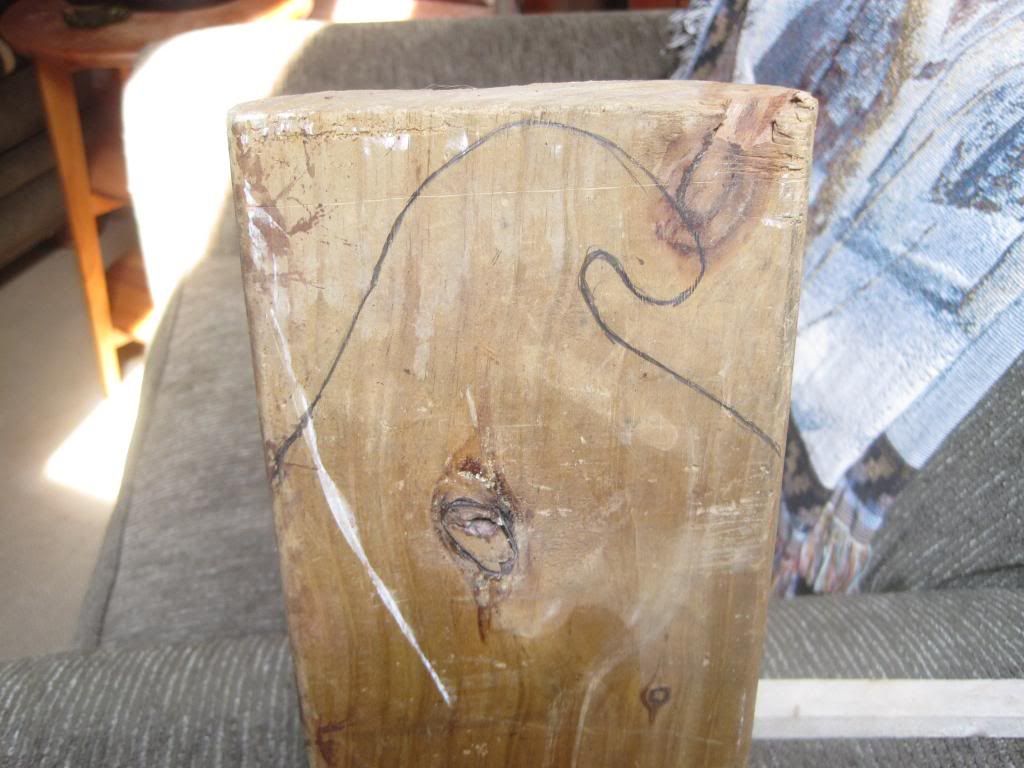
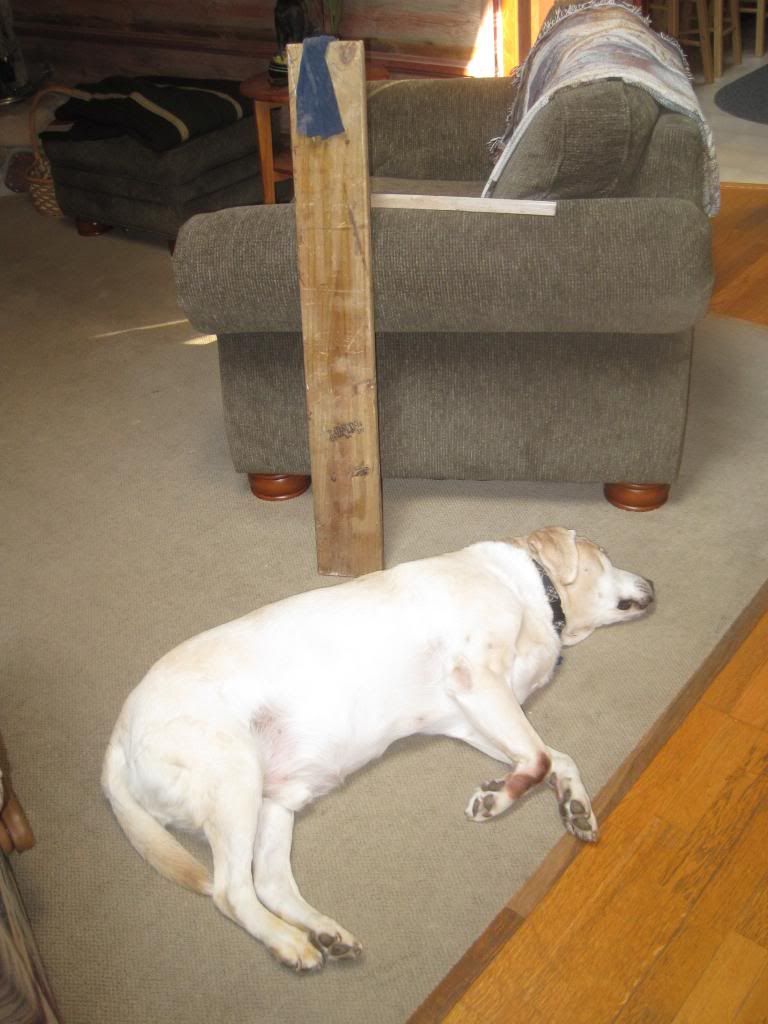
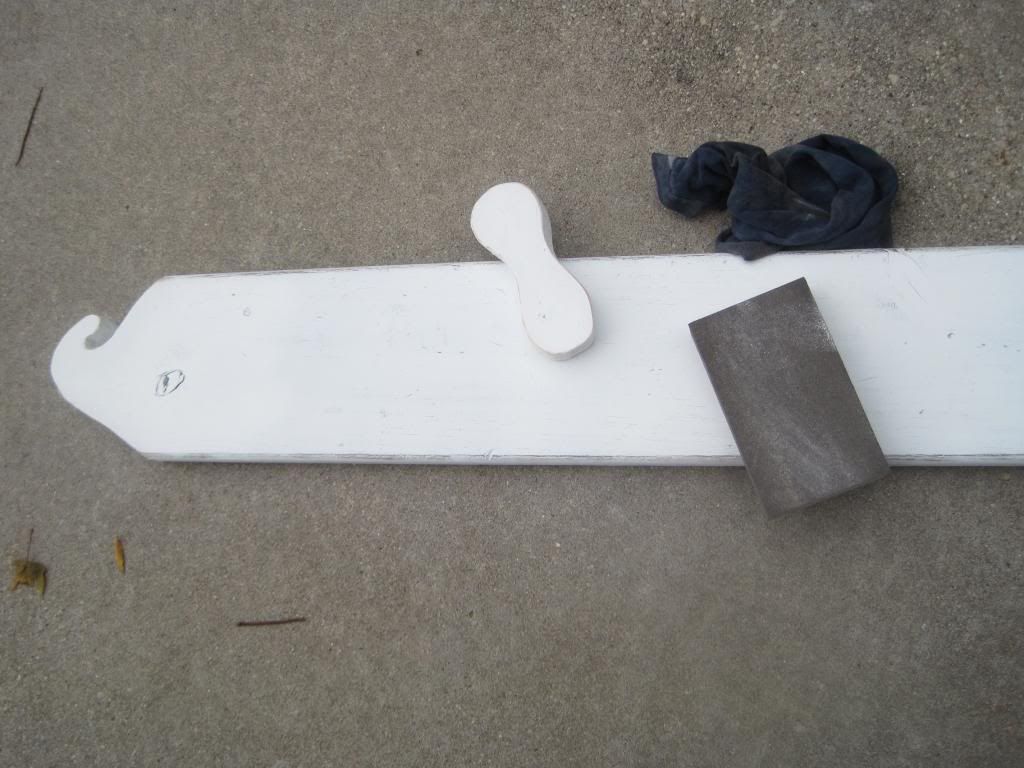
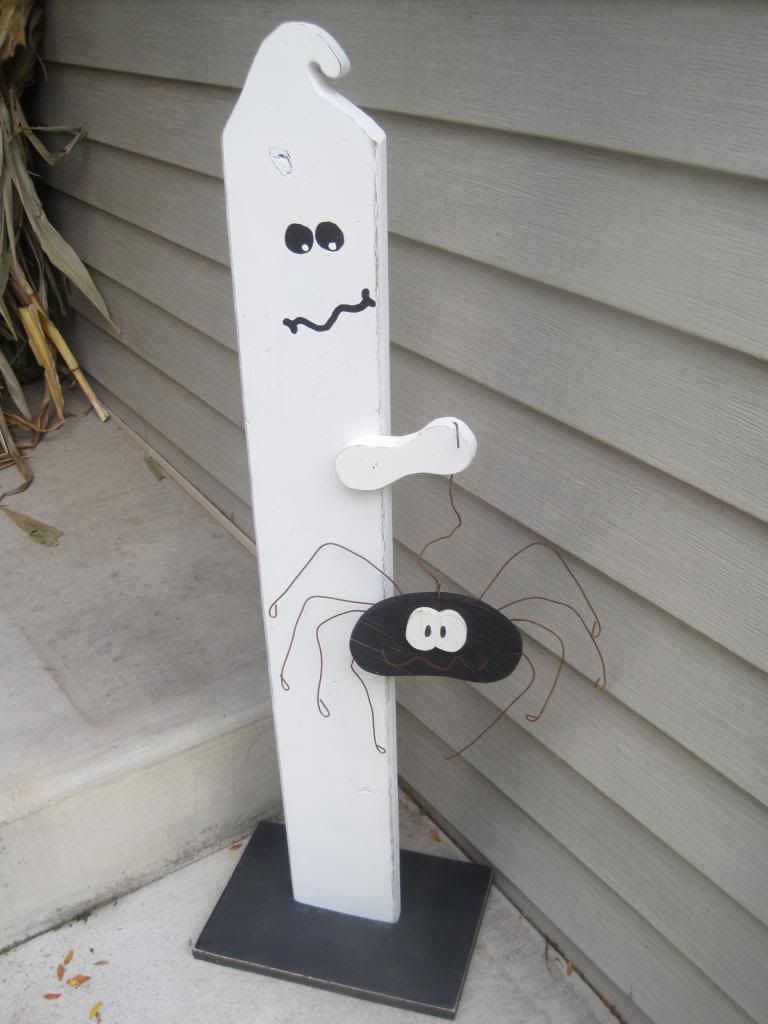
I started out by thumbing through my wood stash.  I found a nice aged piece of 1 x 6 for the body of my ghost.  I had a wooden spider that was already made that I knew I wanted to be a part of this craft but it took me a little bit of thinking to figure out how.  I had to convince myself that ghosts could have hands to hold cute little wooden spiders so I traced that onto the broken end of the 1 x 4.  The base was just a bit of wooden shelving cut to a size that looked good with the height of the ghost.
 
I traced the Dairy Queen Soft Serve top on to my ghost so that my husband could cut it out with the jigsaw.  I know some people don't like knots in wood when they are working with it.  If the item you are making could have a safety issue due to the knot then yeah, you should avoid them, but in my crafting I love the look a good knot brings!
Wood crafting is exhausting when you are a dog.
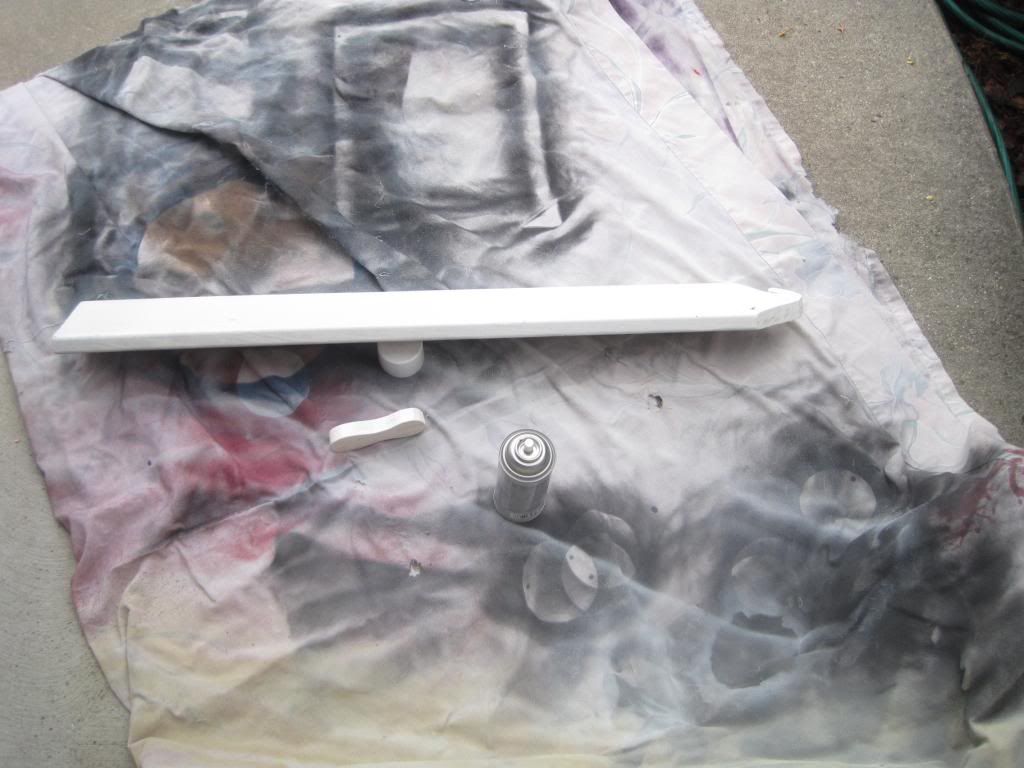
After we cut out the curly top and arm we got to move on to my favorite part: Spray Painting!!!  I used some good quality indoor/outdoor spray paint and pained the body and arm gloss white.
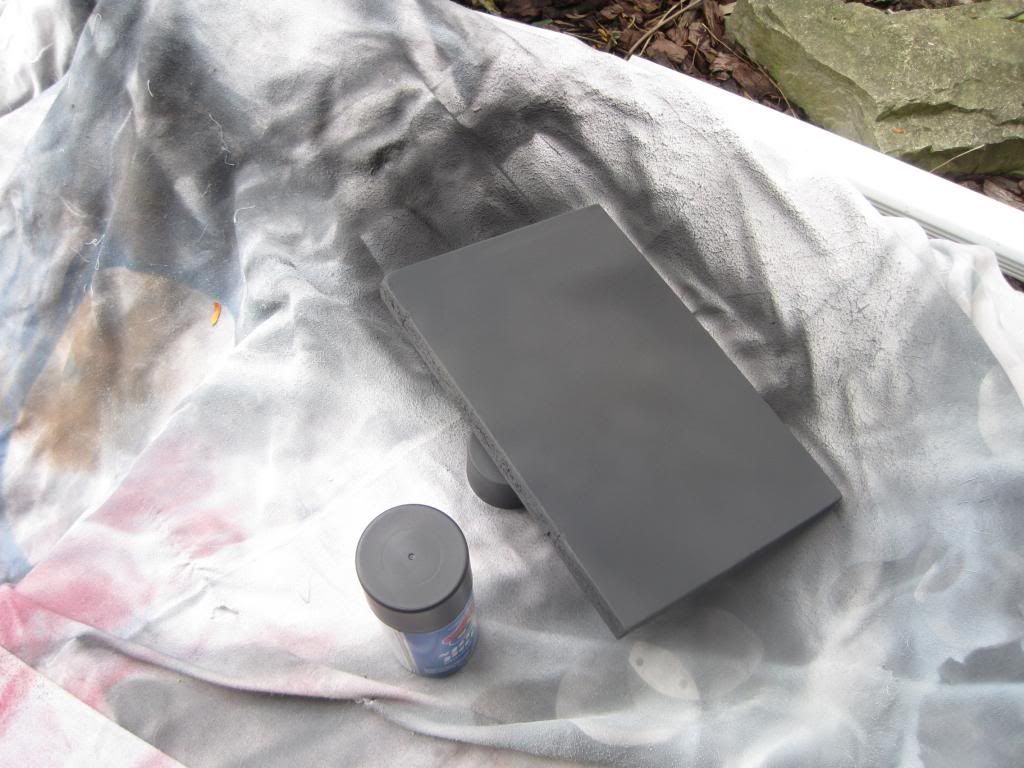
The base was spray painted a flat black.
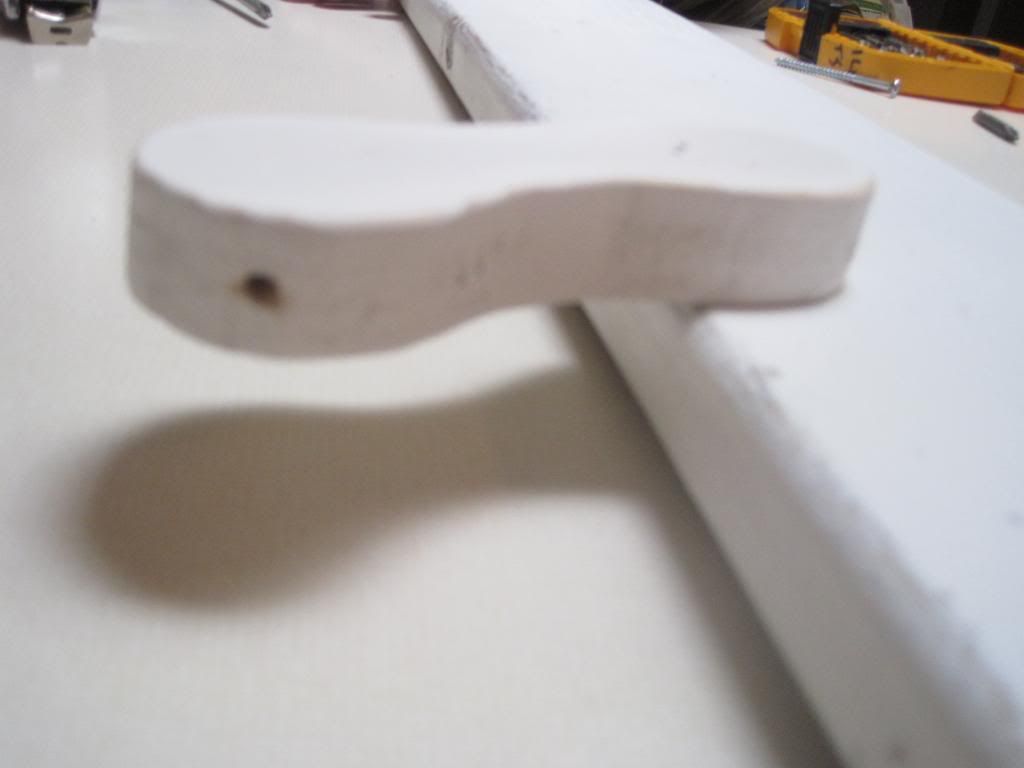
After a full 24 hours of drying I sanded up the pieces to take some of the newness off the bits.  I like to see a little wood peek though as well.  I set the arm where I wanted it and Gorilla glued it in place.  You must be careful with Gorilla glue, if it smooshes out on the sides it will bubble up and show yellow on your finished piece. 
We set the base and affixed it securely with three screws. 
The spider I had to add to the ghost was on a wire already.  I wanted it to look like the ghost had picked him up as a pet and is both holding him away from his body and showing him off to trick-or-treaters at the same time.  My husband drilled a hole in the hand for the wire on the spider to go through.
Add the spider, paint a little face, and you are done.  I hope you will look at bit of lumber you have around or even see poking out of bins in new and fun ways.  If you look hard enough the piece will tell you what it wants to be and how you can help it get there.  These projects tend to be cheep, or even free, and leave you with a great sense of accomplishment for rescuing something that would have been sent to a landfill and turning it into a piece you can be proud of.  I hope your October is moving along in wonderful ways!

Keeping it ghosty,
Kelly, the origami ninja


Sunday, October 13, 2013

HTTC - Creepy Spider Egg Sacs


Hey everyone! I'm so excited to be guest blogging over here at Rhinestone Beagle.  I am Stephanie, the author of The TipToe Fairy.  To tell you a little about me...I love cooking, baking cupcakes, sewing, and all kinds of craftiness.

If you'd like to come check me out, my social links are below:


My absolute favorite holiday is Halloween, and I love to decorate for Halloween!  One of the easiest ways to make your house creepy festive for Halloween is using those inexpensive spider webs you can buy at the store. They usually cost about a dollar and you can stretch them all over your yard.


One way to make it spruce up those spider webs for an even creepier look is to add some spider egg sacs along with the spider webs.  These can easily be made with a few supplies -- including water balloons.  


This is a super cheap and super easy DIY Halloween decoration.  The only supply I did not buy from the dollar store was the polyfil stuffing I had on hand.   However, as an idea, you don't have to buy a big ol' bag of stuffing, you could just use a second bag of the white spider web at the dollar store and use that as stuffing.  It will work just fine.


Creepy Spider Egg Sac


 photo null_zps9716629b.jpg

Supplies:
1 pr of white tights 
25-50 black plastic spider rings
3-4 larger spiders
1 spider web
1 black balloon
polyfil stuffing
glue gun

Instructions: 
1.  Cut a leg off the tights.


2.  Fill the balloon with water to about the size of a large orange and tie off.

 photo null_zpsb344190a.jpg

3.  First, insert a handful of stuffing into the leg. 

4.  Then, insert the balloon into the leg and work the stuffing to come up around the balloon. 

5.  Next, add some more stuffing on top of the balloon and work it around the sides so that there is a marbled look of white and black to look like lots of baby spiders inside.  Add a bit more stuffing on top to give it more of an egg sac look.


6.  Hot glue spiders all around the sac to look like they are coming from under the sac.  Glue more closely together towards the bottom and less as you go up the spider sac. 

 photo null_zpsf4ce0441.jpg photo null_zpsbe2966ce.jpg

7.  To attach the spider sacs, you can use push pins or adhesive hooks like 3M Command.  I was able to just tie mine onto the light fixtures.


8.  Once the spider sac is hung, spread spider web all around to add to the festive look.

Have fun!