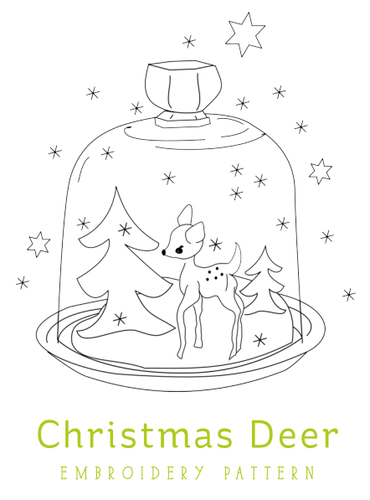
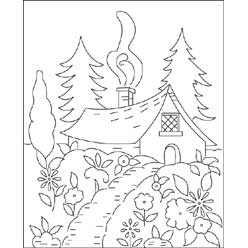
OK so I've been hard working on christmas presents for friends and already have two done! That's a record for me at this time of year. Since everything I'm working on is a gift I figured I'd share some of my fave free christmas embroidery patterns in case you still have some gifts to plan. Any of these would make a great framed gift or an ornament for a decked out tree. Happy Stitching!
Stitch on!
Anita
Showing posts with label embroidery. Show all posts
Saturday, November 23, 2013
Free Christmas Embroidery Patterns!
Tuesday, June 4, 2013
Some nerdy crafting to get the Summer started
For me this is the start of convention season: Anime Central, Heros Con, and Chicago Comic Con. I am excited to have been able to incorporate so many crafty things in my costuming this year. I have two costumes that I have put together and I am very proud of both! I wanted to have a Captain Hector Barbossa from Pirates of the Caribbean too but that had to get pushed back a year so I will smother you with all that piratey goodness next year. Additionally, I got to attend the Anime Prom at Anime Central so I even got to use some crafting putting that outfit together. The prom out fit is the one I want to chat about now.
It all started with the aforementioned Barbossa. I had planned to wear him to the prom because the rules, yep there are prom rules, state that you have to wear formal type clothing: suits, tuxes, gowns etc. I figured that his long jacket, vest and cute little breeches would work well in that setting, he also has a suave hat. I am a good seamstress, but not Barbossa good, so I was going to have the costume made. The wonderful woman who was going to make it had something come up so we couldn't get it all put together before the con season started. It's not a problem though as we will just work on it for next season. So I have a ticket to this formal dance and nothing to wear, ok brain what can we pull off.
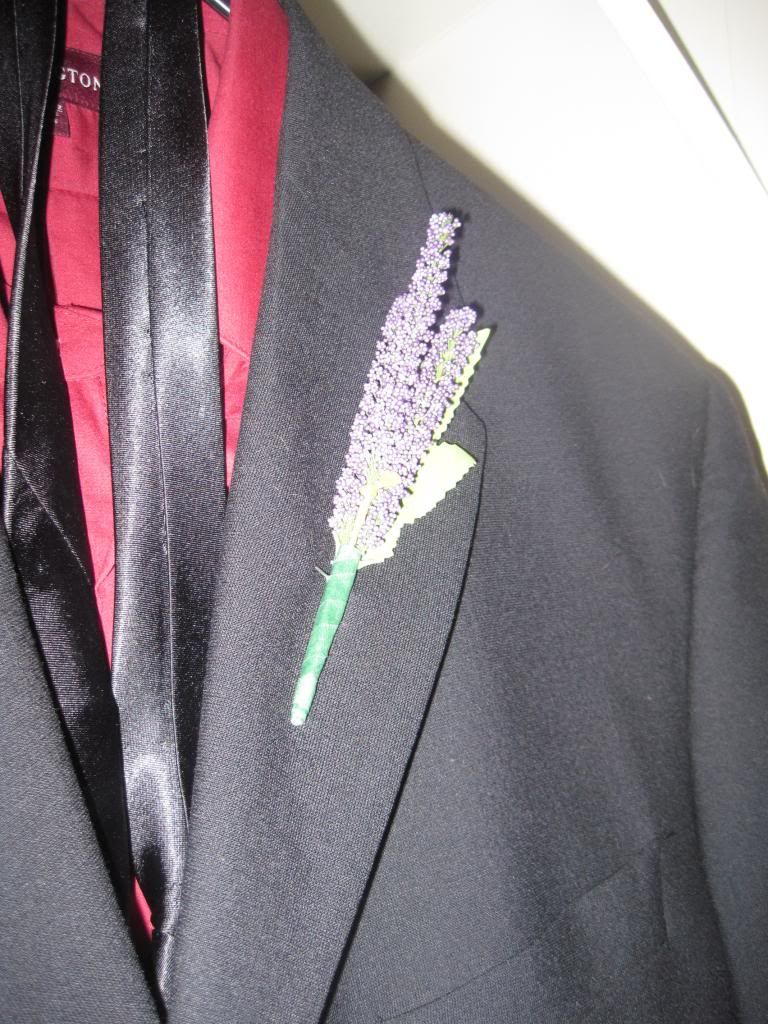
I realized that the ninja I was going as for the rest of the convention, more on him in a later post, could attend a prom just like every one else. My very smart husband came up with the idea that we could get a suit for very little money at the Sears outlet near our house, I even got the dark read shirt I wanted! Go sears outlet. I needed to make the suit a little more "him" so I whipped up this cute deserty, he hails from the land of sand, boutonniere from some fake flowers. I thought it looked very desert grass.
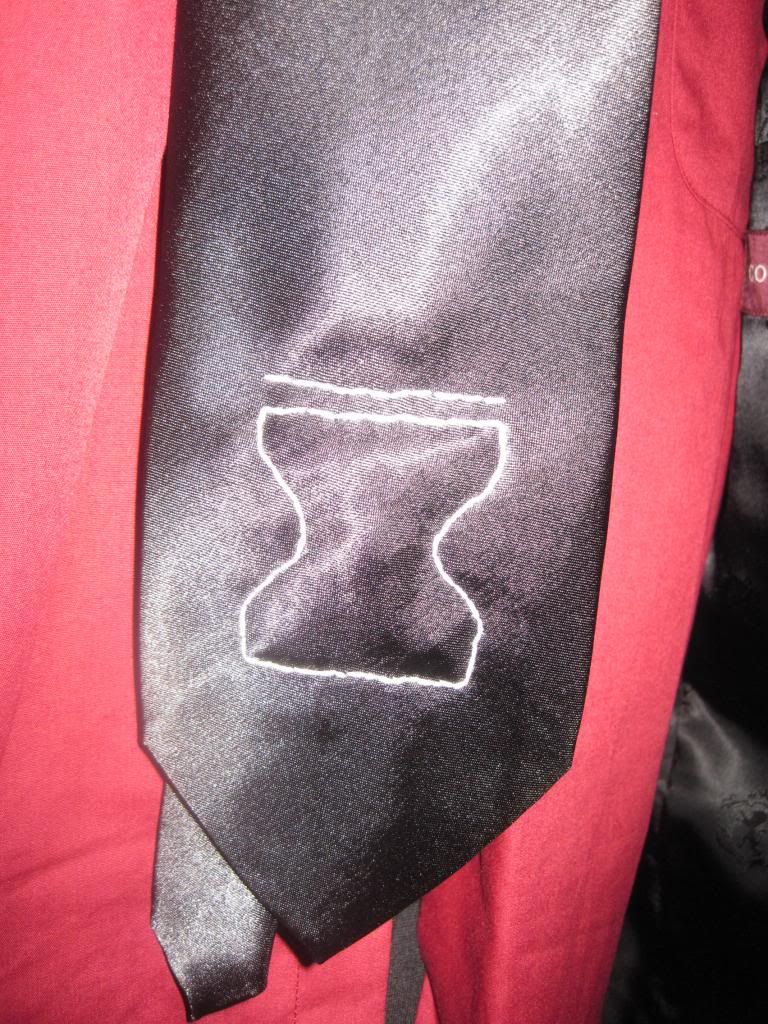
I amped up the tie with his ninja village symbol embroidered, that's right I used ninja and embroidered in the same sentence, on to it. I really think it brought the whole sand village ninja prom outfit together. What do you think?
I love him in every way so this whole experience made me very happy!
I hope your "seasons" are going into full swing soon!
Keeping it ninja,
Kelly
It all started with the aforementioned Barbossa. I had planned to wear him to the prom because the rules, yep there are prom rules, state that you have to wear formal type clothing: suits, tuxes, gowns etc. I figured that his long jacket, vest and cute little breeches would work well in that setting, he also has a suave hat. I am a good seamstress, but not Barbossa good, so I was going to have the costume made. The wonderful woman who was going to make it had something come up so we couldn't get it all put together before the con season started. It's not a problem though as we will just work on it for next season. So I have a ticket to this formal dance and nothing to wear, ok brain what can we pull off.
I realized that the ninja I was going as for the rest of the convention, more on him in a later post, could attend a prom just like every one else. My very smart husband came up with the idea that we could get a suit for very little money at the Sears outlet near our house, I even got the dark read shirt I wanted! Go sears outlet. I needed to make the suit a little more "him" so I whipped up this cute deserty, he hails from the land of sand, boutonniere from some fake flowers. I thought it looked very desert grass.
I amped up the tie with his ninja village symbol embroidered, that's right I used ninja and embroidered in the same sentence, on to it. I really think it brought the whole sand village ninja prom outfit together. What do you think?
I love him in every way so this whole experience made me very happy!
I hope your "seasons" are going into full swing soon!
Keeping it ninja,
Kelly
Tuesday, April 2, 2013
Craft Club: Embrodiery Style!
For last months Craft Club we got together and tried out Anita's new sewing/embroidery/quilting machine. Did you know that Anita got a new machine? I know me neither. Tee hee, just joking Anita, we love this thing!!!
Before the club meeting we each got a quick lesson about buying embroidery patterns off the net for her machine. We each got to pick out our favorite one from the internets and gave her all the needed information to buy and download the pattern onto her machine. I am so impressed at this awesome bit of crafting ingenuity. For a few bucks you buy a bit of data, program it into this NASA box of creativity, and it makes you an awesome embroidery project in no time flat.
Check out the look of sheer fascination with this, such focus, such delight! I mean come on, this is freekin amazing! We had a very nice selection of patterns chosen between the four of us, though all of them were very cute. Sarah picked out a very elegant bird pair done in a purple and a dark tan. This is going to be a quilt block that will be incorporated into a quilt that will be based on her upcoming wedding.
Anita was all about the Easter theme and picked out a super cute little bunny to make an Easter swag. You could use this guy for all kinds of wonderful baby clothing as well. Think of all the sweet colors you could use for this little guy.
Laura picked out our biggest pattern and did a fantastic set of towels. Once you bought the pattern you can use it as many times as you want so she had a professional pair of kitchen towels in no time.
I wanted a cute pair of hair clips to keep the bangs out of my eyes at work so picked some small octopuses and used Velcro to keep them in place on the clip. I love my little squiddy guys.
Now as you know no Craft Club can ever happen without constant dog supervision. Sadie and Mr. B kept a very close eye on us in case we got too rowdy, at one point Sarah had to have a talking to about how a lady acts in front of doggles of the silly male persuasion. Mr. B wants all of us to throw his toys at all times and she was not doing that nearly enough.
This was a very chatty Craft Club with lots of giggles and girl time. We must have kept the dogs from their naps for they day because they tried to sleep up in the craft room with us, but the laughter was way too loud.
Another successful adventure in crafting! I hope your Spring has given you lots of inspiration!
Keeping it thready,
Kelly, the origami ninja
Tuesday, March 19, 2013
Cross Stitch Peegs!
So this post is going to start out with a little love for my co-blogger Anita. I have many crafts that need doing, so many in fact that I oft get overwhelmed by them. I get to a point that I have no idea in what order to do them in, so much so that I actually do none instead. I wish I could assign them an importance ranking like at a job so that I knew the pjs for the husband come before the string wrapped eggs for Easter.
Keeping it moving,
Kelly, the origami ninja
I think to myself Anita seems to have all her crafts in line like baby duckies behind their momma maybe I should ask her. I admit she does have a lot of crafts up there in that nugget of hers, but she can whip one out and get it done in any situation, boy scout style! Sinking ship, no problem, Anita has a craft for that. So I asked her how she gets this all planned out with no stress. No kidding she had the most simple answer ever: is it family/dog/tv time, then your craft is one you can work on with just your hands, alone/day off/or can't take another minute of daytime tv time, you pick a more long term craft and settle down for the fun. Why? Why has this taken me so long to figure out? I know a smart thing when I hear it, so as I set off down the path of tv and husband time, which included NASCAR and a very shirtless Bond movie, I pulled out a cross stitch craft I had started in, I kid you not, 2001.
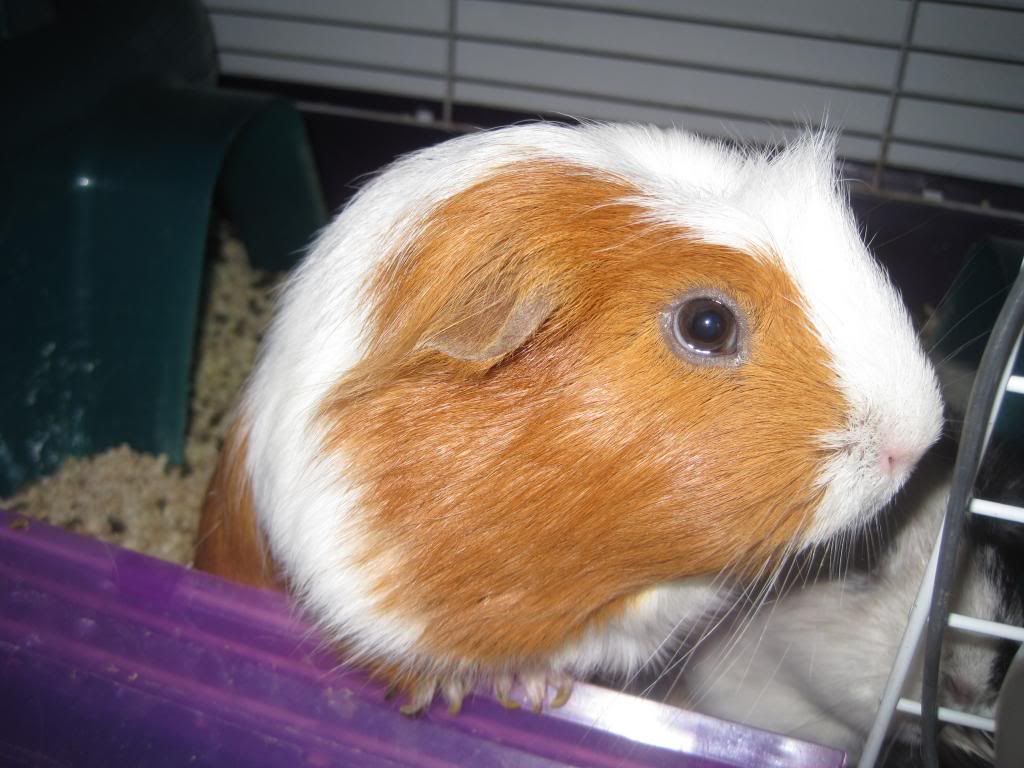
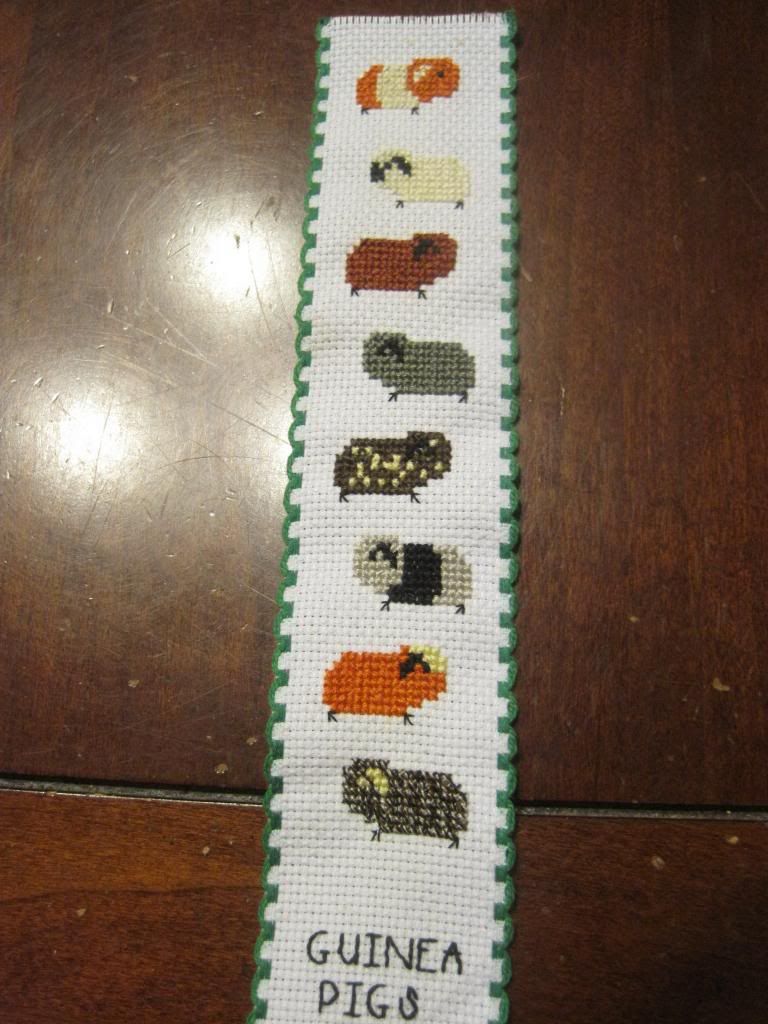
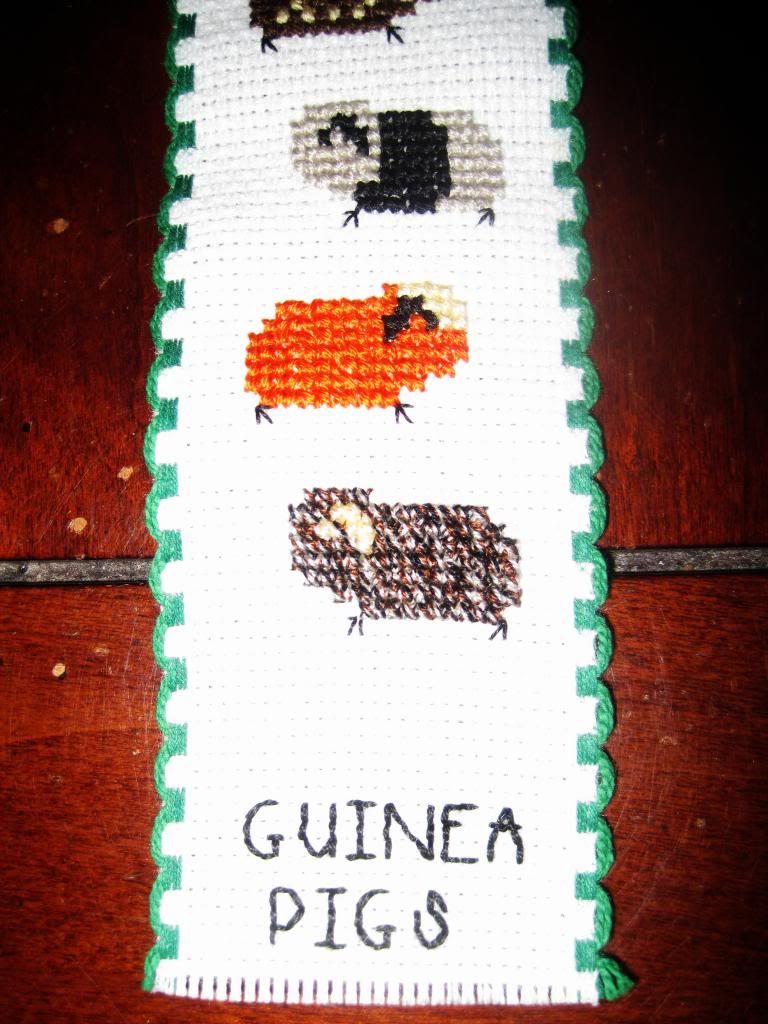
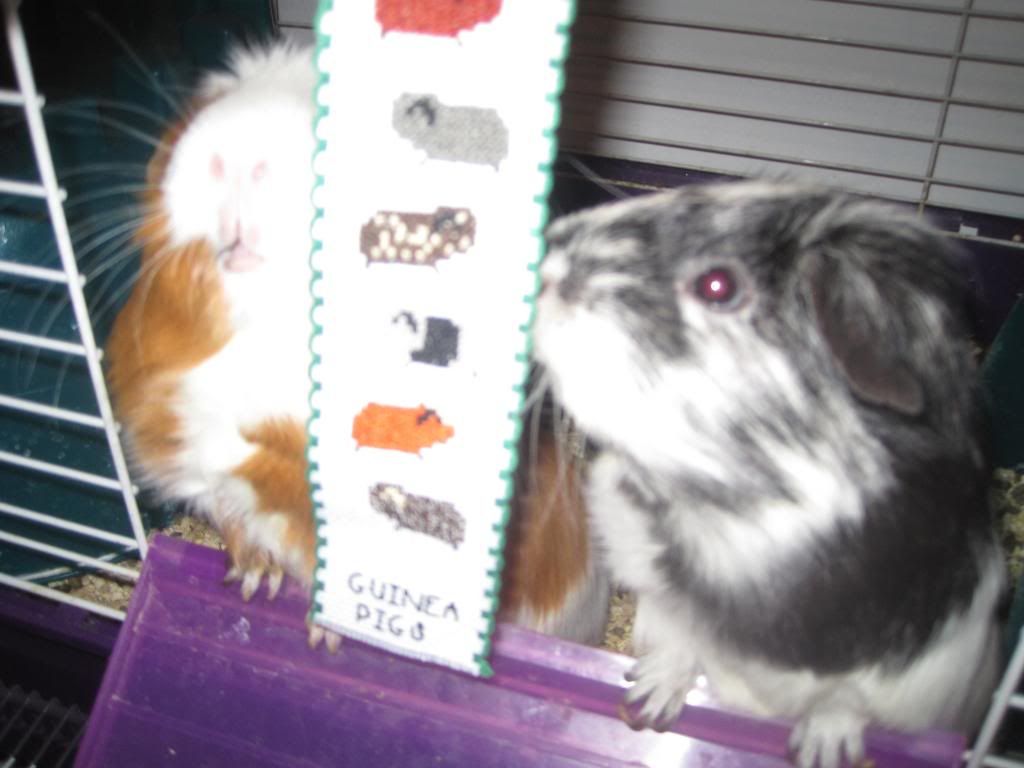
I recently cleaned out my craft binders, also known as the keepers of all my "some day" craft ideas, and found a partially finished guinea pig cross stitch bookmark I had started forever ago. With Anita's words ringing in my ears I set to work. I may have underestimated the time required to complete each piggie on the canvas, "oh yeah I bet I can do one piggy in 20 minutes", um no, but I have completed it with pride and on time for blogging. This bookmark is going to be donated to the Critter Corral guinea pig rescue to help raise some funds for them and the awesome work they do. It is time to send out our donation and I think this little something extra will fit quite nicely in the envelope. We have adopted several guineas from them and love their rescue dearly.
A big thank you to my friend Anita who shined light on a very smart bit of crafting wisdom and showed me the way.........to the sewing machine.Keeping it moving,
Kelly, the origami ninja
P.S. Wednesday night my man gets to play Red Dead Redemption on the PS3 so sewing craft it is!
Labels:
Charity,
craft,
cross stitch,
embroidery,
guinea pigs
Tuesday, May 1, 2012
DDS - Day 3, Puppys and paws
My puppertins wanted to stop on by to say hi to all of their internet dog friends and let you know some fun facts about themselves. They hope you are having as wonderful a Spring as they are!
Name: Abby, aka Bubba, Bubbertins, Bubs, Butter pup, Tins
Likes: Playing with the ball, anything to do with water, flopping dramatically on the floor
Dislikes: Going to the vet and sharing anything
Favorite Movie: Troop Beverly Hills
Fun Fact: Abby thinks that the most refreshing water is the kind that drips out of other dogs' lips
Likes: Walks with daddy, bananas, dreaming about being Head Boy at Hufflepuff
Dislikes: long car rides to Grandma's house and having to go outside with the girls
Favorite Movie: Spooky Buddies
Fun Fact: Sage will put his whole head underwater in the kiddy pool to get the bone before Abby
Name: Sprout, aka Baby Girl, Roll-of-bologna, Squid Bait, Squirrel Bait, Stinky Taco Dog
Likes: Keeping tabs on the guinea pigs, junk food, being bossy
Dislikes: Baths and anyone who does not respect her authority
Favorite Movie: Die Hard
Fun Fact: Sprout likes to whizz in lakes and rivers.
I made this paw print embroidery to hang up in the dog room. I am grateful everyday for how these wonderful lives have touched my heart and made me a better person. Dogs and my heart are forever entwined.
Kelly
Labels:
Abby,
Dog Days of Spring,
embroidery,
sage,
Sprout
Tuesday, February 21, 2012
Guinea Pigs are for Loving
Last week I got to put up a new craft so now it is back to the craft grindstone and posting frenzy. This weeks completed work is another item that was finished a while ago but had not yet made it to the blog for some love. The National Anti-Vivisection Society has a contest called Art for Animals that I entered for the first time last year. This was my entry for the 2011 contest and I even got an honorable mention. In all fairness I lost to a HUGE art piece of a walrus, it was sweet. They also have a kids contest too! Go over to the web page and check out this years contest to enter.
The little quilt is about the size of a large place mat. I just made up the pattern to use up some fabrics that I had that I thought looked good together. My two adorably loud guinea pigs were the perfect models for the smoochers and I learned basic embroidery to add the finishing touches to the hearts and piggies.
Aren't they too cute? After the Art Show I donated the quilt to The Critter Corral guinea pig rescue to help raise them some money. I hope it helped them get some piggies some good homes.
I am enjoying watching my to do list slowly disappear and I hope yours is doing the same. Let us know how you are doing on your projects and what is keeping you going this winter, we would love to know!
Keeping is moving,
Kelly, the origami ninja
Tuesday, February 7, 2012
Finished craft of the week.....
I am so proud to finally be able to bring this finished project to you, fellow crafters. I have been laboring through this for a while now and I am very happy with how it turned out. You see, Anita taught us about embroidery awhile back at a Craft Club, she showed us how we didn't have to rely on fancy pre-printed patterns. With a steady hand and some carbon paper you can create any embroidery you could ever imagine, and it's FREE!
So this wonderful dog was in an embroidery book but he wasn't quite right for the friends I wanted to give this to. With a few tweaks and a fluffy tail we had instant Golden Retriever. My friends a have a cutie named Sake. I worried and puzzled and fretted over this piece for so long I had it built up into this massive project that I would never be able to conquer, you would think I was painting the whole house not applying a few stitches. But low and behold, once I got started I was back on the embroidery bus and moving through it like the Flash.
The worst part of it was trying to keep the lettering in a straight line while I was stitching. After a few TV documentaries and a viewing of The Princess Diaries I had this great personal gift for two friends who have brought me so much happiness. I am loving the works that are getting checked off my to do list, keeps me motivated for the next one. Speaking of which, it's time for a new craft as I have been so diligently working on these oldies but goodies, but that is for another post.
I hope you all had a wonderful Super Bowl Sunday, as you can see it really took a lot out of the labs at our house.
Keep on crafting everybody, 2012 is going to be a great year!
Keeping it lab-radorable,
Kelly
So this wonderful dog was in an embroidery book but he wasn't quite right for the friends I wanted to give this to. With a few tweaks and a fluffy tail we had instant Golden Retriever. My friends a have a cutie named Sake. I worried and puzzled and fretted over this piece for so long I had it built up into this massive project that I would never be able to conquer, you would think I was painting the whole house not applying a few stitches. But low and behold, once I got started I was back on the embroidery bus and moving through it like the Flash.
The worst part of it was trying to keep the lettering in a straight line while I was stitching. After a few TV documentaries and a viewing of The Princess Diaries I had this great personal gift for two friends who have brought me so much happiness. I am loving the works that are getting checked off my to do list, keeps me motivated for the next one. Speaking of which, it's time for a new craft as I have been so diligently working on these oldies but goodies, but that is for another post.
I hope you all had a wonderful Super Bowl Sunday, as you can see it really took a lot out of the labs at our house.
Keep on crafting everybody, 2012 is going to be a great year!
Keeping it lab-radorable,
Kelly
Labels:
Abby,
craft,
embroidery,
home decor,
quick 'n easy,
sage
Sunday, October 2, 2011
HTTC - Spooky Embroidered Table Runner
Spooky Supplies:
Cotton fabric (I've labeled them alphabetically to make it easier to keep track.)
- Black
- A - 1 x 10 in - 4 pieces
- B - 1 x 42 in - 2 pieces
- Backing - 12 x 45 in(bolt width), this piece is intentionally large and we will trim it later
- Grey
- C - 11 in square - 2 pieces
- Orange pattern
- D - 7 x 18 in - 1 piece
- Purple pattern
- E - 2 x 10 in - 2 pieces
- F - 2 x 18 in - 2 pieces
Batting - 12 x 45 in - 1 piece
Sewing machine with black thread
Transfer method for the embroidery pattern - I used 1 piece of carbon paper and a dull pencil.
Download embroidery pattern here.
1. First cut all your pieces for the runner top, A through F.
2. Take your two grey squares and transfer the embroidery pattern centered onto them. Do this by placing a piece of carbon paper, black side down, on top of your fabric and your pattern on top.
Pin your paper pattern in place and trace over it with a dull pencil to transfer the image.
Here's what it looks like when you take the carbon paper off. It's light enough that it will wash right out in the laundry but won't rub off while your sewing.
3. Put in your favorite spooky movie and sit down to embroider the pattern onto your squares using your favorite stitches.
Here's how I did mine:
- Spider eyes - french knots
- Spider outline - chain stitch
- Spider legs - backstitch
- Web - backstitch
- Letters - stem stitch
- Pumpkin - satin stitch
4. Trim your grey squares to 10" on all four sides.
5. With right sides together (RST) sew one A to top and bottom of C. Press your seams.
6. Sew RST E to top A. Press your seams. This is your end piece.
Repeat for second C.
7. Sew RST one F to each side of D. Press your seams. This is your center strip.
8. Sew RST one end piece to each end of your center strip with the purple fabric touching. Press your seams.
9. Sew RST one B to each long side of your runner. This will complete your black border. Press your seams.
This was a late night crafting session and sadie made it all the way to 12 am until she melted into a pile of fluff on the floor. Don't give up you're almost done.
10. Now that your top is done we are going to assemble the batting and backing sandwich so we can get onto quilting. Here's how to make your sandwich. Place your batting down on the table and layer your backing piece, right side up, on top of it. Now place your top piece, right side down, on top of that and pin all of them in place. Your backing and batting will be larger than the top to allow some wiggle room.
11. Now stitch around the whole edge leaving about a 6 inch gap to turn your runner right side out. Trim the excess fabric, leaving a little extra around your opening. This will make it easier to close the opening after turning. Clip your corners like below and turn your runner right side out.
12. Press your runner to smooth out all your edges.
13. Yes lucky number 13 is our last step. Here's where you will need to do all your top stitching. If you have a walking foot I would recommend using it. First you'll need to do a stitch around the whole perimeter of your runner to seal up the gap left from turning. I tried to stay as close to the edge as possible with this one or shoot for 1/4 inch.
Now all the other top stitching is up to you. I chose to do a line stitching-in-the-ditch on the inside edge of the black perimeter border first. Then I did two more stitches evenly spaced through the purple patterned rectangle and one around the inside of the grey embroidered piece. You can see the three of the stitches below. The black thread will blend right into your border so they will be hard to see.
Thats it! You're done with your Spooky Embroidered Table Runner.
I had to include my favorite model. Thanks to Sadie as always for being a good sport and keeping me company in my late night sewing sessions. Even if she is sleeping most of the time.
I hope this adds some festive fun to your house this season. Make sure to come back every day for more spooktacular ideas from the Rhinestone Beagle Howl-oween Tricks & Treats Craftathon.
Haunt on!
Anita
Saturday, August 27, 2011
Craft day love....Embroidery!
I admit this only to you wonderful blog readers, and my very understanding friends in the club, I was a bit queasy about this months' Craft Club venture into embroidery. I had done a bit of embroidery in my past craft lives, a touch of lettering here a bit of edging there, nothing substantial mind you, but enough of it to think it was not all that thrilling creativity wise. So when a project that centered around embroidery popped up as the selection I was on the pins and needles about it. I knit, sew, cook, and am very proud of all things creative that I do, but embroidery seemed "too girly" for me. I assumed we would be doing samplers like the ladies in the proverbial Sense and Sensibility world that involved lots of roses and professions of love to our favorite gentlemen callers. Please do not wring your Lily of the Valley hand embossed handkerchiefs with gold filigree edging at this statement, read on until the end, it gets better.
I could not have been more wrong about this wonder of fabric and floss. I cannot think of a single girl I knew in elementary school that did not have a floss collection the size of a Barbie dream house. We made unending amounts of friendship bracelets and the like, twisting and threading, pulling so tight that you almost ripped a hole in whatever article of clothing you had the safety pin anchored to. I fully believed as a child that that was the end all be all use of the floss, an inexpensive craft that I could give whoever was my BFF at the time. Not so, as I learned from my blog partner and another one of the Craft Club members, Laura.
See, these two fine women have known the glory of a craft that seemed too old fashioned to be of any use and too simple to be pretty. Embroidery is at once simple to master and endlessly creative, quite a difficult feat for a craft that uses needle and floss. Not to be boxed in with stuffy patterns none of us would like, Anita showed how to use tracing paper and a pencil, with carbon paper over our fabric of choice, we could turn any drawing into a pattern for our mobile canvas. Laura had brought some embroidery books she had checked out from the library, what a great source of inspiration, and one had some fun modern animals that we quickly set to tracing. We had two very French looking kitties, a hedgehog, an owl, and a dog. These smaller projects were to get us used to the process and some of the different stitches available in the embroidery arsenal. Anita gave us all a copy of The Pocket Stick Book from Sew Mama Sew for us to get our feet wet. So we clipped and stitched and oohed and ahhed through Harry Potter and the Sorcerers Stone and Best in Show and finished up our trial runs. Very nicely done ladies, but it seems that between our slowness and lack of confidence, not to mention a large break in the middle to have a mini crawdad boil for dinner, only one of us got to move on to her big project.
Katy, Sarah, and Laura had all picked out kitchen towels to embroider for themselves. Katy, always the dominator of crafts, I swear she can do three of whatever it is in the time it takes the rest of us to do one, got to start on a flirty set of mermaid towels. I hope she does the one of the pissed off mermaid caught in the net. Anita finished her adorable Sadie, as seen below, and pulled out an embroidery quilt that she had started quite a bit ago and settled in to work on that. I am going to use this new fangled fun to make some holiday gifts for two of couples in my life that I have always wanted to craft for but never could think of what to give them. Thank you embroidery!
A very good Craft Club indeed. Thanks to both Anita and Laura for their patience and guiding hand. Even my husband though my little owl was cute, so you know those ladies know how to teach.
Here's to next month's Craft Club fun......bring it on!
Keeping it threaded,
Kelly, the origami ninja
I could not have been more wrong about this wonder of fabric and floss. I cannot think of a single girl I knew in elementary school that did not have a floss collection the size of a Barbie dream house. We made unending amounts of friendship bracelets and the like, twisting and threading, pulling so tight that you almost ripped a hole in whatever article of clothing you had the safety pin anchored to. I fully believed as a child that that was the end all be all use of the floss, an inexpensive craft that I could give whoever was my BFF at the time. Not so, as I learned from my blog partner and another one of the Craft Club members, Laura.
See, these two fine women have known the glory of a craft that seemed too old fashioned to be of any use and too simple to be pretty. Embroidery is at once simple to master and endlessly creative, quite a difficult feat for a craft that uses needle and floss. Not to be boxed in with stuffy patterns none of us would like, Anita showed how to use tracing paper and a pencil, with carbon paper over our fabric of choice, we could turn any drawing into a pattern for our mobile canvas. Laura had brought some embroidery books she had checked out from the library, what a great source of inspiration, and one had some fun modern animals that we quickly set to tracing. We had two very French looking kitties, a hedgehog, an owl, and a dog. These smaller projects were to get us used to the process and some of the different stitches available in the embroidery arsenal. Anita gave us all a copy of The Pocket Stick Book from Sew Mama Sew for us to get our feet wet. So we clipped and stitched and oohed and ahhed through Harry Potter and the Sorcerers Stone and Best in Show and finished up our trial runs. Very nicely done ladies, but it seems that between our slowness and lack of confidence, not to mention a large break in the middle to have a mini crawdad boil for dinner, only one of us got to move on to her big project.
Katy, Sarah, and Laura had all picked out kitchen towels to embroider for themselves. Katy, always the dominator of crafts, I swear she can do three of whatever it is in the time it takes the rest of us to do one, got to start on a flirty set of mermaid towels. I hope she does the one of the pissed off mermaid caught in the net. Anita finished her adorable Sadie, as seen below, and pulled out an embroidery quilt that she had started quite a bit ago and settled in to work on that. I am going to use this new fangled fun to make some holiday gifts for two of couples in my life that I have always wanted to craft for but never could think of what to give them. Thank you embroidery!
Here's to next month's Craft Club fun......bring it on!
Keeping it threaded,
Kelly, the origami ninja
Subscribe to:
Posts (Atom)