

Fall is by far my favorite season….crisp weather (but not too crisp!), pumpkins, baking, knitting, tea... I could go on. Being a native New Englander the changing of the leaves are my absolute favorite part of the season. I have fond memories of family trips to apple orchards and train ride tours of the gorgeous fall foliage so when I saw this project on the Pinterest I had to try it.
The original instructions are courtesy of Martha Stewart and although it was super helpful, I did alter one or two steps to suit my needs.
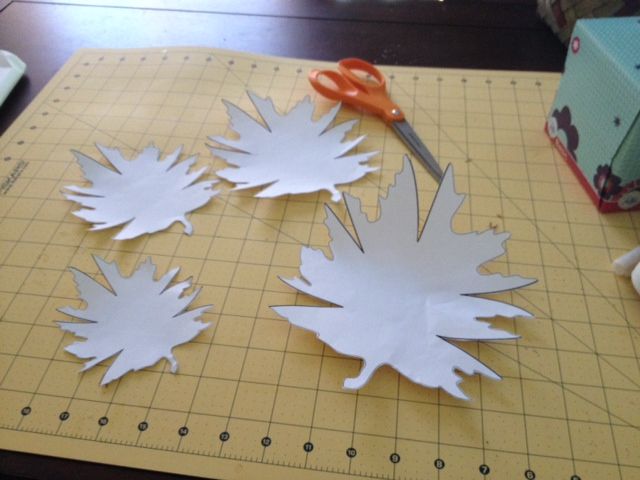
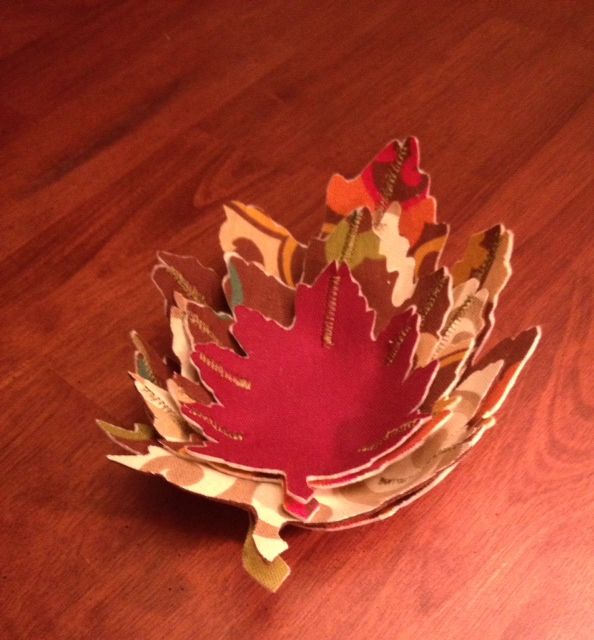
Oak-leaf bowl template (note the 5 darker V shaped notches on the template, these will be sewn together to make darts and create the bowl structure of your project.
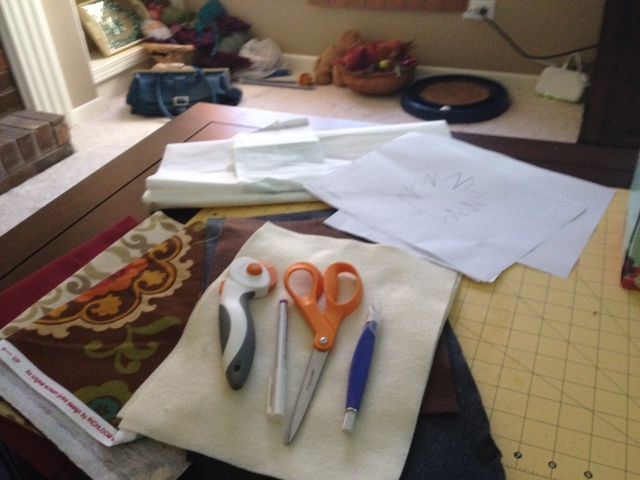
Scissors (or cutting tool of your choice)
Sturdy Fabric, I used some home décor fabric I had in the house but wool tweed or duck cloth would work fine too
Fusible webbing
Felt
Iron
Disappearing-ink pen
Sewing machine
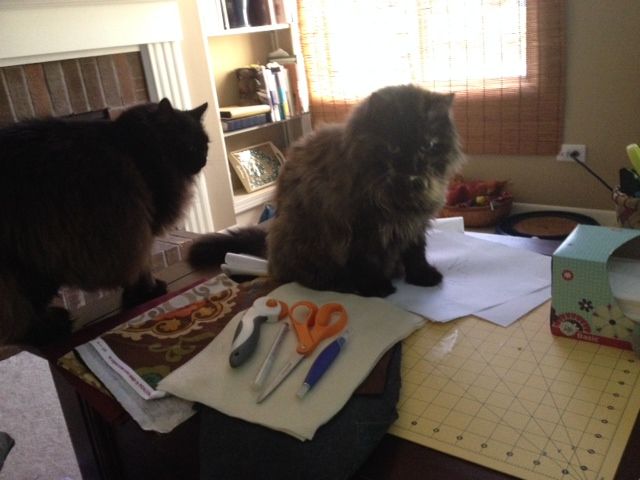
To this I also add a piping hot cup of your favorite fall beverage, I went with a loose leaf golden monkey black tea, and maybe some friends to help inspect and support your project.
Here we have Miss Ellie and Mr. Darcy conducting an inspection of the basic supplies that I gathered.
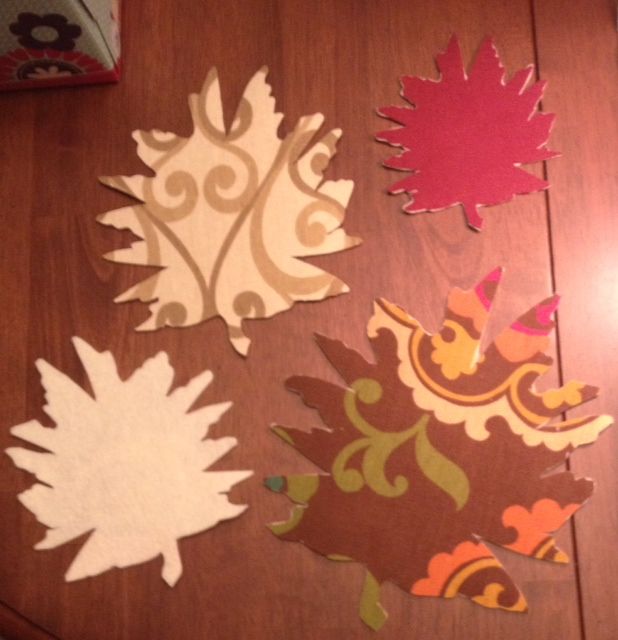
Step 1 – Cut out your leaf template(s). I took the original template and enlarged it on a photocopier to create four different sizes.
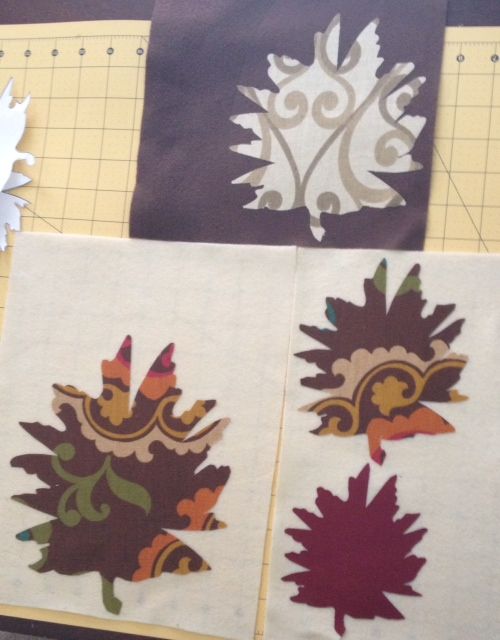
Step 2 – following the instructions for the fusible webbing you have, do one of the following
- I fused the webbing onto the back of your main fabric only
- Fuse the webbing onto the back of your main fabric and then fuse your felt onto that so you have a fabric – web – felt sandwich. If you choose this route, skip Step 4
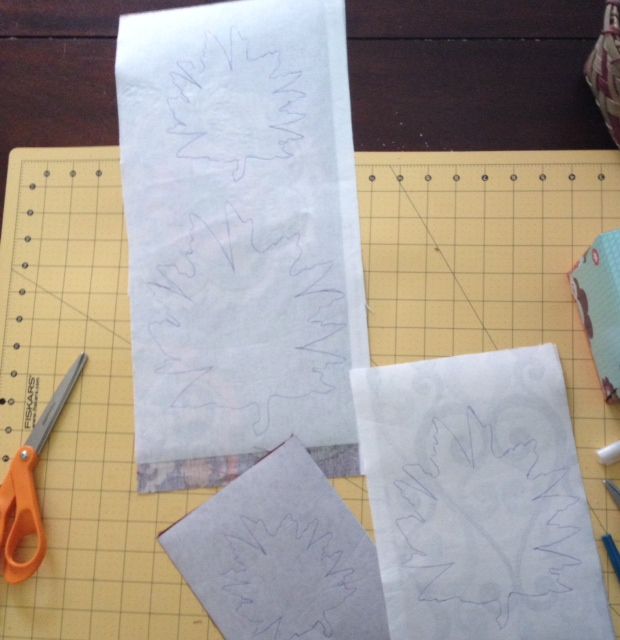
Step 4 – Again if you made a fabric sandwich no need to do this step. Cut out your fabric leaves and then iron them onto your felt as below. Then cut the fabric leaves out one more time.
Step 5 – My favorite part! Now you are ready to sew your V shaped notches together into darts which will pull your leaf together into a wonderful bowl shape. Using a zig zag stich, sew your notches together working from the inside of the leaf outward. DO NOT overlap your fabric and sew but just line them up next to each other. As you start sewing the zig zag stich will gently pull everything together to make a nice dart.

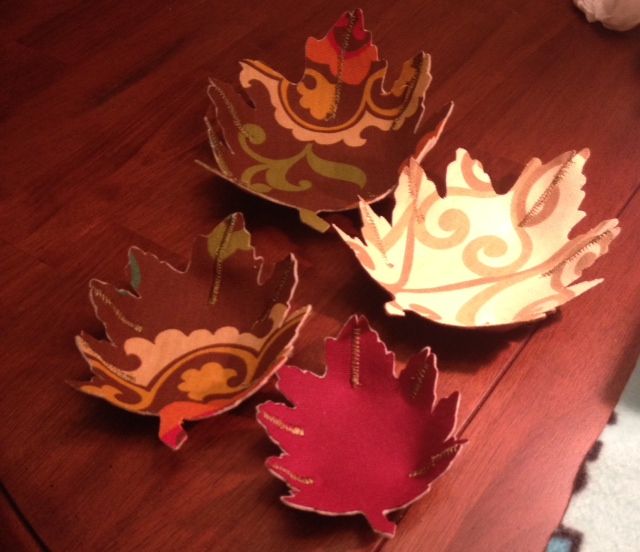
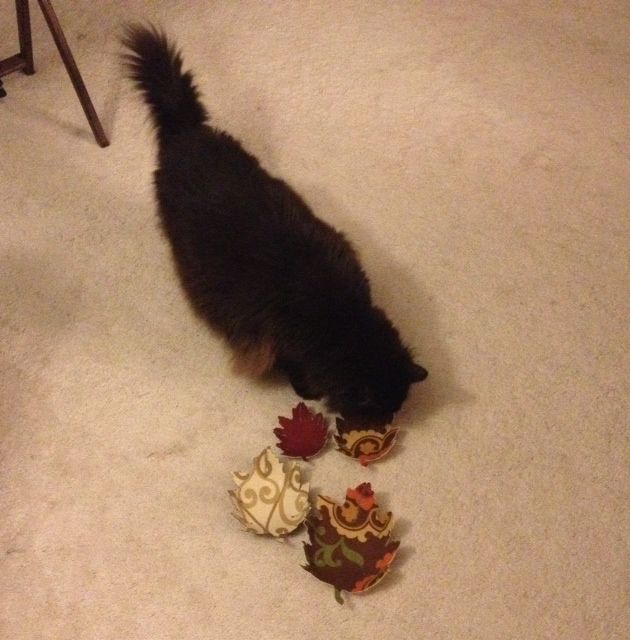
Here are my final leaf bowls!
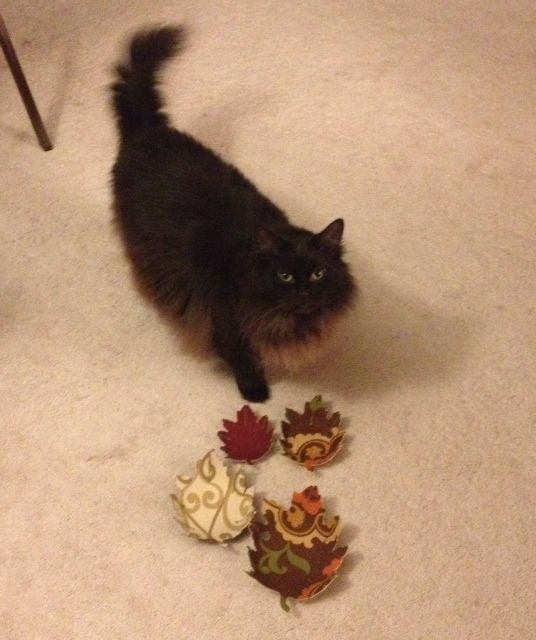
Final inspection and approval conducted by Mr. Darcy
I hope you enjoy your new leaf bowls and the sense of accomplishment you get every time you look at them!
Laura D
0 comments:
Post a Comment