Saturday, October 12, 2013
HTTC - Gone Batty Necklace
I got inspired from some other glue projects I've seen popping up on pinterest. I have to say this is one of the easiest Halloween projects I've done and definitely the easiest I've created. You could easily make this into any type of necklace like a ghost, cat, pumpkin....the possibilities are endless.
Supplies
High temp glue gun (you could try this with a low temp but I'm not sure it would work as well.)
Glue sticks
Silacone baking mat (you'll need one that is relatively see-through like a Silpat)
Black or grey spray paint
Rhinestones (2 of same color)
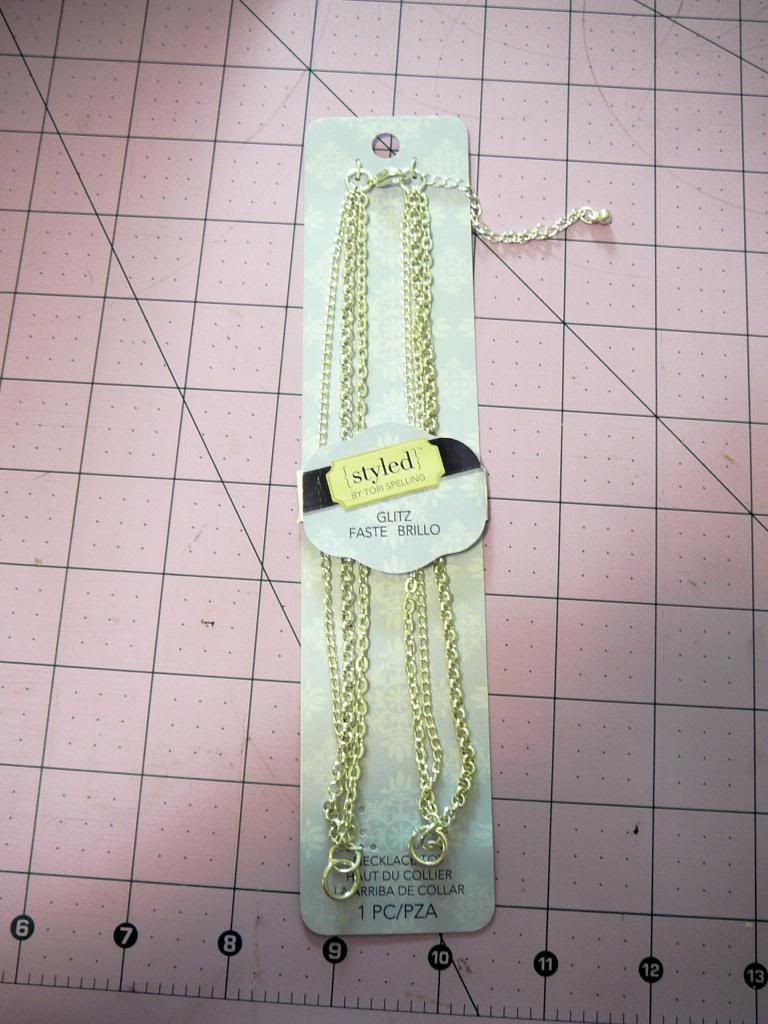
Necklace chain (I got mine at Joann's. It is from Tori Spellings craft line and I love it. There's a picture of it in step 7.)
2 Small jewelry eye pins (available at your local craft store)
Black craft paint and small brush
NOTE* Make sure to do this project in a well ventilated area. Nobody needs to be sucking in glue fumes for the sake of Halloween.
1. First you'll need to create your template. I just drew this bat myself but you can easily just use a clip art image. Just make sure it's a relatively simple drawing. Details are hard to master with the glue. I also was able to see it better when I colored it in with the marker instead of just an outline. My drawing was 5 inches wide by 2.5 inches high in case you need a size.
Before step two make sure your furry sidekick is close at hand for any assistance you may need. Gidget was standing by through this whole crafty experience. What a great partner.
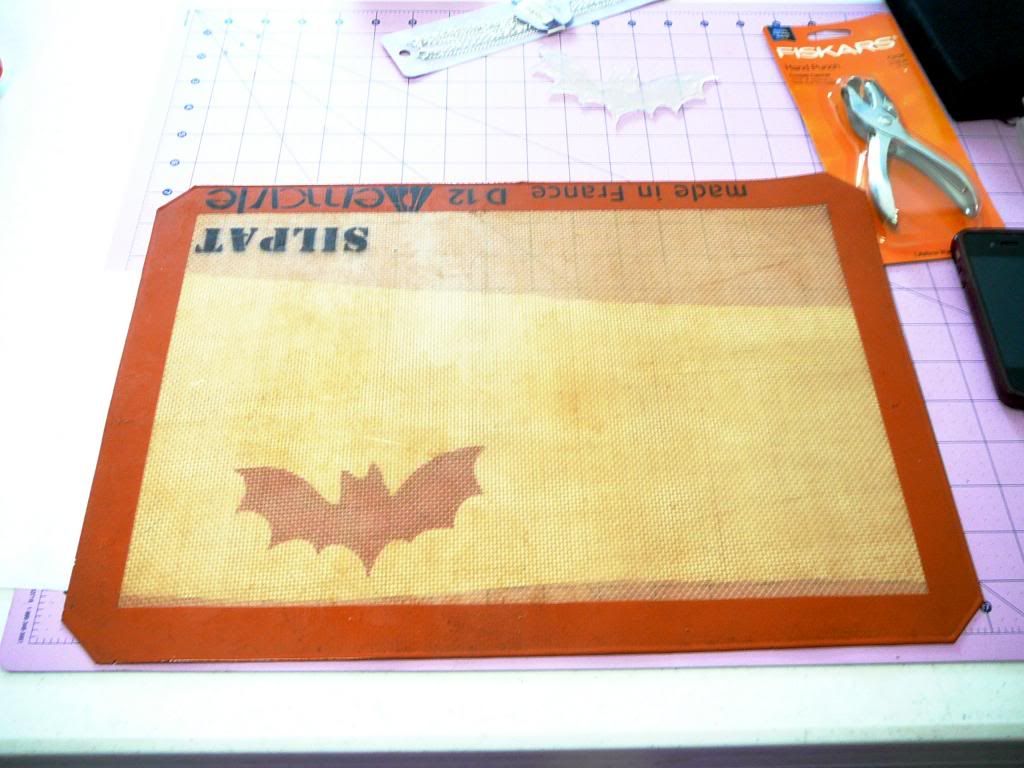
2. Place your template under the silacone mat.
Now you are going to trace around the outside edge of the template with the glue. I used the high temp glue so that I had a longer window to work with the glue before it dried. CAUTION! Do not touch the tip of your glue gun to the silacone mat. You could damage/melt the mat if you do.
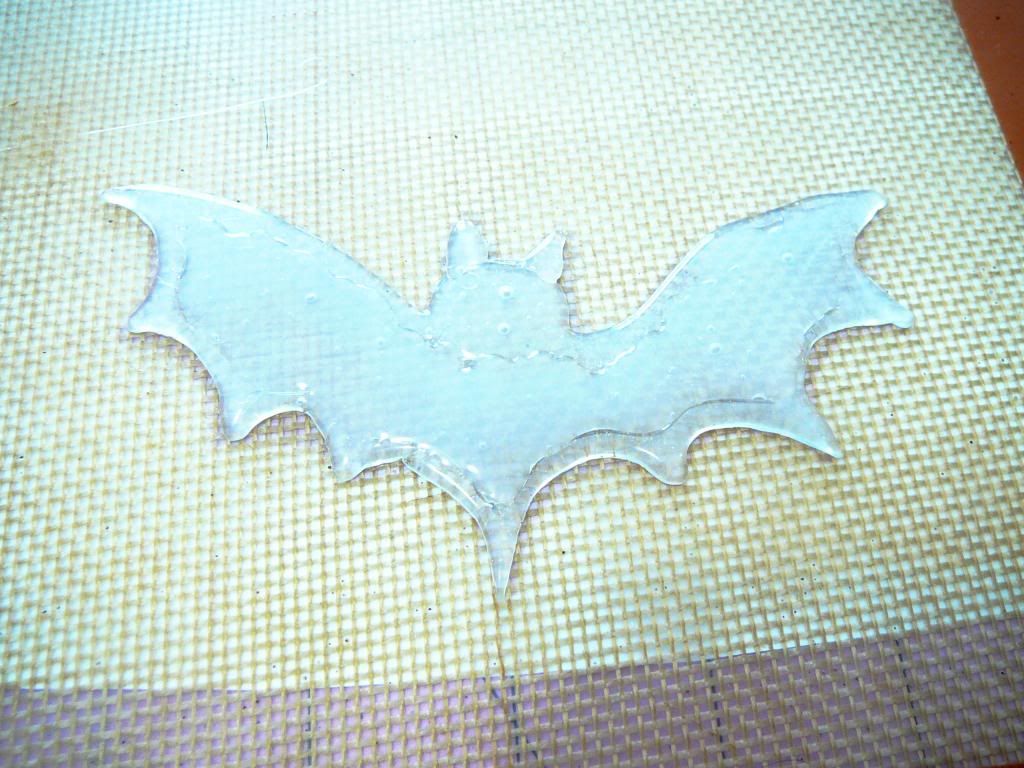
3. After you've traced around the outline I pealed the it off the mat and cut off any stray glue strings. Don't worry it will stick right back down to the mat. Now go back and fill in the bat with more glue. Make sure to get right up next to the outline and like the above step it's best if you can do this while the outline is still liquid. Now just let it dry. When you peal it off the mat the side that was down will be the front for your pendant. It has a nice even flat appearance. Here's what the filled in bat should look like.
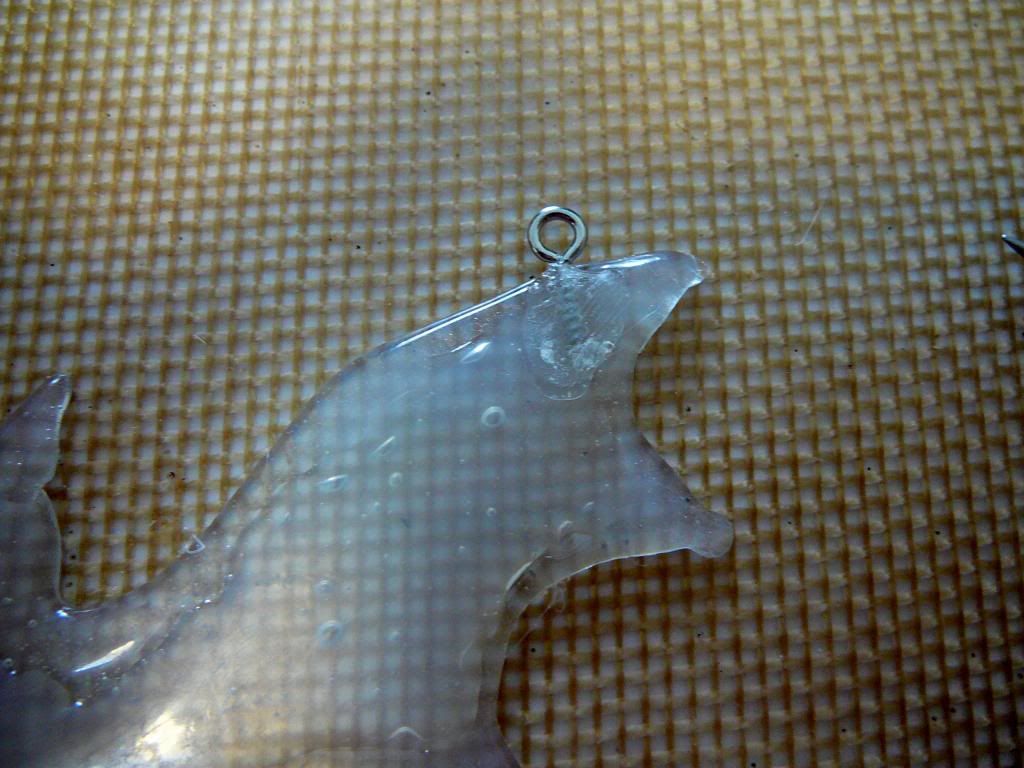
4. One more glue step before these really start looking like bats. You'll need to glue on your eye pins. On the back side of your pendant you can just add a dab of hot glue for each and stick them in. I actually used the tip of the glue gun to melt back into the pendant before adding a small amount of glue so they were sunken below the surface.
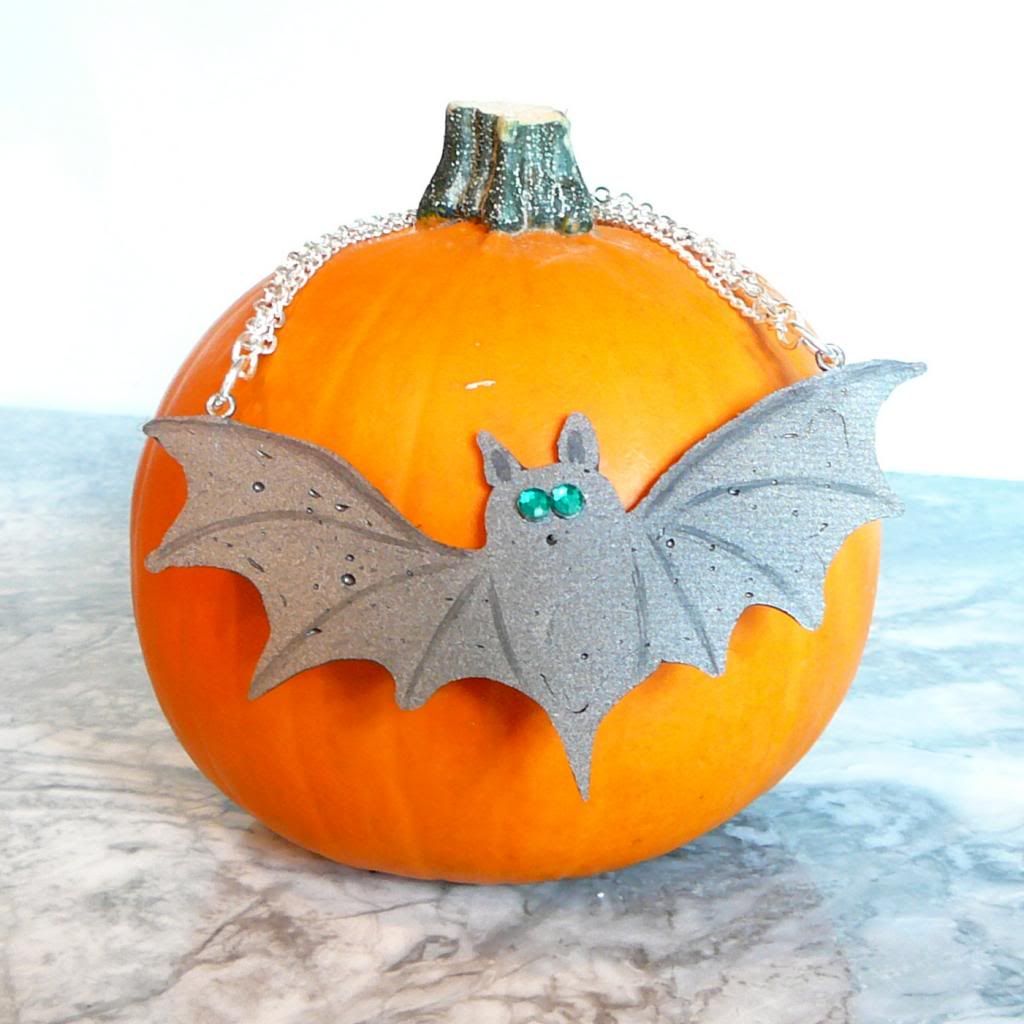
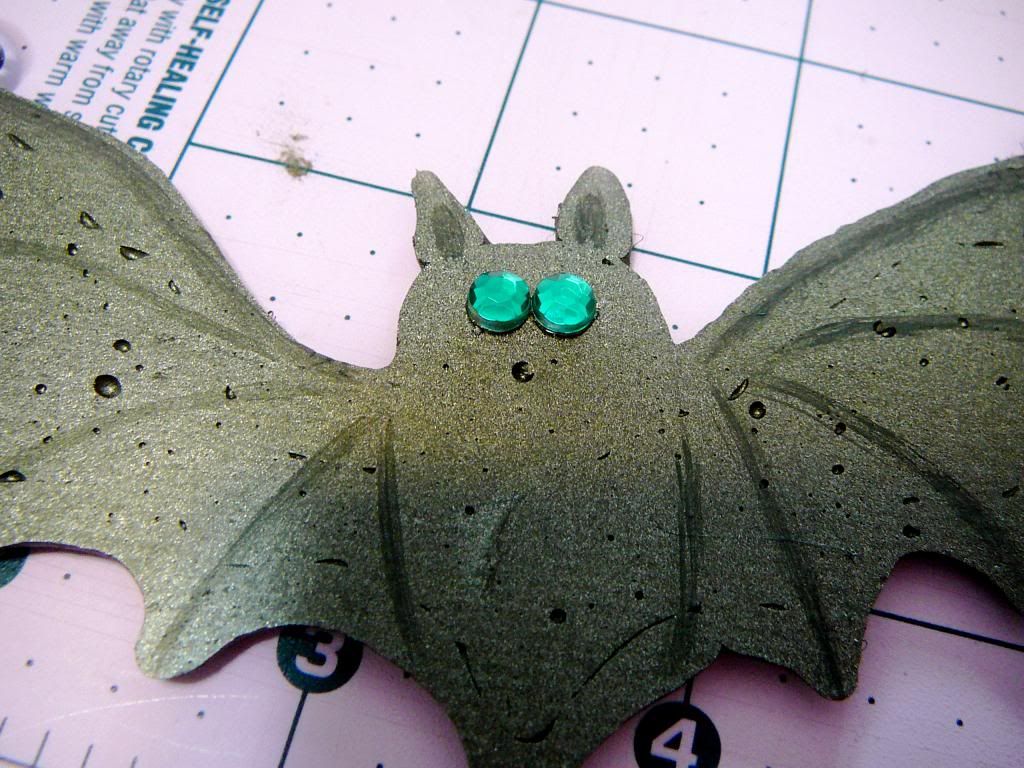
5. Now take your glue bat outside and spraypaint both sides with your chosen color of paint. Let dry. I love how you can see some of the irregularities in the glue surface after you paint it. I think it makes it look old and creepy. I also used a little bit of black craft paint to add some details to the wings.
6. Now glue on the rhinestone eyes. I used hot glue again and a pair of tweezers to keep from burning myself.
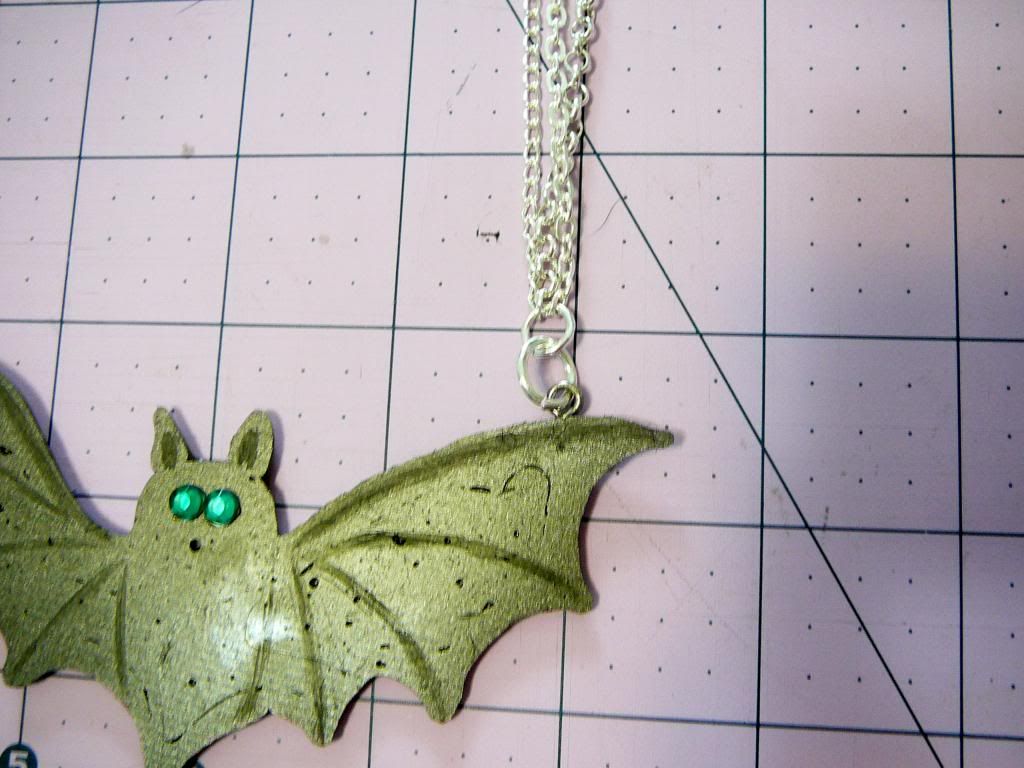
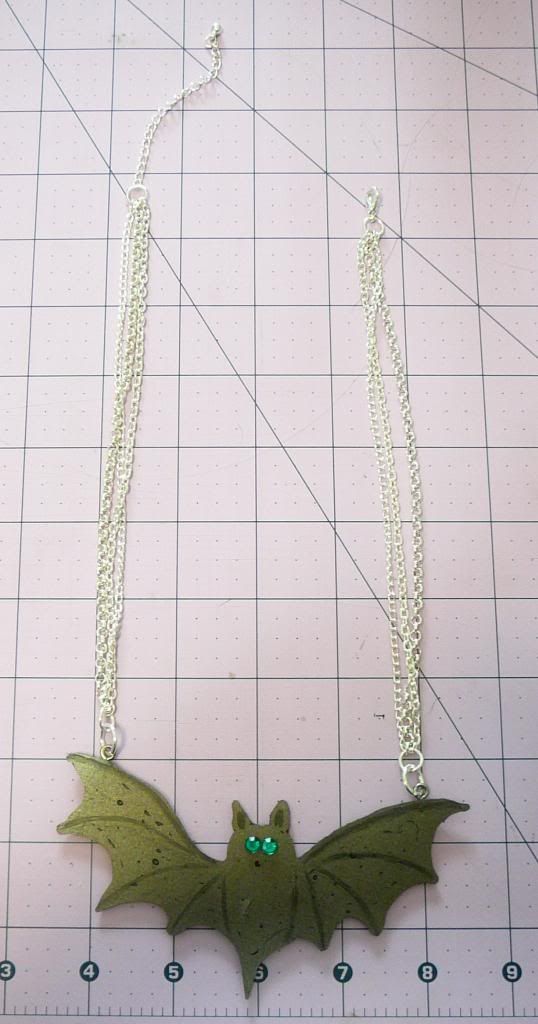
7. Last step! Take your pendant and attach it to your necklace chain.
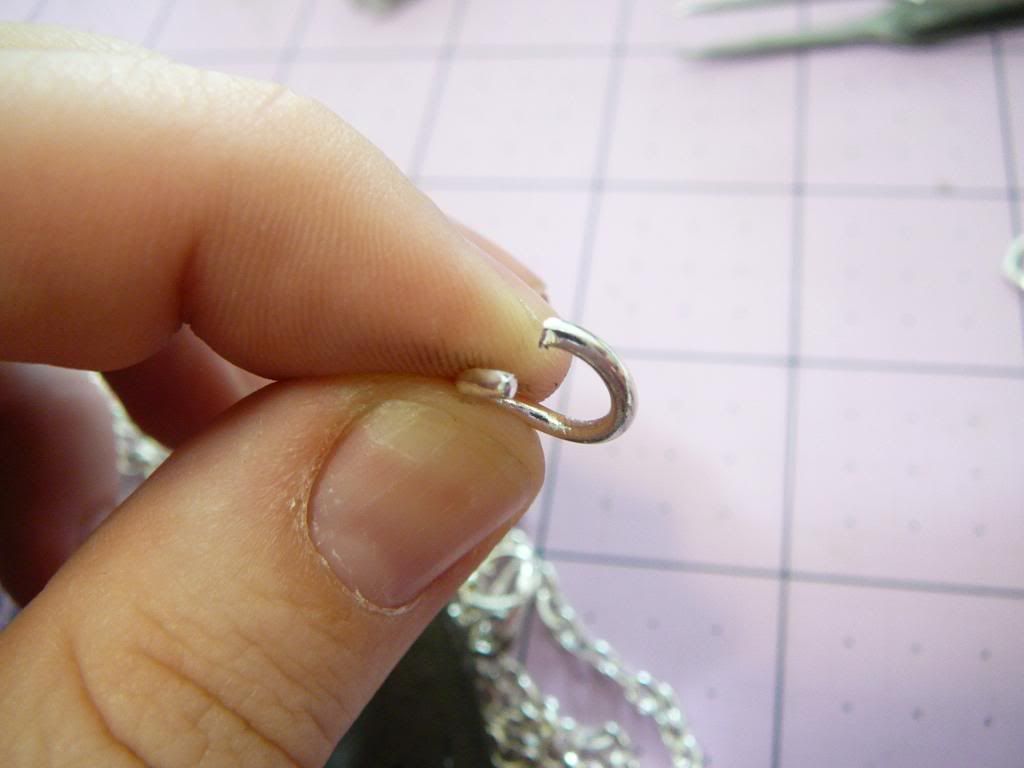
I just opened the jump rings at either end with a couple pairs of pliers and hooked them onto the eye pins in my pendant.
Click here for a great post on using jump rings with tons of pictures. You could also use a piece of string or cord and just run it through the eye pins but I think this looks way nicer.
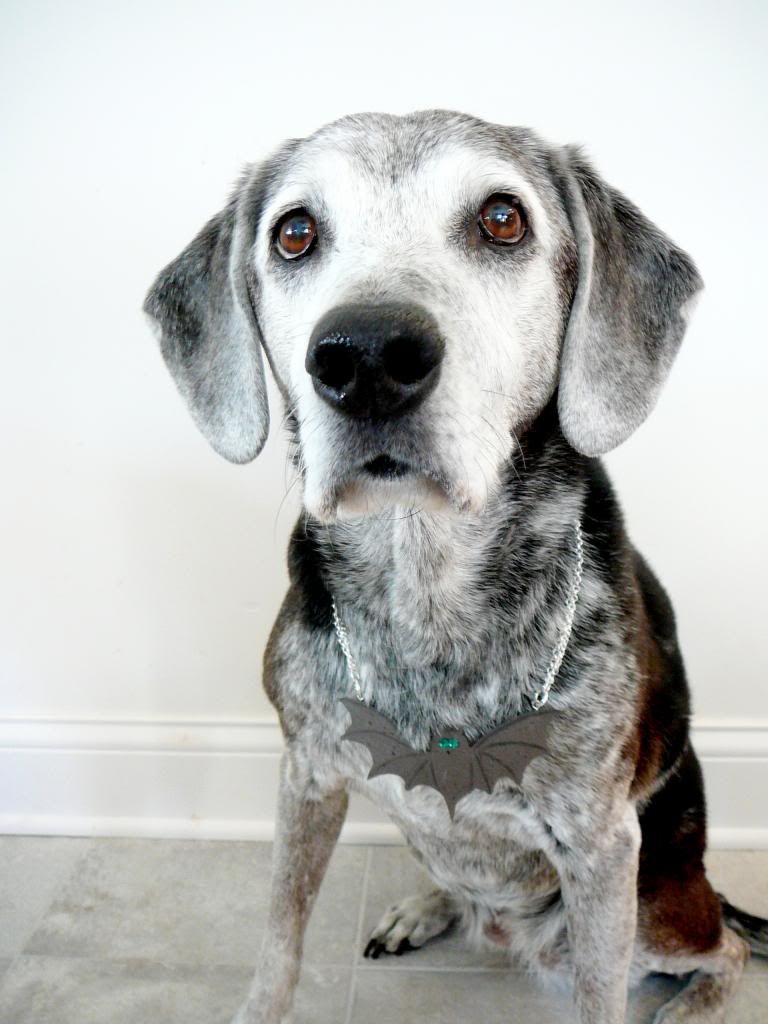
TADA! You're batty necklace is ready to accessorize your fave Halloween costume or outfit. Sadie liked mine so much she asked to wear it for the whole day.
Craft on!
Anita
Subscribe to:
Post Comments (Atom)




What is the name of your dog? Just curious. Well the bat is so cute especially after the rhinestones placed there. The procedure is very simple to follow. Very nice. It's so good!
ReplyDelete