
Supplies
Paper Mache Skull - I got mine at Joann's but I'm sure you can find one on the internet
Craft Paint - White, pearlescent, and black
Paint marker - Red
Modge Podge
Glue Gun and sticks
Paint Brushes - make sure you have one that's pretty fine for details and one for covering larger areas
1. Optional* First paint the inside of your skull black or grey. I didn't think to do this till I was done but it would look alot cleaner than the newsprint you can see inside mine. Do this especially if you plan on lighting your skull from the inside with a battery light.
2. Now you'll want to paint your skull with a single coat of the white paint followed by the pearlesent one. The pearlescent doesn't cover as well as the white so make sure to do the white first or you will have patches showing. Plus this makes it look like polished bone. Spooky!
2. Next you're going to paint dots all over the skull keeping them spaced at least a half inch apart. Try to keep this pretty random so they don't look like polka dots when you're done. I made my dots about pea to dime sized. Let dry and do a second coating if needed. FYI These are the spider bodies.
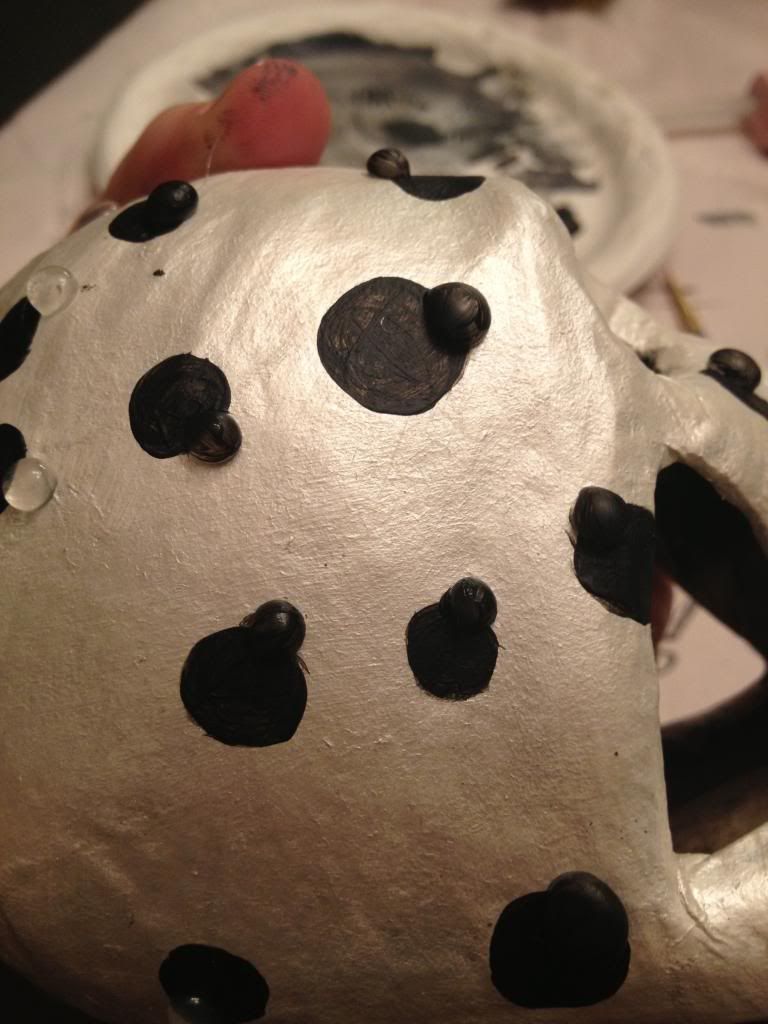
3. Now get your glue gun plugged in and load it up. Practice on a piece of paper first before using the glue on your finished product. We are going to use the glue gun to add the spider's heads. You're going to squeeze out a dot about a third the size of the painted dot like in the pic below.
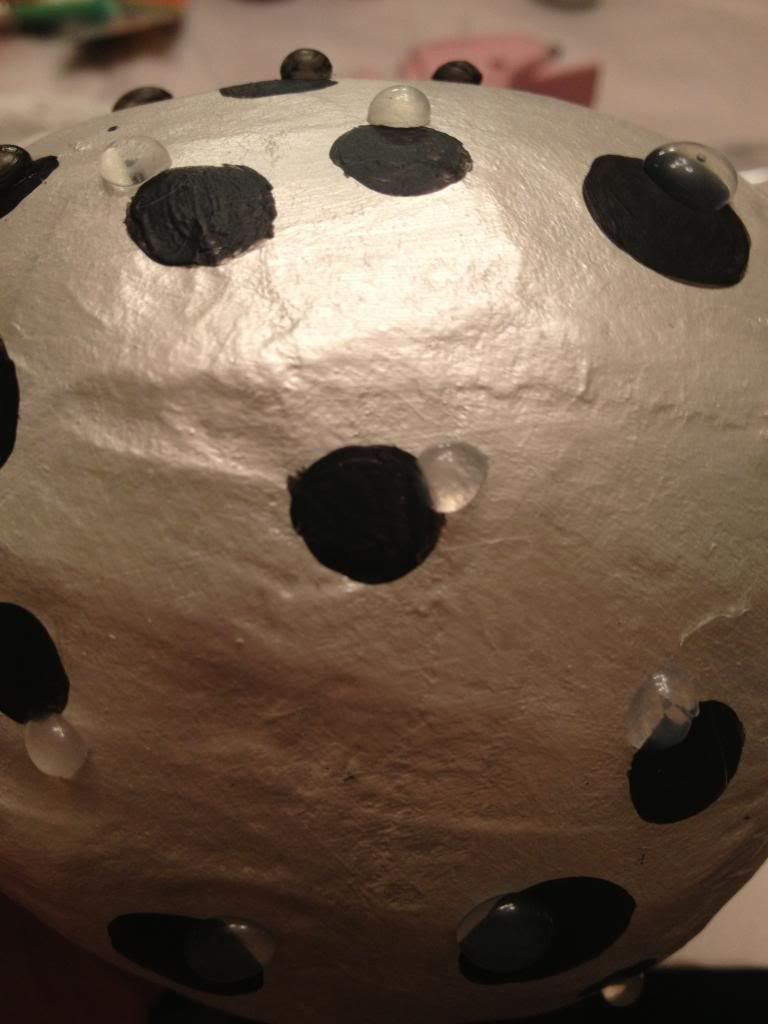
You can line up the head partially or totally on top of the body. I prefer a little of both to mix it up. If you get a little tail sticking up lick your finger and pat it down before the glue dries.
4. Now once all your glue is dry and hard paint over the heads with more black paint. This may need two coats as well depending on how well your paint covers.
5. Now to make them really look like spiders add 8 legs to each body. Don't worry if your legs cross over a little. This just makes it look like the spiders are crawling over each other.
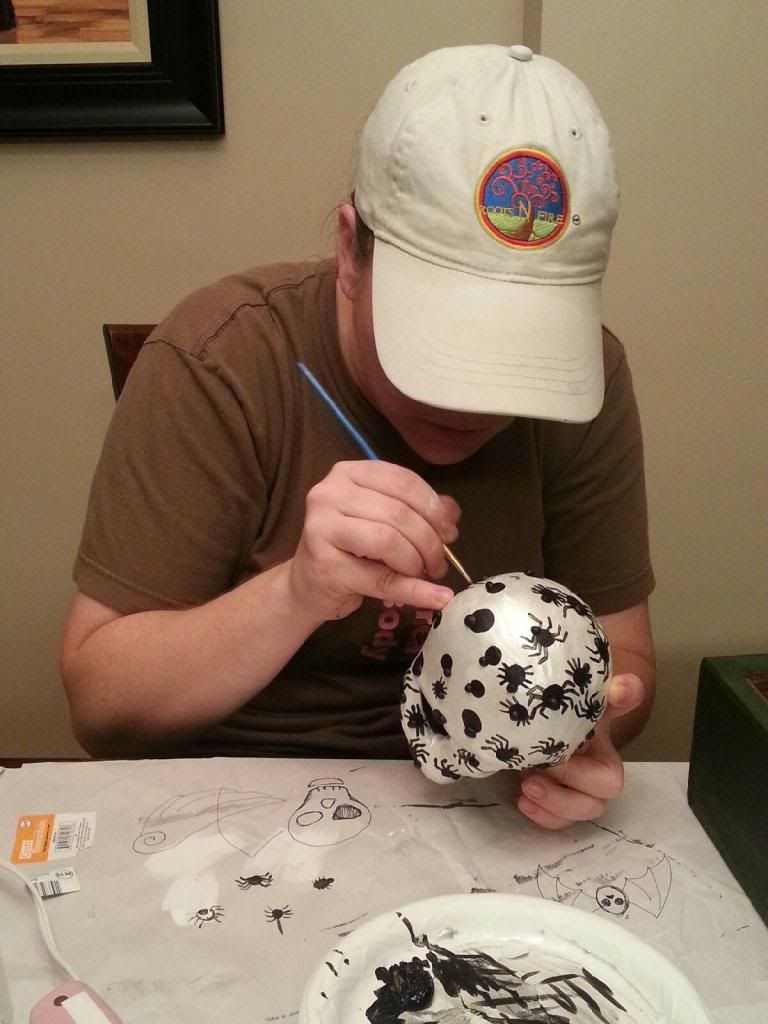
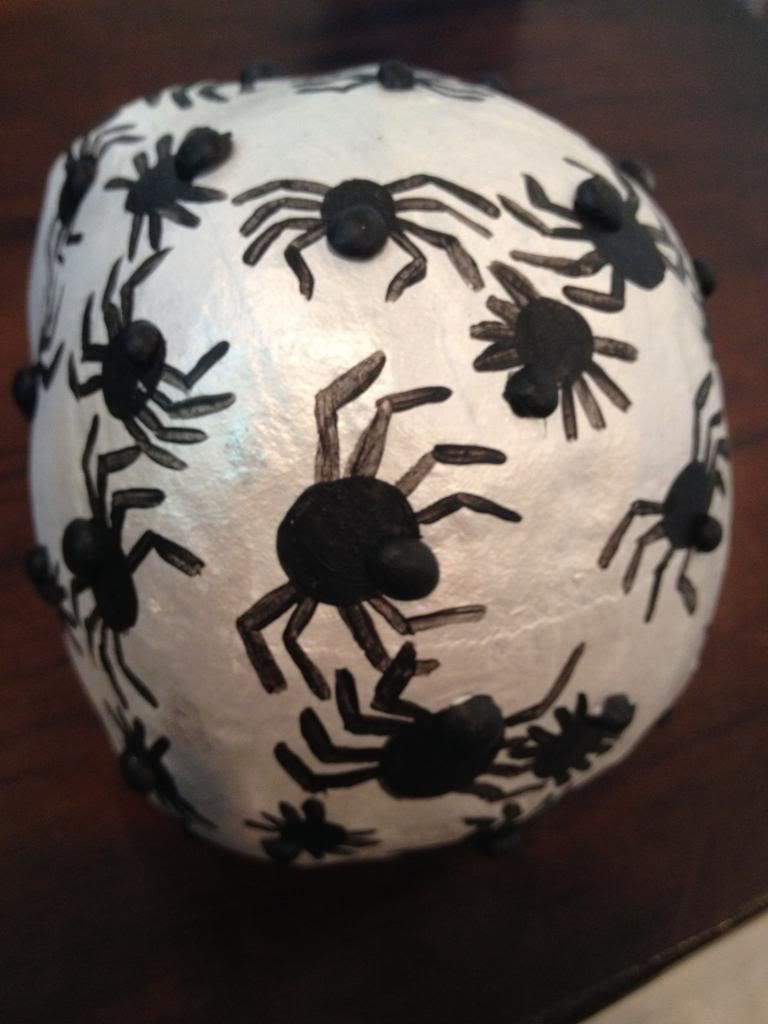
6. Next for the creepy red eyes. Prep your paint marker by pressing it down repeatedly on scrap paper to get the tip loaded with paint. Do this periodically to keep it loaded. To make the eyes just tap the tip of the marker down to make little dots, two for each head. Practice this step before painting on your finished skull, but remember if you make a mistake it's just paint and you can go over it.

7. Last but not least cover the whole thing with a layer of modge podge. I like the glossy for a little extra shine.

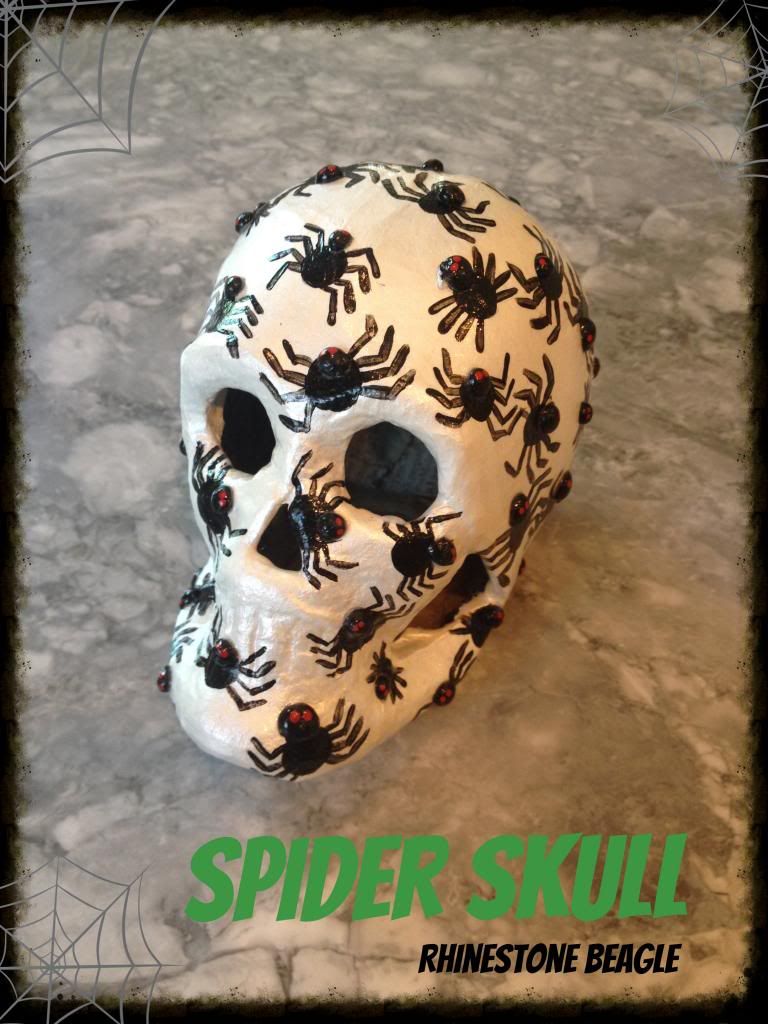
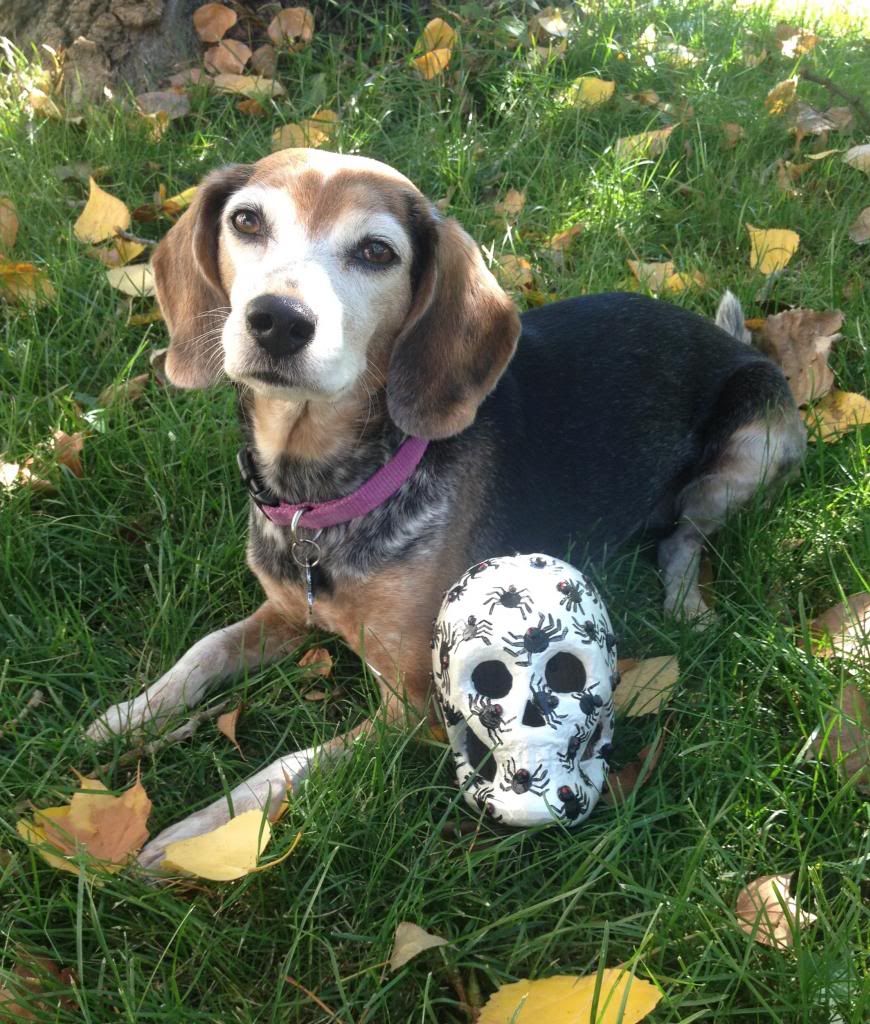
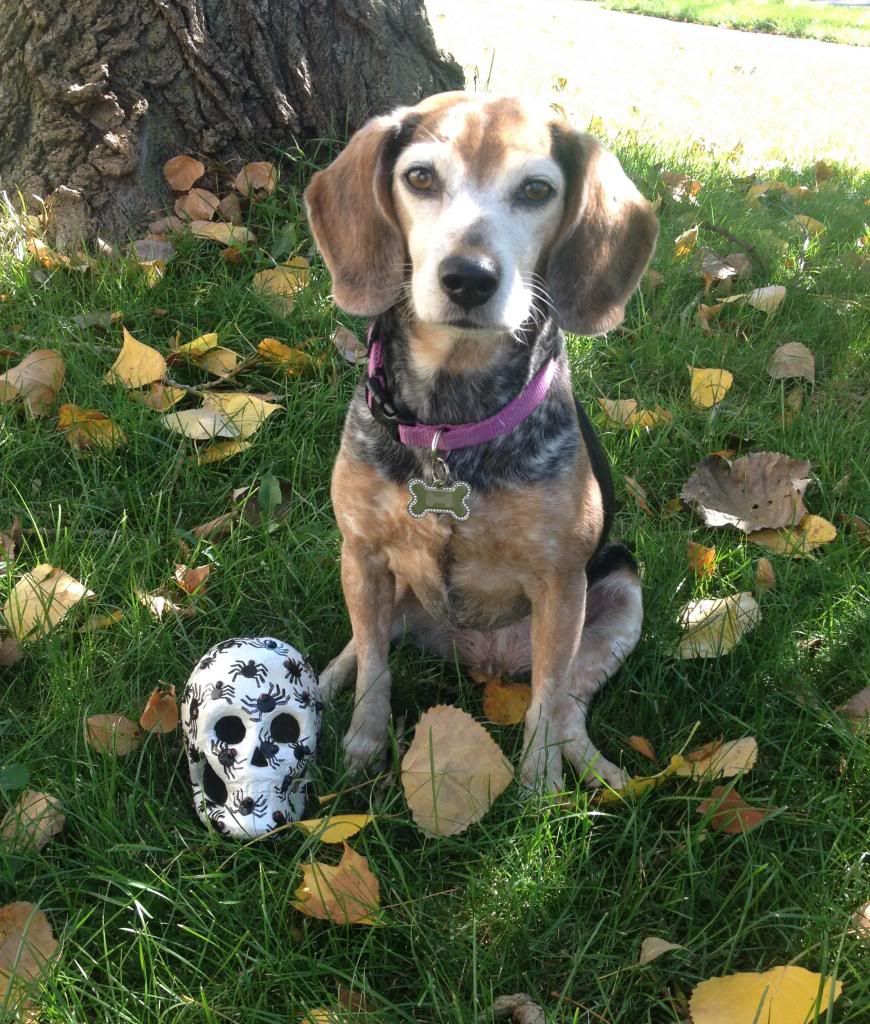
TaDa! You're done! Now just sit him out to add to your spooky decor for this year.
Craft on!
Anita
How cute! -Marci @ Stone Cottage Adventures
ReplyDeleteLove it! This has got me thinking about how many other things you could paint with spiders!
ReplyDelete