

Hi
Everybody! Let
me take a moment to introduce myself.
My name is Katy and I am one of the trusty members of the Rhinestone
Beagle Craft Club. If you have kept up with Anita and Kelly I am the
show off who either does multiple crafts or gets the project done first.
I am so happy to be invited to be a guest writer especially for one of
my favorite holidays, Halloween! In the past few years Halloween has
exponentially climbed up as one of my favorite times the of year. I have
taken pride in my decorations and almost all of my Halloween decorations are made, not bought. I try to add at least one
new item each year. This year I felt I needed a
wreath to spook out my front door. Unfortunately, I didn't have a lot
of time so I headed to the trusty internet for some quick and easy
ideas. So after an hour or so of browsing many different pages and
pictures I had a vision in my head and off to the local craft store I
went.
I picked up the following items.
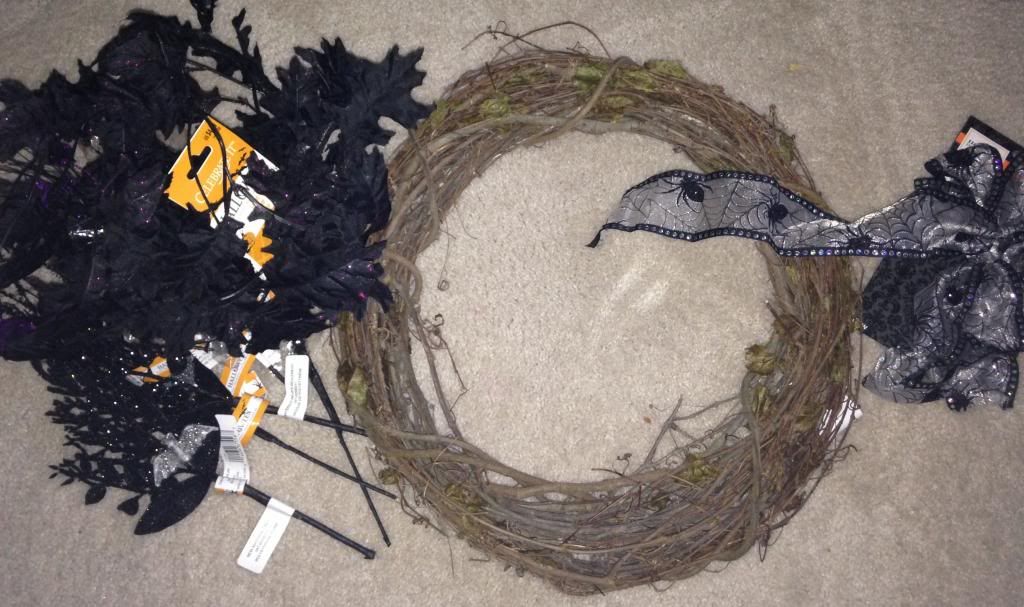
- 18" grapevine wreath
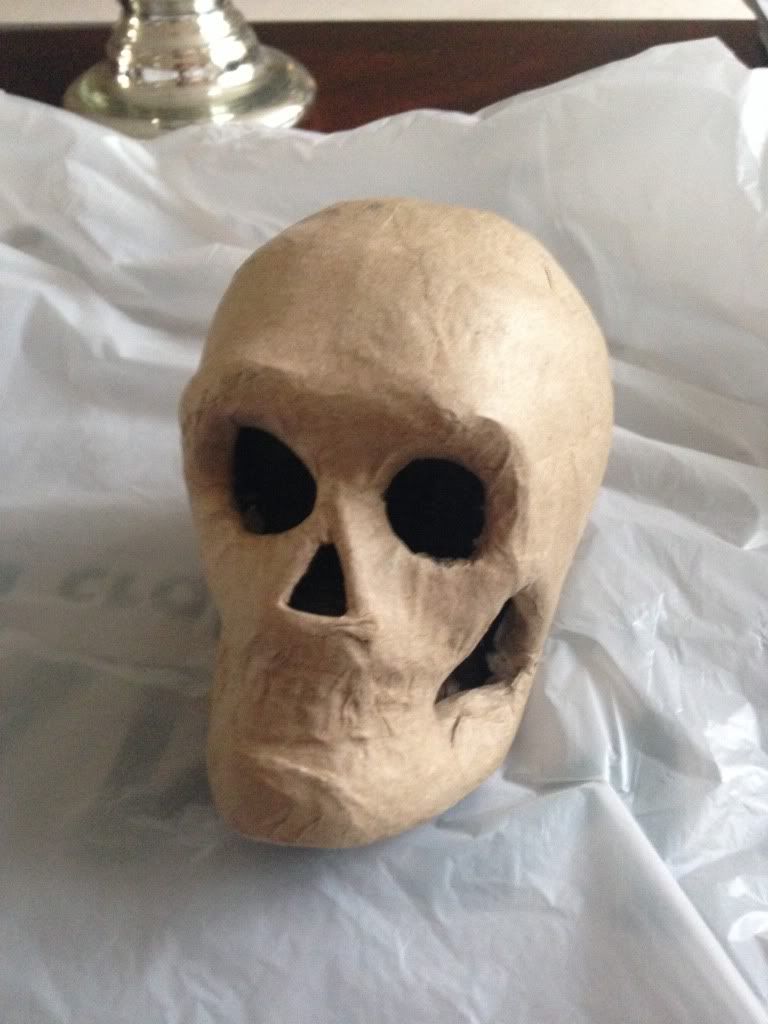
- Paper mache skull (as seen in Anita's previous blog post)
- Ready-made spooky halloween bow (yes, I could have made my own but it was on sale and I was low on time)
- Purple glitter (Martha Stewart makes the best glitter, I highly recommend it)
- Sliver metallic paint
- Modgepodge
- Halloween themed leaf garland
- Various halloween decoration "picks" (I bought 3 sets of 2)
- You will also need your trusty glue gun.
First,
I took my paper skull and painted it with the silver metallic paint.
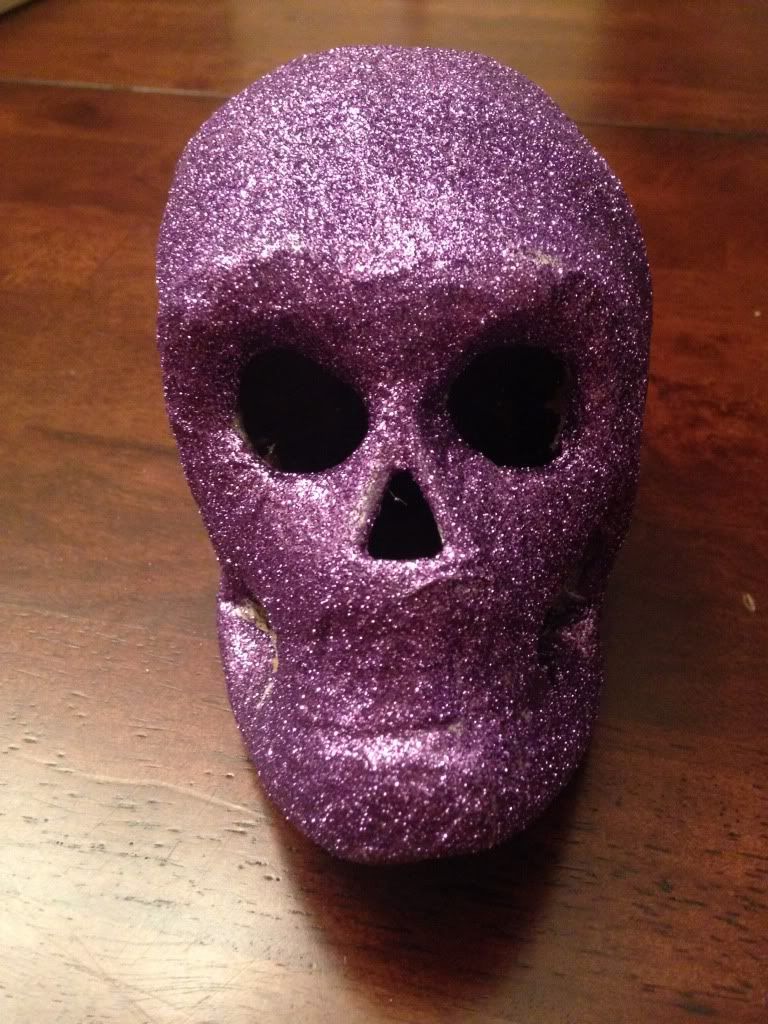
Once dry, I covered the skull in modgepodge (Eeeee!! So exciting!) and
released the glitter-I think more got on the table but eventually I was
able to cover the skull to a vibrant blinged out purple.
While my skull was
drying I took my grapevine wreath and my halloween
garland and wrapped it around the wreath and then took the decoration
picks and basically just weaved the decorations into the grapevine. If
you feel the need you can use hot glue or thin wire to secure the
decorations to the wreath.

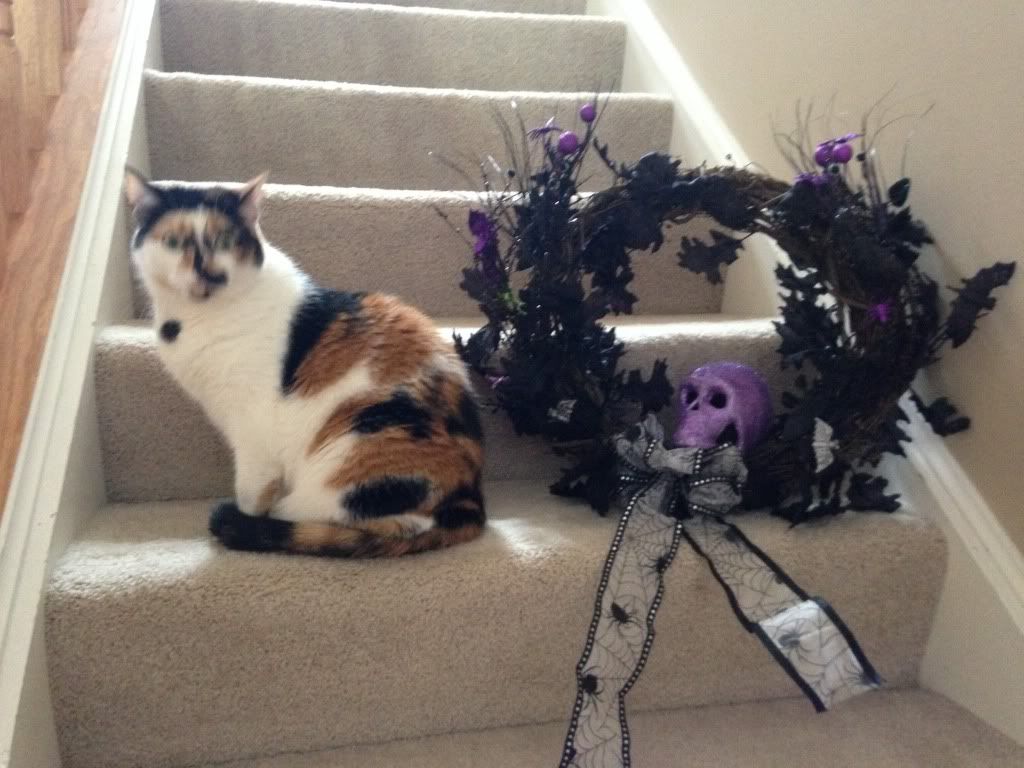
Once
my skull was dry I hot glued it to the bottom inside of the wreath and
then attached the bow below the skull and voila! My wreath is
completed!
I think Lulu approves of the final product and I am sure she looks forward to enjoying it for years to come.
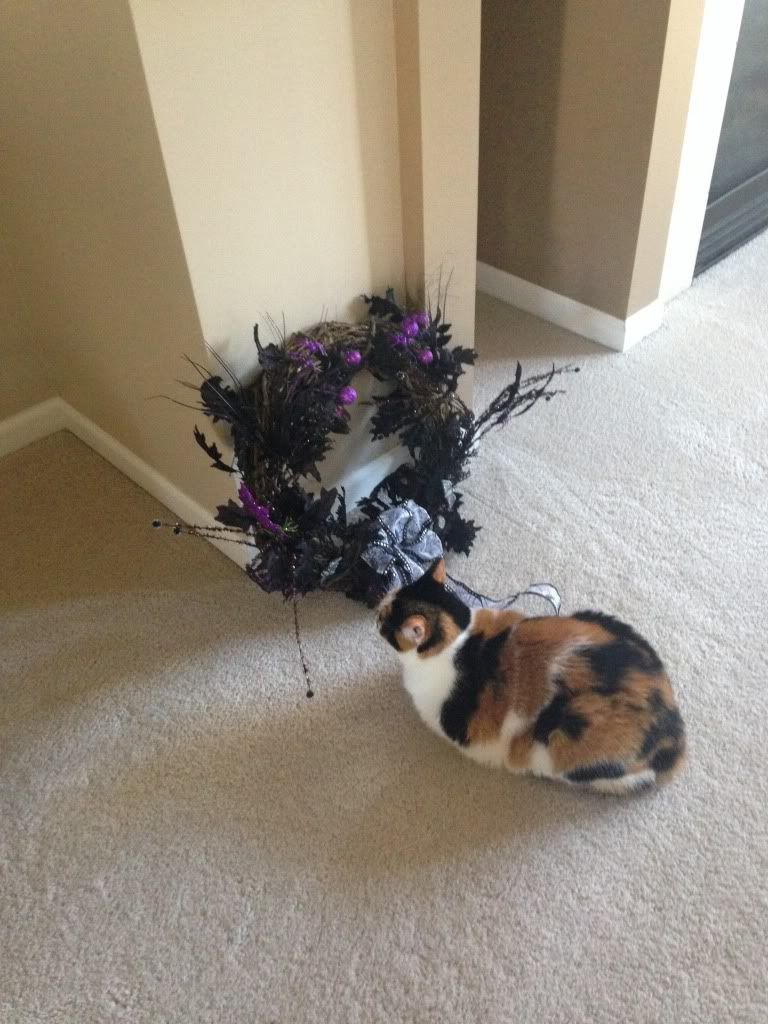
How amazing your work also the cat has a great time with a skull. The Rhinestones Beagle Craft Club is one the best for all this kind of an artwork. So nice and easy to do. Thanks for sharing it. Happy Halloween!
ReplyDelete