
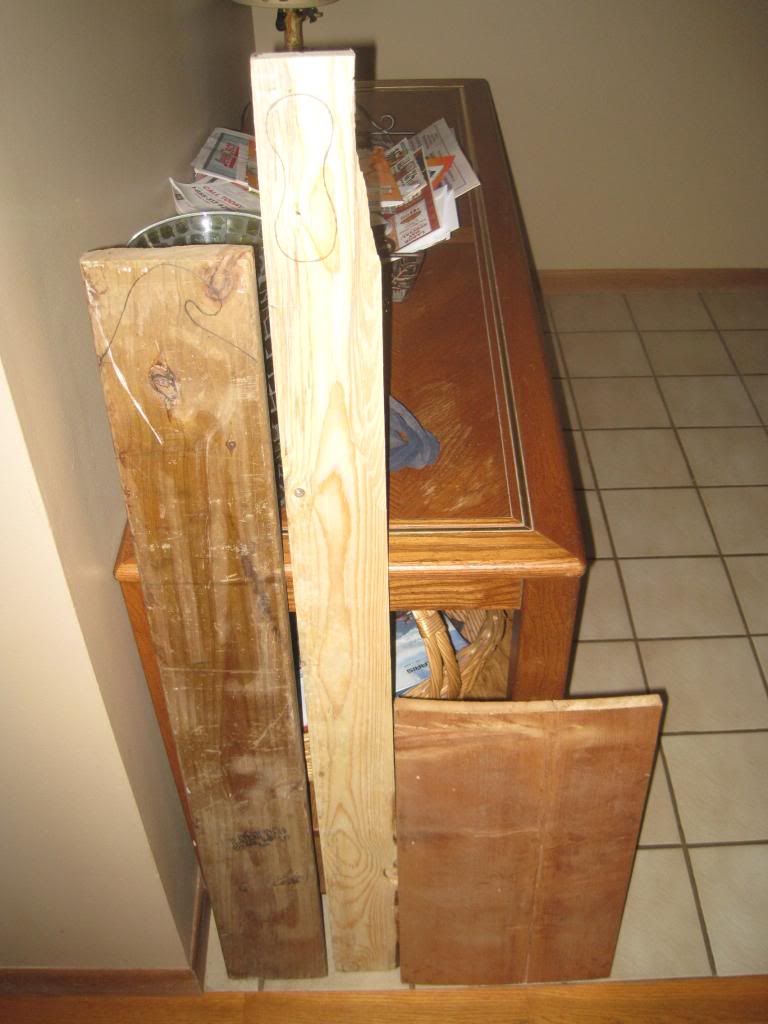
I started out by thumbing through my wood stash. I found a nice aged piece of 1 x 6 for the body of my ghost. I had a wooden spider that was already made that I knew I wanted to be a part of this craft but it took me a little bit of thinking to figure out how. I had to convince myself that ghosts could have hands to hold cute little wooden spiders so I traced that onto the broken end of the 1 x 4. The base was just a bit of wooden shelving cut to a size that looked good with the height of the ghost.
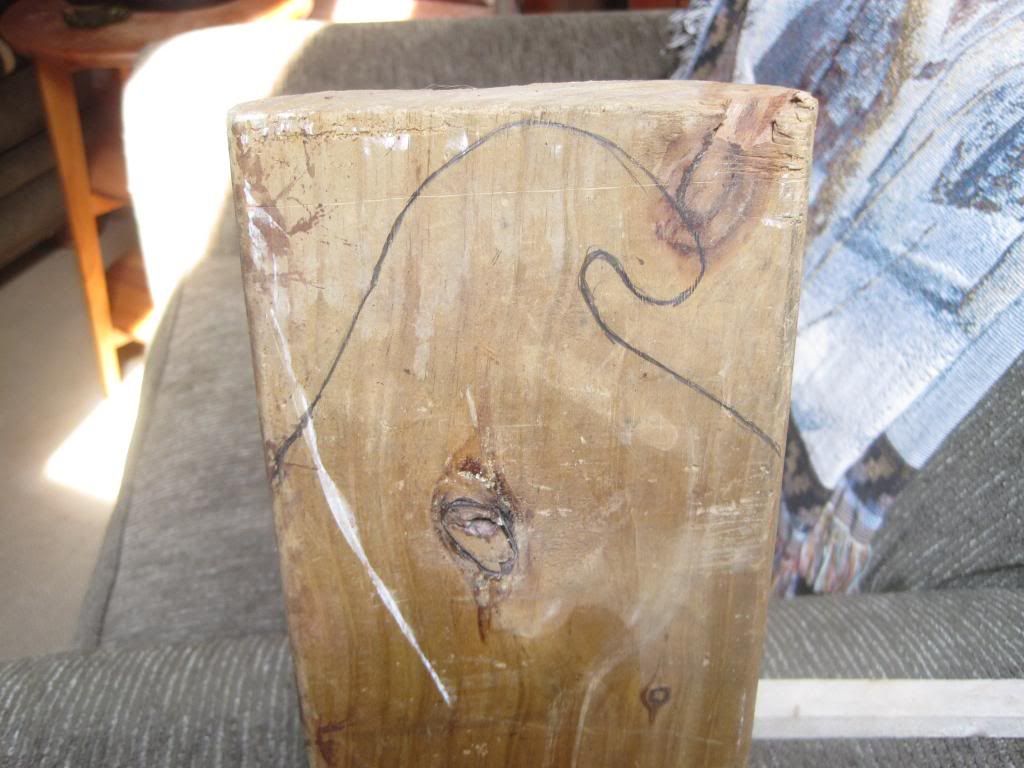
I traced the Dairy Queen Soft Serve top on to my ghost so that my husband could cut it out with the jigsaw. I know some people don't like knots in wood when they are working with it. If the item you are making could have a safety issue due to the knot then yeah, you should avoid them, but in my crafting I love the look a good knot brings!
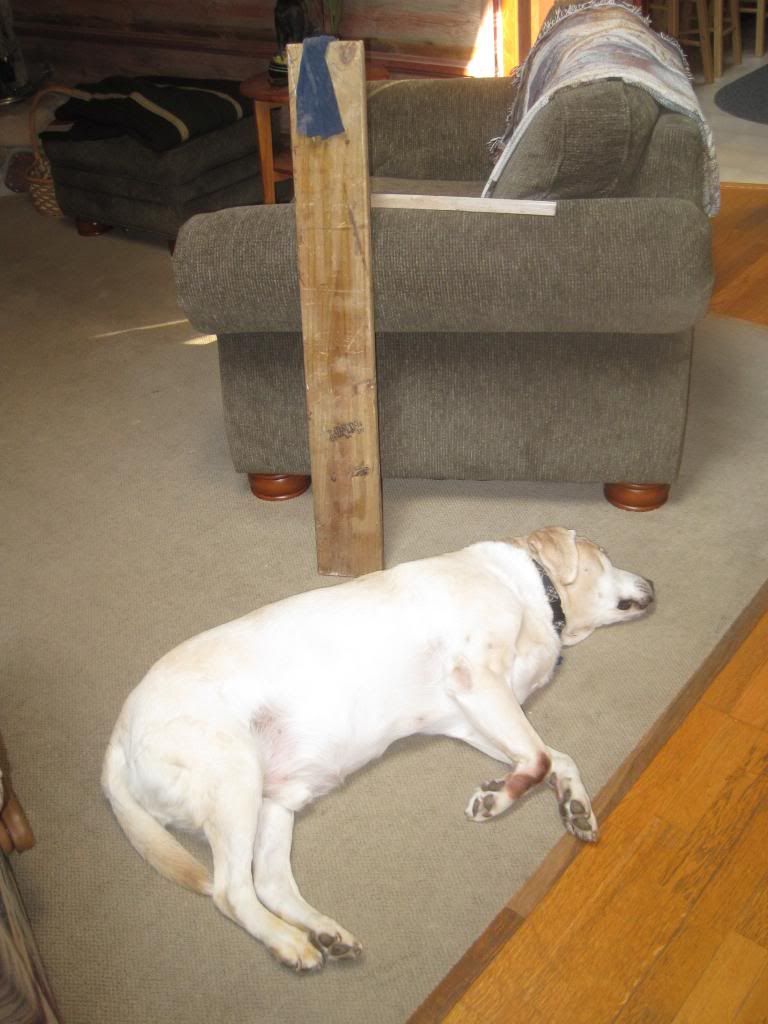
Wood crafting is exhausting when you are a dog.
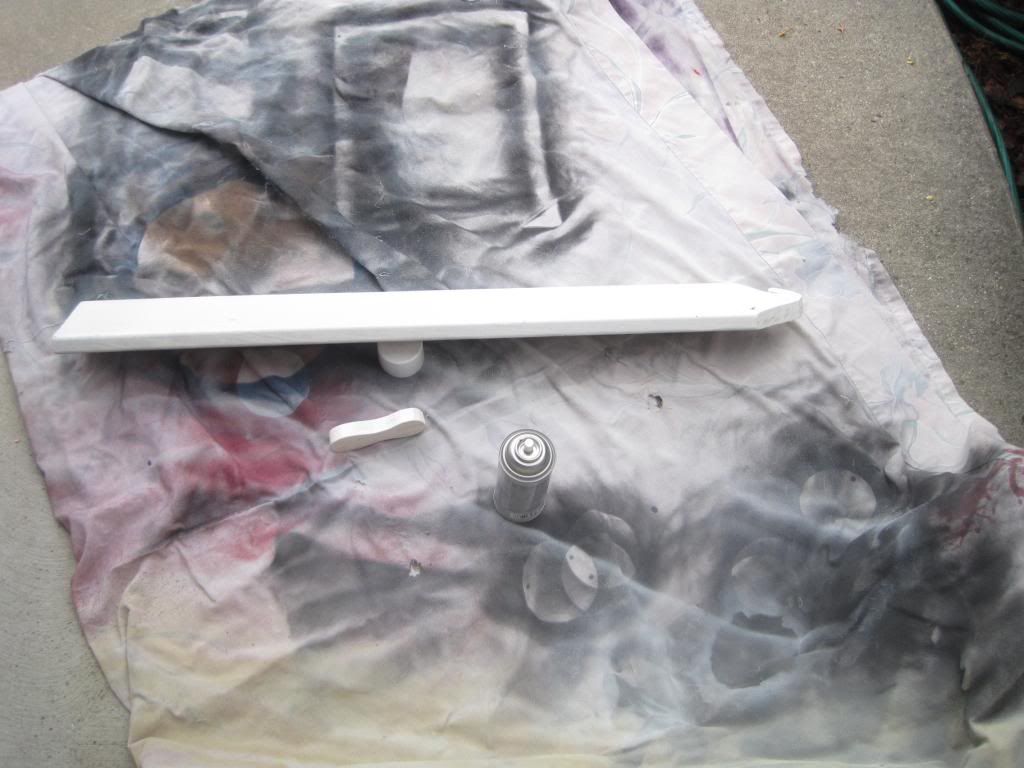
After we cut out the curly top and arm we got to move on to my favorite part: Spray Painting!!! I used some good quality indoor/outdoor spray paint and pained the body and arm gloss white.
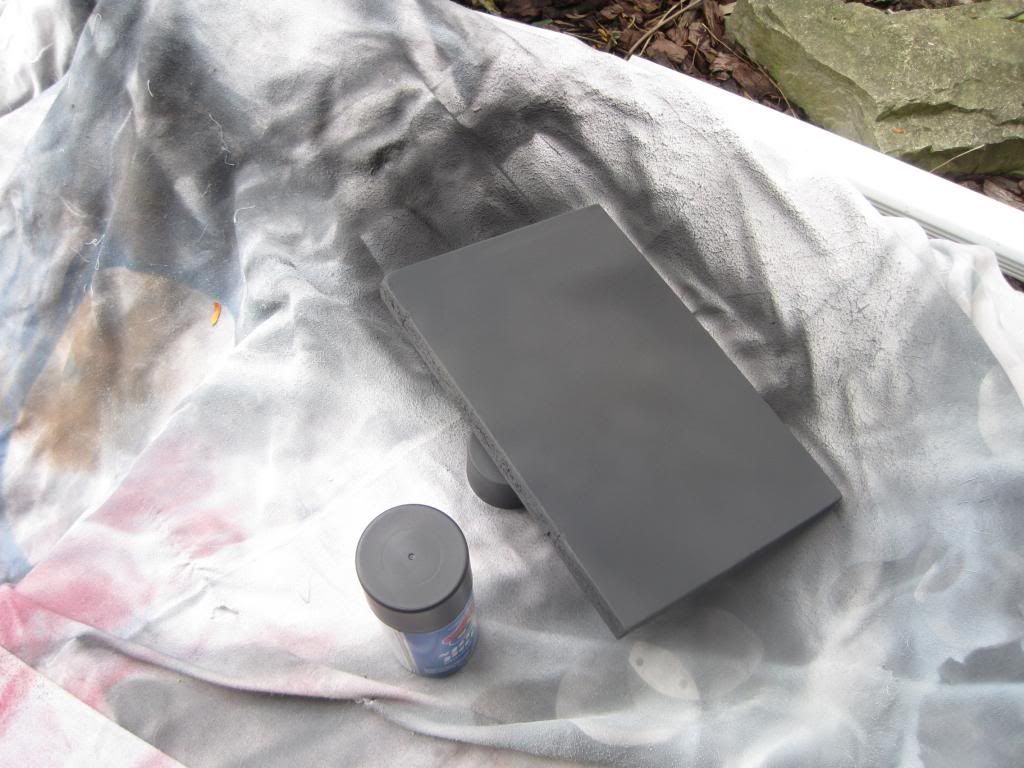
The base was spray painted a flat black.
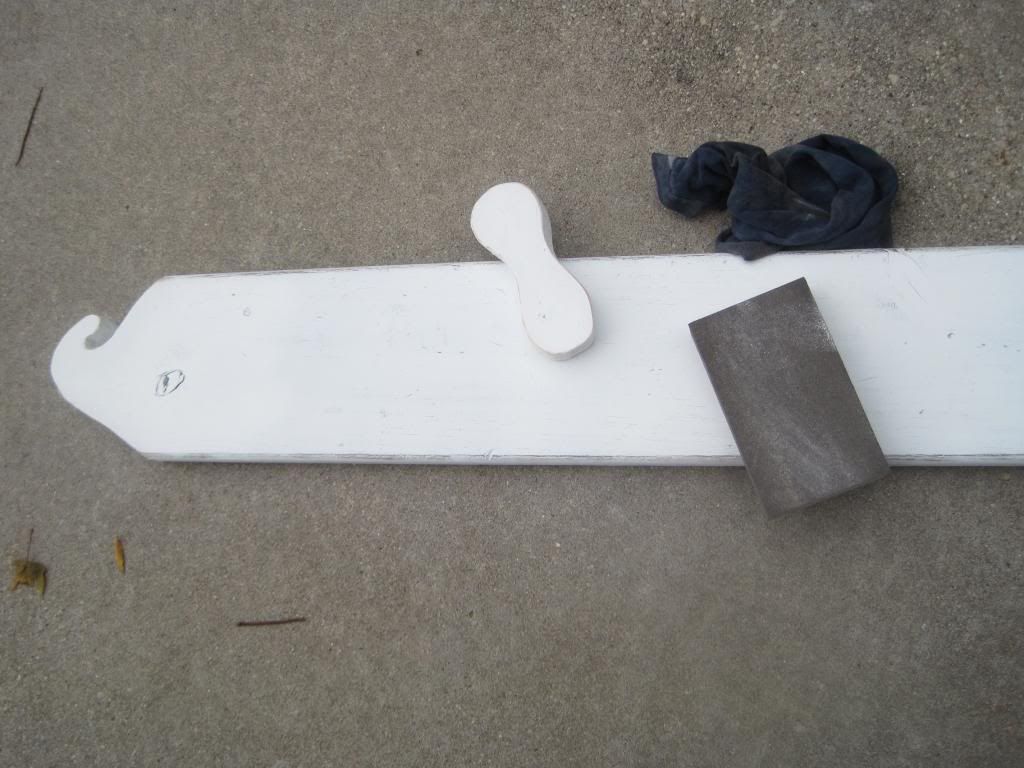
After a full 24 hours of drying I sanded up the pieces to take some of the newness off the bits. I like to see a little wood peek though as well. I set the arm where I wanted it and Gorilla glued it in place. You must be careful with Gorilla glue, if it smooshes out on the sides it will bubble up and show yellow on your finished piece.

We set the base and affixed it securely with three screws.
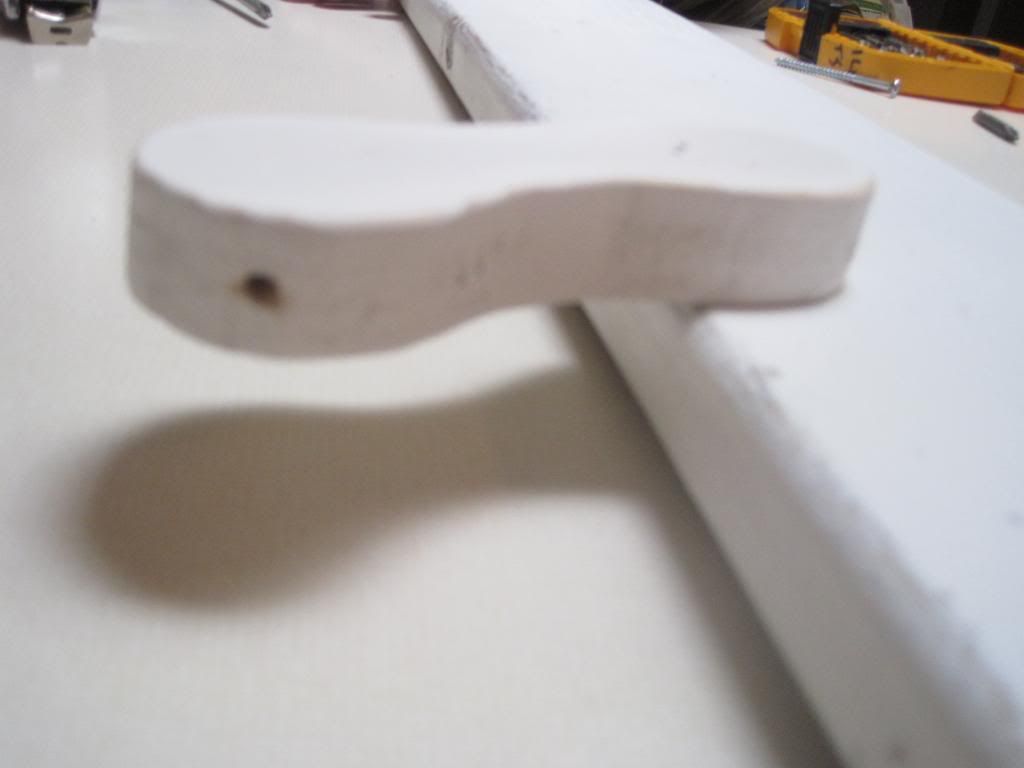
The spider I had to add to the ghost was on a wire already. I wanted it to look like the ghost had picked him up as a pet and is both holding him away from his body and showing him off to trick-or-treaters at the same time. My husband drilled a hole in the hand for the wire on the spider to go through.
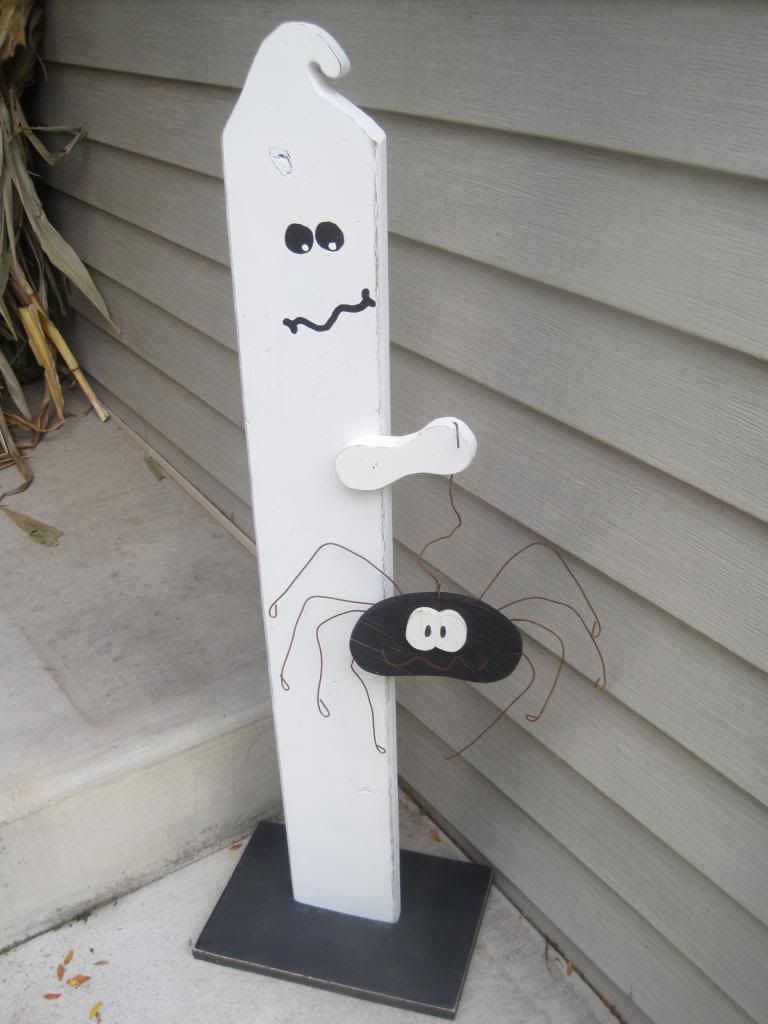
Add the spider, paint a little face, and you are done. I hope you will look at bit of lumber you have around or even see poking out of bins in new and fun ways. If you look hard enough the piece will tell you what it wants to be and how you can help it get there. These projects tend to be cheep, or even free, and leave you with a great sense of accomplishment for rescuing something that would have been sent to a landfill and turning it into a piece you can be proud of. I hope your October is moving along in wonderful ways!
Keeping it ghosty,
Kelly, the origami ninja
This is super cute! I want to make one for me! Thank you for sharing.
ReplyDeleteCan you tell me how the spider legs are attached? Are they just glued to the back or glued into holes.
ReplyDelete