
2&1/2 yards 120" white muslin
scrap of black felt
one wire hanger straitened out
masking tape
pair of shoes
stuffing
30"x 30" square of white fabric
2 36" 5/8 inch diameter wood dowels
scissors
glue gun
cording or twine
Start by cutting/ripping the 120" inch wide piece of muslin in half width wise so that you have two 60" wide pieces that are 2&1/2 yards long. Cut/rip off two 2 inch thick by the 60 inch wide strips from each of your pieces of fabric. You will have four strips total, set these aside. Place the two big pieces on top of each other, these will be the covering for your little guy.
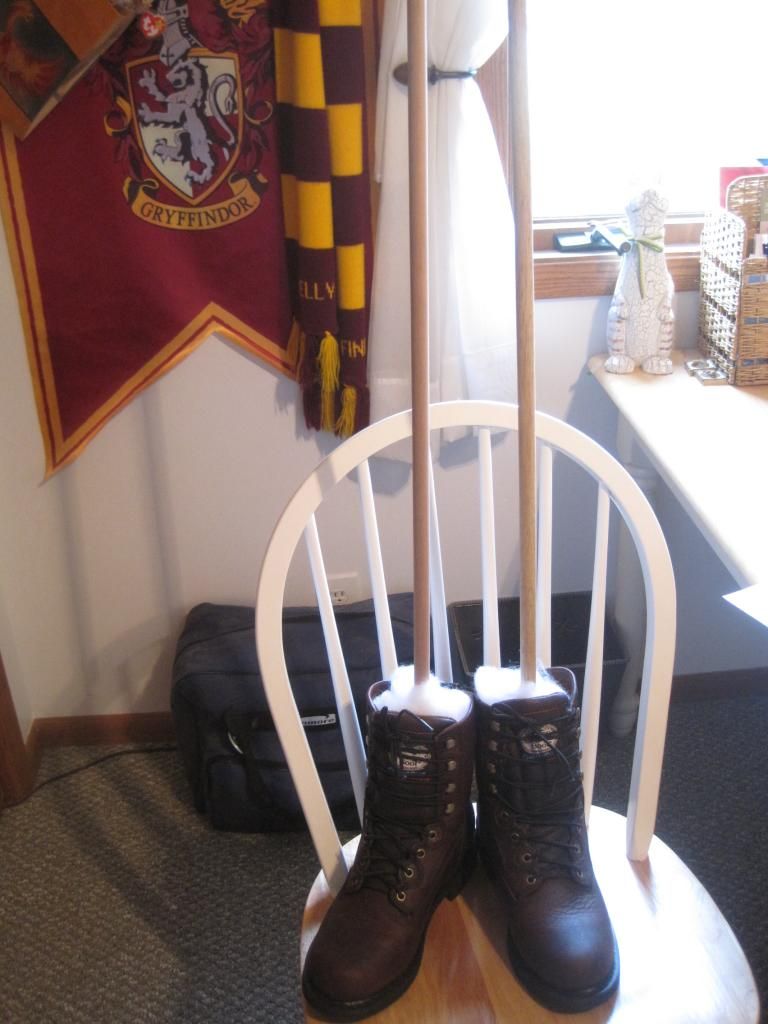
Next take your pair of shoes and stick your dowel rods in them. Pack around the rods with fabric scraps or stuffing so that they stand up in the shoes. Measure and mark four inches down from the top of the dowel sticking out of the shoes.

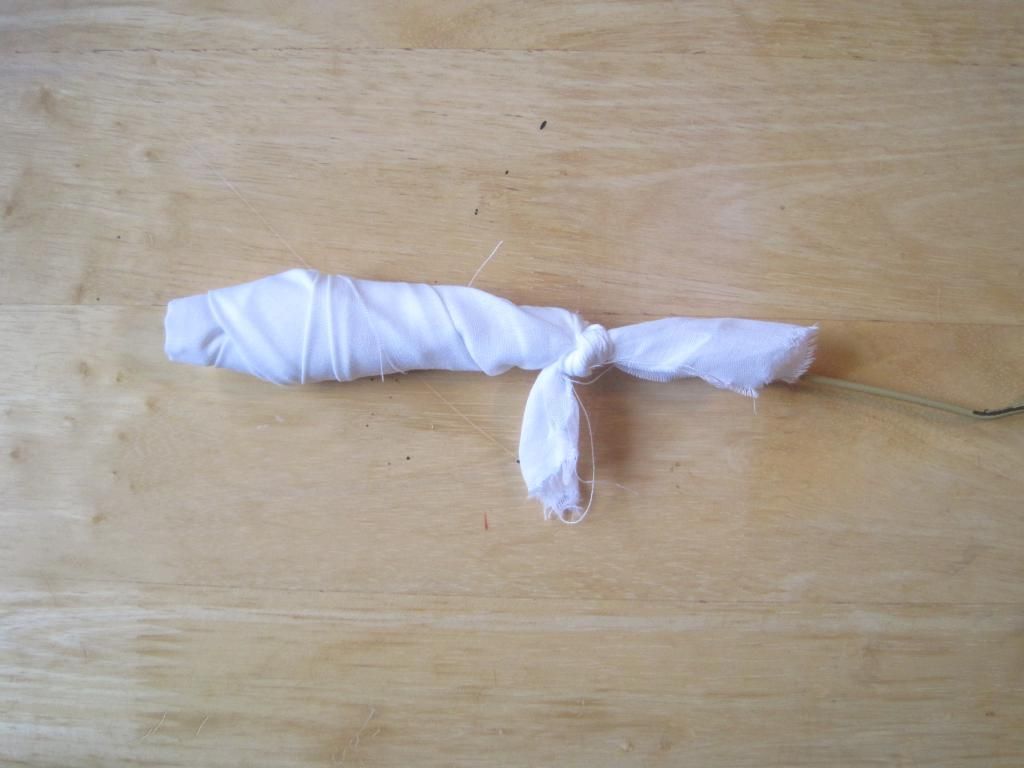
Bend over three inches of the end of the wire hanger. Using one of the strips wrap the end securely and tie into knots. Repeat with the other end of the hanger and another strip.
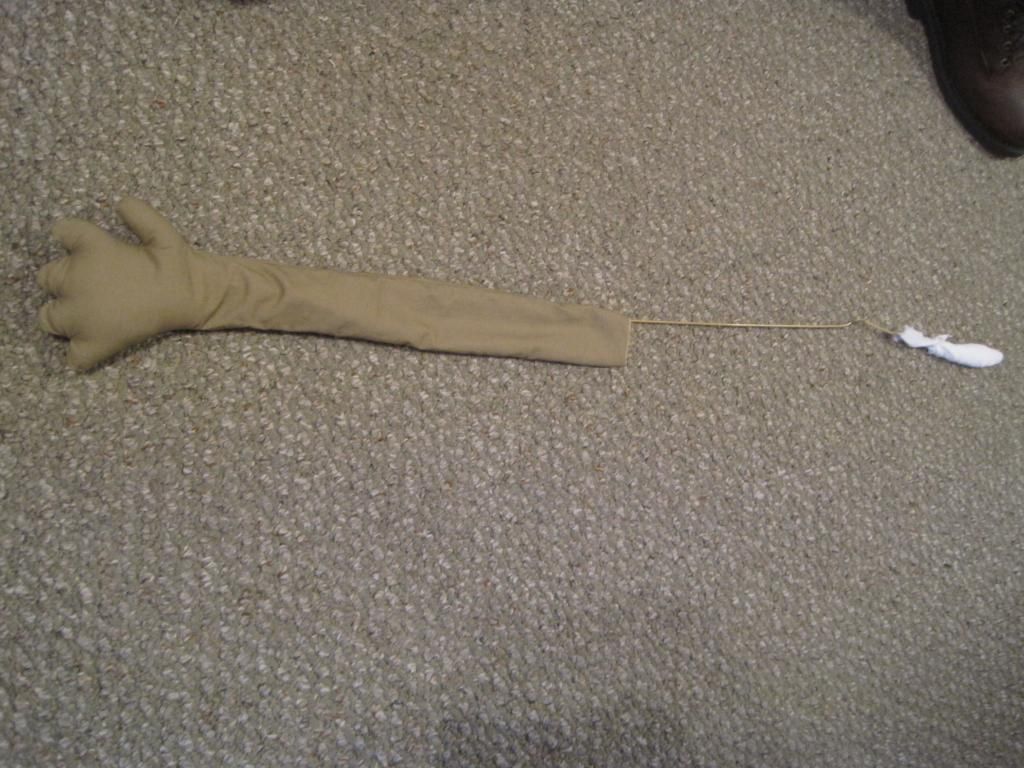
Cut out and sew hands in whatever pattern and fabric you like, making sure that they are long enough to cover a bit more than half of the wire hanger. My hands kind of look like muppet hands. Clip all curves and turn right side out. Stuff to the wrist and slide the hanger in so that the covered metal end ends up in the stuffed area.
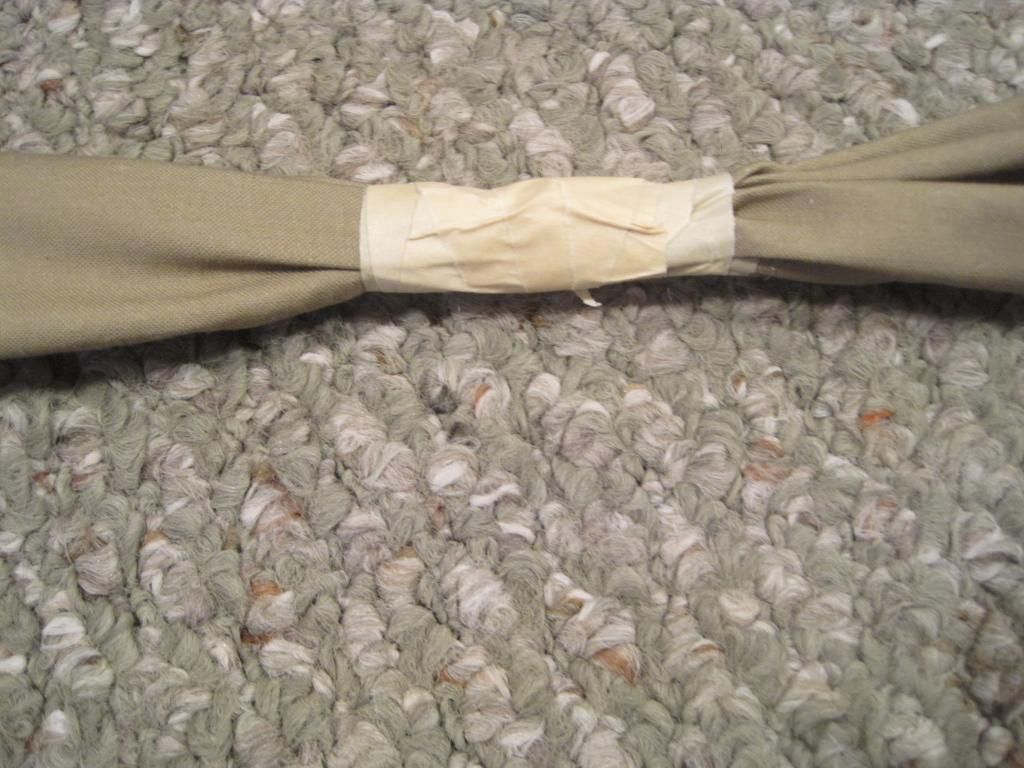
Repeat with the second hand and wrist. Place both hands on the hanger, one end overlapping the other, and tape in the middle with the masking tape.
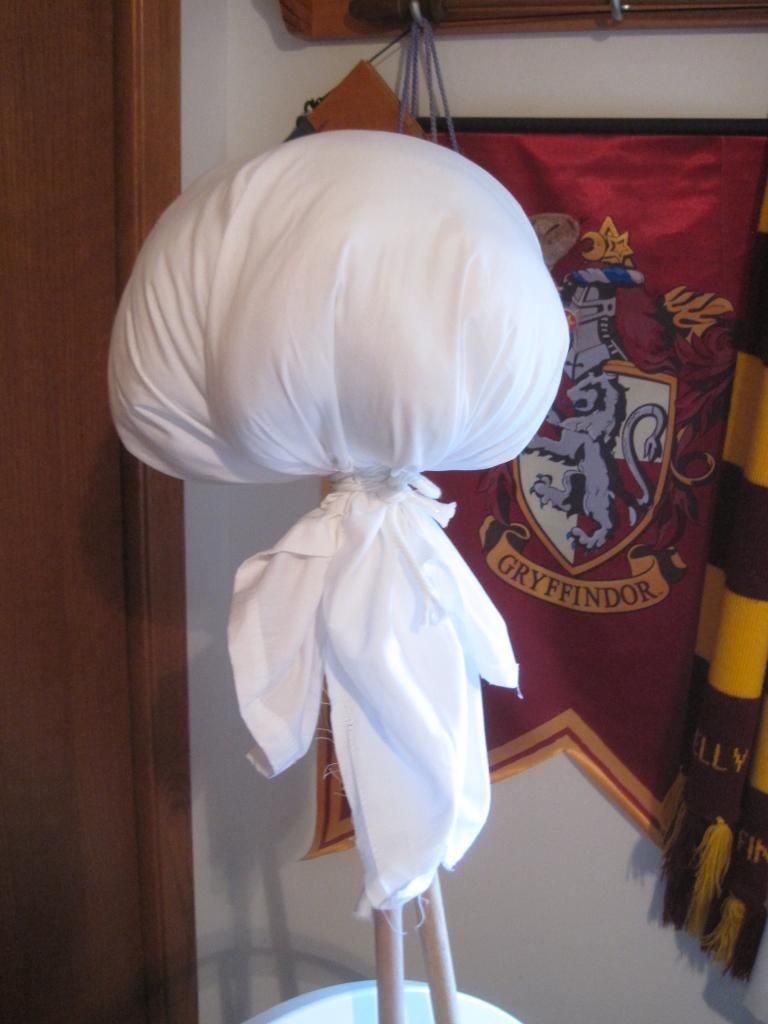
This is where I deviated from what McCall's wanted. The pattern called for using an 8" styrofoam ball as the head, and if I had one I would have used it, but I didn't. So I trek off to Joann's to get one only to find that they wanted $16.99 for it! Yeah, no. So a 30" x 30" square of white fabric filled with stuffing and tied onto the dowel with white cording around the neck may not be a perfect round head but its free and I like it!
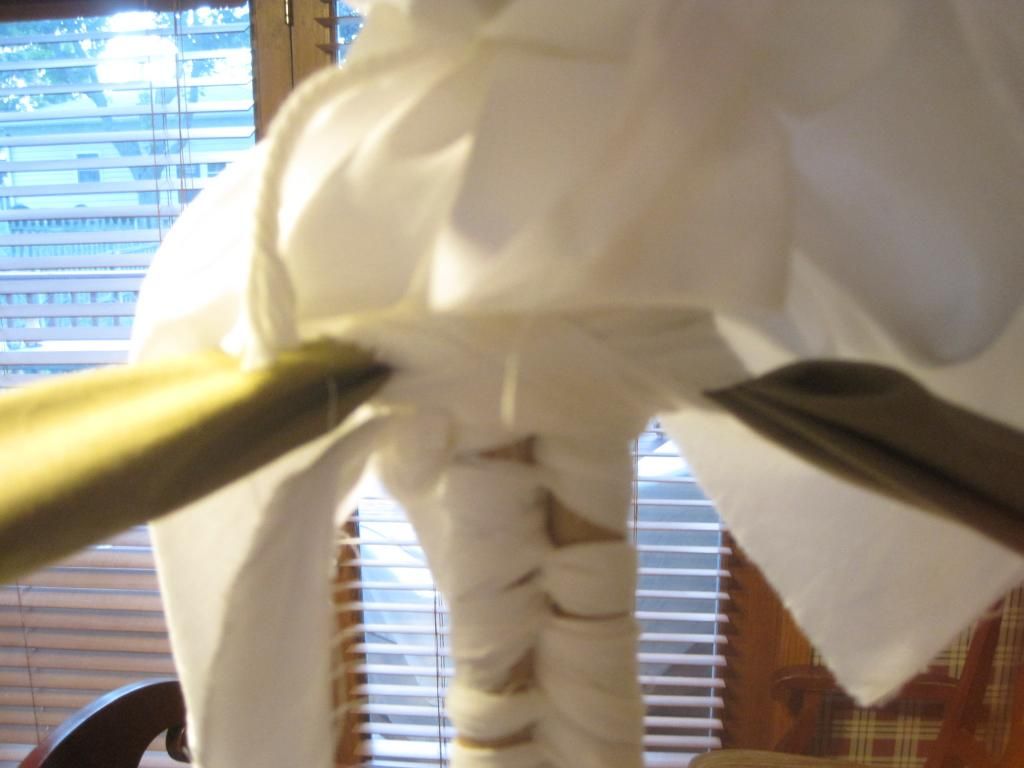
Using the last strip secure the arms directly beneath the head on the dowels, tie the ends tightly.

All that is left is to cover your you dowel with head and arms with the fabric, glue on two eyes cut from the felt, and decorate as you see fit. I made the little garland from the pattern, but how cute would this look with a little trick-or-treat bag! Check out Abby giving a disapproving photo bomb. As the fabric is draped on him and not stuck down he is not weather proof. He will stay inside until Halloween and then he will go out to entertain the kids looking for candy. He can be taken apart at the end of the night to be packed away until next year!
I hope you make some great crafts for Halloween this year and thoroughly enjoy your candy haul.
Keep it spooky ,
Kelly
0 comments:
Post a Comment