
Supplies
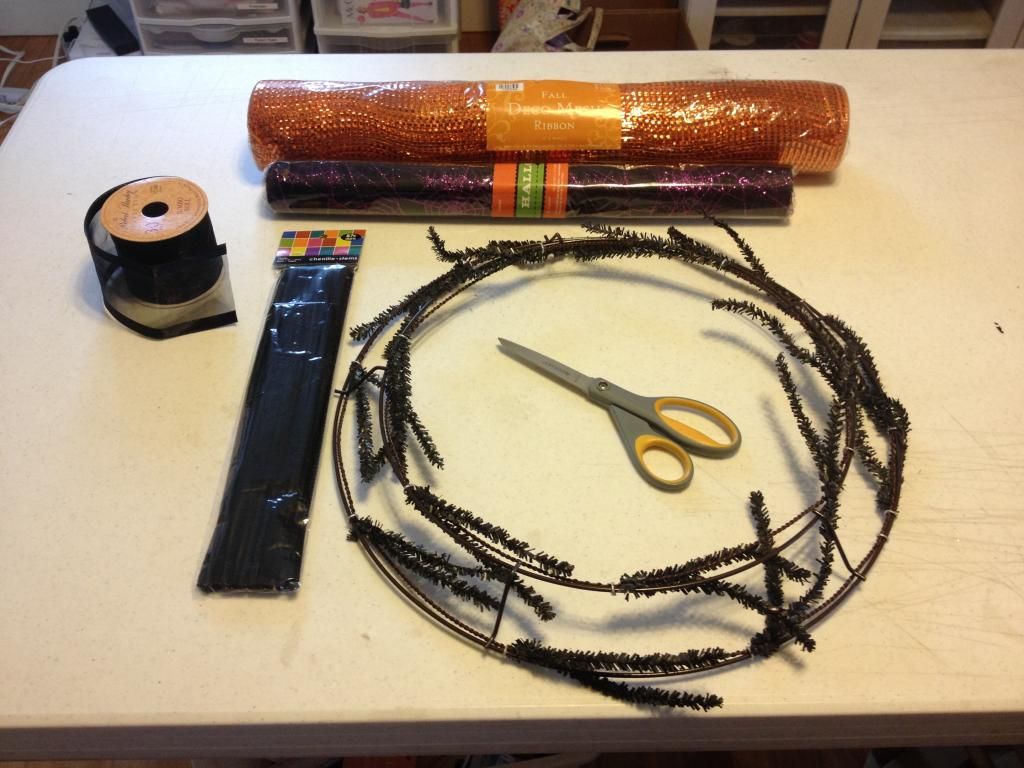
Work Wreath - I got mine at Hobby Lobby. Try to get one that will blend in with the colors of mesh you're using.
Deco Mesh - I used one roll of a metallic orange kind and another roll that ended up being more of a decorative tule.
Ribbon - Wired kind really helps with shaping. Wish I had thought of that before I put this one together.
Scissors
Pipe cleaners (just in case)
1. First you will want to adjust all the twist ties on your work wreath so they are sticking straight out instead of lying against the frame. This makes it much faster and easier to attach your mesh. Sorry there's no pic of this.
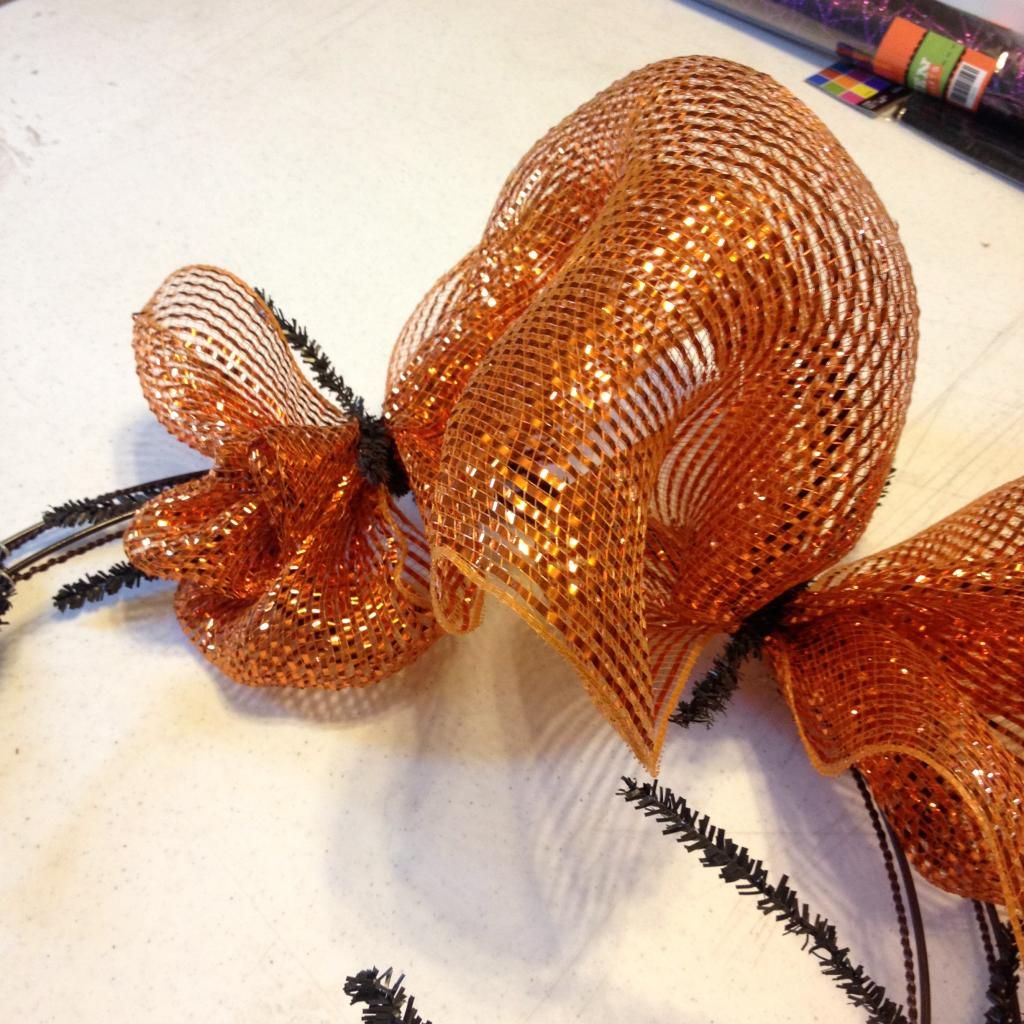
2. Now take your first/major color and fold the end over by about 6-8 inches and attach it to one of the ties on the inner rim of the wreath.

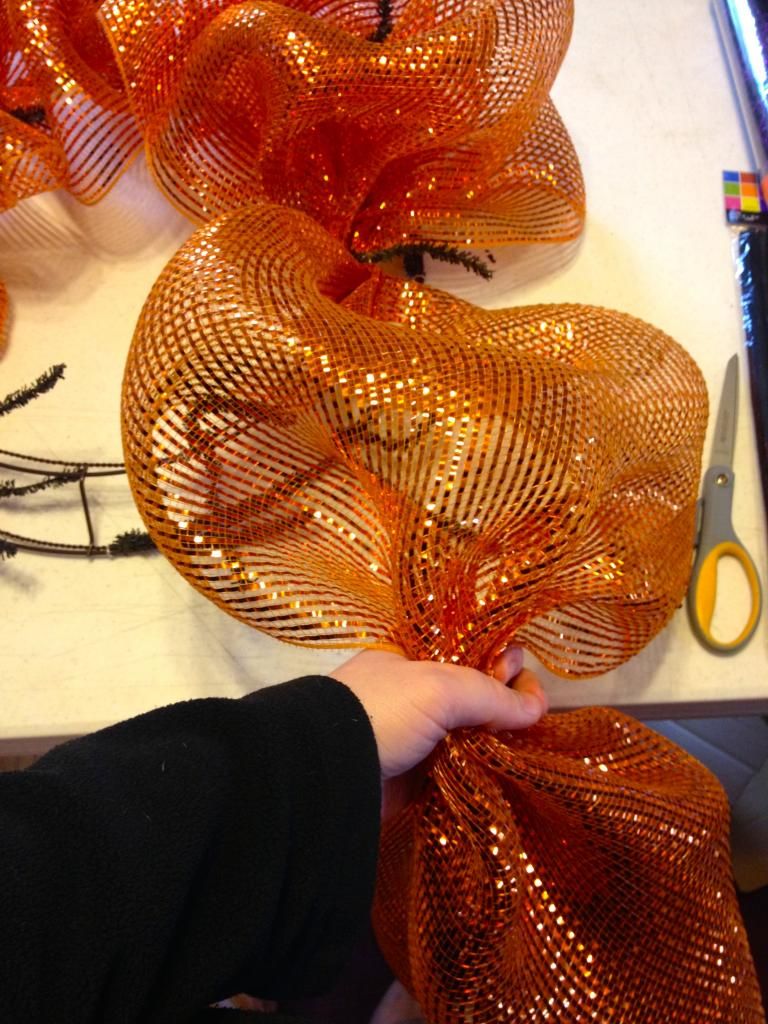
3. Now about every 12 inches or so down the roll you will be gathering to make the big bubbles of mesh. Run your hands down the mesh so you are about 12 inches or so away from your first tie. Gather the mesh into your fist and attach it to the next tie. It will make a bubble/hump like this.
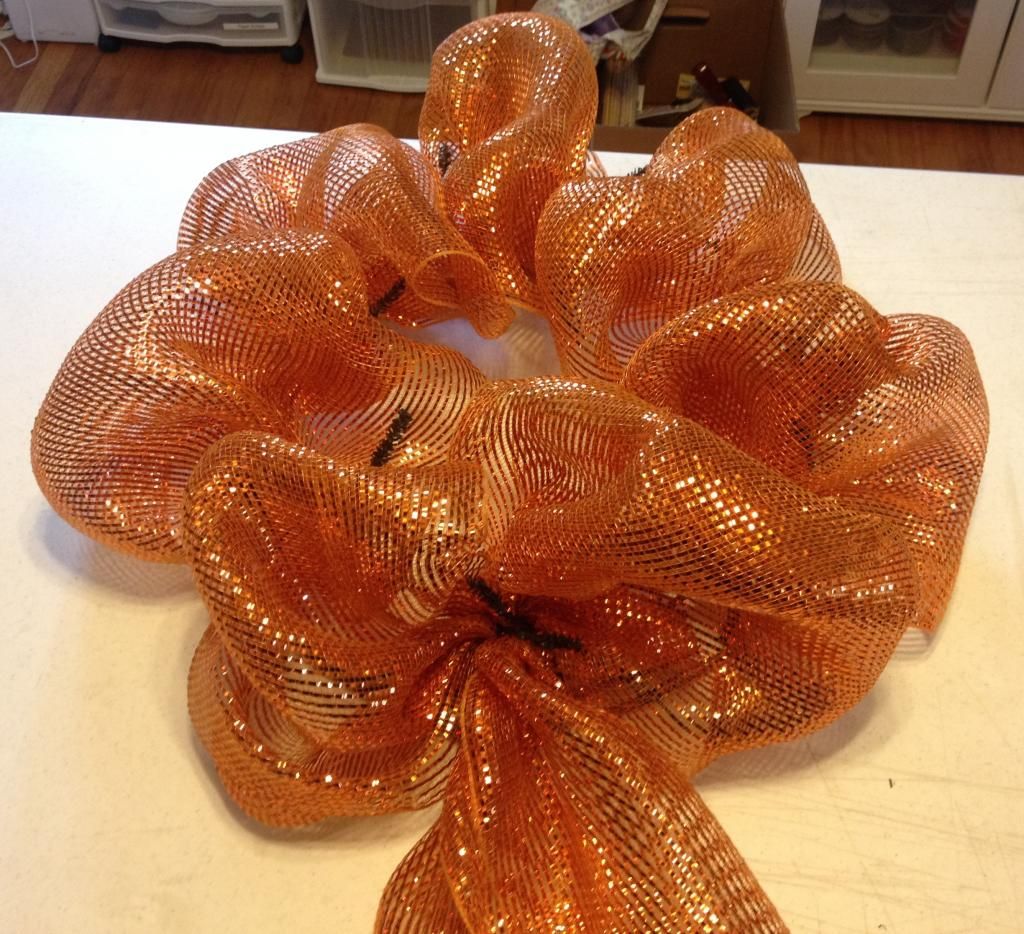 |
| This is just the inner ring of ties. |

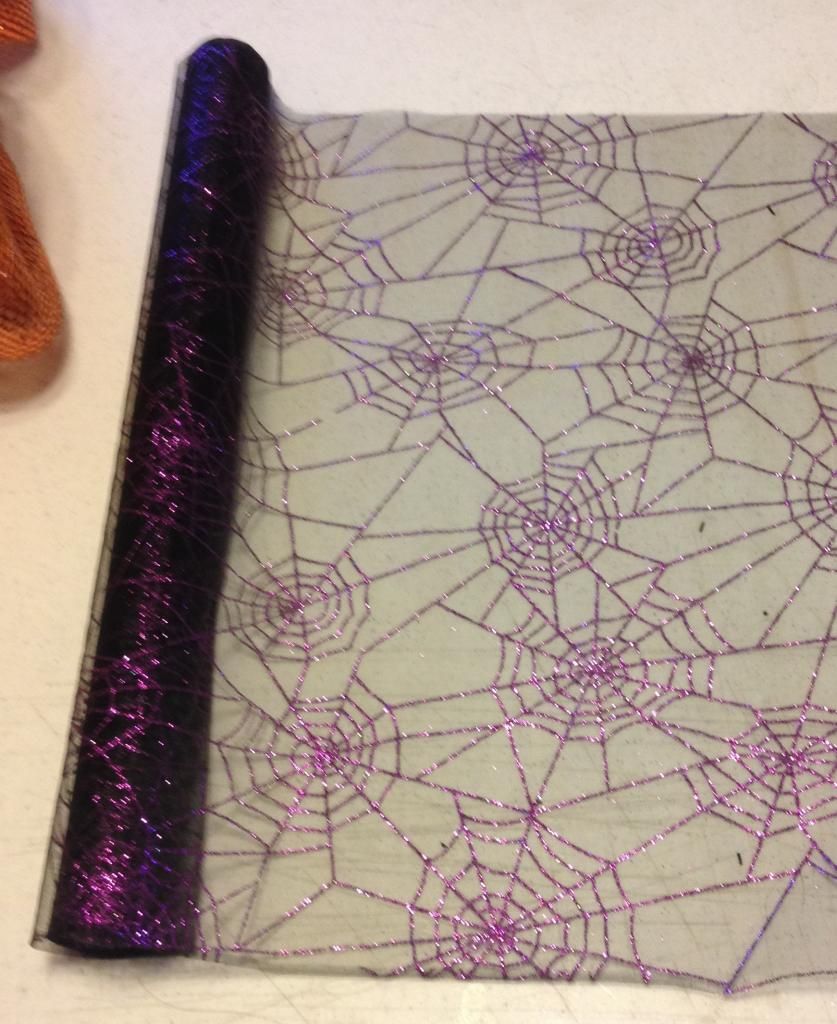
4. Now we will add your second color/decorative tule. I love this one I found that is shear except for the glittery spiderwebs.

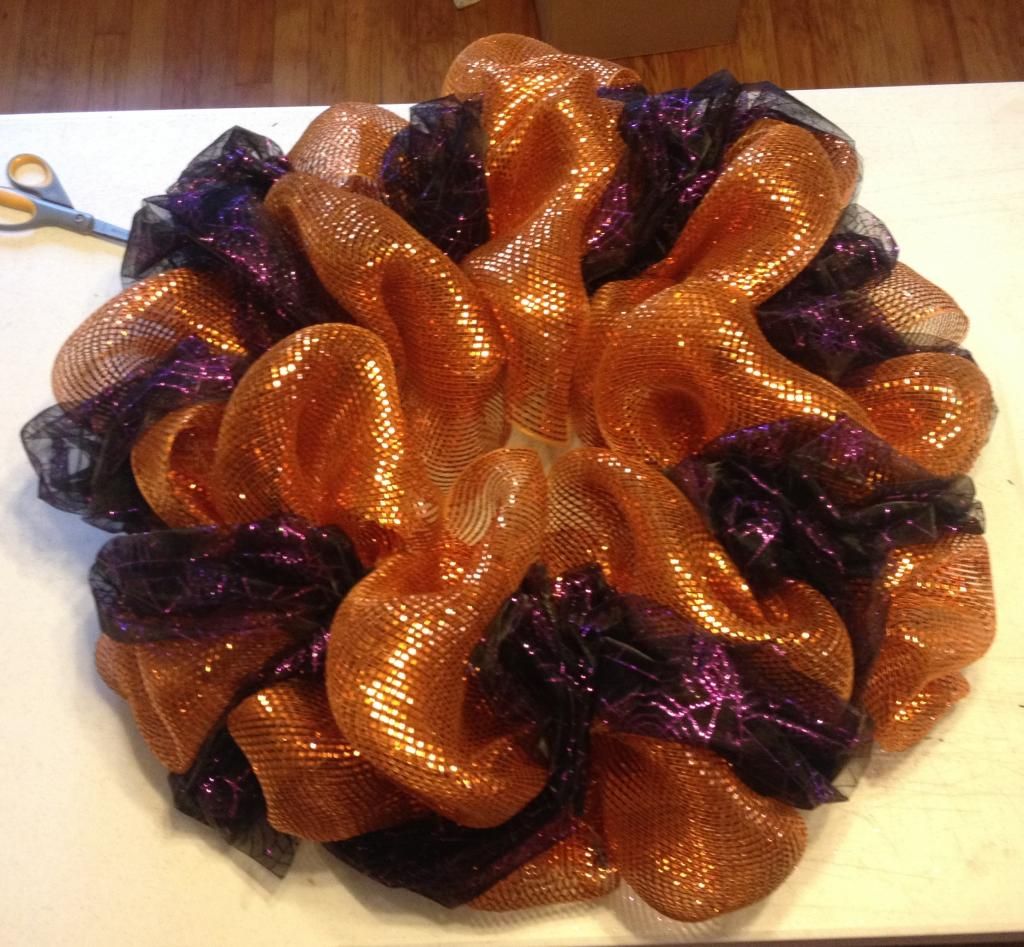 |
| Orange mesh + purple web tule |
I tried to stagger my ribbon from the tule to make them overlap a little but you can do whatever you want. This is the step where you would use the optional pipe cleaners. I keep them handy so in case there isn't a tie where I want the ribbon to go I can attach one to the frame as needed.
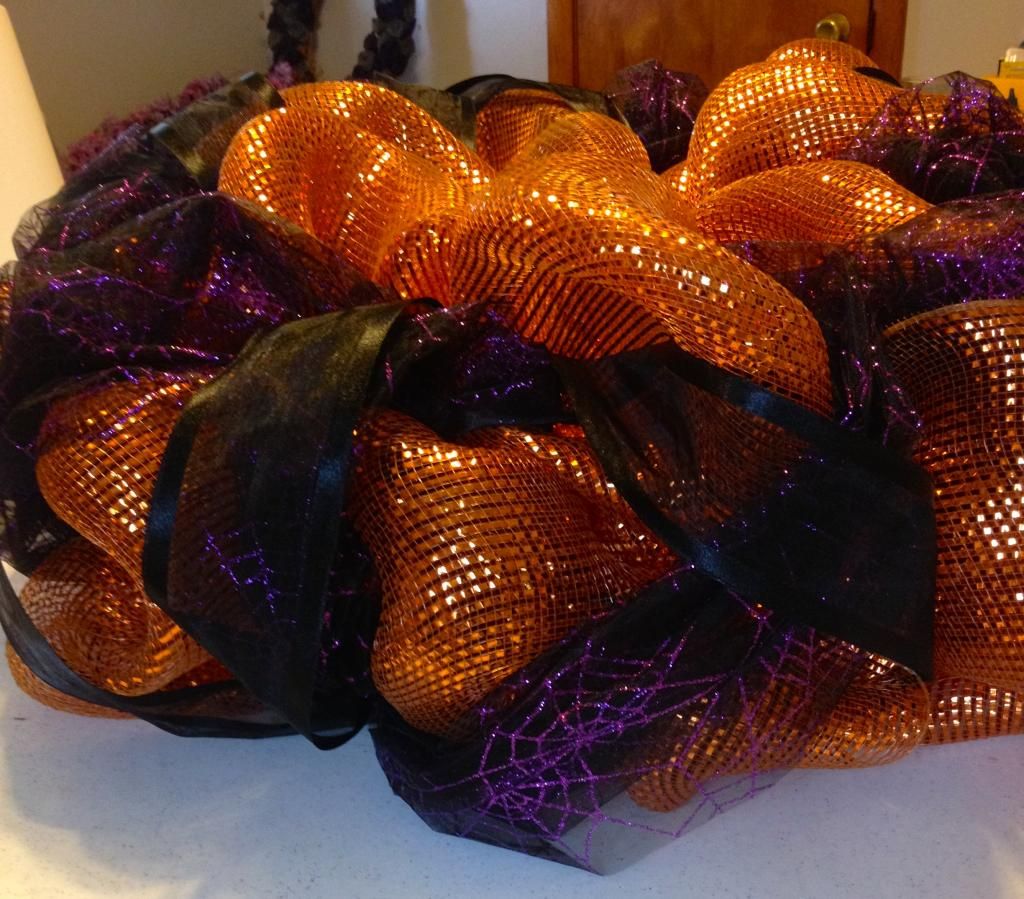
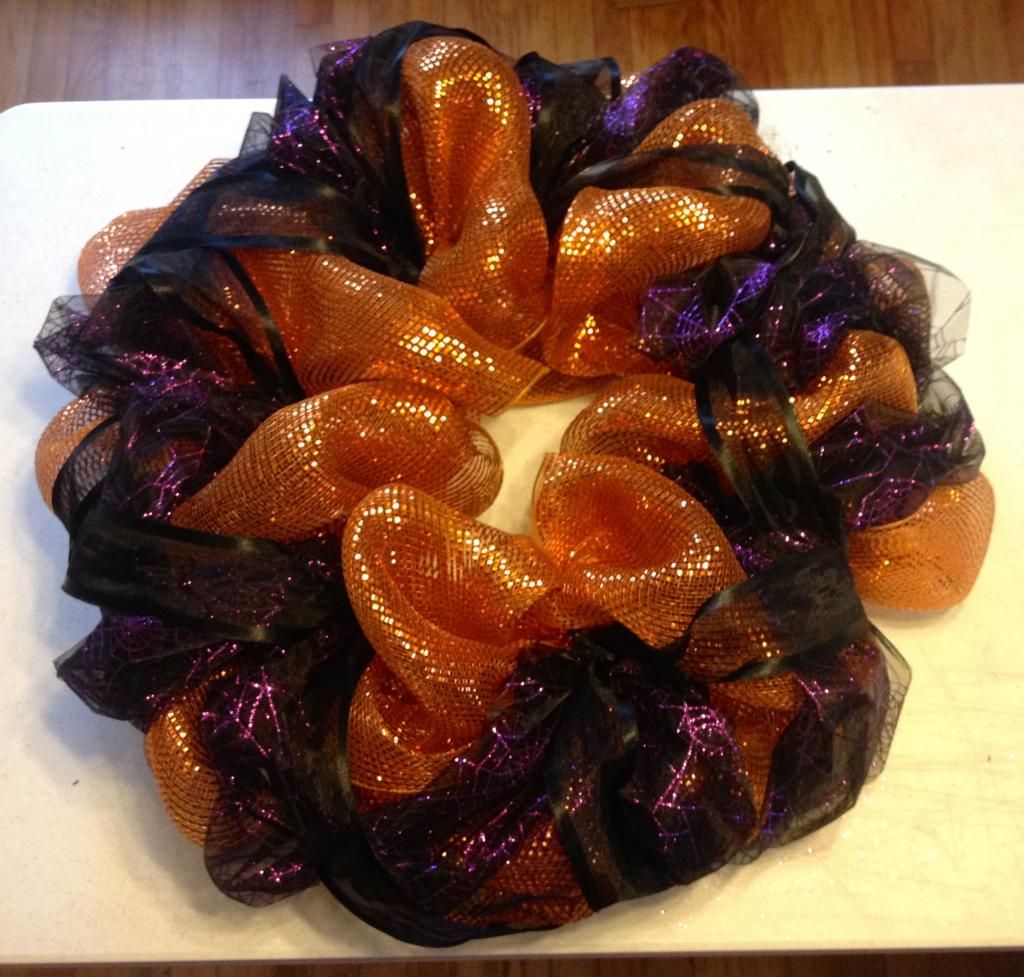 |
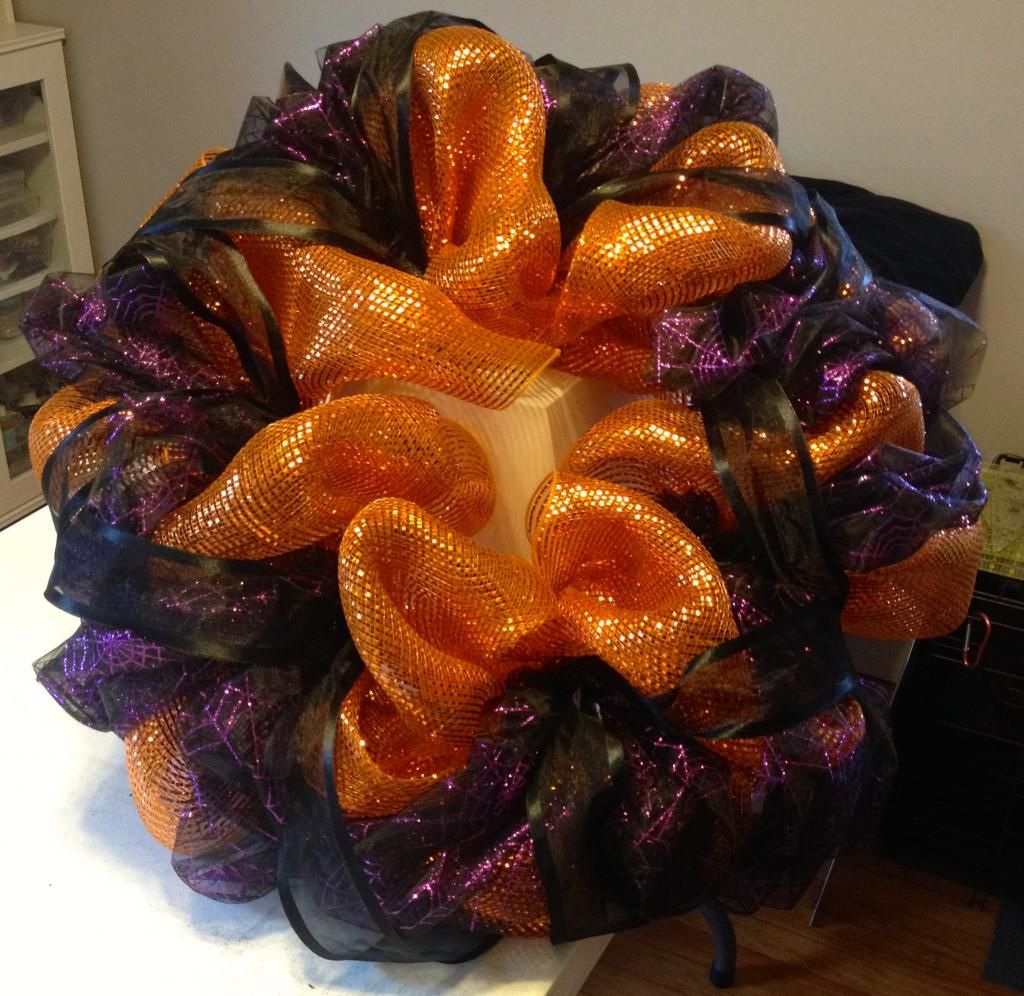
| Mesh+tule+ribbon |
Stop by Friday to see part 2 of this tutorial.
Craft on!
Anita
0 comments:
Post a Comment