
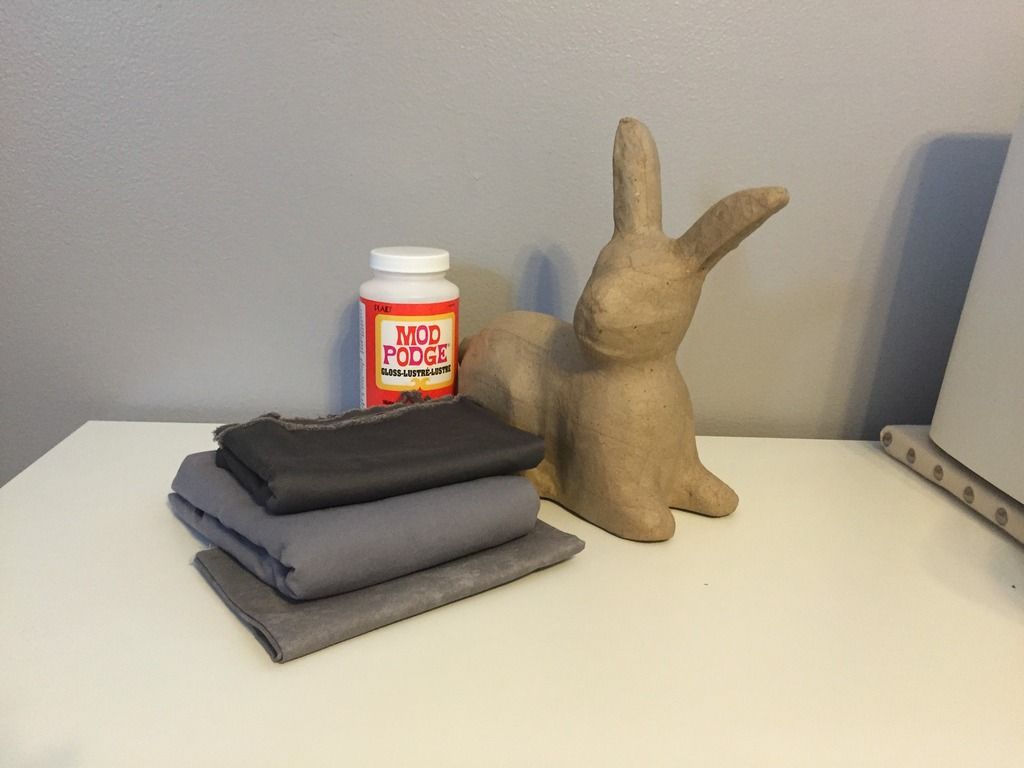
First was the bunny. I had this idea to decoupage him with fabric but was a little nervous how he would turn out. I used some scrap fabric laying around and did it in layers until the surface was covered
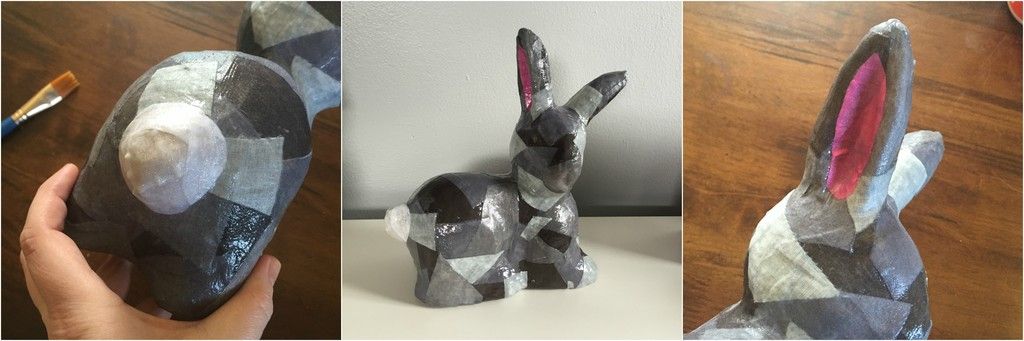
I used Modge Podge to apply the fabric and then I sprayed it with a clear coat just in case. I like the extra shine the clear coat adds too. Bunny, check.
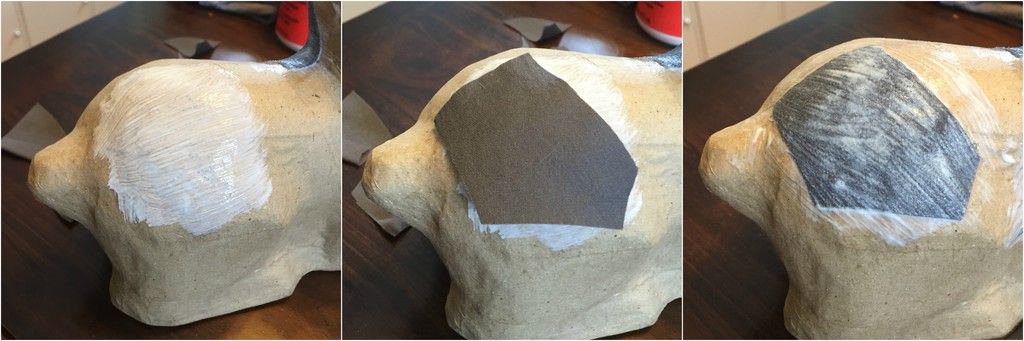 |
| Modge podge.....add fabric....more modge podge |
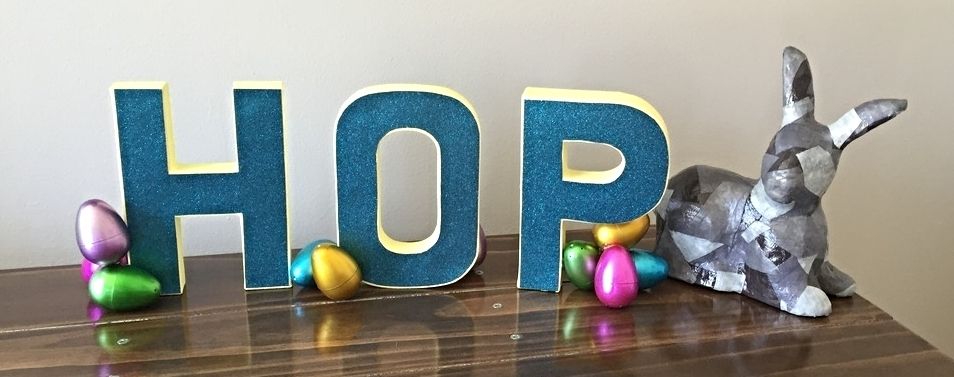
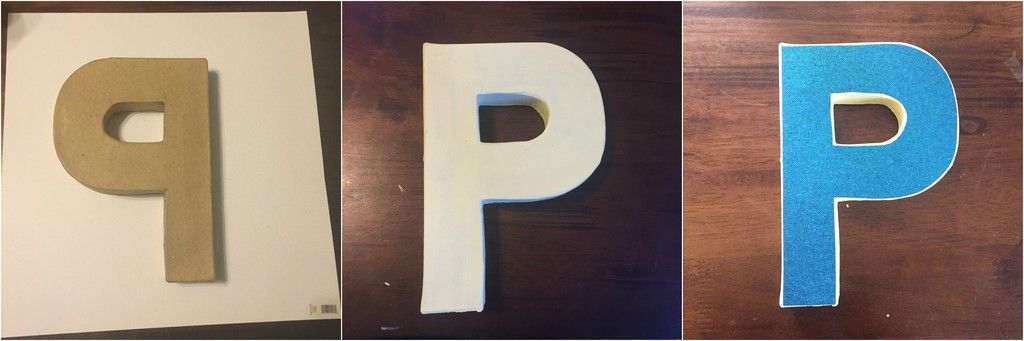
I put them right side down on the backside of some awesome glitter paper that I had also been holding for this project for two years, traced the letter and cut it out. Then I painted them a base yellow color, I glued the glitter paper to the front with good old Elmer's glue and added a plain blue paper to the back for a finished look.
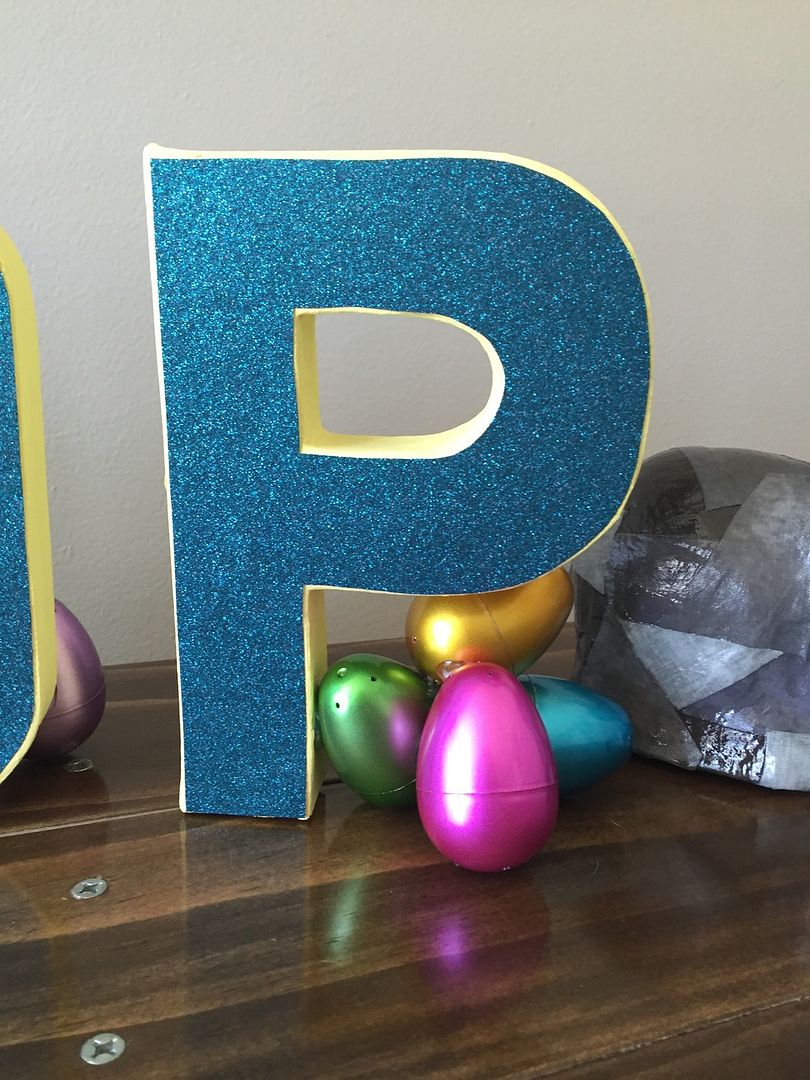
Done, right? NO! The H and O would stand on their own but that pesky P was not balanced. It was right heavy unlike its letter cousin the R. What to do?!
Luckily I had a bunch of spare metallic plastic eggs laying around like any good crafty border. Eureka! I hot glued them in a little mound to support the right side of the P so it wouldn't fall over. Then I also added the remaining eggs to the H and O so it would look intentional and to add some standing support. Nothing like crafting under pressure to get your creative juices flowing.
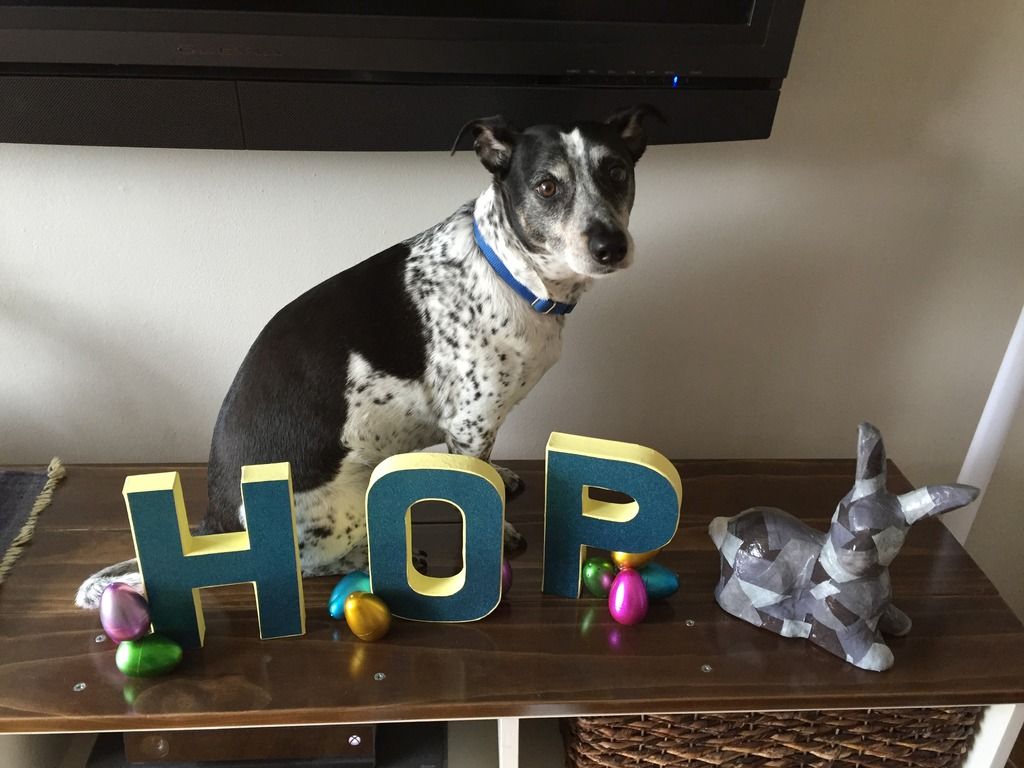
I'm pretty happy how the whole thing turned out. What do you think, Mr Biscuit?
0 comments:
Post a Comment