

I've been watching a lot of sewing shows and online classes recently and have been coveting the table top pressing boards all the while. It was time to make my own and join the ranks of serious sewers around the interweb. I've seen a bunch of tutes on how make simple pressing boards and they all do a good job outlining the steps but I added a couple special features to mine to bring this board into the luxury category. Plus this board is doing double duty as the top surface of a drawer unit so I needed it to be able to be up to the task. It only took about an hour from start to finish. Let's get started.
Supplies
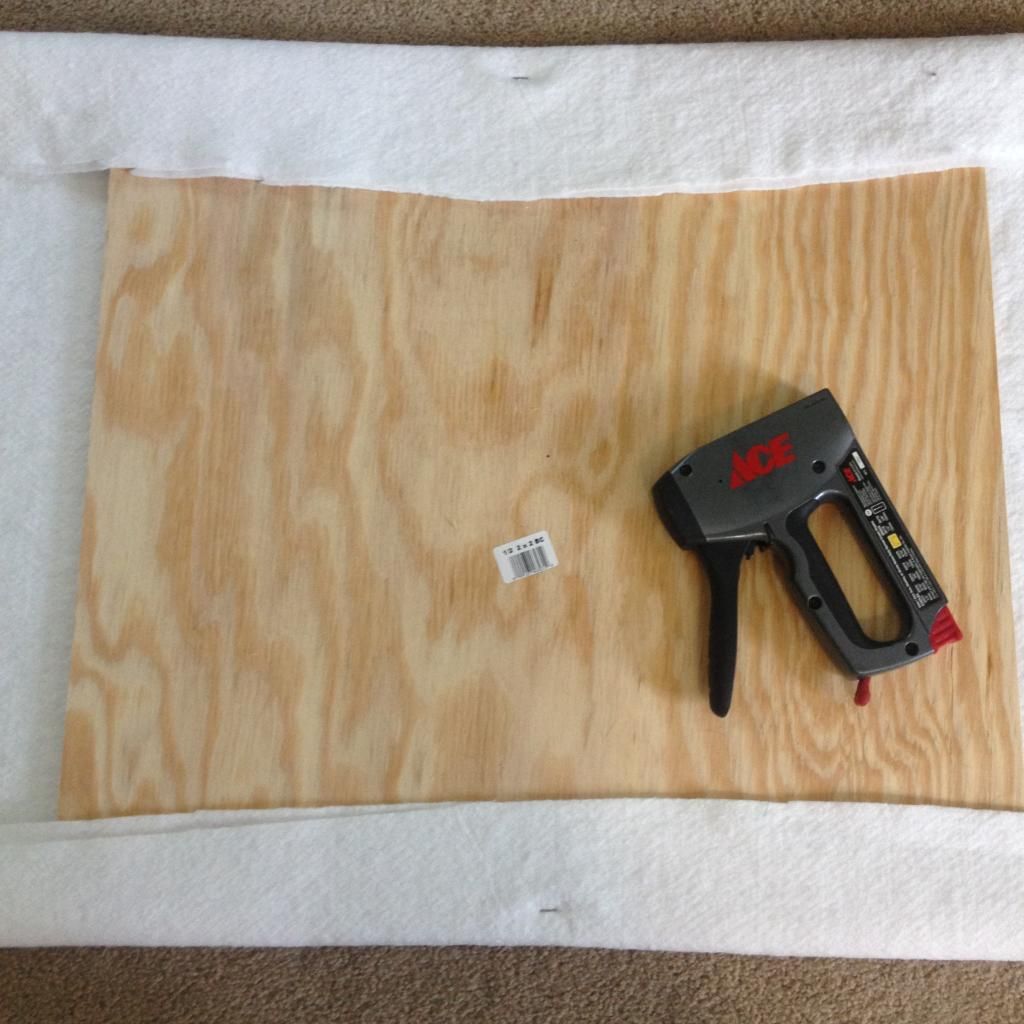
2' X 2' piece of 1/2 inch plywood - They had this precut at my Home Depot but if you want yours a different size go ahead and cut whatever size you want. I didn't want to have to break out the saw for this one and the size was just right for my needs. I also didn't bother sanding the edges but you could if you want. This tute is done with the board right off the shelf.
100% cotton canvas - 1 yard is plenty
100% cotton batting - bought mine off the bolt and only needed 1 yard total, get the really wide stuff for this measurement
Gripper fabric - a piece the same size as your board so for mine it is 2' x 2' square. See step 7 for a picture if you've never used this before.
Decorative nail heads - these are in the upholstery section
Staple gun with staples
Hammer
Glue gun
Scissors
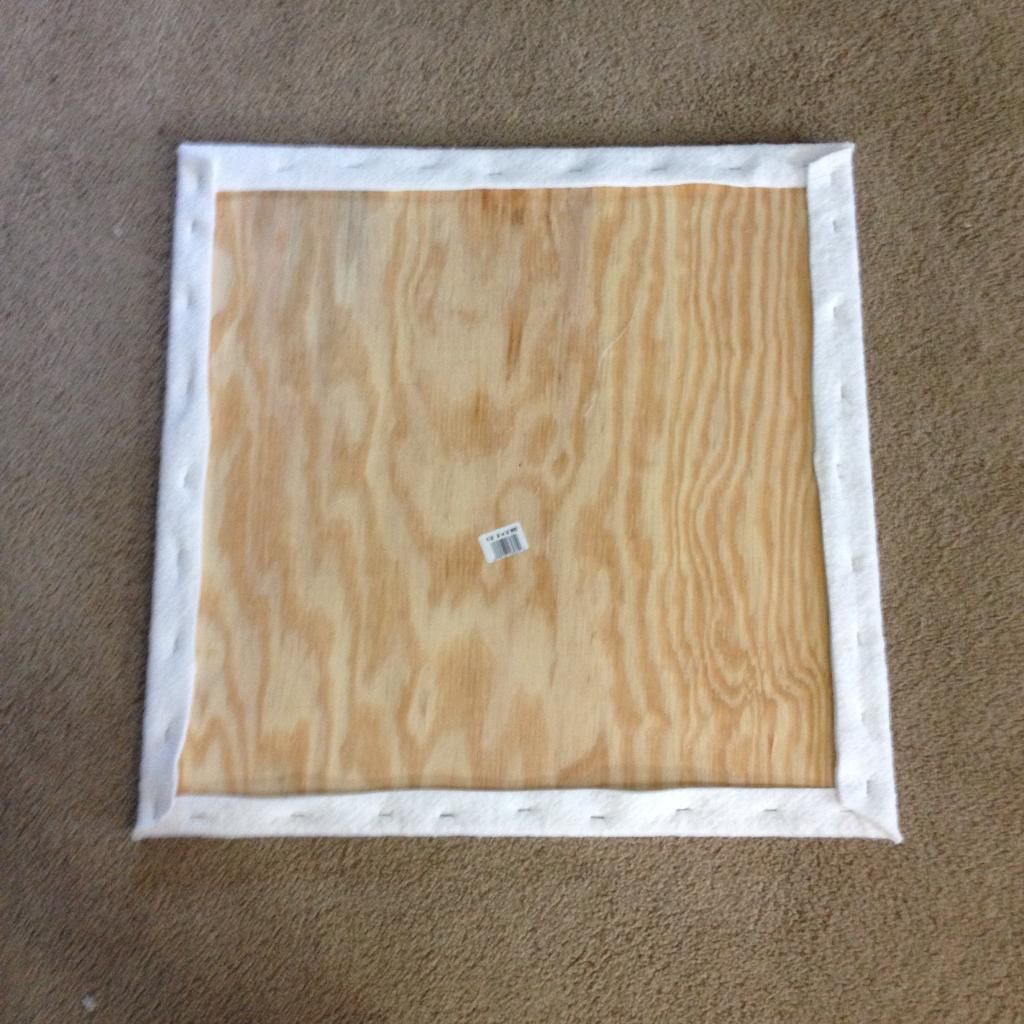
1. Cut two pieces of batting about 4" larger than the board.

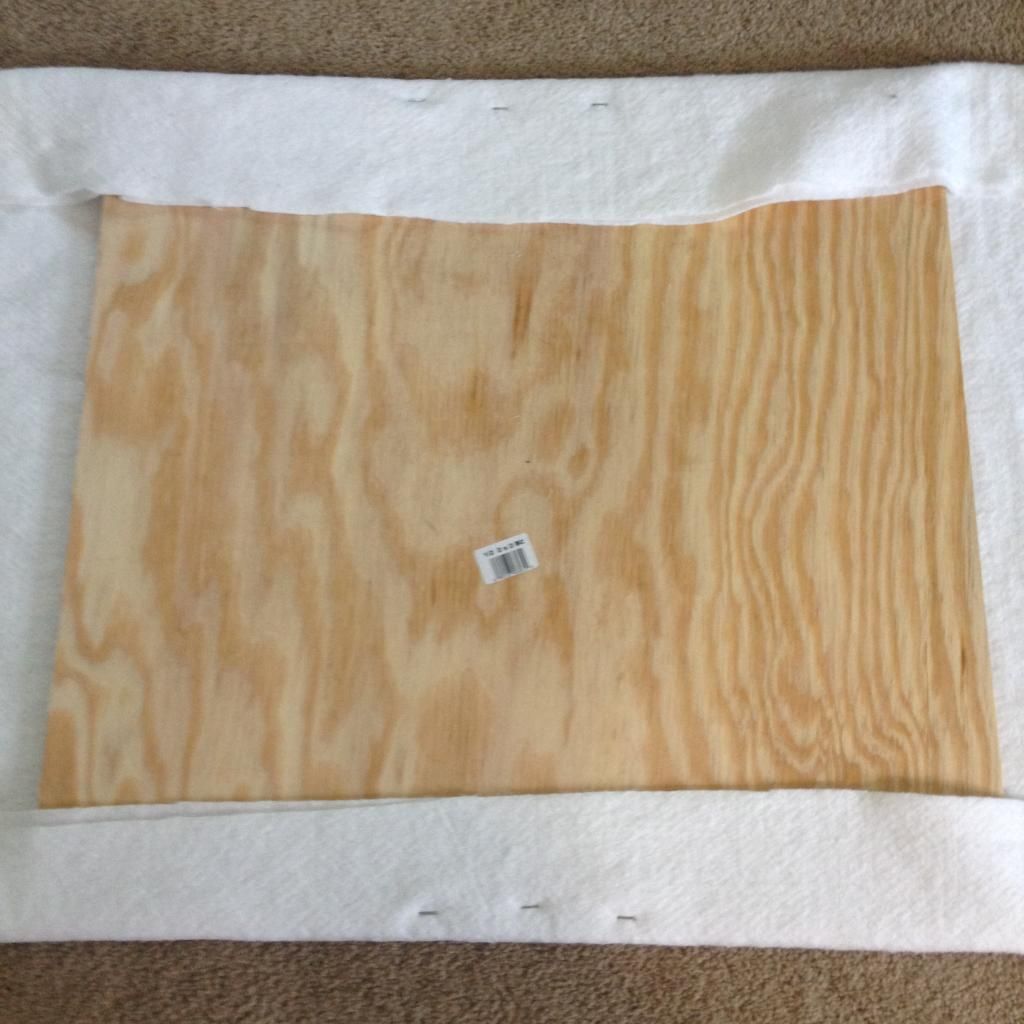
2. We are going to attach the batting to the first two sides. Start stapling the batting about 3/4 inch from the edge to the back of the board, working from the center outward on two parallel sides.
Every time you staple on one side your next staple should be in the same place on the opposite side of the board. Tug on the batting each time to keep it taut. You can also use your hammer to sink the staples so they are snug.
Every time you staple on one side your next staple should be in the same place on the opposite side of the board. Tug on the batting each time to keep it taut. You can also use your hammer to sink the staples so they are snug.
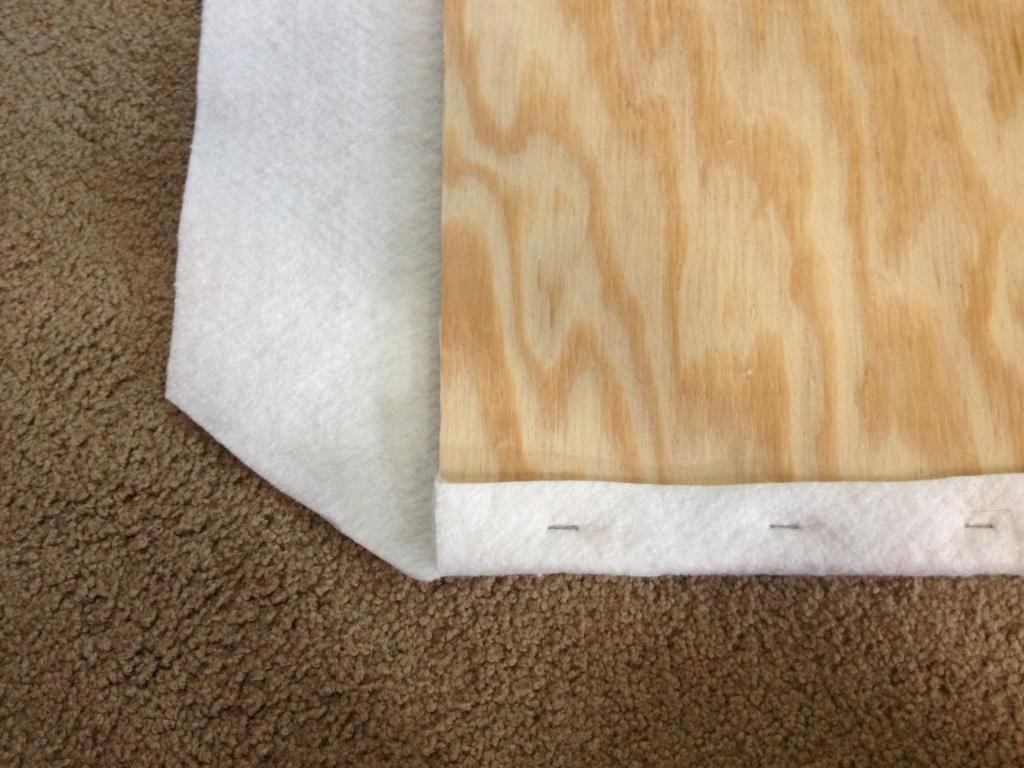
3. Next trim your batting at the corners at a slight angle. This will help with bulk when we cover the board. You'll also want to trim the batting about 3/4 inch from the staples to clean it up.
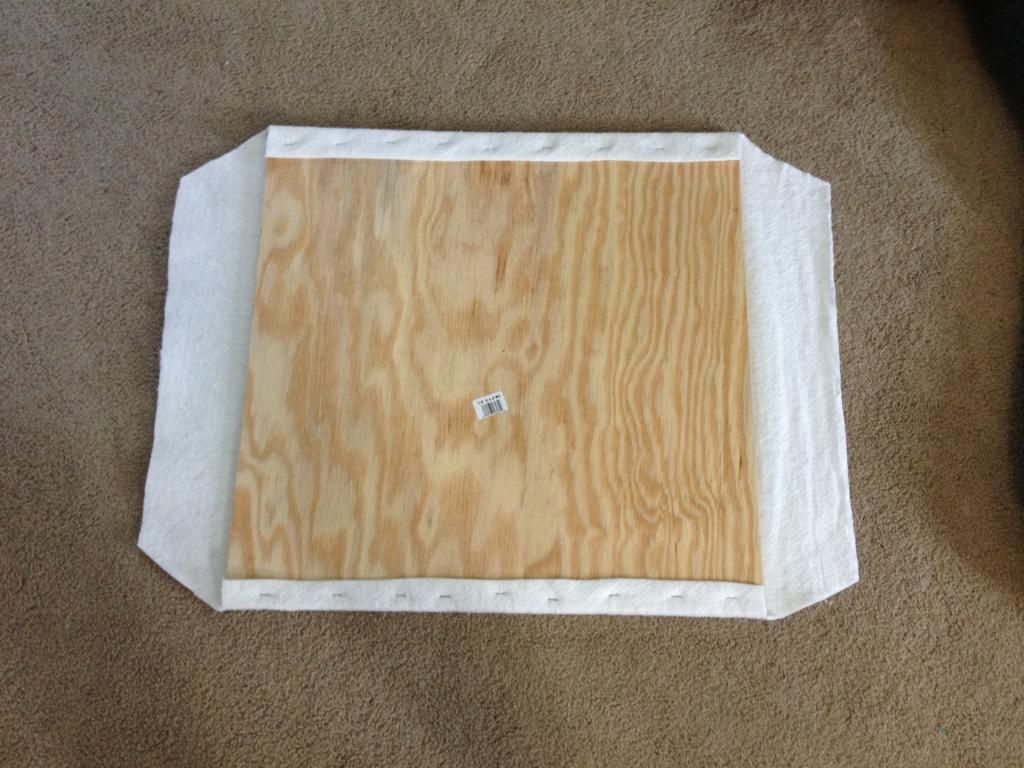
4. Now repeat the stapling in step 2 on the other two sides and overlap at the corners like below. Make sure to trim your batting so its nice and neat.

5. Now you're basically going to repeat the stapling with the canvas to cover the whole thing with one slight difference. Before you get too close to the corner fold it in so you overlap and create a mitered corner. Your canvas should overlap the edge of the batting. I actually used it as a guide for my staple gun to but up against cuz you can feel it through the canvas. This means your canvas staples will be slightly deeper toward the middle of the board.
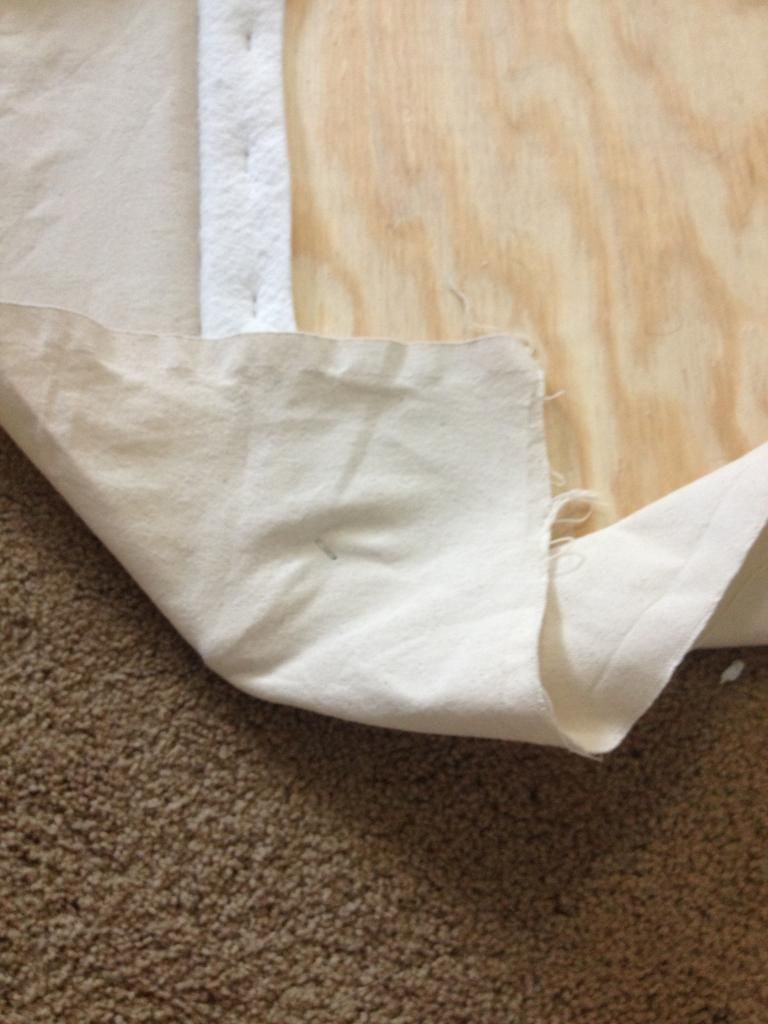

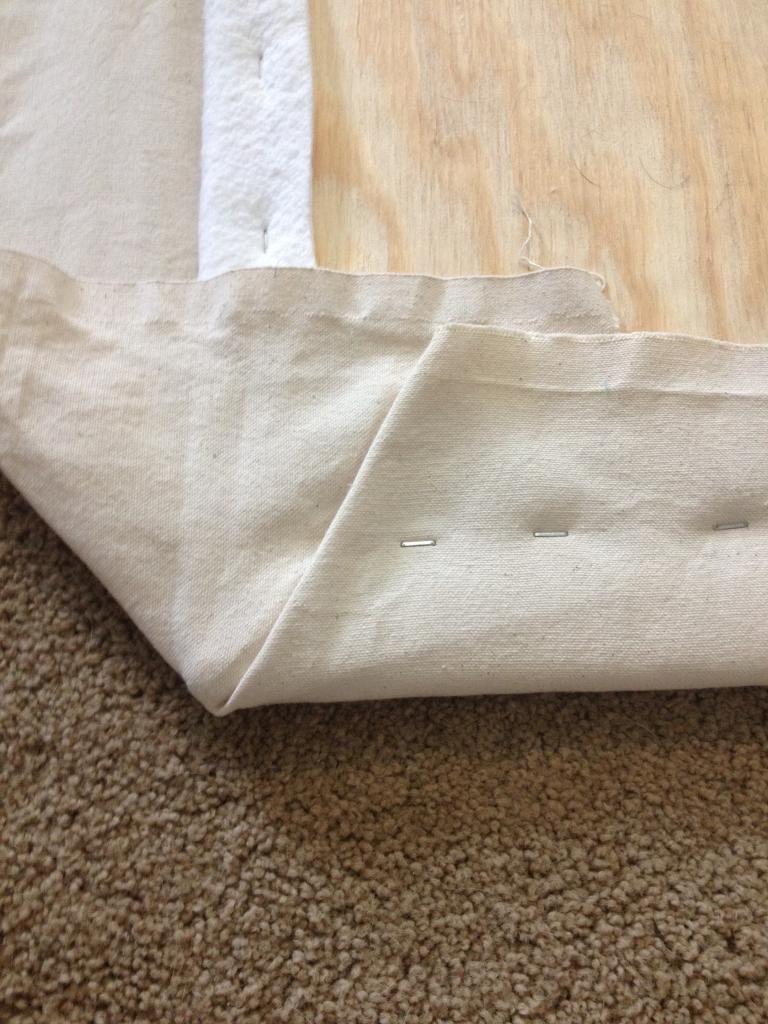
Trim your canvas so its nice and neat.

6. Now cut two more pieces of batting that fit the uncovered portion of the underside of the board and staple them in place. (Feel free to use scraps.) This is just to fill the void and make it more flush with outside layered edge.

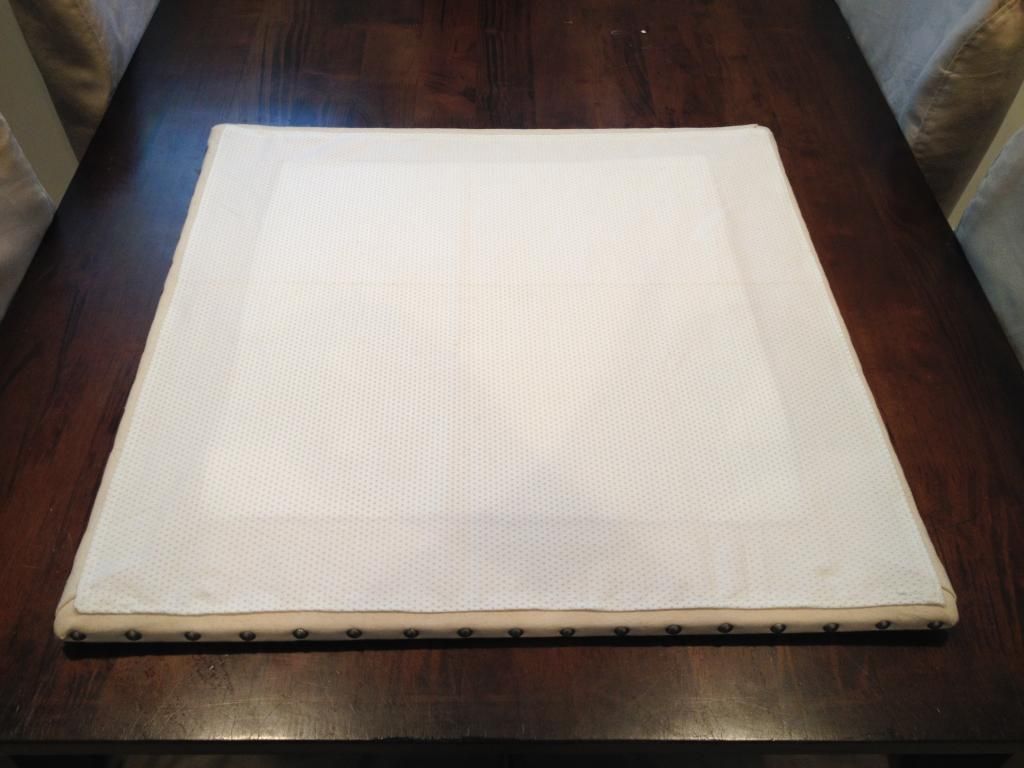
7. The gripper fabric has two sides, one flat and one with nubbies which is the right side of the fabric.

Turn the edge under by 1/2 inch and stitch around the perimeter to have a folded nubby edge on all four sides. It helps if you have a Teflon foot to keep it from sticking on your machine but a regular one works ok too. Also make sure you are running the fabric over both the feed dogs to get it pulled through the machine evenly.
Turn the edge under by 1/2 inch and stitch around the perimeter to have a folded nubby edge on all four sides. It helps if you have a Teflon foot to keep it from sticking on your machine but a regular one works ok too. Also make sure you are running the fabric over both the feed dogs to get it pulled through the machine evenly.

Now use your glue gun to adhere it to the bottom of your board. This covers up all the nasty staples and gives you a non slip bottom to your board.
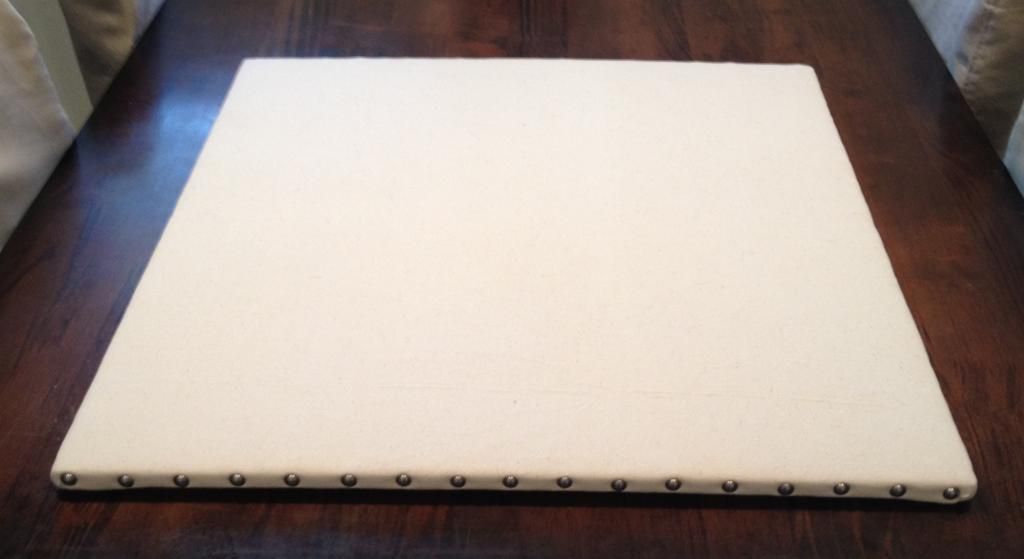
8. Last step is to attach your decorative nail heads to the outside edge of the board. Just nail them on with the hammer. Mark each nailhead spot on the fabric so you know they will spaced evenly. I put 17 on each side but you can put more or less if you like. This may seem like a lot of railheads to hammer in but I got in a rhythm and was done in about 30 minutes.
Tada! You've got a glam looking tabletop pressing board. Here's a pic of the bottom.
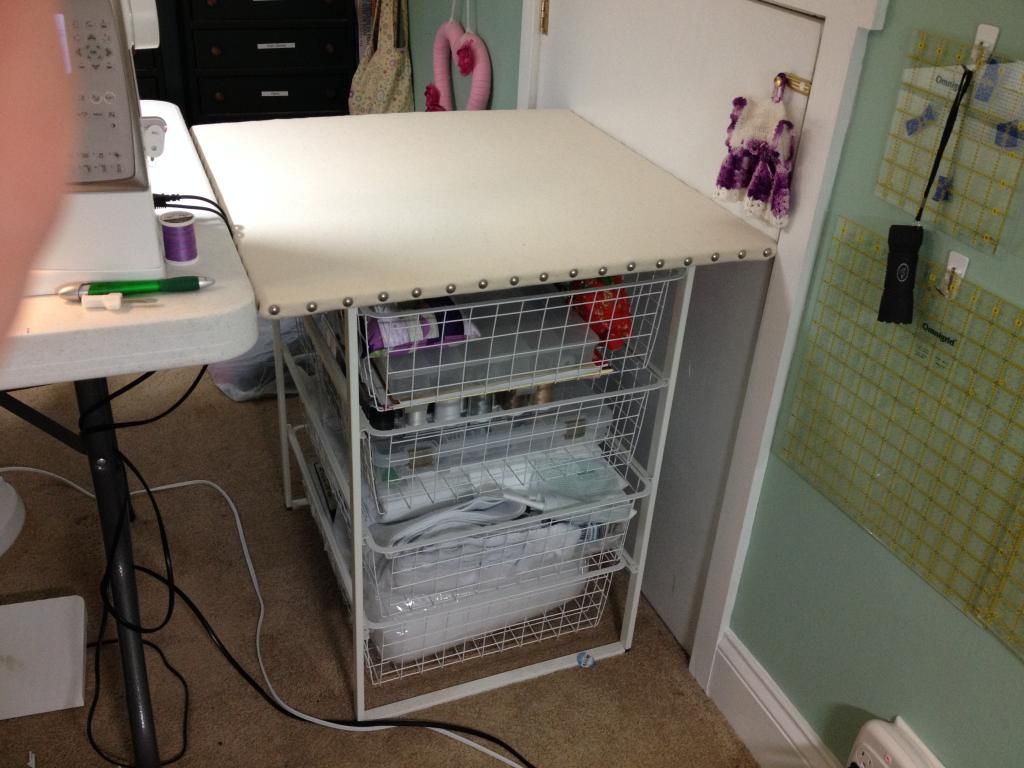
I actually use mine as a tabletop to a drawer unit I got at ikea that sits next to my sewing machine. It's so close I don't have to get up to press a seam anymore. Hooray!
Gidget says she approves of the newest craft room addition.
Gidget says she approves of the newest craft room addition.

Craft on!
Anita
thanks so much for sharing on craft schooling sunday, fabulous DIY!
ReplyDeleteWhat a great idea! Pinned. Hugs! Lou Lou Girls
ReplyDelete