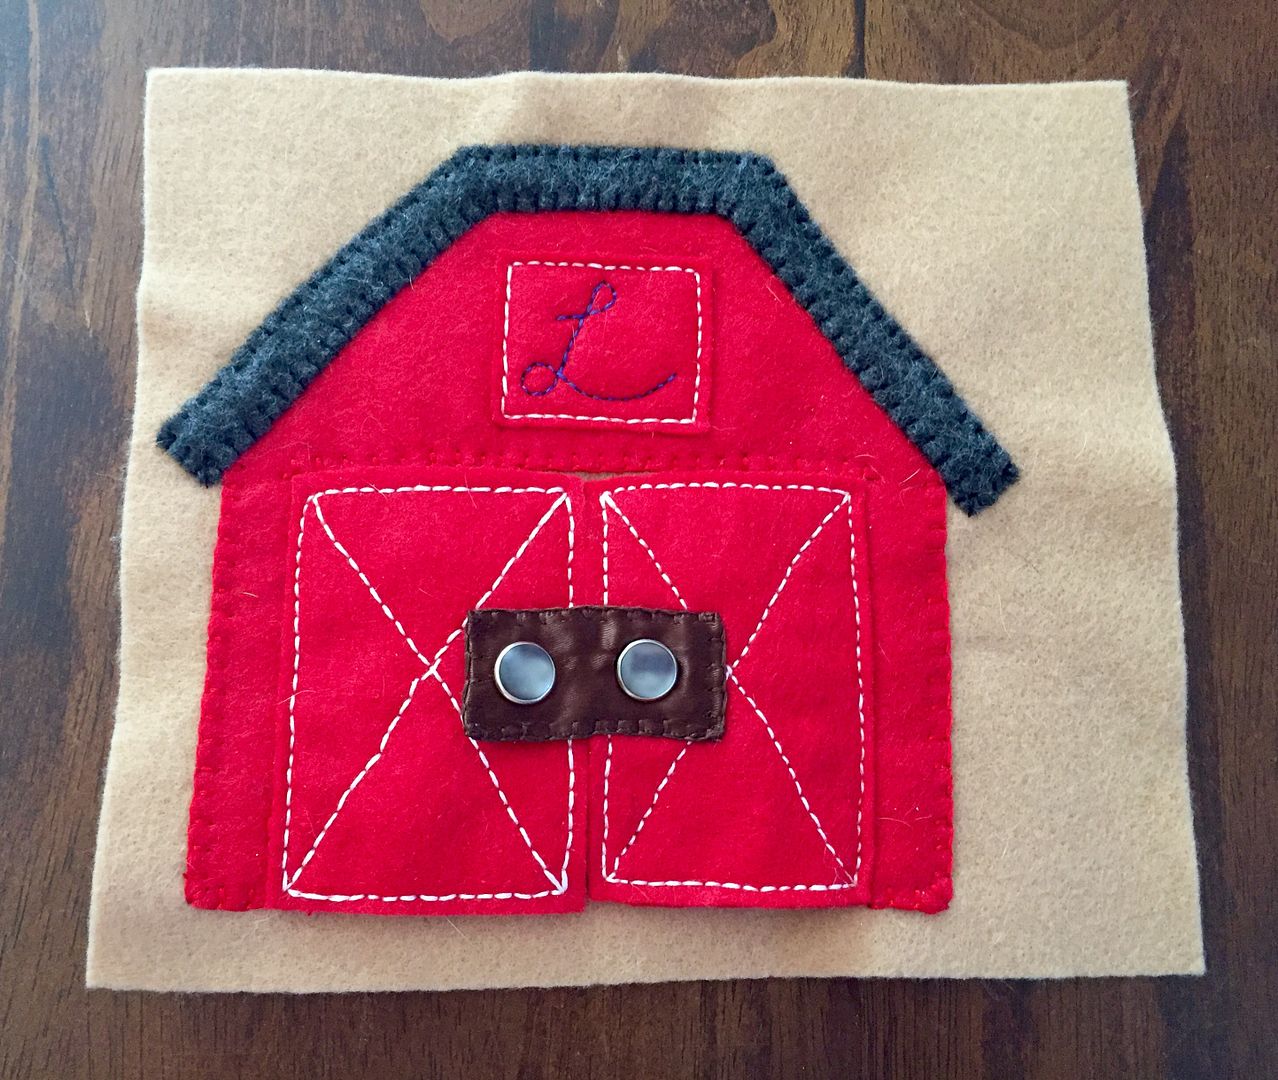
Next up on the farm tour is where all the animals like to sleep, especially cows. Who doesn't love a red barn? No one, that's who.
Did you notice the little L on the hay loft door? It's my son's initial, love the little details.
I wanted to do another page with flaps and what better way then a couple of big barn doors. I added pearl snaps, which was easier than I thought, to add another tactile element to the page.
The snaps grab onto the felt, 2 layers, really well. The brown latch is just ribbon folded over with a piece of canvas in the middle for support. The snap on the right side is just decorative but it helps to hold the ribbon onto that door. Here's hoping it will hold up to little fingers man handling it for a long time.
Last but not least I added in a Holstein, complete with udder, and this barn page was complete. Another page checked off the list.
Stay tuned for the next page. Only a couple left and then I move onto assembly.
Yes that is dog hair. Its pretty much embedded into everything I make.
I loved the flowers so much from the pigs page that I needed to add them somewhere else. Where better than to show how bees are raised. I always remember seeing these white boxes on the way to my grandmother's farm growing up.
I added in what a hive looks like in nature just for variety too.
This page didn't end up being super interactive but I love all the details. The bees are only attached by their faces, wings and stripes. Their cute little eyes are French knots.
I already love next week's page so stay tuned for more farming fun. Only 5 pages left!
Up next on my felt farm book tour is the pig pen. I wanted to figure out a way to put a pig into a mud puddle without getting dirty so I made a pocket.
This guy has a super long pink ribbon tail that is securely stitched into the bottom of the puddle.
His piggy buddy hangs out by the delicious looking flower patch growing nearby. The faces are stitched on to avoid any choking hazard and this time I added a little curly tail too.
The flowers are also stitched but just the centers so the petals stick out for dimension.
Comments? Suggestions for improvement?
Next up on our quiet book is my favorite farm animal - the Horse. Side note - I actually went to school to study horses and worked in the field for a period of time after college until I decided I didn't want to be broke for my whole life and that horses would be a hobby in my life's future instead of a career.
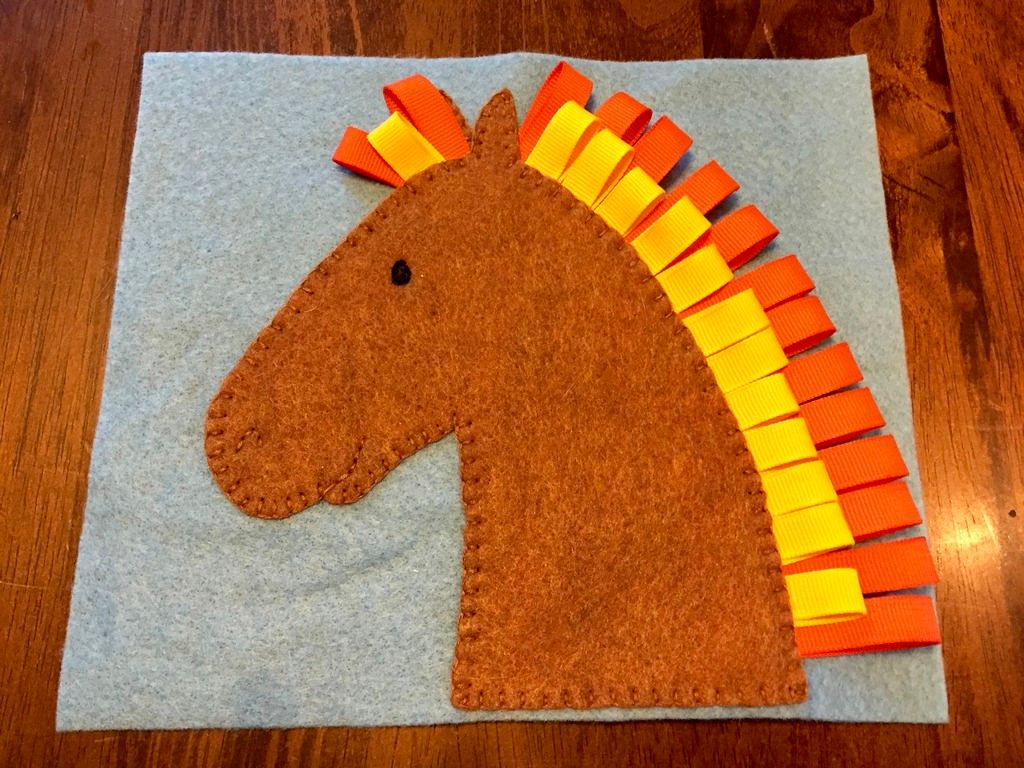
This guy was surprisingly a lot faster than the chicks I posted last week. First I drafted a little paper pattern for his head and ears and then we set off to make the mane. I knew I wanted to make something fun to grab and opted for ribbon since I figure it will launder better than yarn in the long run. I drew a line along the back of where his neck would be as a guide first. Then using my sewing machine I attached each of the folded over pieces of orange ribbon along the neck line. No crazy measuring here, just stuck piece after piece under the foot as I went along. When I got done with the orange I repeated the step with yellow for more color. Each of the pieces of ribbon were 4" long. I also added a couple pieces on his forehead since horses have mane that comes down between their ears too.
You can see the machine stitching in white thread on this picture of the back.
Next was to blanket stitch around his little ear in the back and then the main body. I added a little nostril and smile to his face too.
Last but not least was his eye which I satin stitched on just like the chicks from last week's page.
Done! Love this guy. Stay tuned for next week's page. I've got 7 more planned.
What came first, the chick or the egg? Who says we have to choose. Why not make a page about both? This page is all about the way chicks break out of their shell.
I started out with an egg shape and stitched down some crack lines first before blanket stitching it to the page.
Next was a broken egg so that my Little One can lift up the flap to see who's inside.
Last but not least a happy little chick flapping his wings about. I attached the wings only where they would come off the chicks body so they flap like real ones.
All the faces are satin stitched. I'm not going to use glue in this book in the hopes of it lasting a long time so stitching was the only way to go. I did add a little orange triangle under the beak stitching to make it a little more raised than the eyes.
Have to say I'm loving this quiet book more and more with each page. Stay tuned for the next farm topic in felt.
My little one is all of a sudden almost 6 months old. I haven't yet finished a project for him and figure it's time to start. With all the time I have been spending breastfeeding there has been a good amount of Pinterest surfing while stuck in a chair feeding him. That means a lot of new boards and pins have been discovered. One of my favorite new topics is quiet books. I love the idea of making one just for him with things we love so Im going to start with a farming book.
I'll be posting each page as I finish and show you how I stitch them all together in the end for a finish product. Here's the first finished page.....
I come from a farming family and my grandfather always had IH/Farmall tractors so rather than the John Deere green we went with red. The tires are attached with white buttons so when he gets a little older he can practice taking them on and off. I love how the blanket stitch around the edge looks like tread. Inspiration came from this QB page.
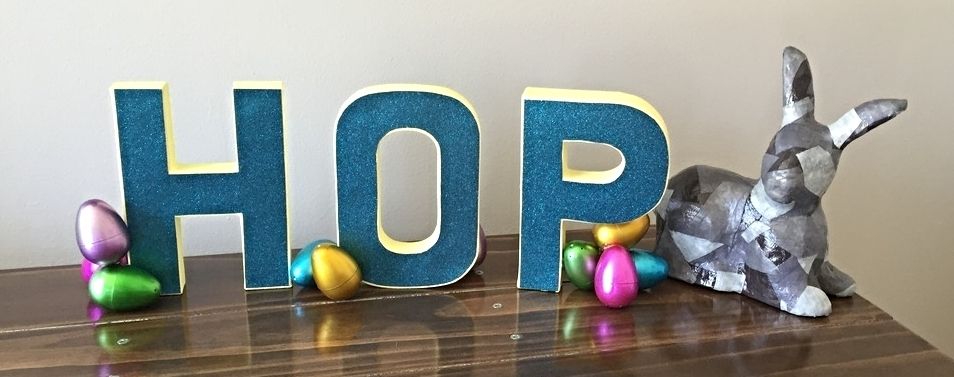
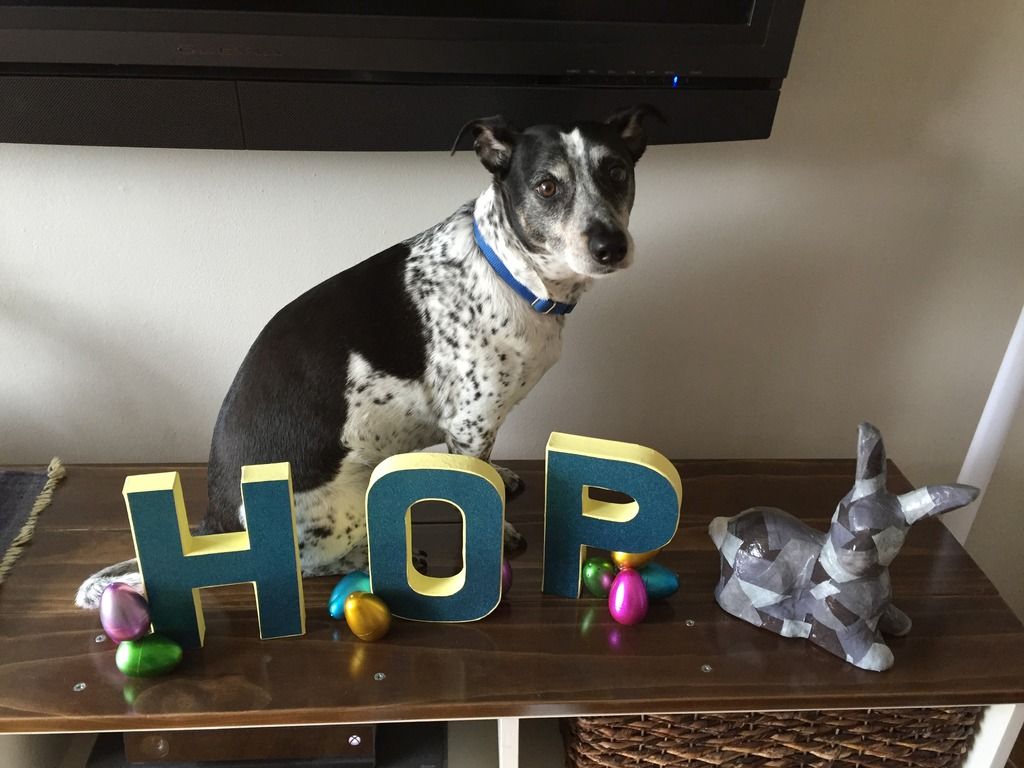
So I've had these paper mache letters and bunny in the closet for about 2 years waiting to be finished. We don't have a lot of spring or Easter decor so I bought them with good intentions. Well, in the process of cleaning out the craft room closet I found them again for the umpteenth time and I took it as a sign. I didn't get everything 100% finished until the day before Easter but who cares, right? Here's what I did.
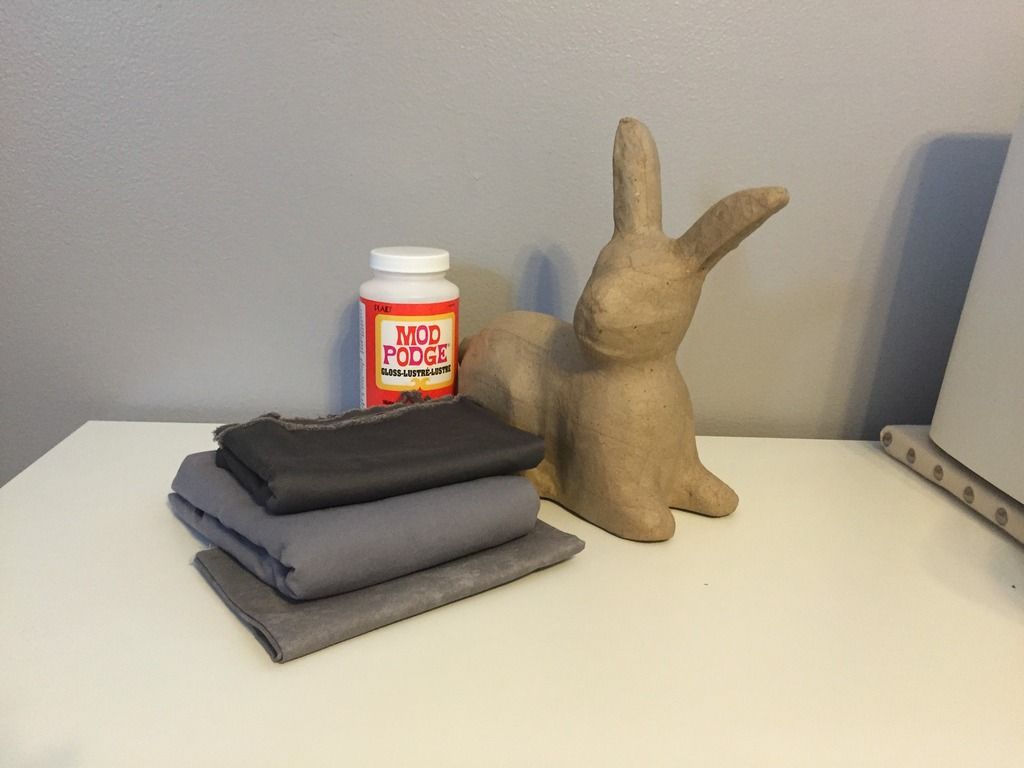
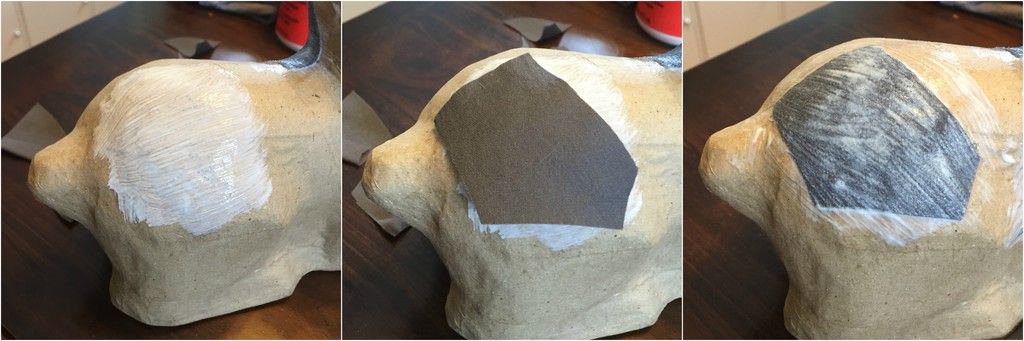
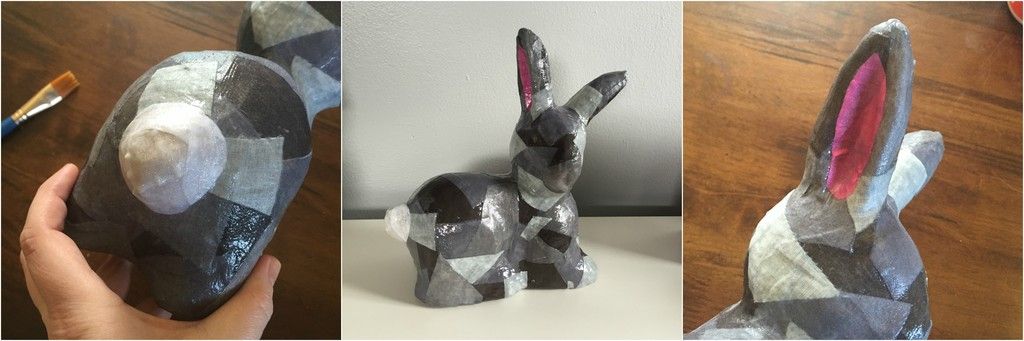
First was the bunny. I had this idea to decoupage him with fabric but was a little nervous how he would turn out. I used some scrap fabric laying around and did it in layers until the surface was covered
Modge podge.....add fabric....more modge podge
I used Modge Podge to apply the fabric and then I sprayed it with a clear coat just in case. I like the extra shine the clear coat adds too. Bunny, check.
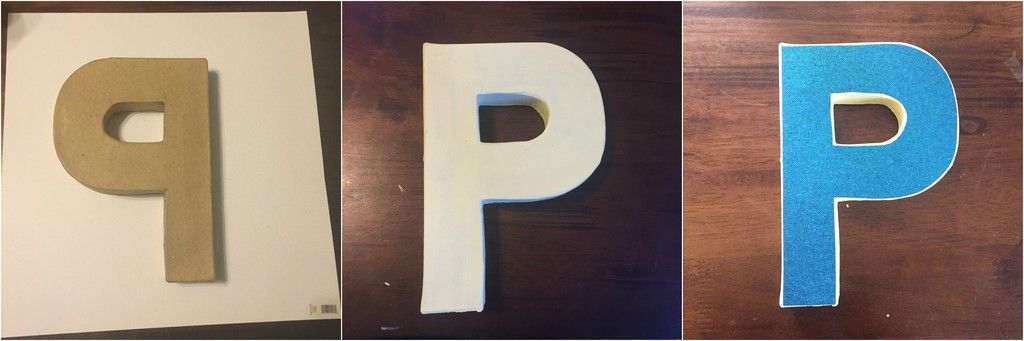
I put them right side down on the backside of some awesome glitter paper that I had also been holding for this project for two years, traced the letter and cut it out. Then I painted them a base yellow color, I glued the glitter paper to the front with good old Elmer's glue and added a plain blue paper to the back for a finished look.
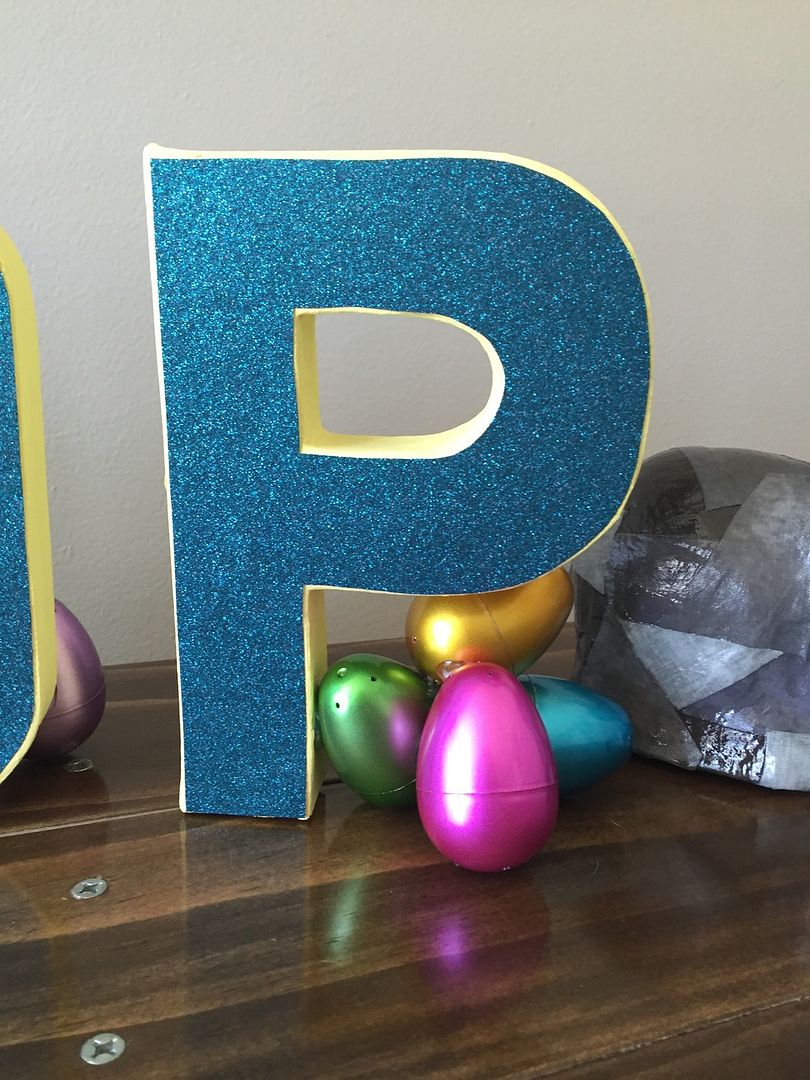
Done, right? NO! The H and O would stand on their own but that pesky P was not balanced. It was right heavy unlike its letter cousin the R. What to do?!
Luckily I had a bunch of spare metallic plastic eggs laying around like any good crafty border. Eureka! I hot glued them in a little mound to support the right side of the P so it wouldn't fall over. Then I also added the remaining eggs to the H and O so it would look intentional and to add some standing support. Nothing like crafting under pressure to get your creative juices flowing.
I'm pretty happy how the whole thing turned out. What do you think, Mr Biscuit?
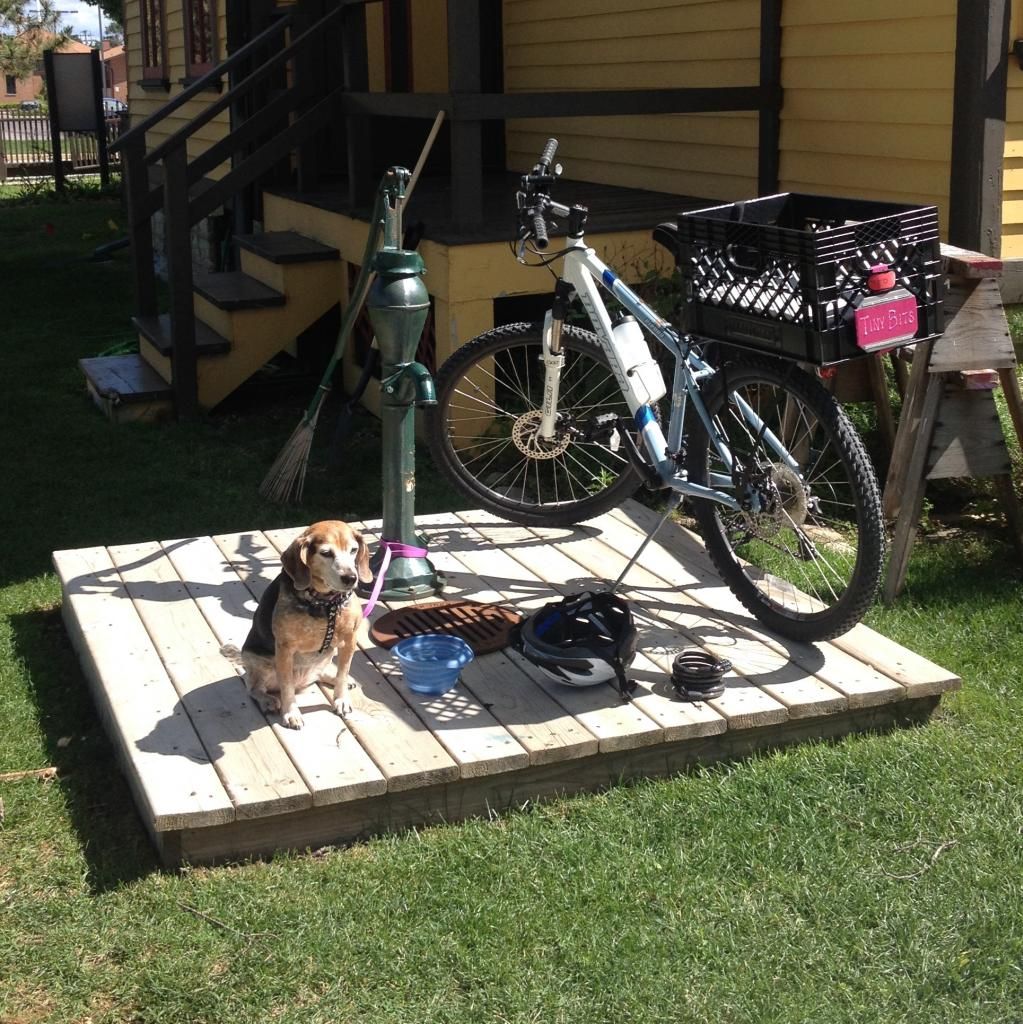
Who doesn't love the idea of taking your pooch on a bike ride? NOONE! Yes I'm that kind of dog mom. I've rode my bike a ton before I got pregnant but going somewhere is boring by yourself. Since Dan and I had very different schedules going with him is almost impossible so it was up to Gidget to step in as my cycling buddy.
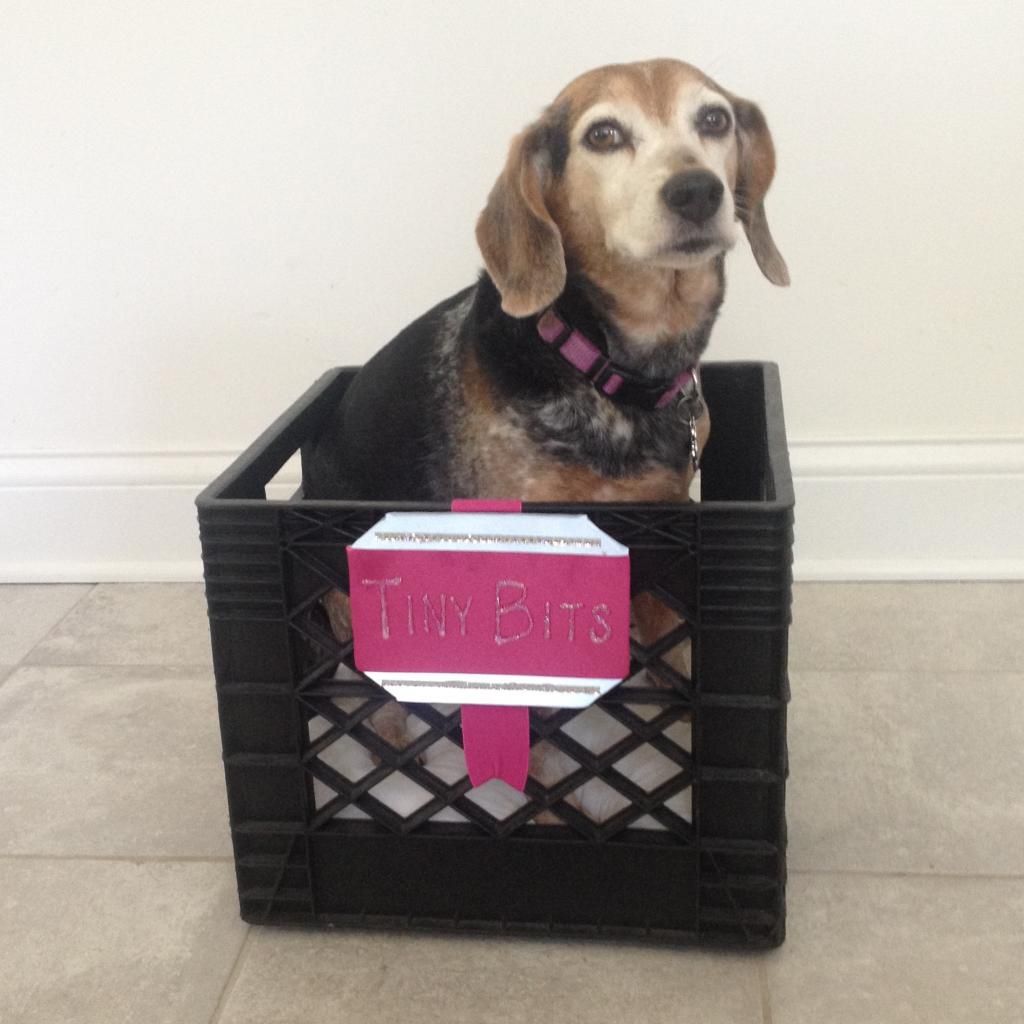
I did a bunch of snooping around the internet and on Pinterest to see how to safely take her on a ride. I wasn't going to spend tons of money on this either so the choices were limited. (There are custom dog trailers you can get for hundreds of dollars. Yep there are dog people crazier than me.) I finally decided on the standard milk crate because I knew I wanted to put her on the back of the bike. At 17 lbs she's just a bit too big for the front. The milk crate is great cuz it's pretty deep so she sits down inside it really well. This is the first one my mom gave me which was a little snug so I opted to go with a rectangular one to give her some extra room. I found mine at sears super cheap.
I made her a little license plate with reflective tape for extra safety.
Next I strapped it to the rack of the back of my bike using a ton of zip ties until I was comfortable that it wasn't going to come off or shift while riding. I also cut a piece of acrylic to fit the bottom so her little dog toes wouldn't get stuck in the grate of the milk crate. Then came the cushion.
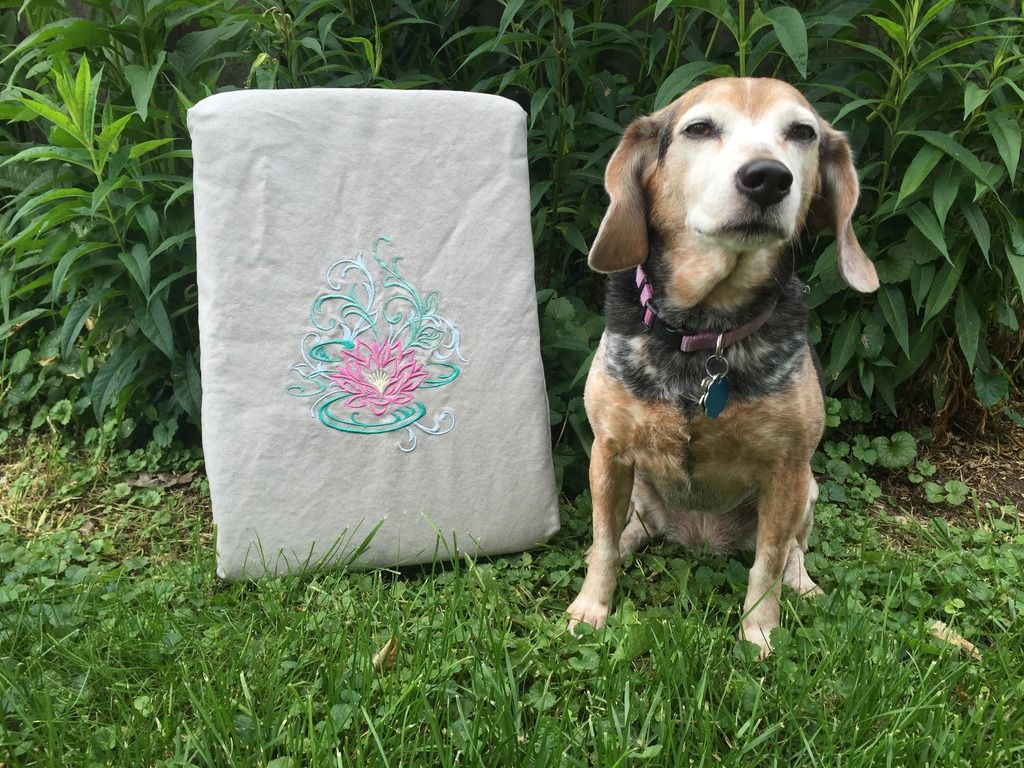
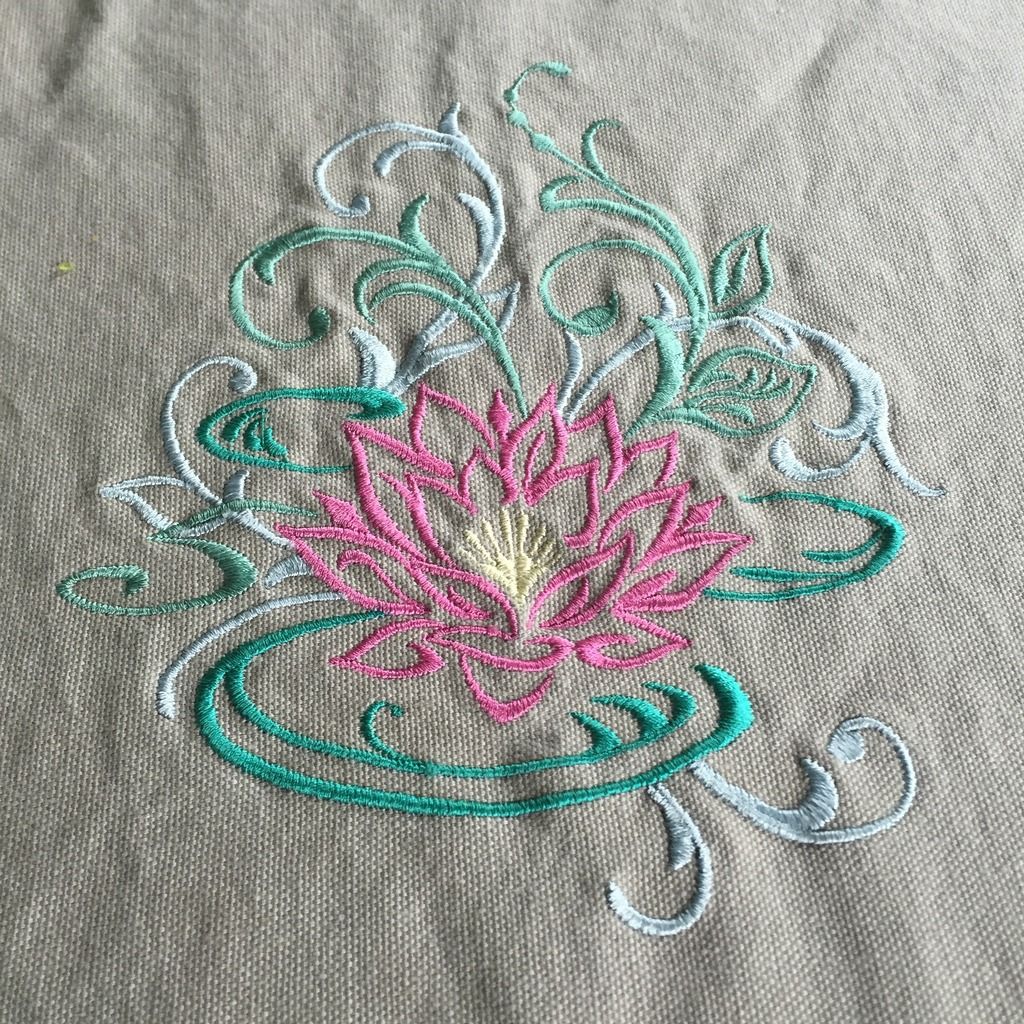
I had bought this embroidery pattern for my sewing machine a little while back and wanted to try it on something....anything. So I whipped up this cover for a cushion to soften the bumps on her little tush.
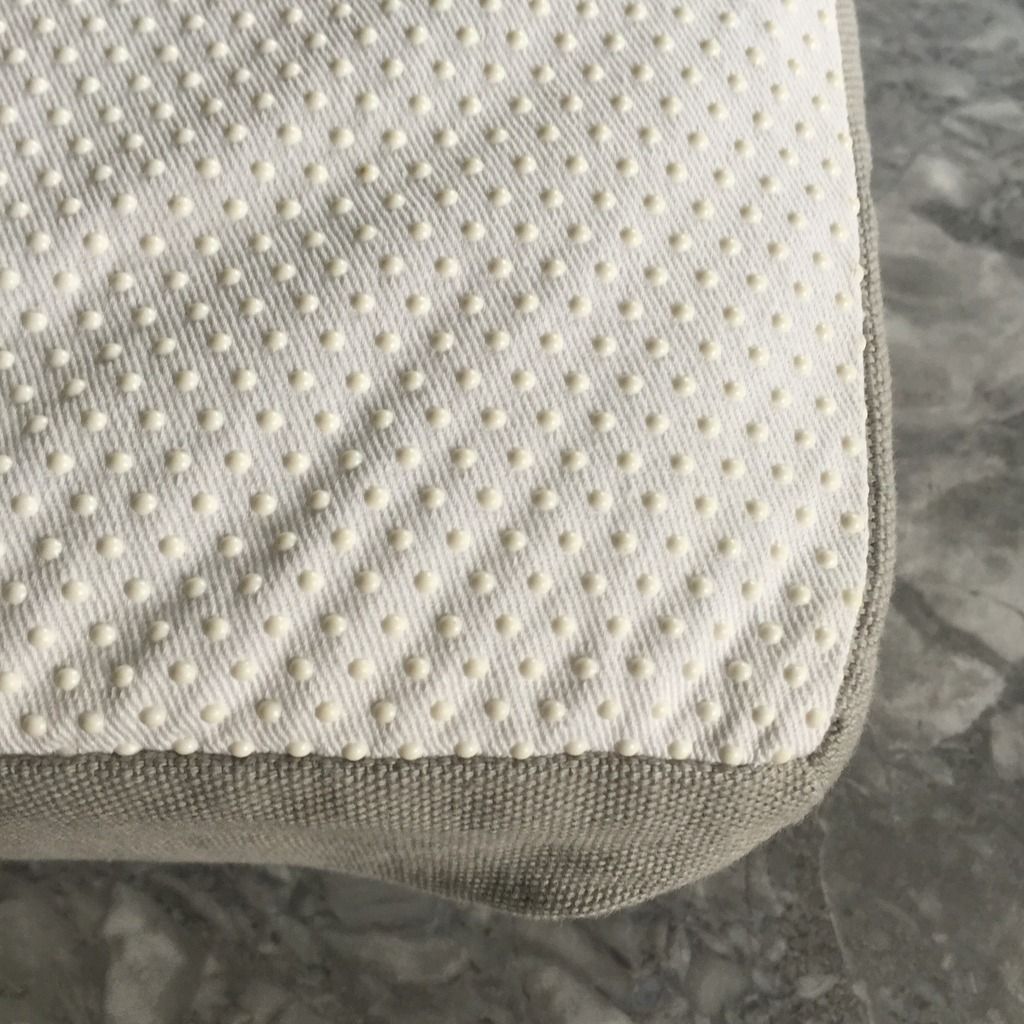
I got the cushion insert from Joann's and cut it to fit the crate. It's an outdoor cushion that is meant for boat seats so its OK to be outside or get wet and the cover is made from outdoor canvas. I put grippy fabric on the bottom so it wouldn't slide as we were riding and the cover has an envelope closure on the back so it can be washed too. It fits great!
Last but not least I wanted to secure her in the basket somehow just in case she wanted to jump out or I hit a rogue bump. This was easier than I thought. I had originally planned to make a overly complex strap system with a heavy duty buckle but at the last minute I tried her 4 foot leash instead. I loop the leash over itself on one of the long sides of the crate and run it under a little harness I got her. Then I loop it over the other side of the crate and double back to where I started where I clamp the clasp back onto the leash. It sounds really complicated but its not.
There was no better way to test out our new outfit than to take a ride.
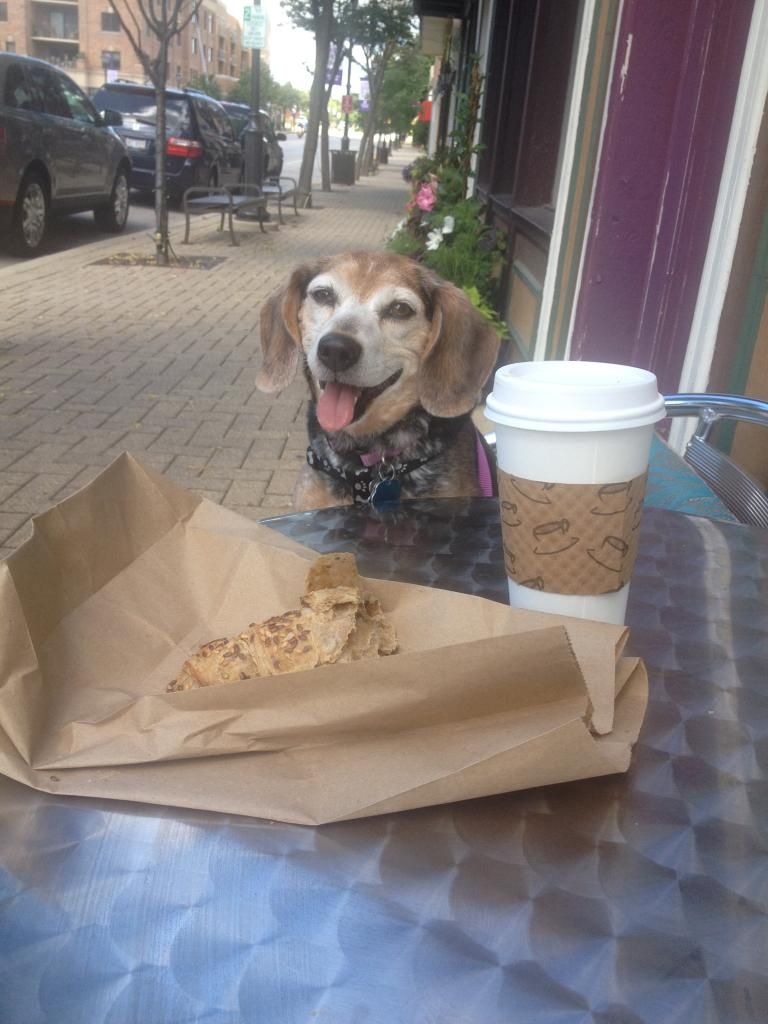
I would take her with me at least a couple times a week. We went to the bike store, coffee shop, ice cream, or to go get more bird seed for the feeders. She's a hit at the local gardening store. I can't wait for the weather to warm up so we can head out again.
I get a lot of people pointing and smiling and little kids giggling when I ride by. It's nice to know we are helping to make more smiles.
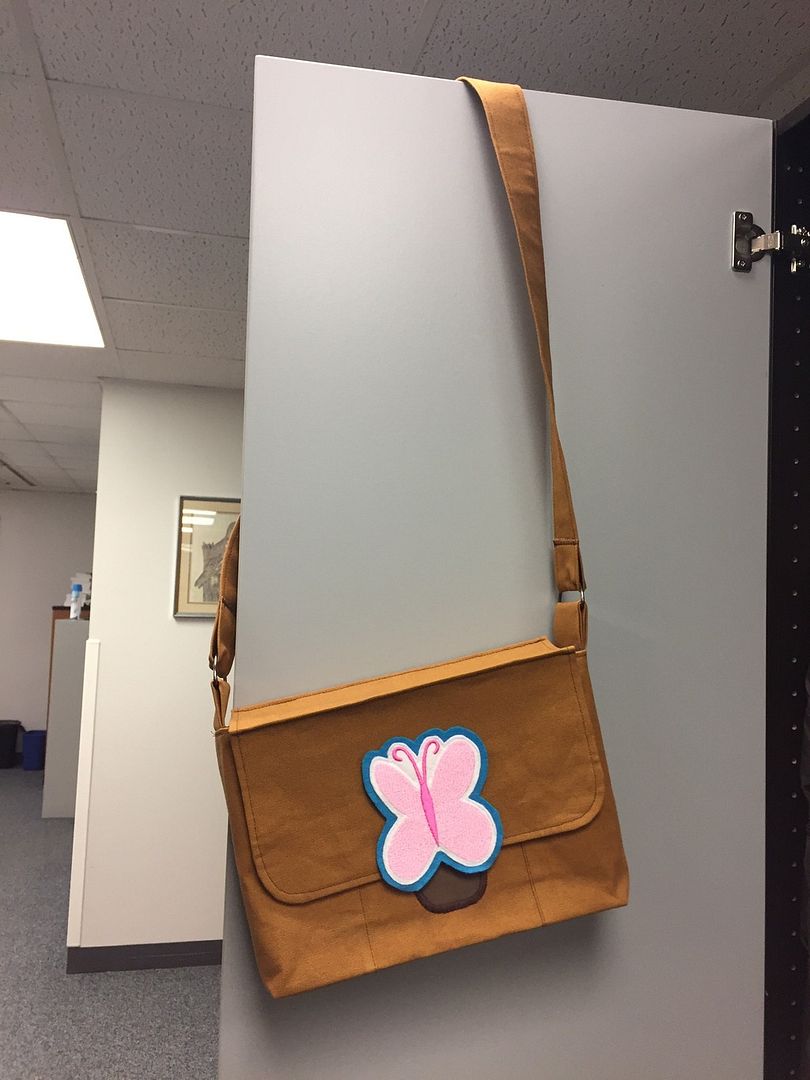
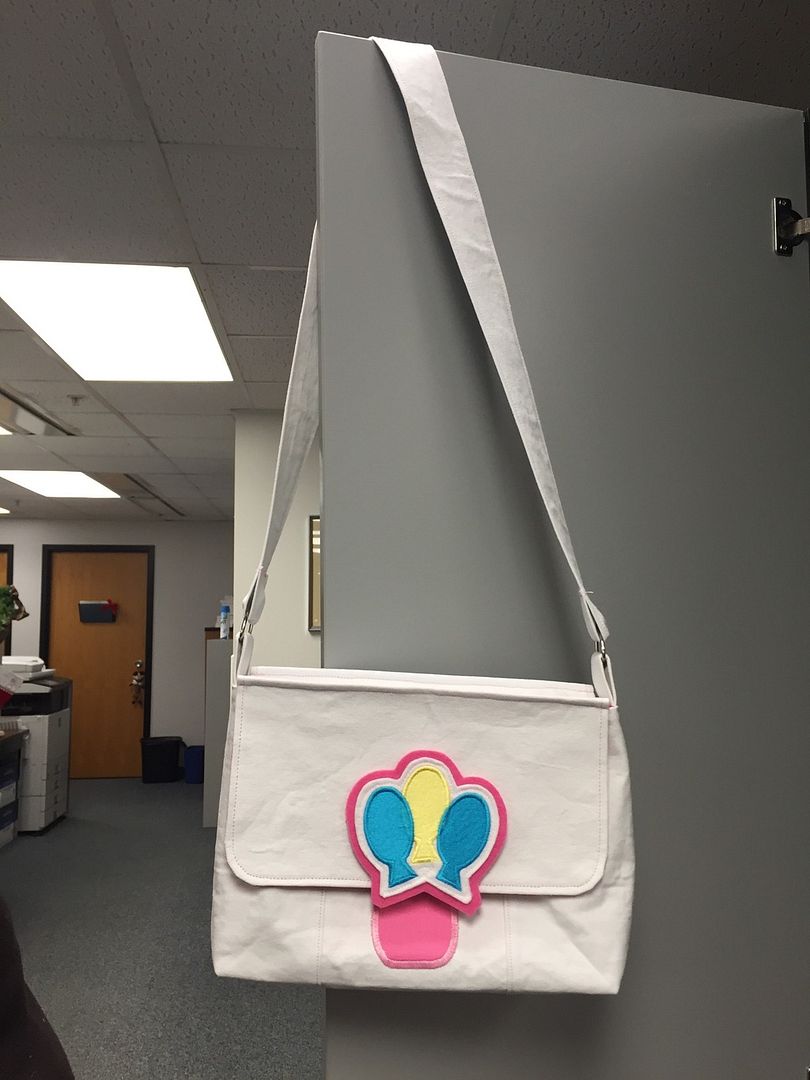
So I managed to do some crafting for Christmas before my whole life was tossed upside down by the arrival of my son in January. My favorite items were for a couple craft clubbers equally addicted to My Little Pony as I am. Its an inside thing that we each have our own pony personalities, I'm AppleJack. Kelly adopted PinkyPie and Laura has Fluttershy so when trying to think of presents I decided to personalize them a couple MLP bags. But not just any bags. They are replicas of their pony's saddlebag, complete with embroidered cutie marks. I won't lie.... I'm hoping Kelly will use hers with her Pinky Pie cosplay outfit. Wink wink, Kelly.
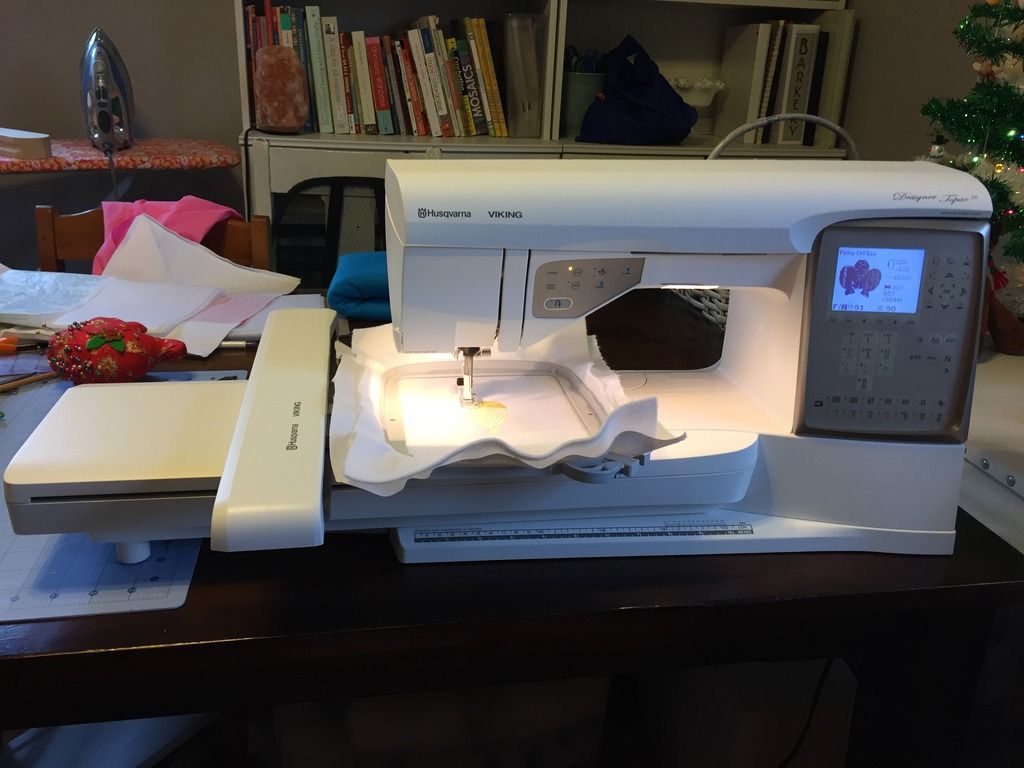
I purchased the files off a vendor on Etsy but I did the embroidering and manipulating of the files to get them just right.
Side note, I love my mac but apparently no one in the embroidery software development field feels the same. The only software my dealer sold was TruEmbroidery. Mac applications have a reputation for being intuitive and easy to use. This program is the exception to that in my experience. It is the first time I've had to read the manual that came with software. Oh and did I mention there are like 5 manuals! Yea I had to to a fair amount of reading to figure out what I needed to do and still have a ways to go.
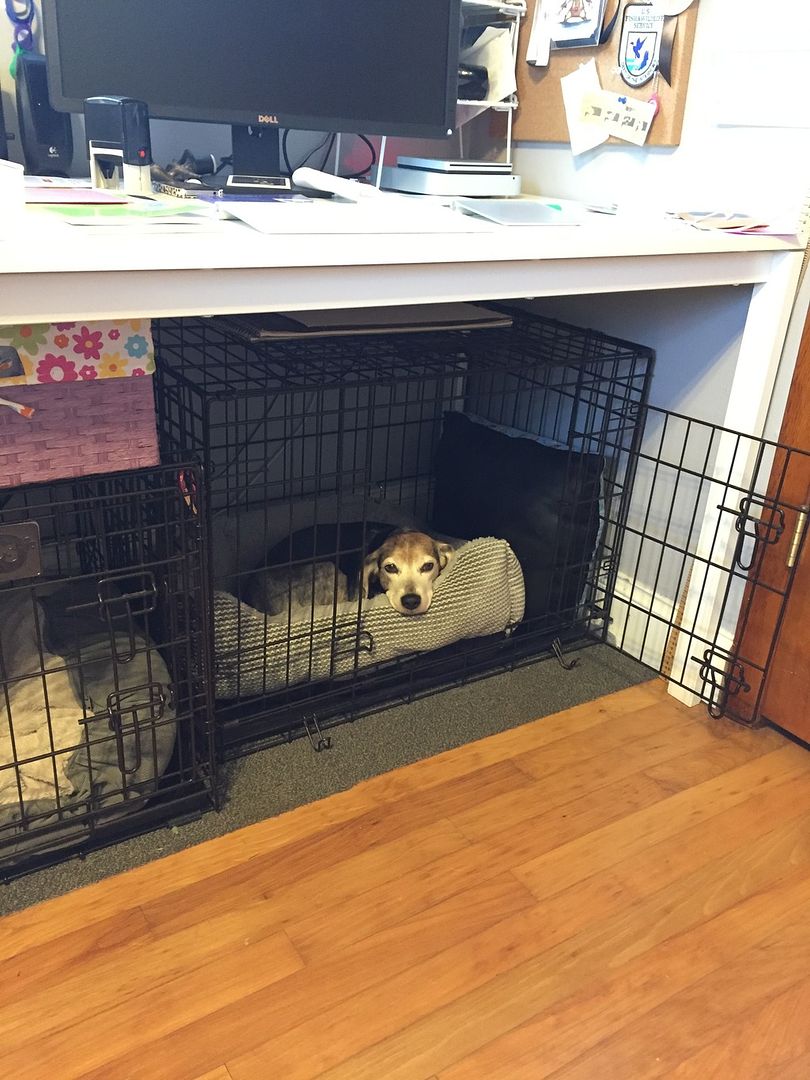
Thankfully I had Gidget with me as tech support. OK thats enough ranting.
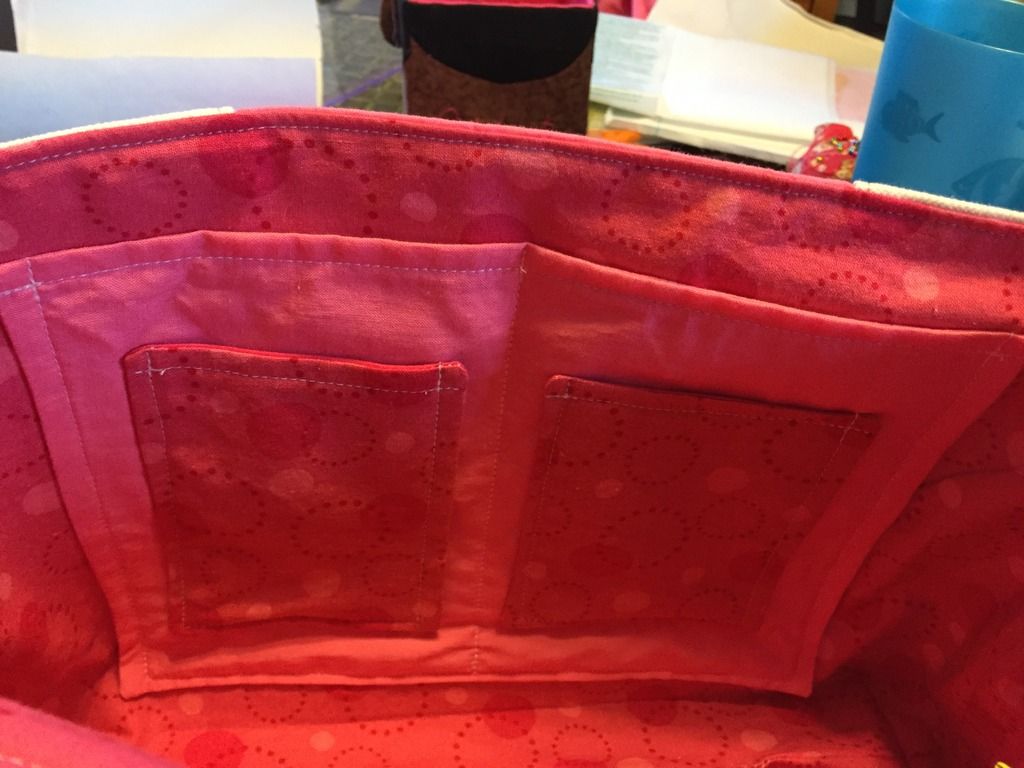
I'm pretty happy with how they came out. I made them from a heavier canvas so they should be fairly durable. They've got amply pockets inside for stashing fun bits and bobs too.
Now I just have to find the time to make one for myself. Add it to the ever growing list of to-dos.
It's taken me a while to write this post. I knew it was coming a while ago and have dreaded it. We said goodbye to my closest and dearest friend, Sadie, last month. There are no words that can explain the loss we feel but I'm so grateful she was able to meet my son before crossing to the rainbow bridge. I met Sadie when she was only 10 weeks old in a dingy Missouri kill shelter. I always said she was the best $25 dollar investment I ever made as that was the total of her adoption fee. She lived with me in 5 states and was by my side through countless adventures. I love all my dogs but this was one of those once in a lifetime friendships. I wouldn't be the woman I am today without having her with me for the last 15 and a half years teaching me patience, strength and immeasurable love. She will always be in my heart.
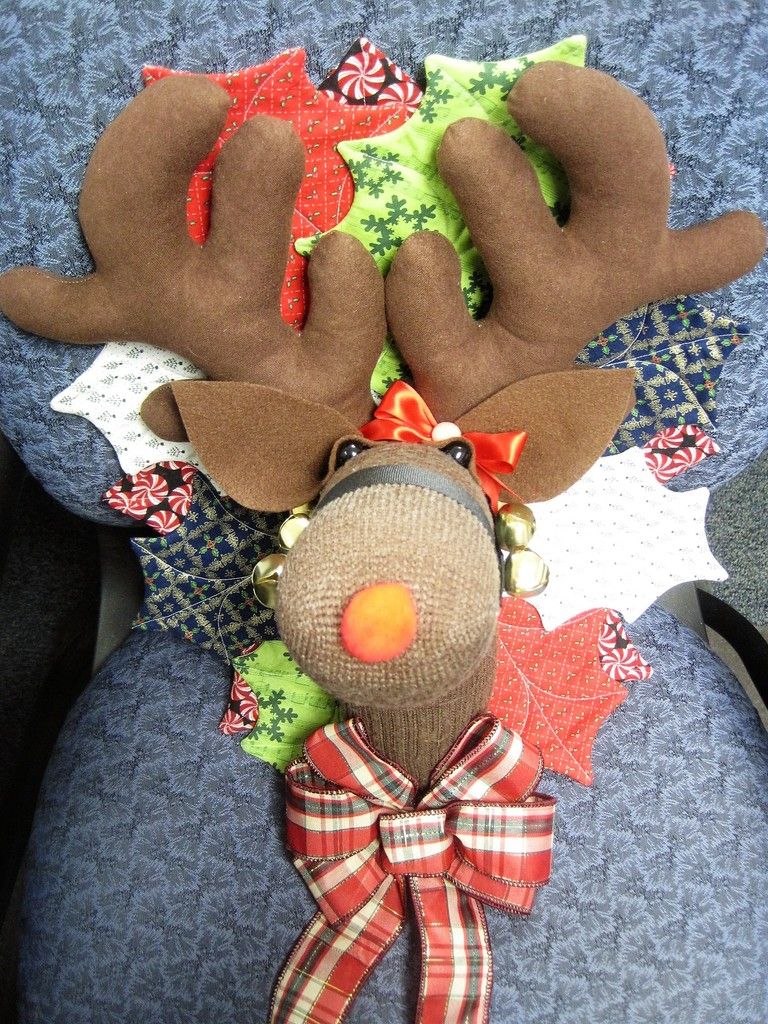
The homemade holiday gift giving has already begun in my household and it makes me so happy. I had a friend of mine ask for a classic sock reindeer for her birthday present this year. Her birthday is at the end of November and she wanted the reindeer to put up for Christmas so it was a better call as a birthday gift than an actual Christmas gift.
I have made four of these guys so far. I found the pattern at a thrift store in Montana and I carried it around with me for for over a decade before I finally made it. I started out with one for me and loved it so much I made one to share with my work office, then a friend in the office wanted one and offered to pay for one so I made her one for Christmas last year as a gift instead. Another office friend loved hers so much she wanted one too! And so it goes..... I know of at least one more I will make this year alone.
The pattern is amazingly fun and the instructions are easy to follow. I was able to master sewing a curve after all the sewing of the leaves. You can find copies of this exact pattern for sale on Etsy or maybe eBay. The company that manufactured the original pattern in the 1980's has a website, and though I did not see that specific pattern for sale they had many really cute animal themed craft patterns! I would recommend any Cotton Ginny pattern, the end result is fantastic!
I will be putting up more Christmas gifts as I finish them, I have a great Dr. Who cross stitch that I am almost done with and I am insanely proud of it! I also have some quick dinner recipes to share to keep you warm and well fed during these busy weeks.
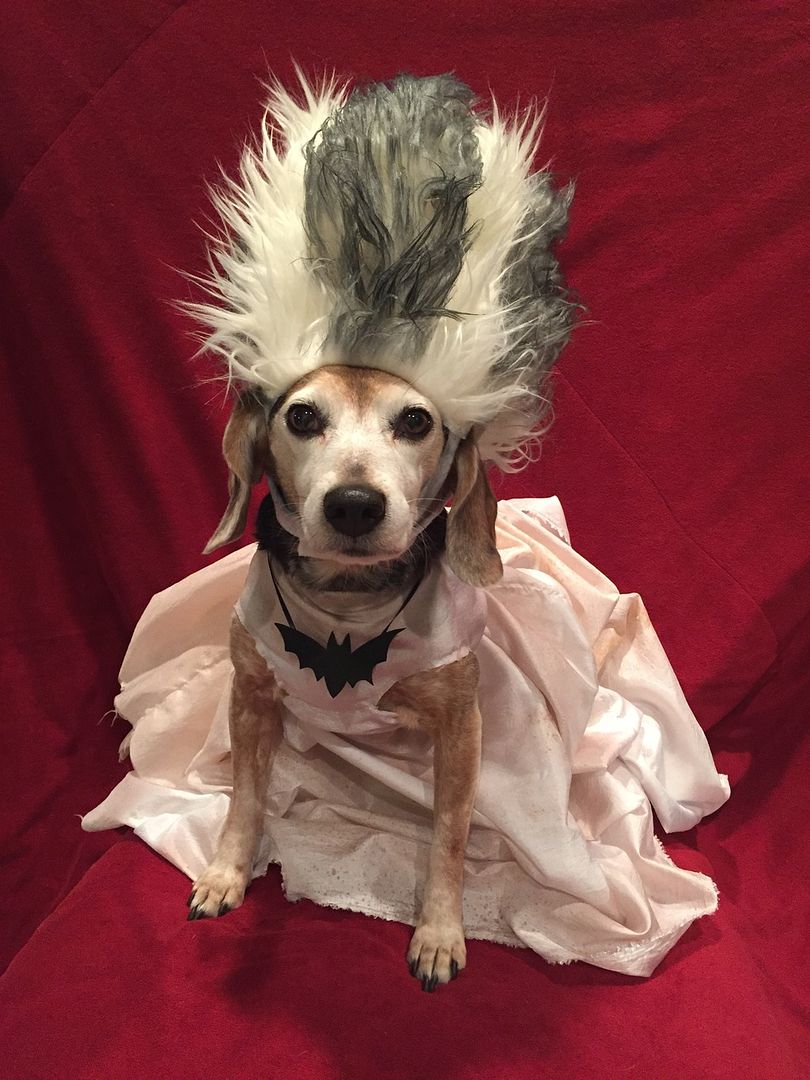
Gidget is starring as the bride of Frankenstein this year. She said she'd never really marry Mr. Biscuit but the costume is acceptable. Happy Howl-oween!
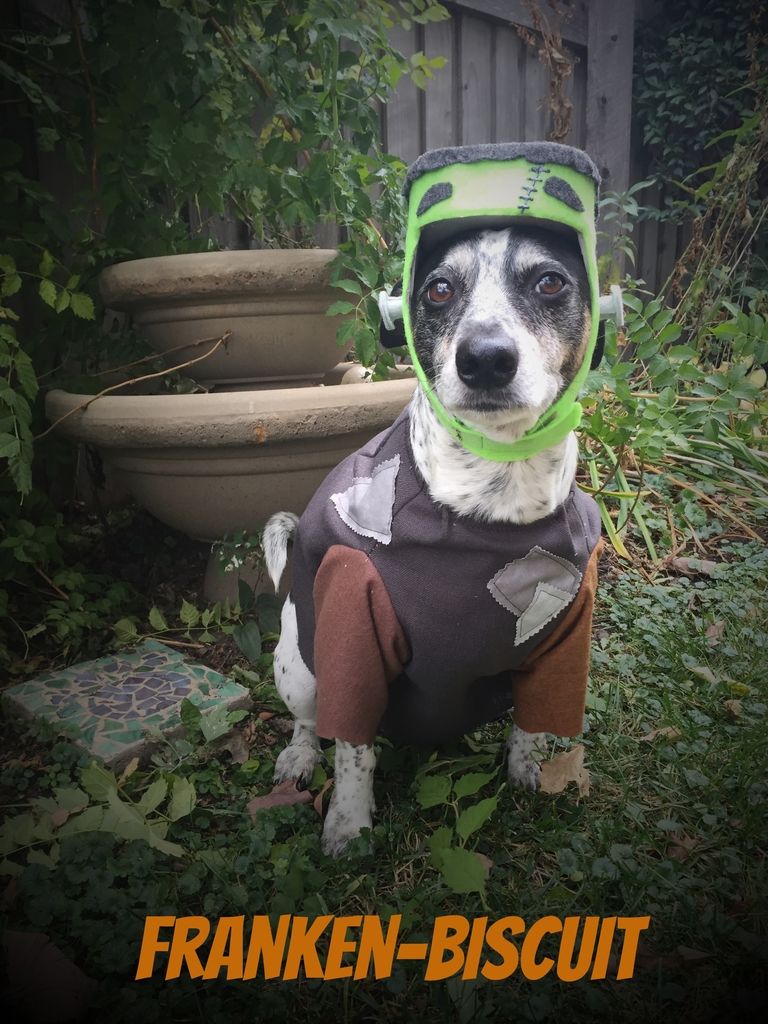
Have you ever wondered what it looked like to spend way too much time on a dog costume but every second was actually worth it in the end? Well here you go. This is the first creation from Dr. S. Frankenstein. She pieced together all the adorable puppy parts we had laying around and zapped it with some attitude. HE'S ALIVE!